Why Use Manual Focus? (How to Manually Focus Your Camera)
It’s hard to imagine a time before our trusty autofocus (AF) systems when we used manual focus. We now have cameras that boast a whopping total of 850 AF points. And the manual focus ring barely seems to be touched anymore.
Today, I’ll show you how to manually focus and tell you why this function is still available on every lens produced.
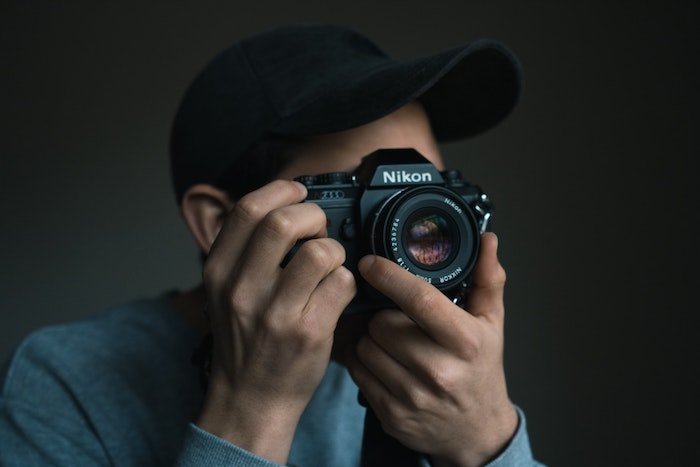
What is Manual Focus?
Manual focus is the process of adjusting the depth of field by hand—manually selecting the clarity of the image in the various distances you set your lens. When you turn the manual focusing ring, you adjust elements inside the lens. You change the distance between a selection of lenses, moving one or more lenses either closer or further from the imaging sensor. It is how a telescope or pair of binoculars work.
Most analog film cameras require manual adjustments because they don’t have digital features. It means they only use manual focus lenses. It wasn’t until 1978 that Sony released the first-ever SLR with auto focusing. Every camera that came out before this time (and many film cameras after) would strictly involve manual focus.
How to Use Manual Focus
Manually focusing your image is as easy as turning the focus ring on your lens. But this can be trickier than it seems. I don’t recommend using this function when taking quick shots is a crucial factor in your photography, like wedding photography, when missing important moments can cost you the job.
But if your camera’s AF starts to fail you, there are some ways to work around that by manually focusing. Various kinds of cameras will have different techniques. You can even manually focus on your iPhone! Simply by tapping the element on the screen that you want in focus. But I will mainly focus on DSLRs.
3 Manual Focus Techniques
1. Depth of Field Preview
Pretty much all modern DSLRs feature a depth of field (DoF) button. Pressing this button will give you an idea of your image with your selected aperture. It will show how far your depth of field focus range will span through the viewfinder.
The button is usually found next to your lens mount but can vary from camera to camera. If you have an issue finding it, you can always check the manual for your camera.
The DoF button will show the exact aperture you have set on your camera. The presented image will look a bit darker. So don’t worry about the image turning out like this. If you set a higher numerical aperture like f/22, the aperture is smaller. Therefore, it lets less light into the camera.
The feature is helpful, giving you an idea of how the image will look. It shows how much of your surroundings will be in sharp focus or soft focus.
2. Live View
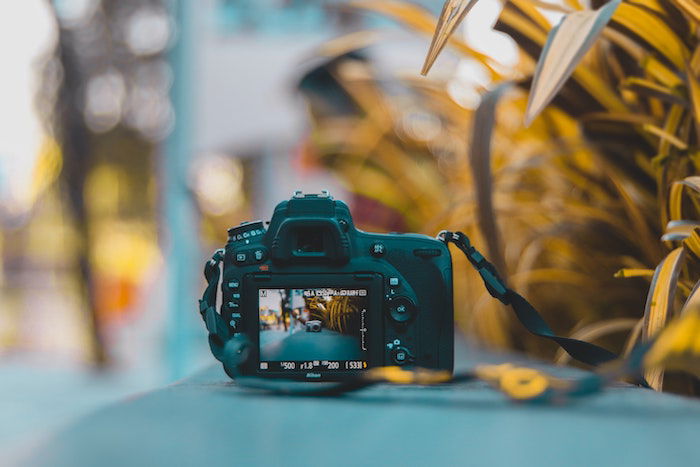
Modern cameras, especially DSLRs with video capabilities, can have a ‘Live View’ feature. It is beneficial when it comes to manual focusing. Using this feature will bring up a real-time view through your lens on your LCD screen.
It provides a wider screen to view your image. That makes it easier to judge the sharpness of the subject you are focusing on. You can also zoom into this screen. It allows you to take time and care with this process, giving you confidence in the sharpness of the image.
Some cameras will have a focus-magnifier setting. It will automatically zoom in to give you a part of the image for you to focus on. Some new cameras, especially mirrorless ones, have this function applied whenever you move the focus ring.
2. Focus Distance Windows
The oldest way of manually focusing is still readily presented to us, of measuring the distance from your lens to the subject. These distance windows can be helpful when all else fails, giving you a chance to judge or even measure the length. The distance the camera provides should be in both metric and imperial measurements.
Most lenses should have a focus distance window (or even numbers engraved on older lenses). But they are getting less common, especially in mirrorless ranges of cameras. This window is an active lens element that moves according to how much you alter the focus ring.
This method is not the most accurate way of focusing an image. But it can be a lifesaver when emergency occasions arise!
3. Rangefinder
Some cameras use alternate ways of focusing because the viewfinder doesn’t look through the lens. These are found on ‘rangefinder’ cameras and digital rangefinders—for example, many of Fuji’s X Series.
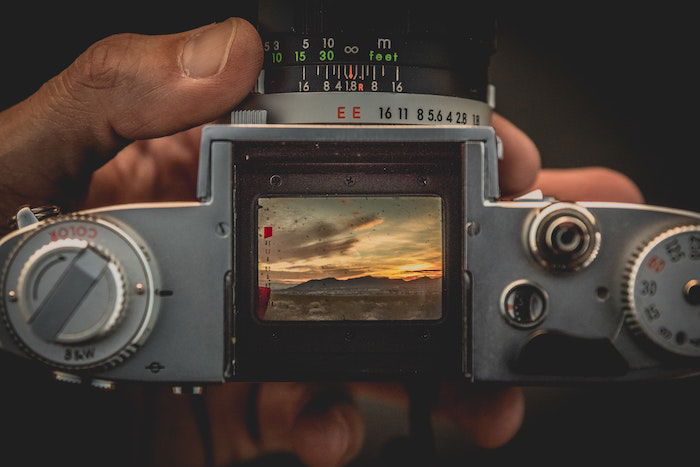
The rangefinder presents a section showing two images of the same scene. To get the desired focus point, you have to overlay the two images to match them up perfectly.
When to Use Manual Focus
Now I’ll look at seven situations that benefit from using manual focusing. These may be due to personal preferences or from the automatic features of your camera not allowing you to be fully in control.
1. Choosing Your Subject of Focus
A pretty obvious one, but regardless, manual focusing allows you to pick the exact subject you want to focus on. It is handy when there are many layers throughout your scene. For instance, if you’re going to shoot through flowers or windows.
Sometimes in these situations, the auto focus system will snap to elements that you don’t want in focus. When this happens, that’s when I recommend hitting the manual focus switch and adjusting it yourself.
It can be helpful when photographing crowded or busy situations.

2. Low Light
If it hasn’t happened to you already, it will do at one point. In a dark environment, you will hold down the auto focus button, and all you will hear is the lens adjusting and readjusting itself. With no sign of that comforting beep, it is time to focus manually.
Cameras have a hard time reading distance in low light, which isn’t surprising. Hopefully, you should be able to make out some forms through your viewfinder. Turn your focus ring manually to make an accurate selection of the subject.
2. Macro Photography
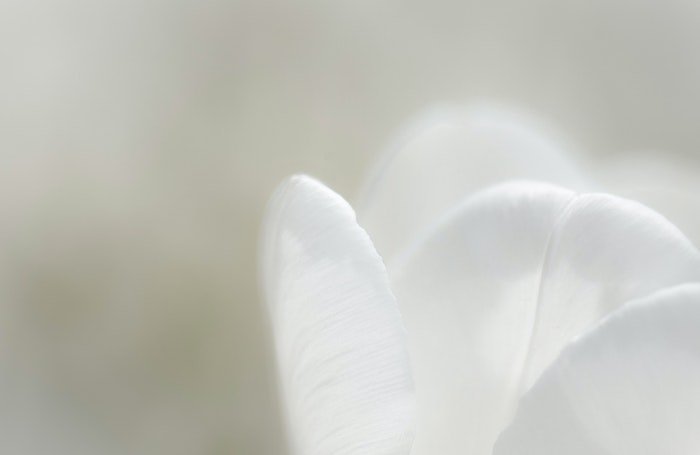
Macro photography fans out there will already know the importance that manual focus brings. Macro photography involves taking images very close to the lens. It requires wide apertures. And wide apertures give hardly any forgiveness when it comes to sharp focus.
You don’t need manual focus for this process. But it is where a majority of the creative aspects come from. Mastering manual focusing is a must for macro photography because it allows for a much greater range of experimentation.
3. Focus Stacking
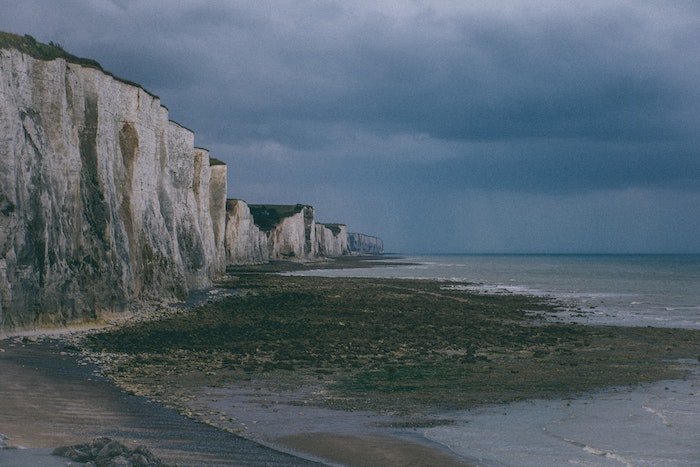
Focus stacking is a method to ensure that every element is in focus to its fullest. It is often used in landscape photography, mainly by photographers who like the HDR process.
This process is very similar to HDR. You have your camera on a tripod, take many images, and then stitch them together through post-production. Instead of taking the best exposure for each section of the image, you’ll be gathering the sharpest focus. You use manual focus to target each different aspect.
This method is helpful because you will be able to take images on a wide aperture. Using a wide aperture will allow you to drop your ISO down, in turn producing sharper images. It also allows you to take many photos to pick the best ones later when looking on a bigger screen.

4. Low Contrast
If you have been a photographer for a while, you will have identified situations where the autofocus system can fall short. Certain cases are when there isn’t much definition in the subject or no contrast in particular areas.
The autofocus function looks for lines of contrast to find depth to base its measurements. Environments with a lack of different tones can force you to use manual focus. Use the techniques I wrote above to work through this issue.
5. Fast-Moving Objects
Relying on auto focus for fast-moving objects isn’t the best idea. Especially if you only have a small window to get the perfect shot.
Hopefully, you know your subject well or can quickly assess how the subject will act. Preparation will allow you to measure out and take some test images beforehand. By using manual focus, you can get the sharpest image. Adjust the camera in manual focus and then wait for the subject to move by and snap.

6. Panoramas
A panorama is an image where a whole landscape or skyline is presented seamlessly in one picture. Some cameras, as well as iPhones, have this feature embedded in their software already. The manual way of doing this is to take a series of images and stitch them together in the post-photography process.
If you were to take these images with an autofocus system, you would risk the focus adjusting. If this happens, the viewer will notice it in the final result. The image will look disjointed, and the believability of the image being one seamless photograph will be lost entirely. I suggest focusing beforehand and then taking each image accordingly.

Technology has come so far with its constant advancements in autofocusing capabilities. Still, there is no denying the importance of being able to use manual focus with confidence.
The more you photograph, the more this will become clear. I’m not saying you need to be the quickest manual focus photographer to be a confident photographer. But there will be times when you will be glad you studied this article. So turn that switch to manual focus, put your hand on the focusing ring, and get practicing!
Are you looking for an amazing way to improve your Photography Skills? Click the link below.
Want more best of "Photography for beginners" digital "gold mine" of photography tips. It's called "The Open Library".
https://mrdarrylt.blogspot.com/2023/05/photography-photography-tutorial-by.html
No comments:
Post a Comment
Note: Only a member of this blog may post a comment.