What Is Shallow Depth of Field (And How to Use It!)
We spend a lot of time as photographers trying to get our images in focus. When an image
comes out blurry, we hit the delete button so fast that we barely look at the composition.
But not all images need to be sharp from front to back. Sometimes, an image is more beautiful
if some parts of it are softly out-of-focus. An image can have impact if the focus is “shallow”.
In this article, I’ll let you in on the secrets of shallow depth of field (DoF). I’ll help you
achieve the look and give you ideas on when to use it in your photography.
What Is Shallow Depth of Field?
In photography, depth of field describes how much of the image is in focus.
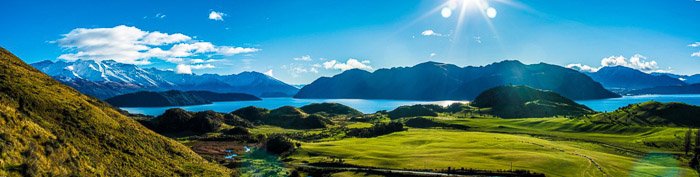
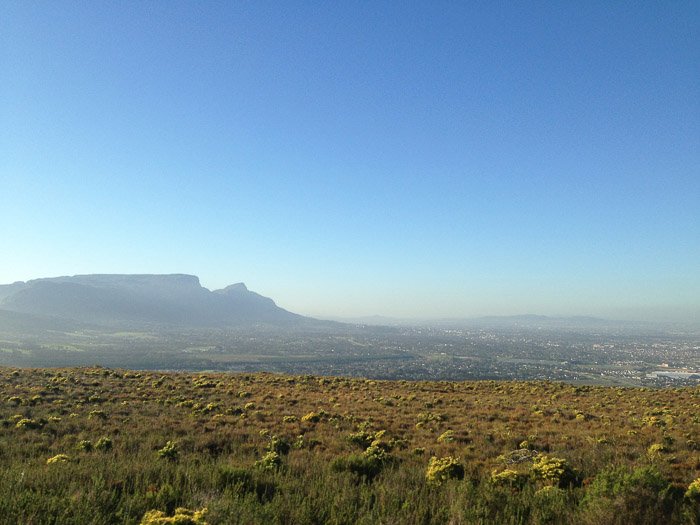
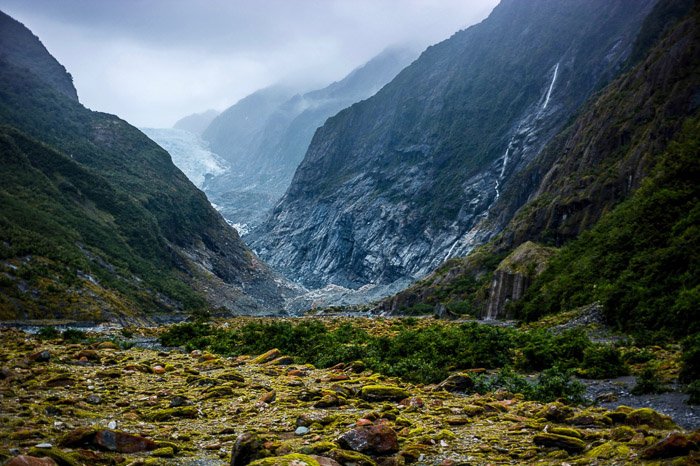
A deep depth of field (also called “wide” or “large”) means that most of the image is in
focus.
This is often the goal of landscape photography.
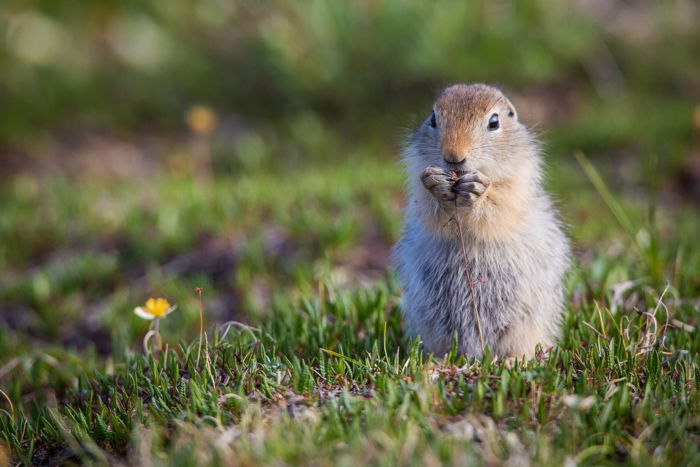
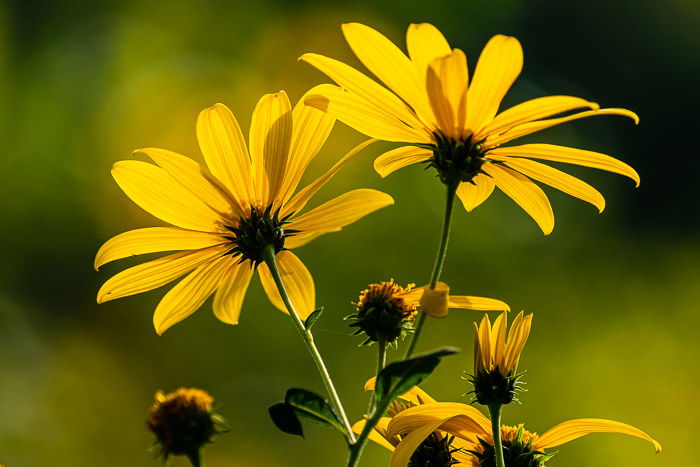
Shallow depth of field (also called “small” or “narrow”) means that only a part of the
image is
in focus. The background and sometimes the foreground is blurred. Shallow depth of
field works in portrait, nature, and travel photography.
The out-of-focus part may be only slightly blurred or be completely lacking detail.
How Do You Get a Shallow Depth of Field?
There’s a lot of optical physics behind a shallow depth of field. But in this article,
I’m going to keep the discussion practical.
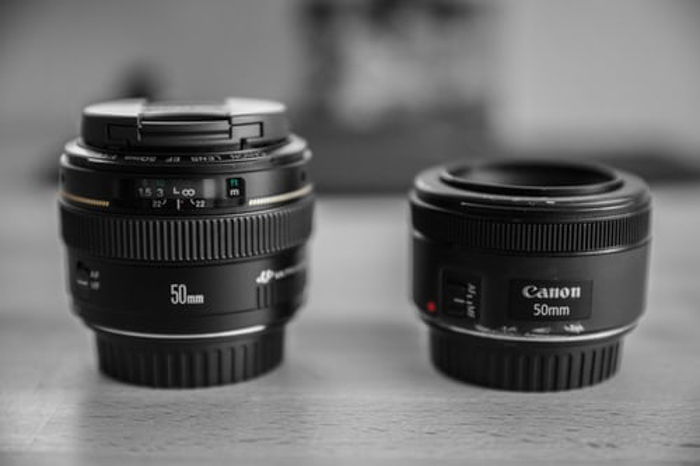
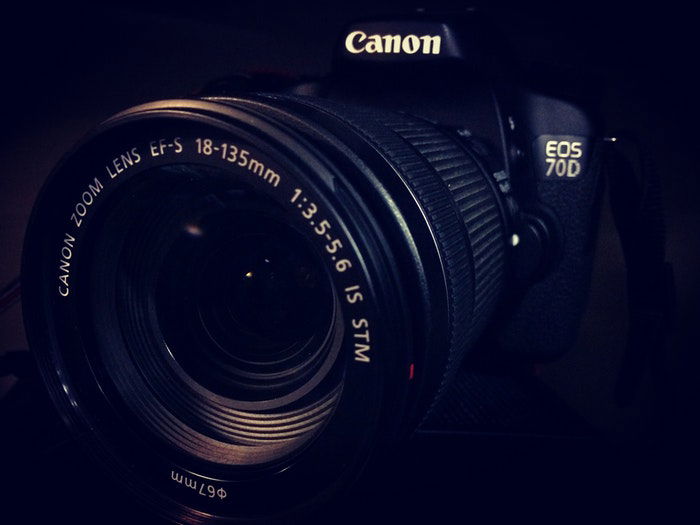
In general, your depth of field will be shallow when using a wide aperture.
This means setting your f-stop to a small number. On some lenses, the widest
aperture is f1.4. On others, the widest aperture setting is f5.6. Using
aperture priority mode may be a good idea when you’re trying for a shallow
depth of field.
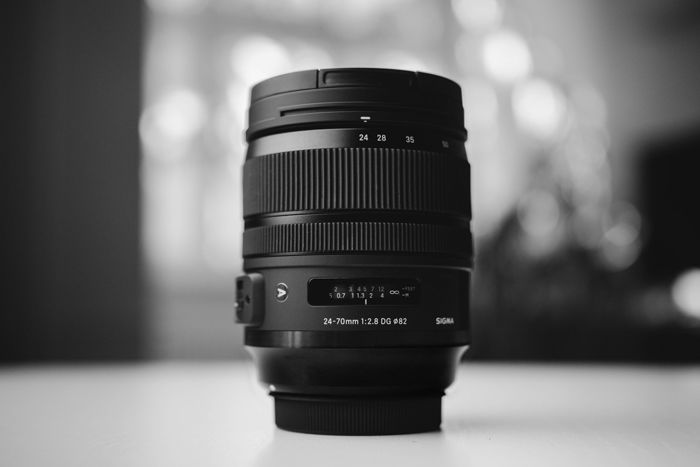
Aperture size isn’t the only thing affecting depth of field. Focal length is
also important.
Lenses with a longer focal length generally will have a shallower depth of
field. Your camera sensor size will also make a difference. Cameras with larger
sensors (full-frame) will create a shallower depth of field than crop sensors.
But creating a narrow depth of field isn’t all about equipment, it’s also about
relative position.
Depth of field will change depending on how close you are to your subject and
how far your subject is from the background.
If you’re not getting a shallow depth of field, step closer. If that doesn’t work,
try moving your subject further from the what’s behind. There needs to be some
distance.
How to Use Shallow Depth of Field
Let me turn to how to use shallow depth of field to make your photography pop.
Here are the top reasons for using a small depth of field.
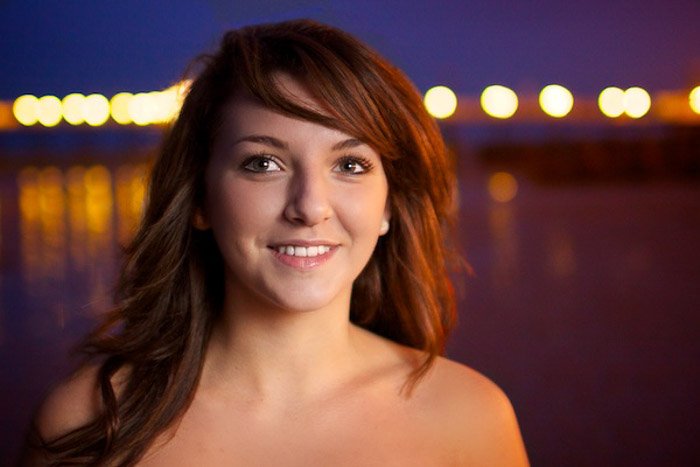
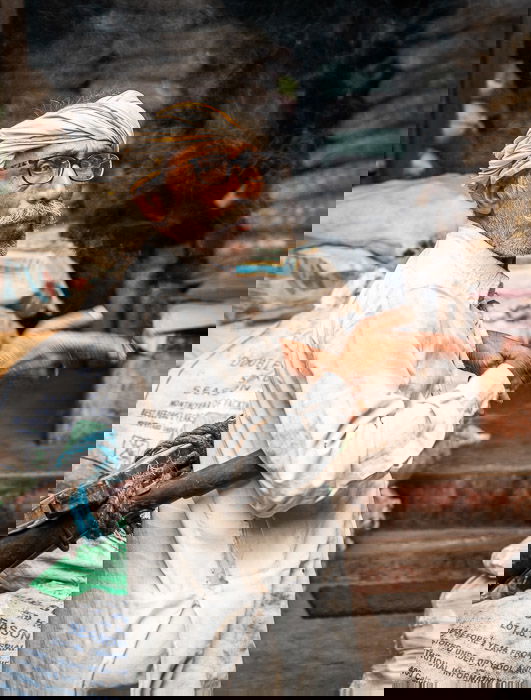
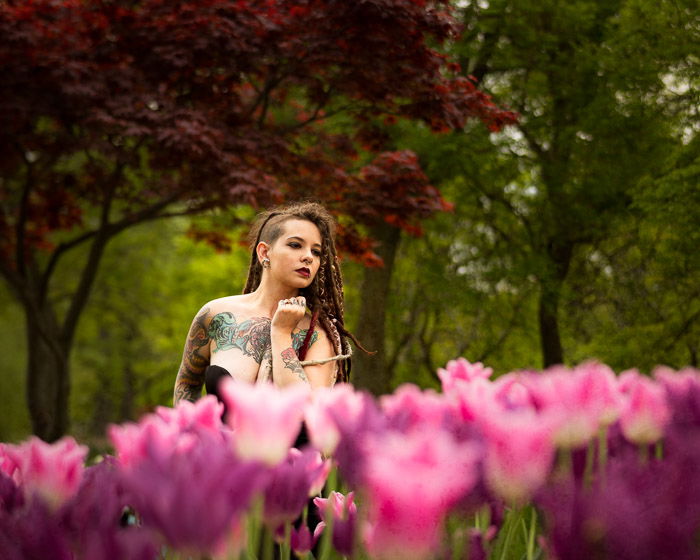
To Simplify the Background
One of the main reasons to use a shallow depth of field is to simplify a busy scene.
Portrait and nature photographers use this to create a clean backdrop.
You may want to remove all detail leaving only color or you may only want to
de-emphasize the environment.
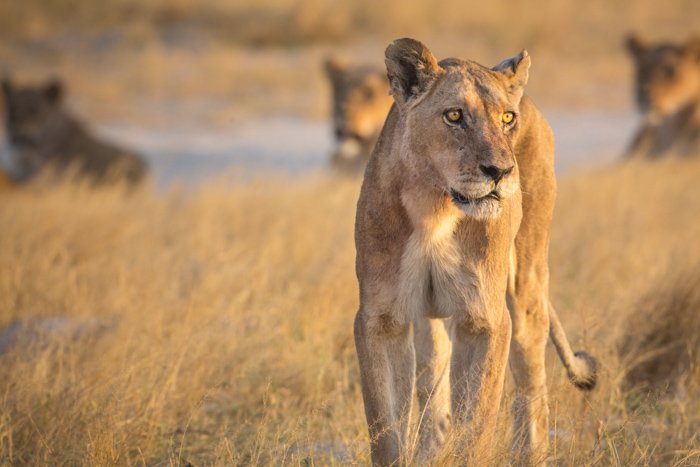
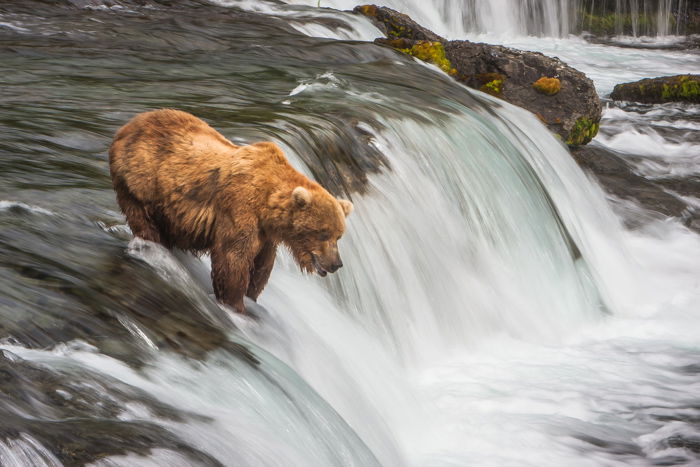
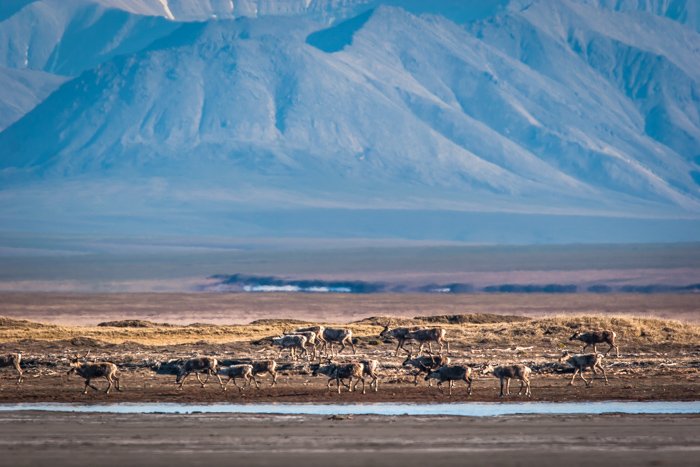
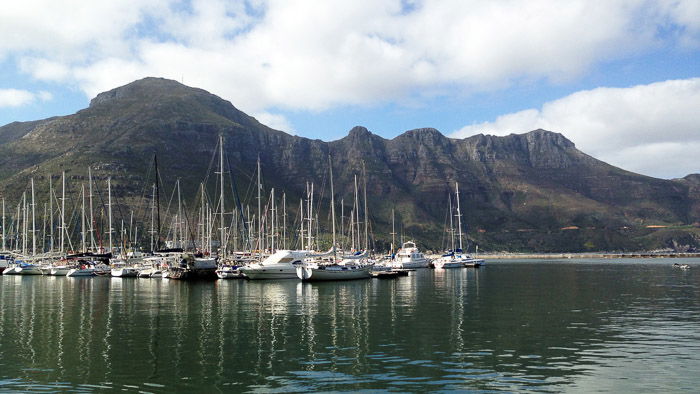
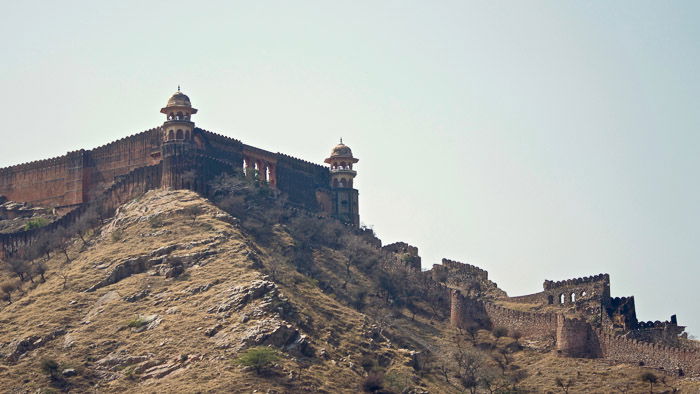
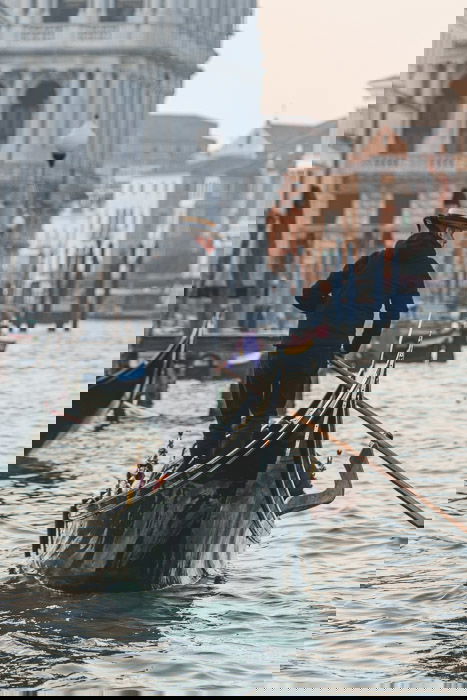
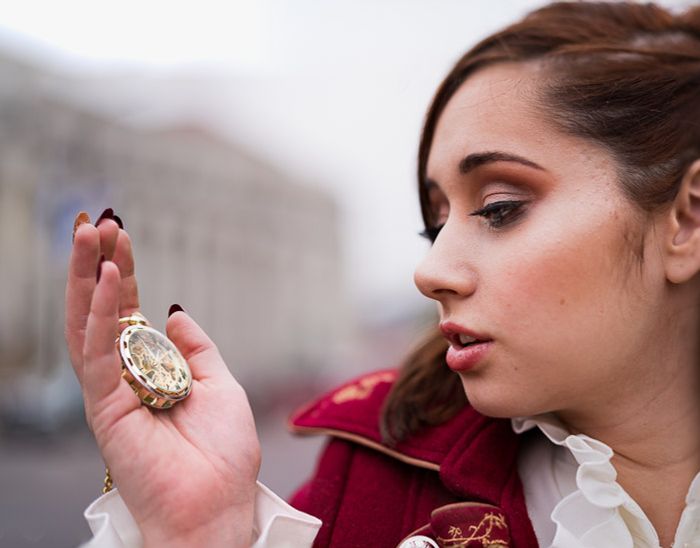
In travel photography and photojournalism, subjects are often photographed in
context. We want to know where the person is or where the action is taking
place.
But we want the context to be secondary. Blurring the environment allows the
viewer to see the context without distracting from the main story.
Different apertures will produce more or less blur. Generally, shooting wide open at f2.8
or f1.4 will create the most blur. If there is too much blur or you want a bit more detail,
select a small aperture like f5.6 or f8.0.
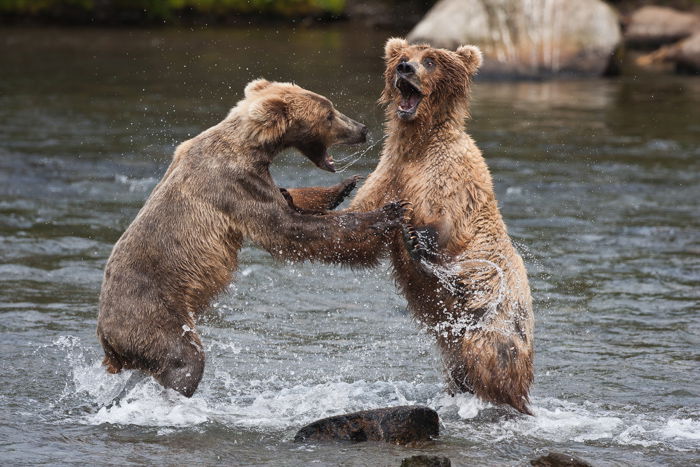
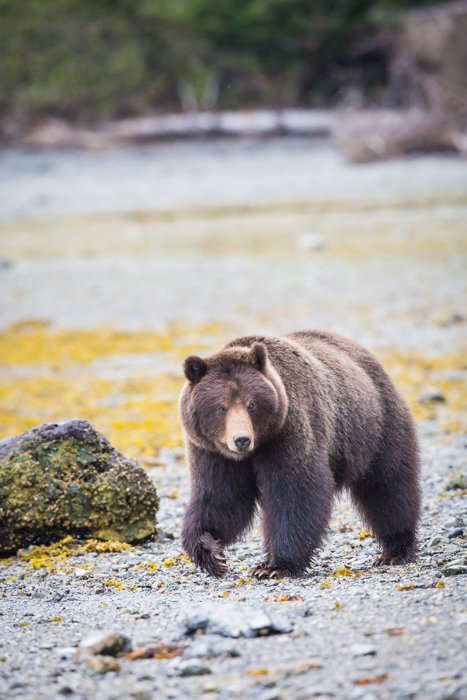
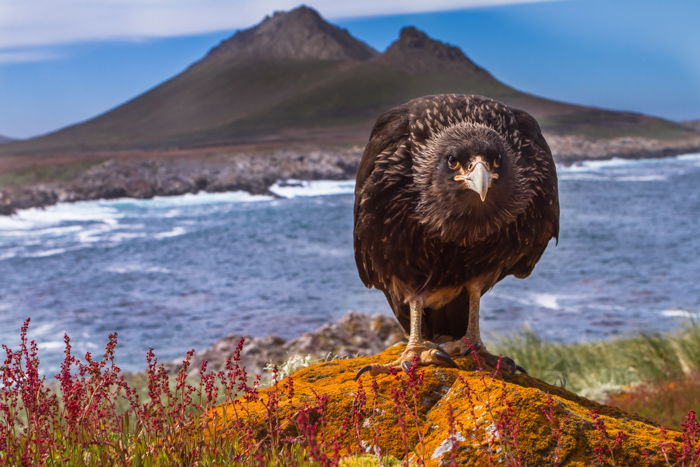
A shallow depth of field creates separation and allows your subject to pop off the
background.
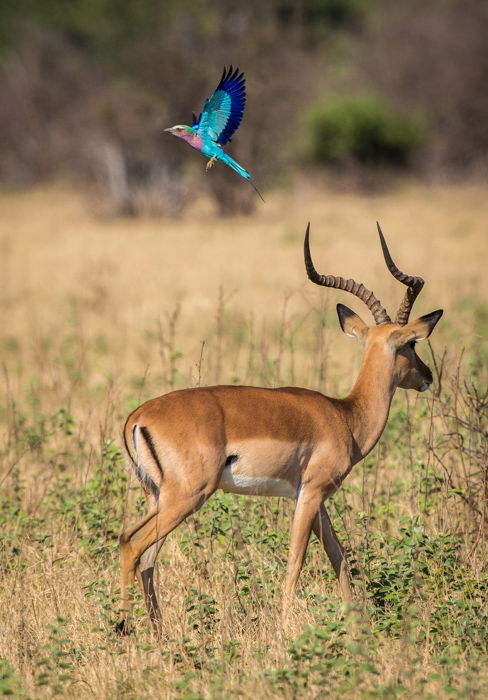
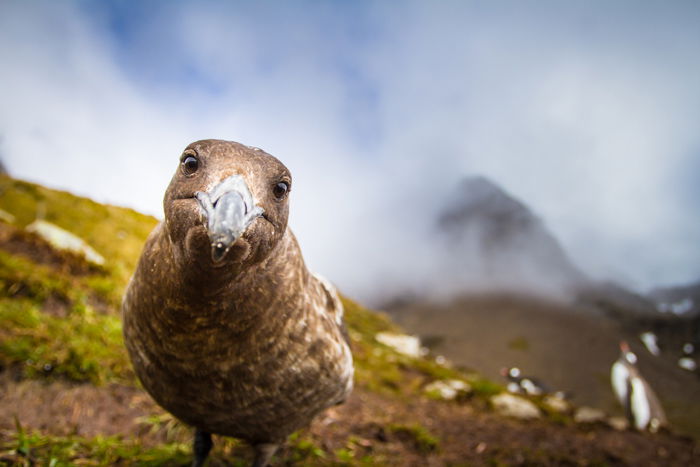
To Guide the Eye
A viewer will naturally look at the most in-focus part of your image first. Knowing
this, you can guide your viewer’s eye exactly where you want.
In a busy scene, you can select one focus point. One person or object becomes
the subject.
Selective focus is important when you have many points of interest.
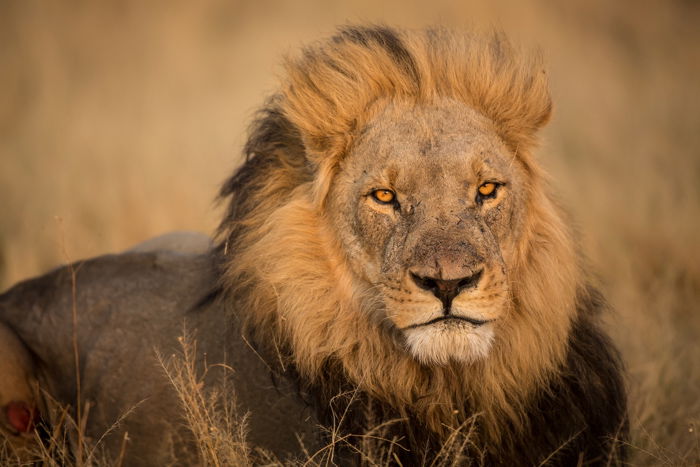
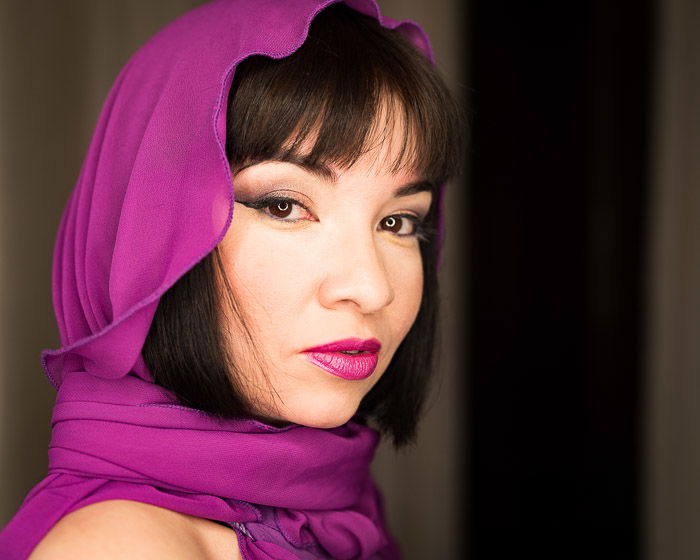
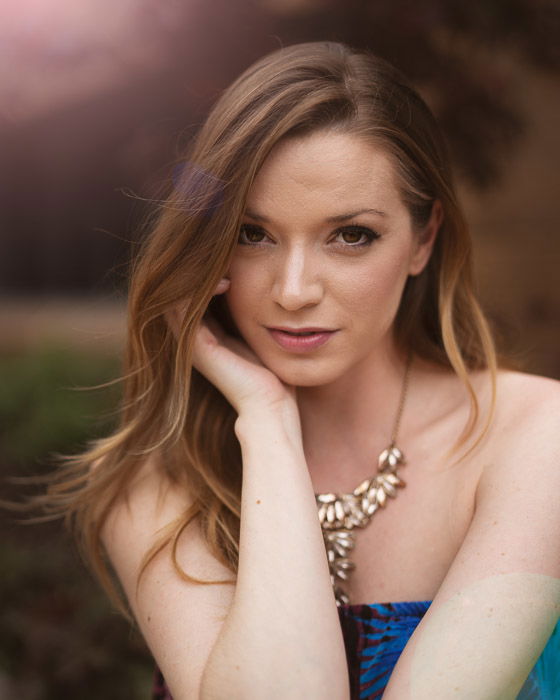
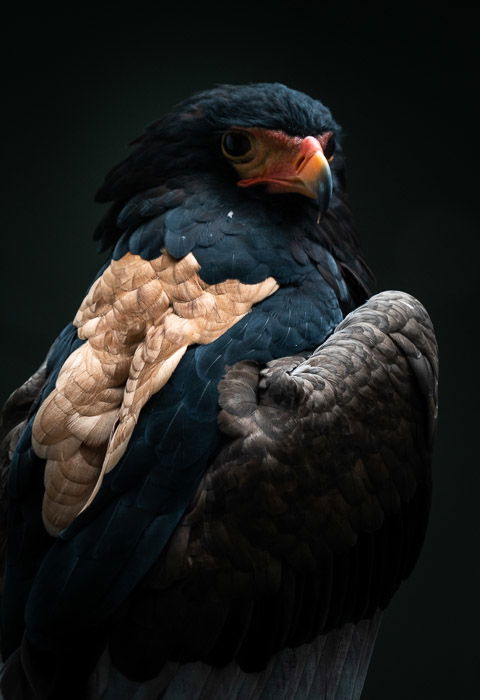
Also, you can emphasize part of a scene or a feature. For instance, the eyes are
the most important part of a portrait. Making the eyes the focal point and letting
the image blur ensures the eyes will be the focus.
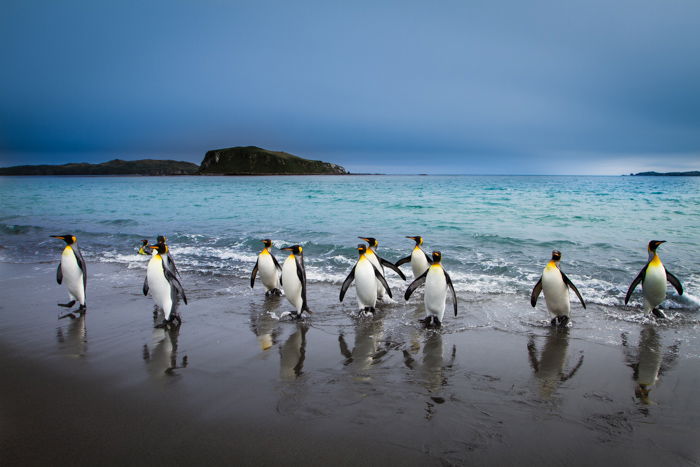
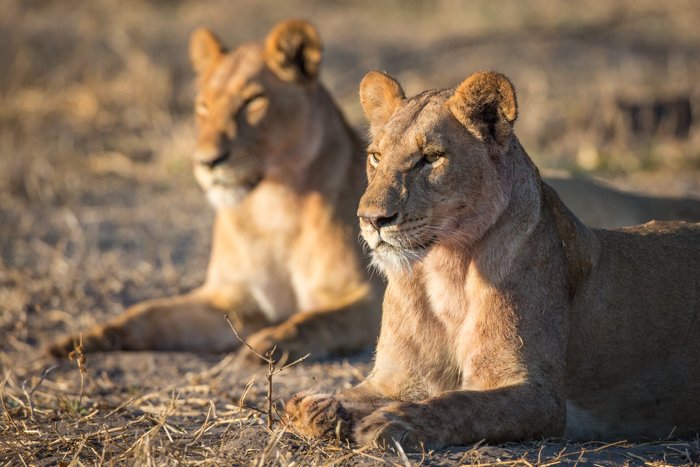
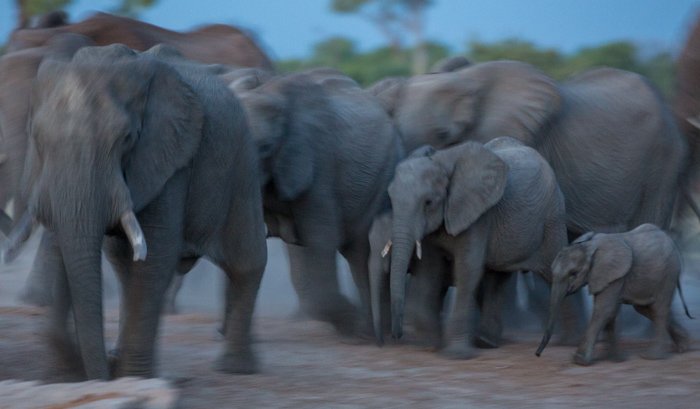
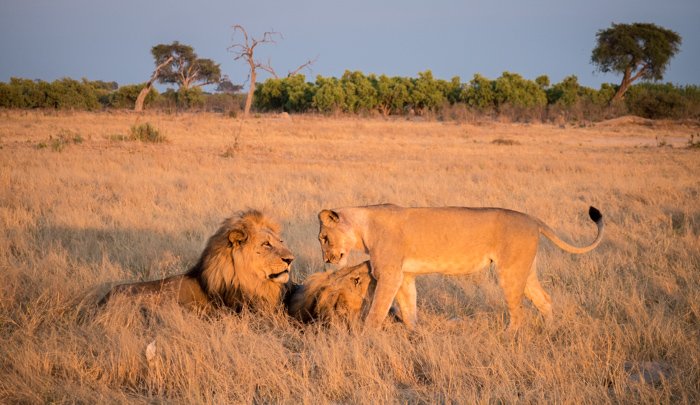
We can also highlight relationships between subjects in an image.
When using a shallow DoF, everything on one plane will be in focus. It doesn’t
matter how far apart the subjects are horizontally. You can cleverly use this to
emphasize a relationship.
Two subjects on the same plane will pop out of an otherwise blurry scene.
With many subjects in the image, shallow depth of field allows you to prioritize
subjects.
To Draw the Eye Away
The flip side to guiding the eye towards a focal point is drawing the eye away. Blur can
de-emphasize a defect or anything that could distract from your main subject. Whether
this is a crack in a wall or a busy crowd.
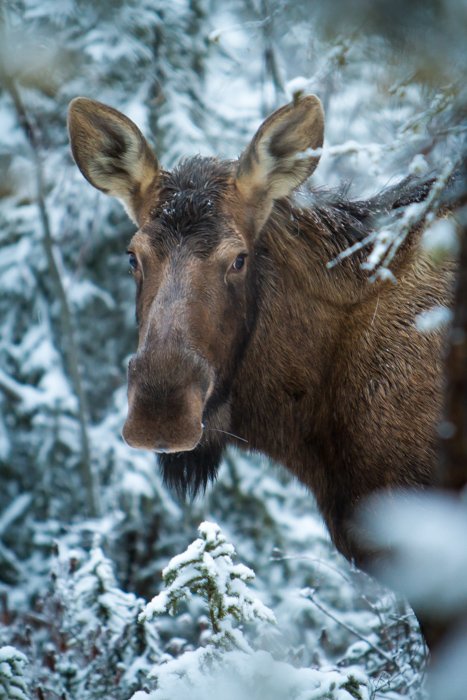
One little-known use of a shallow depth of field is to remove visual barriers from your
image. Visual barriers like fencing or mesh, get between us and our photographic
subject.
This is the same principle as simplifying a busy scene, but it has to do with the
foreground.
Wide apertures are effective if you’re shooting through a busy foreground. A
narrow DoF turns it into a soft blur.
You can even use shallow depth of field to obscure a person’s identity. Other
elements of the scene can be in focus, but the person’s face blurs.
This is a compromise for parents who don’t want to show their children’s faces
on social media. A family scene can still be shared, but with the child obscured.
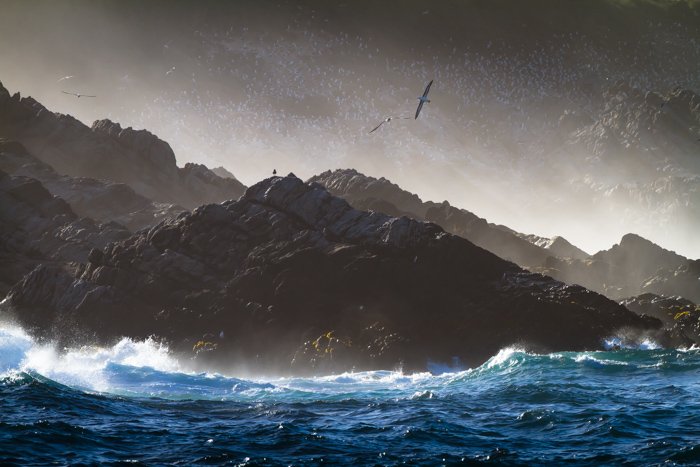
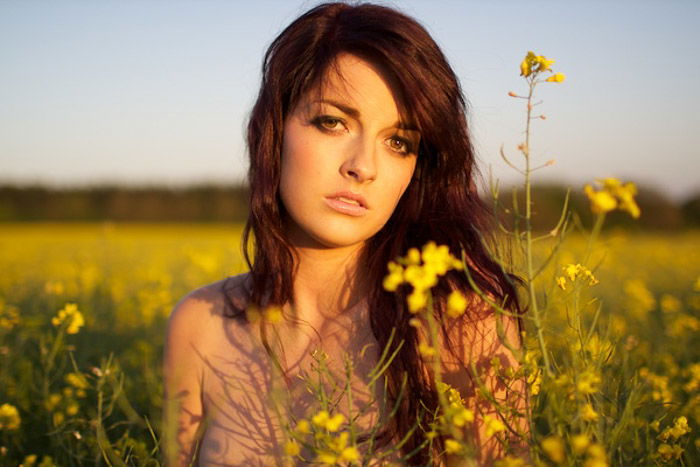
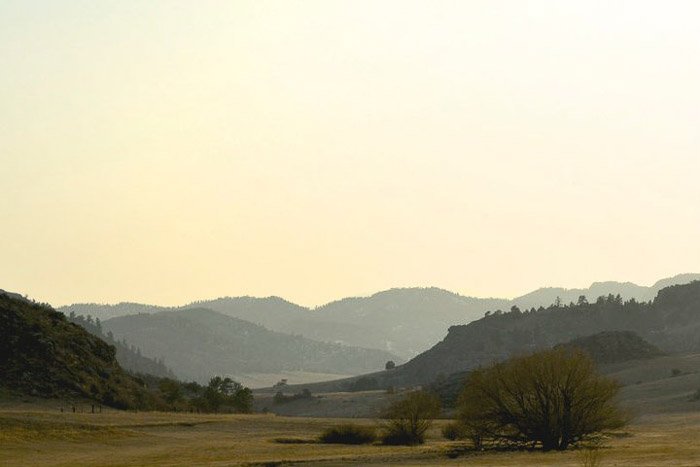
To Create an Effect
Using a shallow depth of field softens the scene and creates a mood.
Which mood depends on your subject and how you use the blur. Soft edges can
create a romantic or nostalgic look. Or by obscuring details, the effect can be
mysterious.
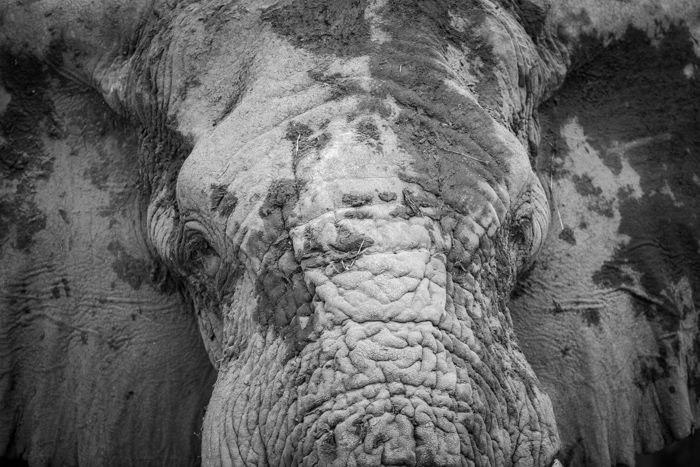
Taking away details creates an impressionistic scene. Take away even more detail
and you can create an abstract image. We might only see an edge or part of an
object. What’s left of the subject blurs into an abstract.
Creating an effect includes shaping the bokeh. Bokeh is the shape of the out of
focus light.
The shape is usually round because that is the shape of your aperture. But you can
change that by placing a bokeh filter in front of your lens.

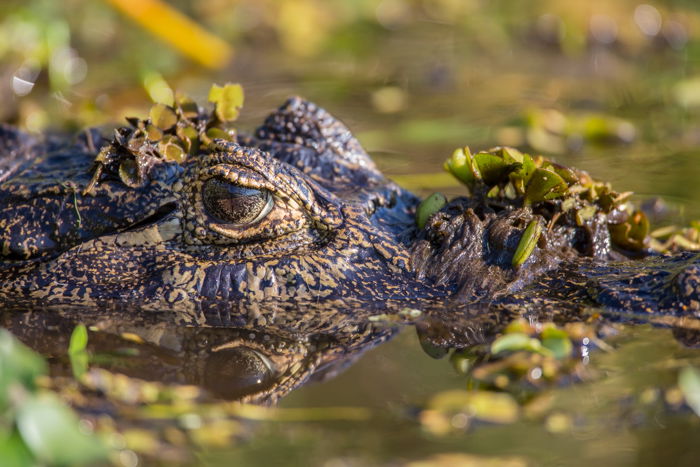
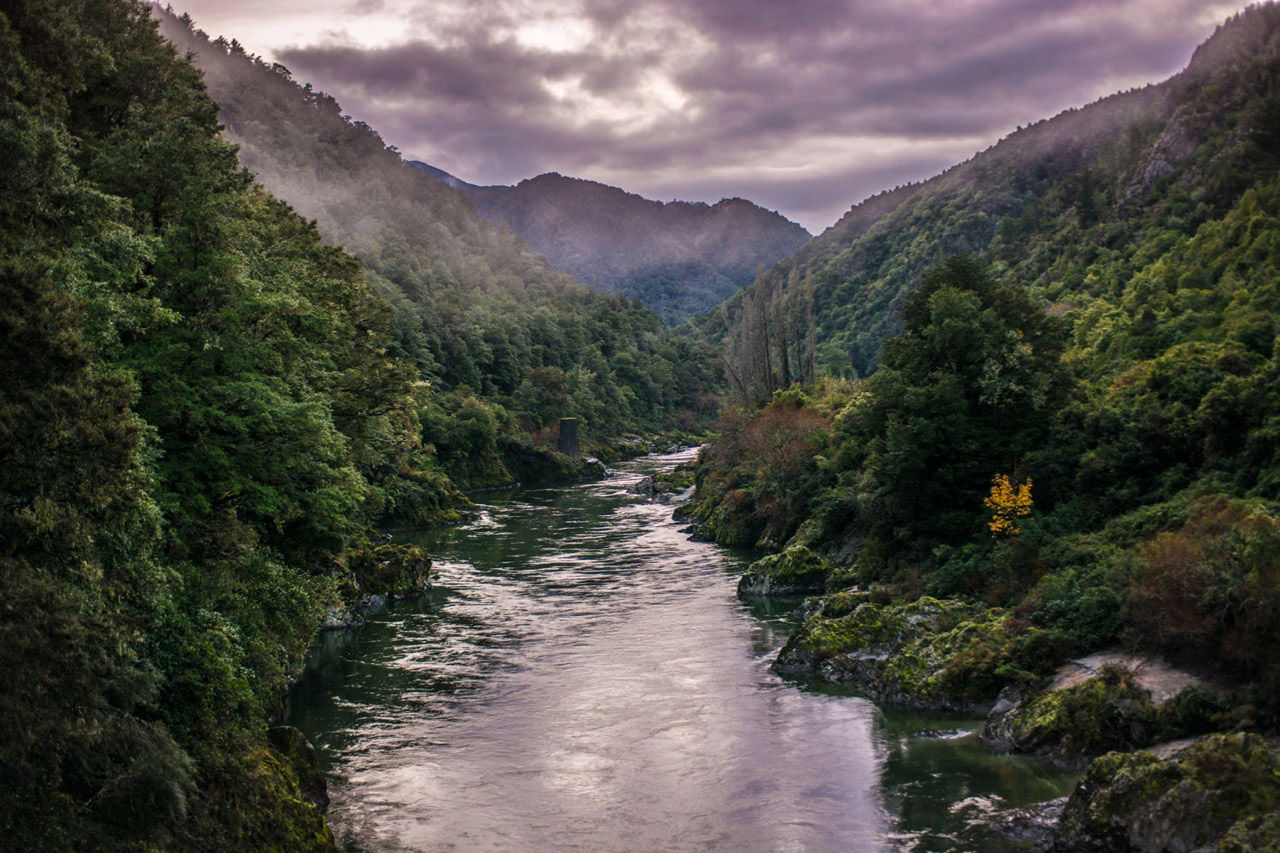
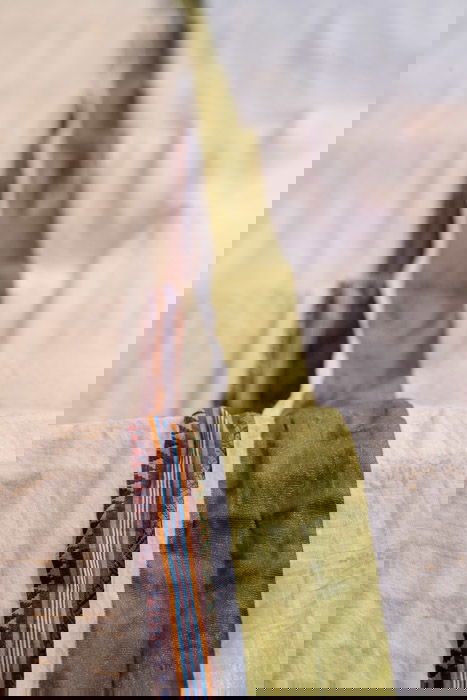
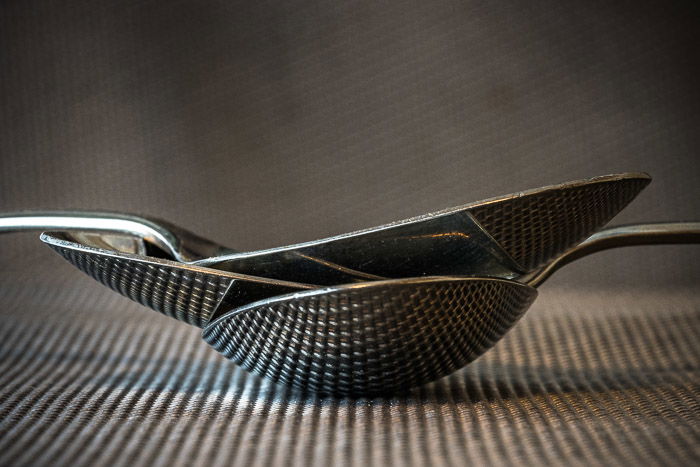
To Layer and Frame
Blurring both your foreground and background creates a frame around your subject.
Even mundane environments can be nice with a bit of blur.
Shallow depth of field adds dimension, but it also separates layers. This is important
when creating 2D images from a 3D world. Layers that our eyes detect don’t always
come across in the scene.
Tips for Creating Shallow Depth of Field
Learning to control depth of field in my photography took some practice. If you’re
not getting the results you’re looking for, here are a few tips:
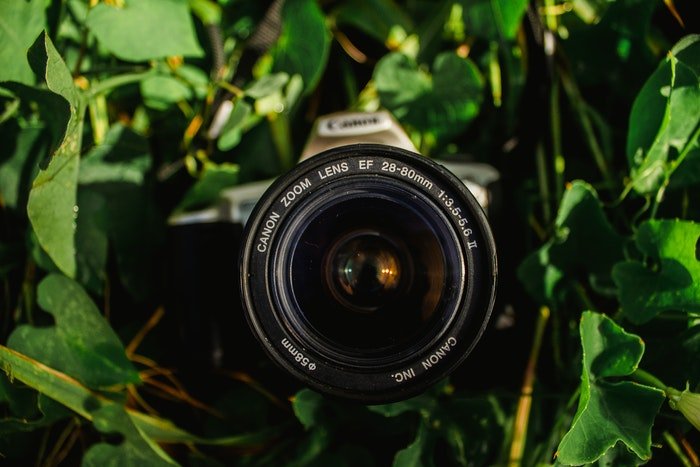
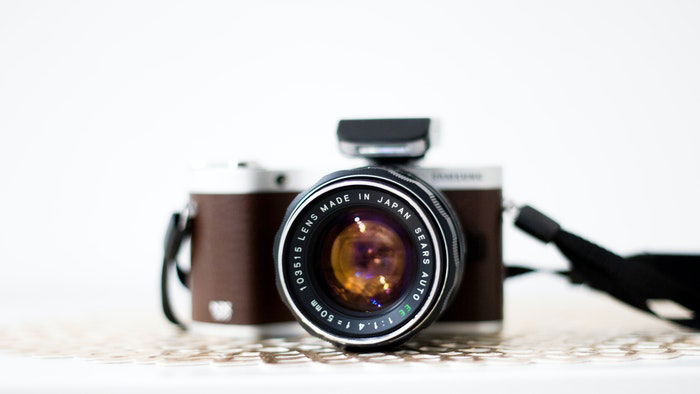
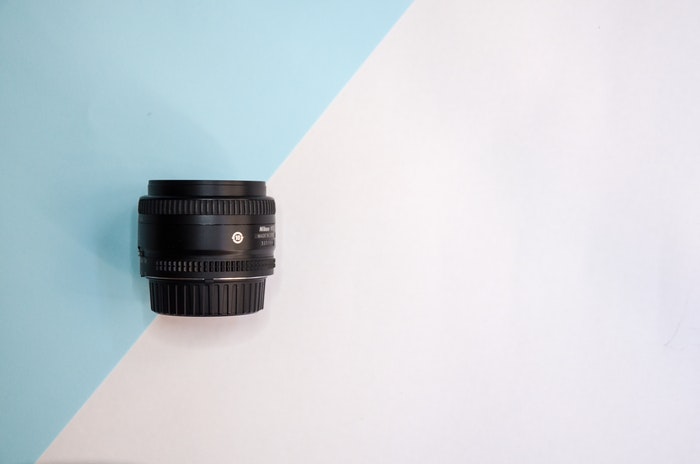
Try a different lens – Lenses vary in how well they create shallow depth of field.
Focal length and aperture affect depth of field, but some lenses just seem to create a
nicer blur.
Move closer – Changing your relationship to your subject can make a big difference
in the depth of field.
Move subject away from the background – If you’re not getting a shallow depth
of field in your images, make sure there is actually depth to your field. Create
distance between your subject and the background. Creating depth of field is all
about depth relationships.
- Use a depth of field calculator – Depth of field calculators.
- Increase shutter speed – Try increasing shutter speed.
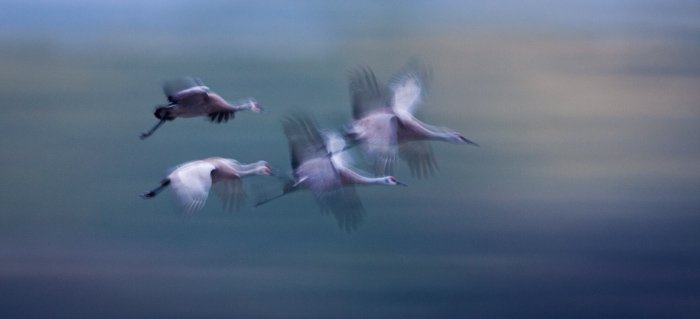
An image with a shallow depth of field will look partially out of focus. The
subject will be in focus, but the background and maybe the foreground will be
blurred. How much blur is up to the photographer.
Photographing with a shallow depth of field allows you to control what is in
focus and where your viewer looks. Soft focus is pleasing in many images and
simplifies the scene.
----------------------------------------------------------------------------------------------------------
Photography Freebie

In this downloadable free photography ebook, I have put together all the basics in a
simple, practical and jargon-free way.
Get your FREE copy: https://ianmiddletonphotography.com/free-photography-ebook/
Just copy and paste the link above into your browser, click ENTER, and enjoy.
Darryl T Creates a Fun Way to Get People
to Take the Covid Vaccine
The world was dealt with a massive blow with the covid-19 pandemic. The
pandemic saw a lot of families losing their loved ones and many people dying
without their families beside them due to restrictions. There were barely
enough spaces for covid patients in the hospitals and health workers were
working round the clock to save lives. The number of cases remained o
n the rise for months as pharmaceuticals battled with getting a cure for the virus.
On March 30th, the U.S. Department of Health & Human Services (HHS)
started a program they coined “Operation Warp Speed,” (OWS) in an
attempt to expedite a COVID-19 vaccine. Months later, it was announced that
covid vaccines were available for the public to take which would set the stage
for the world to finally say goodbye to the covid pandemic.
With the launch of the covid vaccine came another big problem. Lots of
Americans are refusing to take the vaccine for various reasons. In a bid to
curtail this and make the world safer, Darryl Turner, President and CEO
of Darryl T has developed an exciting way to encourage people to get their
Covid 19 vaccination.
This is through the launch of custom-made apparels, that pass a message to
people about the vaccine without being confrontational. These custom-made
apparels, include Tee Shirts, Sweat Shirts, Small Grocery Bags, Cell Phone
Cases, and Covid 19 masks which are all available for purchase online.
The apparels come with messages such as “Don’t hesitate, Vaccinate…Kick Covid’s Butt”
all in a bid to encourage people to get vaccinated.
“We know many Americans disagree with taking the Covid 19 shots. We want
to gently encourage everyone to consider taking the shot before the variant(s)
become an epidemic,” says Darryl T’s President.
For more information on Darryl T’s covid custom-made apparels, visit
their store via: my-store-10149103.creator-spring.com
Media Contact
Company Name: Darryl T’s
Email: Send Email
Country: United States
Website:
https://my-store-10149103.creator-spring.com/listing/kick-covid-19-s-butt?product=2