Wildlife Photography: How to Take Great Pictures of Animals
Slowly, cautiously, I lay down on my stomach on the damp tundra. My long lens
reached out in front of me as I wriggled slowly forward toward my
unsuspecting quarry. Closer, closer I crawled, until the composition
finally resembled what I wanted.
I peered through my viewfinder, adjusted, and began to click the shutter.
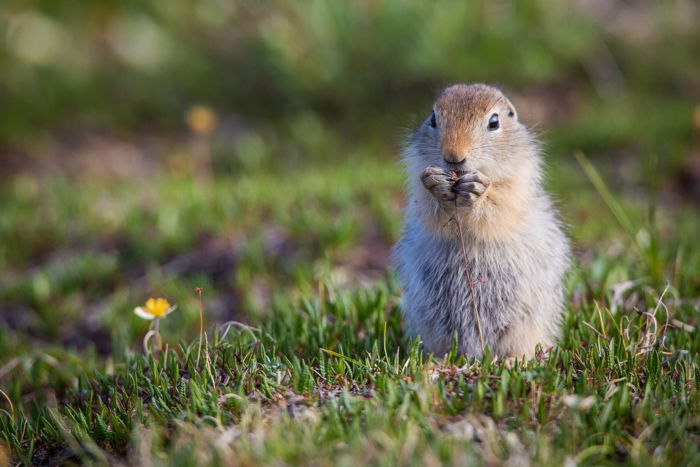
In Alaska, Arctic Ground Squirrels are very common.
The snap of the shutter rang through the quiet like a gunshot and the
animal looked up, fixing me with an intense stare. Then, with a sudden
burst of speed, the ground squirrel turned, and scurried back into its
burrow.
Not all great wildlife photography is of predators or even large
animals. Some of the most compelling images are those of small
creatures: birds, insects, or as in the case above, ground squirrels.
Even creating images of common animals in your backyard, or local parks,
is a great way to learn the necessary skills for animal photography.
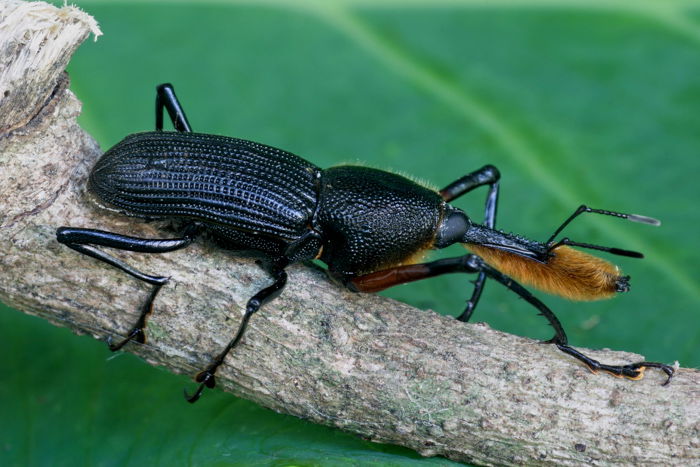
This post will go through a few things you should consider as you begin making images of wild animals.
Equipment
When I think about wildlife photography techniques, there are a few things that stand out. Surprisingly, the first that come to mind have nothing to do with equipment. However, your gear does play an important role. Your kit for wildlife does not need to be huge, but a few things will prove useful:
- Camera- obviously
- Telephoto- a long lens is a near-necessity in wildlife photography, and lenses from 200mm to 600mm are standard.
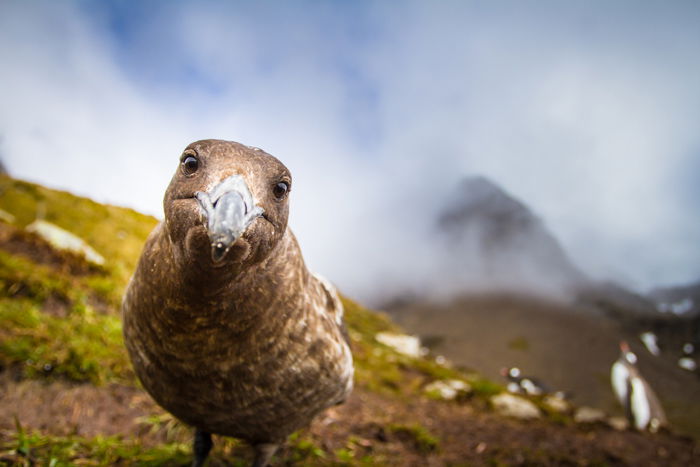
- A wide angle – this one may come as a surprise, but I’ve made some of my favorite animal images with a wide angle
- Tripod
What brand, sensor size, and type of camera you choose is completely
up to you. Many cameras, even some advanced point and shoots, will work
great for wildlife.
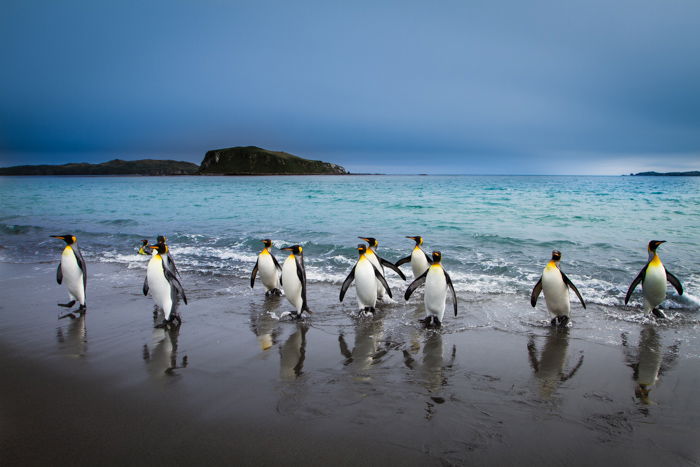
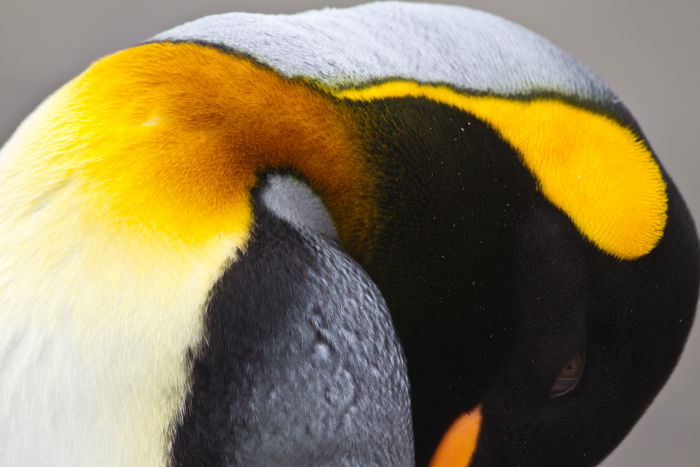
But don’t let you gear hold you back. Be creative and shoot with what
you have. You don’t always need a big telephoto lens, as my penguin
photo above shows.
Respect the Wildlife, the Environment, and Others
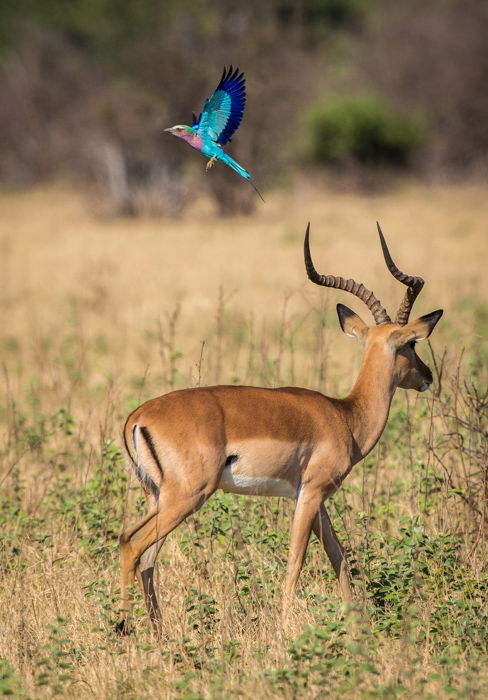
Your absolute top priority as a wildlife photographer is to do no harm to the creatures and the environment you photograph.
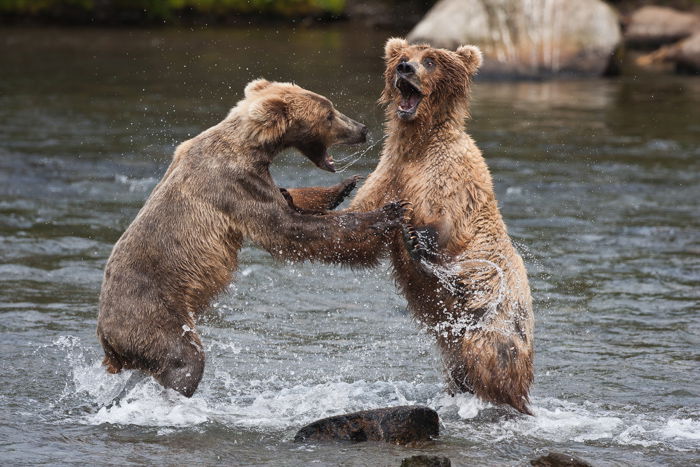
Animals should always have a route of escape; don’t corner them. Pay
attention to their behavior.
If an animal begins to look agitated, back
off.
Whenever an animal flees, it means you got too close, and that animal
had to use precious energy to escape. Every time that happens, it is
additional stress for them, so don’t cause it.
Follow the rules
of the places we are photographing. Stay on trails, and respect other
users. More than once in my career, I have watched oblivious, or
disrespectful photographers rudely step in front of others to make a
shot, or tromp off a trail into a closed area. Please don’t be that guy.
Eventually, if we don’t police ourselves, someone is going to start
policing and restricting us. Your long lens, not matter how big, does
not grant you an exception to the rules.
Be a Naturalist
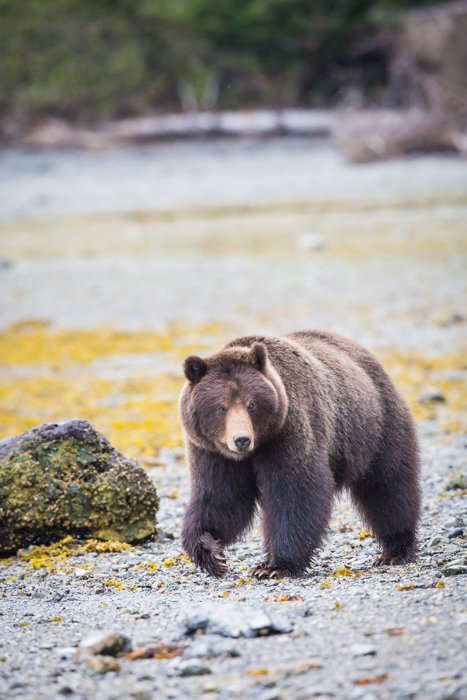
The most important skill of a good wildlife photographer has nothing
to do with cameras or technique: Be A Naturalist. Get to know the
animals you want to photograph.
Find out where they live, what time of year they are present there, what they eat, and how they interact with their environment.
Not only will this knowledge help you find wildlife, it will also help you make better images.
You’ll know the story you want to tell, and quickly move beyond animal
portraiture, and toward compelling, story-telling images of wildlife and
their environment.
Get Low
On the photo workshops and tours I lead, the most frequently made
mistake by my students is also one of the easiest to fix. (Assuming, of
course, they don’t mind getting their knees a little dirty.) Get low!
Images of wildlife are almost always best when made from the eye level
(or lower) of the animal you are photographing. This might mean having
to go as low as laying flat on your stomach!
Images made from above lack a connection to the animal. I always
encourage photographers to get down on their knees, or better yet, lay
down. They’re all surprised by how much a lower perspective can improve
their photography.
Go Long
There is little question that a long lens is a vital part of any
wildlife photographer’s equipment. A telephoto lens plays a couple of
important roles, the first is the magnification.
A lens like a 500mm, will make the animal appear much closer, and take
up a larger portion of the frame. A long lens also allows you to cut out
distracting elements from your frame. You can take a narrow slice of
the scene in front of you, isolate the best parts and cut out the rest.
A telephoto also compresses your depth of field
(DOF). The DOF is the amount of the image that is in focus from front
to back in the frame. Long lenses are particularly good at blurring
foregrounds and backgrounds. This makes your subject stand out from
their surroundings.
Just as the magnification of long lenses allows you to isolate the best
part of your scene from side to side and top to bottom, a shallow DOF
allows you to isolate the best part from front to back.
Go Short
Long lenses are an indispensable part of a wildlife photographer’s
equipment, but not every wildlife picture has to be made with a long
lens. Wide angle lenses can actually make great photos, under the right
circumstances.
I was photographing on South Georgia Island a few years back, creating
images of a few nesting Gentoo Penguins. I was laying on my stomach with
a long lens, going for that low perspective I mentioned earlier, when
out of the sky above me, a skua descended and alighted just a foot in
front of me.
The bird, a scavenger, was curious about me (perhaps hoping I was
carrion), and kept inching forward, reaching out with its beak toward
the lens of my camera. I slowly grabbed behind me for my second body,
which was equipped with a wide angle zoom I’d been using for some
landscapes.
Slowly, I maneuvered the camera to my eye and snapped two photos of the
Skua. My motion and the noise of the camera made the bird realize that I
wasn’t dead or dying after all and it took to the air. But I managed to
get two pictures first!
The wide shot I created is much better than anything I could have
created with a long lens under those circumstances. I was able to show
some interesting behaviour, and the bird’s habitat, complete with
nesting penguins in the background.
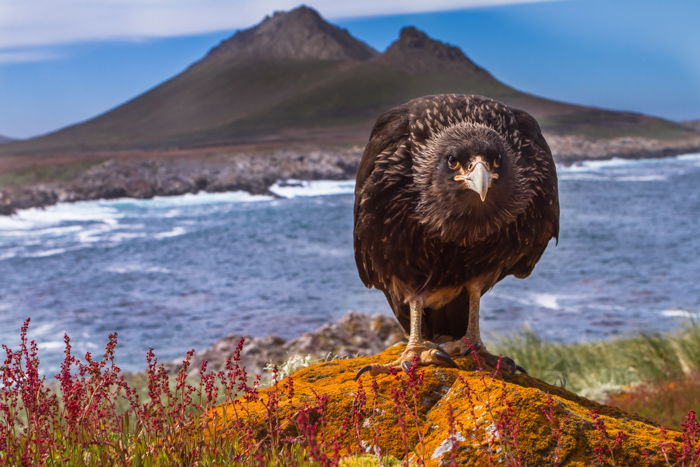
Those aspects are all important, and tell the viewer something about the wildlife and how they live.
Get Close
Just like my Skua image above, getting close to animals is a great way
to help your audience connect to them. You can get close by using a long
lens, or by getting close yourself.
Long lenses, as I noted above, are great for making an animal appear
closer. And when it comes to large, dangerous, or delicate wildlife,
this should be the only way you approach them.
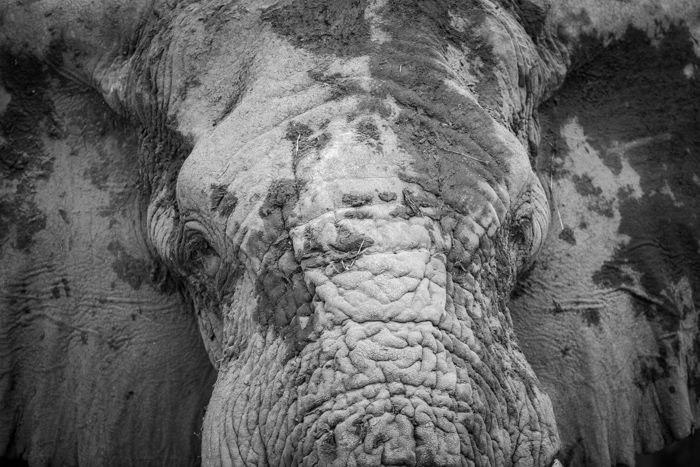
However you do it, getting close to animals (without disturbing them) will offer a connection. Details will emerge like the textures in fur or feathers, eyes appear to glitter, and your viewers will begin to relate to the animal in the image.
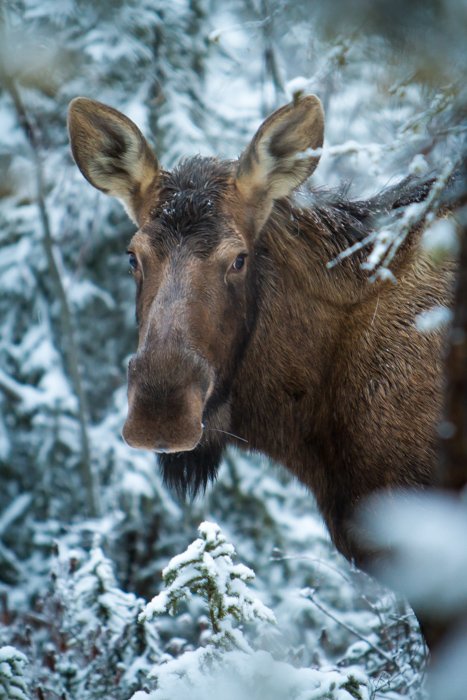
How to get close is another issue entirely, but the best way is the
simplest: be patient. Simply placing yourself in a likely area and
waiting, is a tried and true method.
I’ve spent hours sitting quietly next to ponds waiting for waterfowl to
paddle past, and I’ve sat on mountain ridges as a herd of caribou moved
across the valley below. Though simple, this isn’t the same as easy.
It’s hard to be patient.
A discussion of other methods for getting close to wildlife warrant
their own articles. That said, blinds are a useful tool, and even
vehicles, in areas where animals are accustomed to them, can be a great
way to get close.
I was shocked on a recent safari in Botswana how close vehicles could
approach wildlife without disturbing them. Of course if I’d set foot out
of the Land Cruiser, the animals would have either spooked, or you
know, eaten me.
Get Sharp
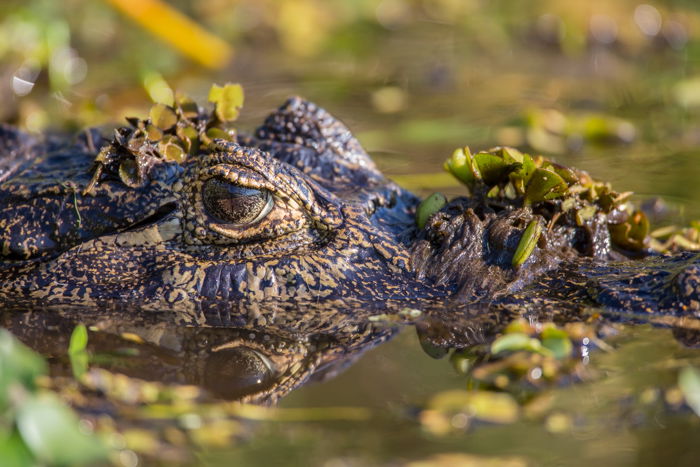
To make a sharp image of wildlife with a long lens, you need a fast
shutter speed. A general rule of thumb is to set your shutter speed at
least as fast as the length of your lens.
If you are shooting with a 500mm lens, you need at least a shutter speed
of 1/500th second to create a sharp image. But really, if you are going
for sharpness, the faster your shutter speed the better.
Even applying the rule of thumb above, using some lens support will help
you achieve the sharpness you want. When possible, use a tripod. When
you can’t, brace off something instead. A tree, a car, even a rock might
work. Or you can lay down on the ground (getting that low angle) and
use your pack to support the lens.
Most lenses are sharpest a stop or two down from wide open. That means
if your fastest aperture is f4, you’ll get a sharper image around f8
than you will wide open.
Get Blurred
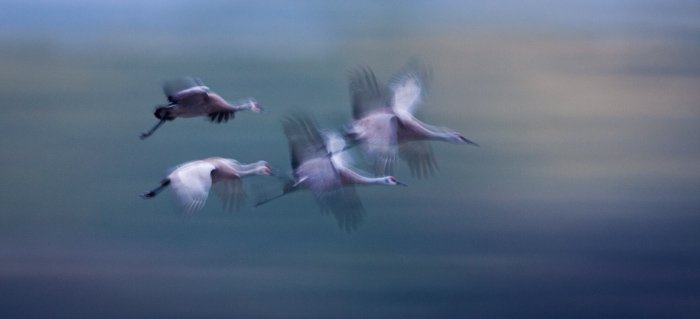
Animals seem in constant motion. Birds fly by, caribou run, and elephants swirl around water holes. Images that show some of that movement in the form of a motion blur, can be very effective and compelling.
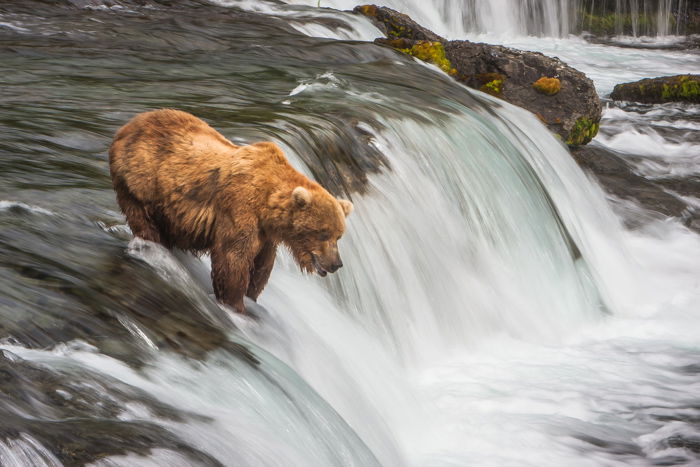
Creating a good motion blur requires some experimentation. Start by
slowing your shutter speed. For a long lens, a shutter speed of around
1/60th second is often more than enough to show sufficient motion blur
in fast-moving animals.
Start there, then adjust up or down until you get the amount of blur you want.
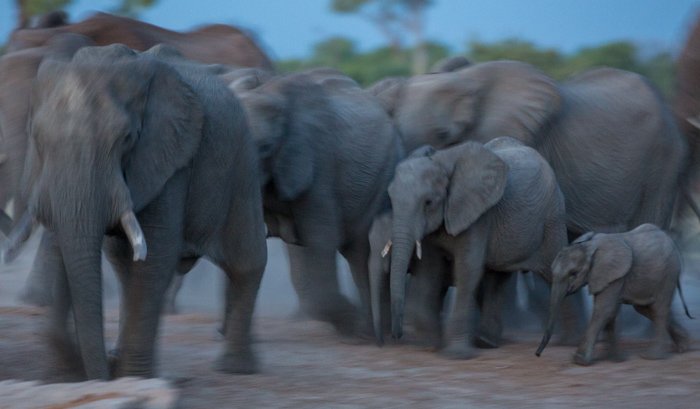
There are two methods to create these kinds of shots:
- Steady Camera, Moving Wildlife – In this type of image, the background and surroundings should be sharp, as your subject, the animal, is blurred. A too-blurred subject will almost disappear in the frame, while an image not blurred enough will simply look out of focus. It’s a balancing act, and a tricky method to get right.
- Pan Blurs – A panning blur is when you move your camera to stay even with moving wildlife. This creates an image in which both the background and the moving parts of the animal are blurred. The best of these retain focus on the eye and head of the wildlife, creating a sharp subject area in an otherwise motion-blurred image. These can be extremely effective and beautiful shots, when done correctly.
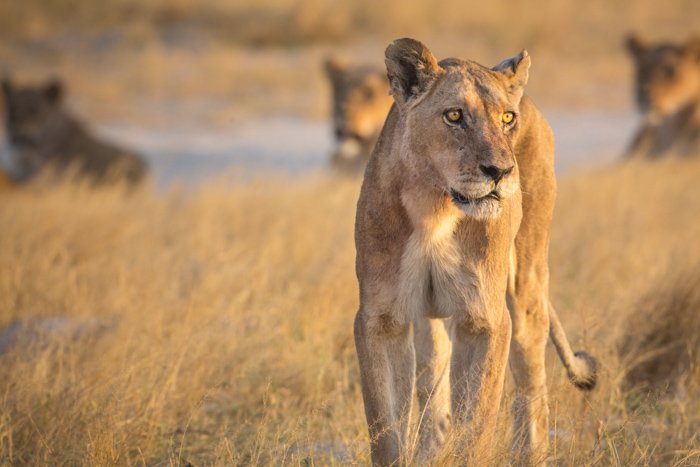
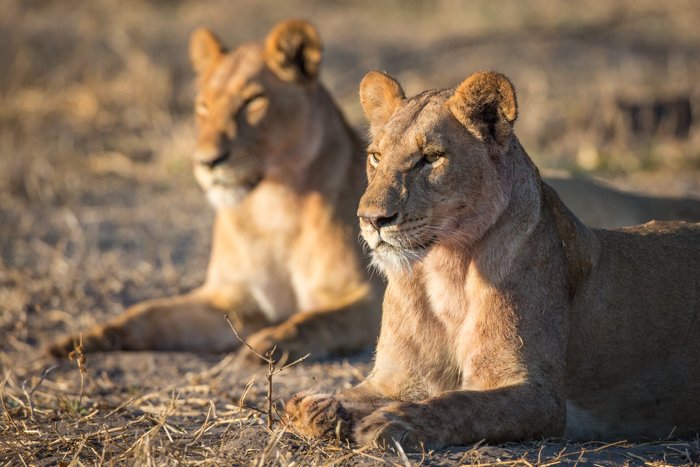
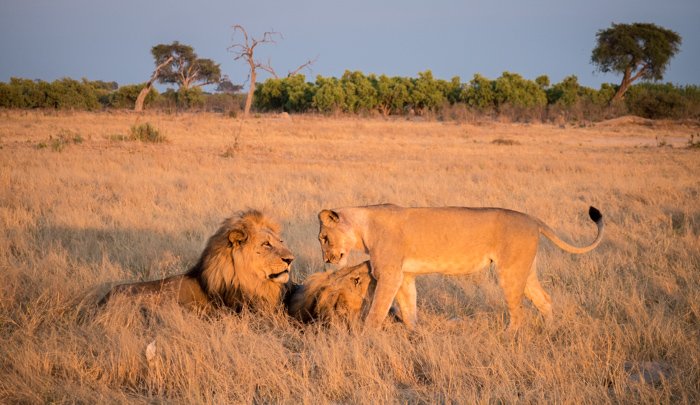
Pro-Tip: Focus on the Eyes!
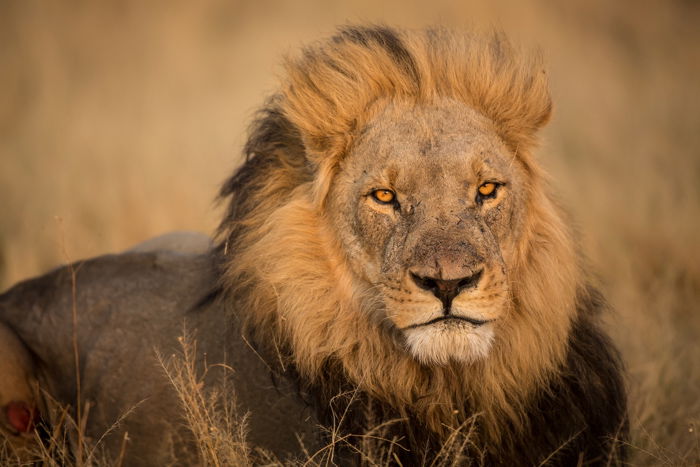
The eyes are the first thing we look at, so sharpness there is doubly
important. If I hadn’t caught the eyes of this lion in focus, this image
would not have been successful.
Tell a Story
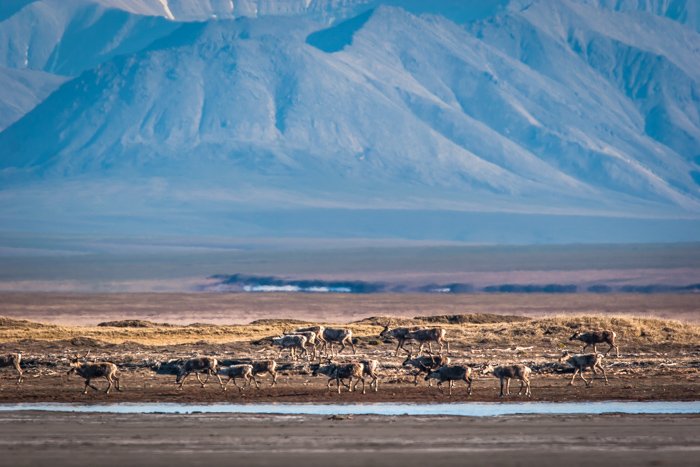
In just about every kind of photography, the best images are those that tell a story. In wildlife photography, those stories can be dramatic, like predation in action. But they can also be simple.
An
image of an animal within its habitat is one way, or a simple
interaction between two individuals is another.
Think about the species you are photographing. How or where does it
live? What does it do to survive? Then consider how your image can tell
that story.
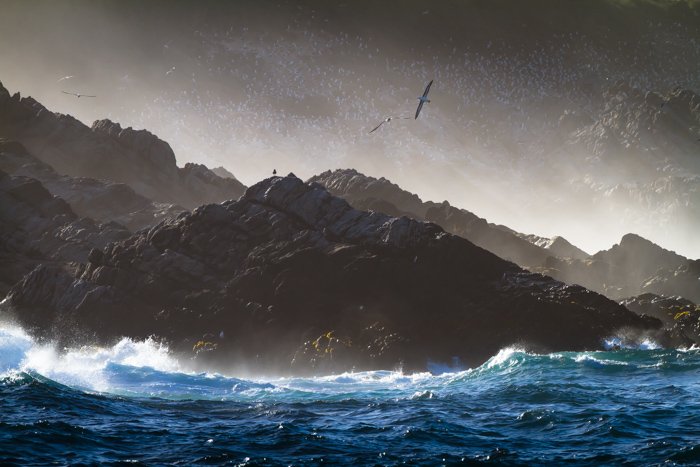
Wildlife photographers put a lot of effort into getting close. We buy
long lenses, or sit for hours in trees waiting for the right
opportunity.
But a close image is not always a great image. Nor is a distant animal a
poor shot. What matters, close or far, is the story, the relationship,
and the way your viewer relates to the subject.
If you put all these things together, from equipment to camera
settings, perspective to story-telling, you’ll start creating great
wildlife photos.
Above all, make your wildlife photographs thoughtful. Think about your
creative choices and use them to tell the story of the animal. If you do
that, you will have much greater success, and create much better
images.
-------------------------------------------------------------------------------------------------------------------
Photography Freebie

In this downloadable free photography ebook, I have put together all the basics in a simple, practical and jargon-free way.
Get your FREE copy here: https://ianmiddletonphotography.com/free-photography-ebook/
Just copy and paste the link above into your browser, click ENTER, and enjoy.
-------------------------------------------------------------------------------------------------------------------
Advertisement:
Darryl T Creates a Fun Way to Get People to Take the Covid Vaccine
Exciting products that encourage friends, neighbors, and family members to get the vaccine...without saying a word to them
The world was dealt with a massive blow with the covid-19 pandemic. The pandemic saw a lot of families losing their loved ones and many people dying without their families beside them due to restrictions. There were barely enough spaces for covid patients in the hospitals and health workers were working round the clock to save lives. The number of cases remained on the rise for months as pharmaceuticals battled with getting a cure for the virus.
On March 30th, the U.S. Department of Health & Human Services (HHS) started a program they coined “Operation Warp Speed,” (OWS) in an attempt to expedite a COVID-19 vaccine. Months later, it was announced that covid vaccines were available for the public to take which would set the stage for the world to finally say goodbye to the covid pandemic.
With the launch of the covid vaccine came another big problem. Lots of People (World wide) are refusing to take the vaccine for various reasons. In a bid to curtail this and make the world safer, Darryl Turner, President and CEO of Darryl T has developed an exciting way to encourage people to get their Covid 19 vaccination.
This is through the launch of custom-made apparels, that pass a message to people about the vaccine without being confrontational. These custom-made apparels, include Tee Shirts, Sweat Shirts, Small Grocery Bags, Cell Phone Cases, and Covid 19 masks which are all available for purchase online.
The apparels come with messages such as “Don’t hesitate, Vaccinate…Kick Covid’s Butt” all in a bid to encourage people to get vaccinated.
“We know many People disagree with taking the Covid 19 shots. We want to gently encourage everyone to consider taking the shot before the variant(s) become an epidemic,” says Darryl T’s President.
For more information on Darryl T’s covid custom-made apparels, visit the store via:
my-store-10149103.creator-spring.com
or
simply click on one of the two light blue "apparel" links above to be taken directly to the store.
-------------------------------------------------------------------------------------------------------------------
No comments:
Post a Comment
Note: Only a member of this blog may post a comment.