
Great Dance Recital Photographs in Nine Easy Steps
If you ever get a chance to photograph a dance recital, make sure you jump, pirouette or even two-step at the chance. That’s because photographing a dance recital is a wonderful opportunity to enhance your photographic skills, and make a whole bunch of kids extremely happy at the same time.
The first time I was asked to photograph a dance recital, I thought “Who me?” I shoot landscapes and steam engines and maybe an occasional bear or moose. What in the heck do I know about shooting dozens of dancers in a dimly lit studio? It turns out; I knew more than I thought. That’s because many of the same principles apply to photographing a dance recital as they do to wildlife and trains and just about any other moving object. If you can capture your favorite subject in a single, beautiful moment in time, with the emotion, tension and drama that comes along with it, you won’t have any problems photographing a dance recital.
Here’s what you need to do:
Step 1: Be Prepared
I’m sure you agree that the photographer is more important than the camera when it comes to producing great photographs. But, choosing the right camera equipment is essential when we’re challenged with capturing action with very little available light.
While just about any DSLR is capable of capturing low-light dance performances, a full-frame camera has the advantage of producing high ISO images with a minimum amount of noise. And a camera with advanced auto-focusing features will give you a better shot at capturing your subject in tack-sharp focus.
Even more important than the camera, your choice of a lens, or combination of lenses, will make a huge difference in the quality of your photographs. It’s a simple rule of thumb – the lower the f/stop, the faster you can shoot. For dance recitals, I prefer a zoom lens so I can capture the big dance numbers as well as the more intimate scenes, without switching lenses or bringing a second camera body. I’ve found than an f/2.8 zoom lens which ranges from 24 to 70mm (full-frame) fits the bill perfectly.
Of course, none of us has an unlimited budget when it comes to camera equipment. If you don’t have the most expensive gear on the planet, you can still make some great photographs, but you might have a few more “misses” than “hits” on your memory card when you get home.
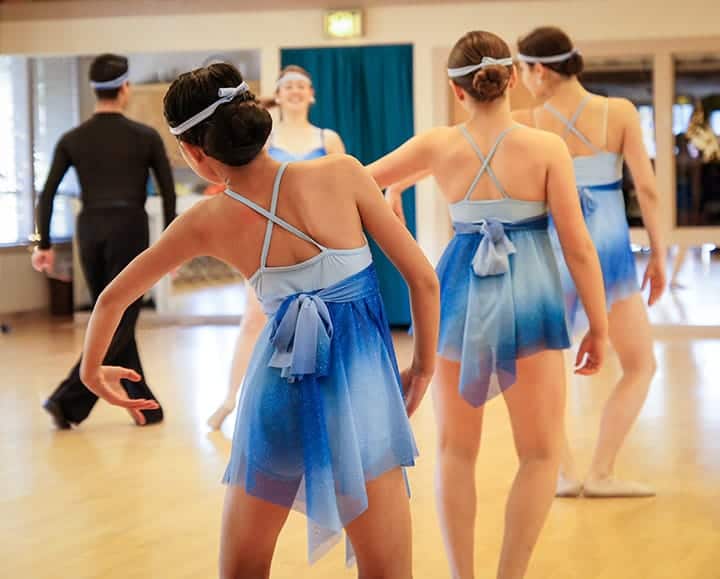
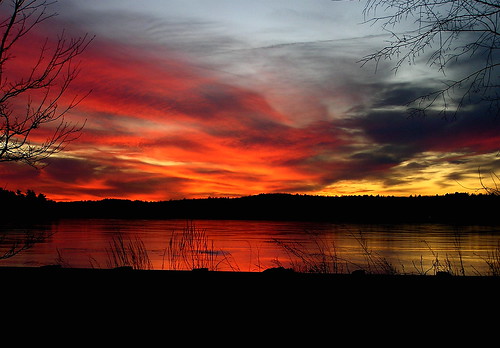
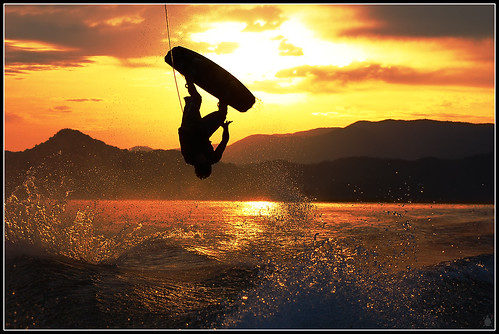
Photo by Kevin Reilly
Step 2: Do Your Homework
Before I try anything new, I study the heck out of it. For dance, the first thing I did was look at lots and lots of photographs of dancers. And I suggest you do that as well. But don’t look at them simply as samples to copy. Look for the differences that make some of the photographs more memorable than others. Look for the photographs that capture the beauty of dance, or the emotion of the dancers. And look for the techniques that enhance the subject and add to the story.
I’d also suggest putting together a list of possible techniques you’d like to use when you shoot the recital. Maybe you’d like to use motion blur to show movement and energy. Or maybe you’d like to stitch multiple images together in Photoshop to show how a dancer crosses the stage. Once you have your list, head to the Internet for advice on mastering your chosen techniques.
Of course, the photographs only show you the end results. As good as they are, they can’t compete with actually viewing a live dance recital. If you’ve attended dance recitals in the past, you know the action can change pace and direction faster than you can say “Grand Allegro!” Knowing that your eyes can barely keep up with all of the action, imagine how your “camera eye” will fare with the exhilaration of the dance. The only way you can figure out how to cope with a real, live dance performance, is to see one. Or two. Or three. I think you get the point.
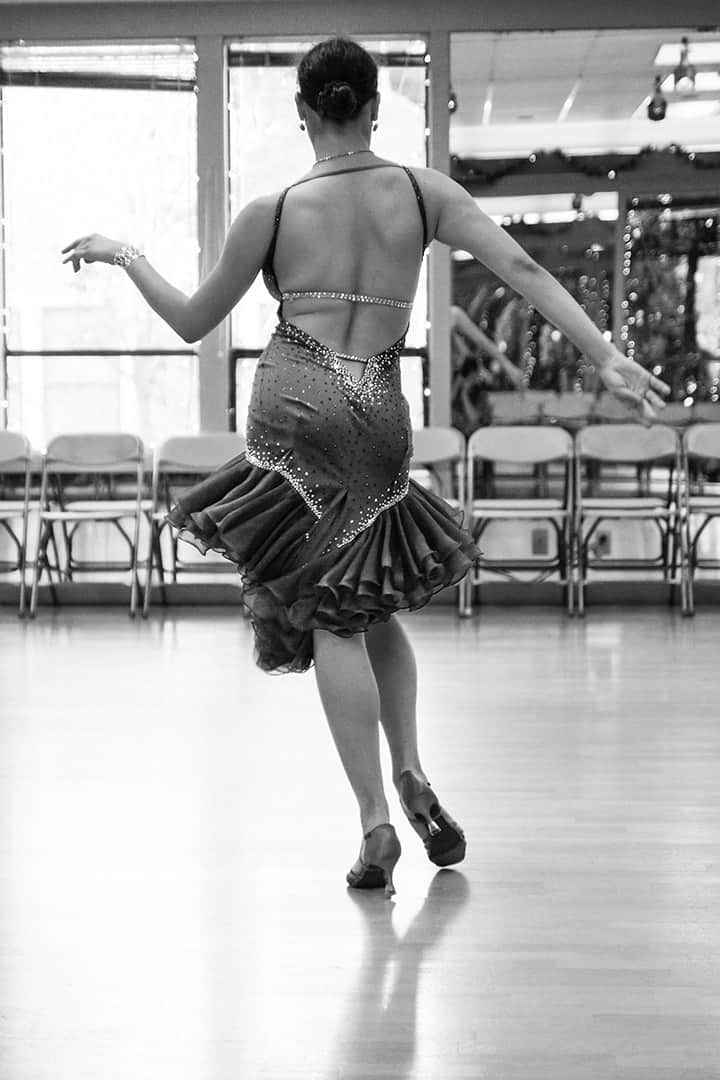
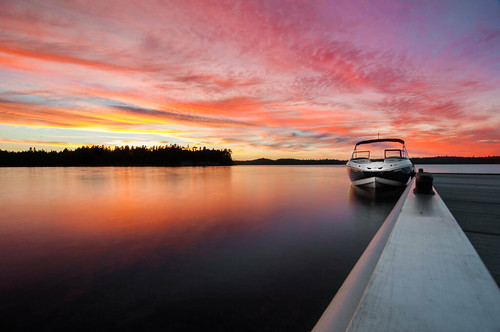
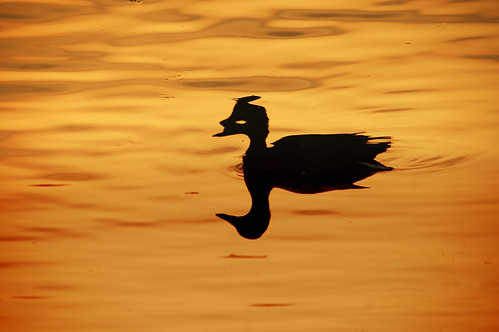
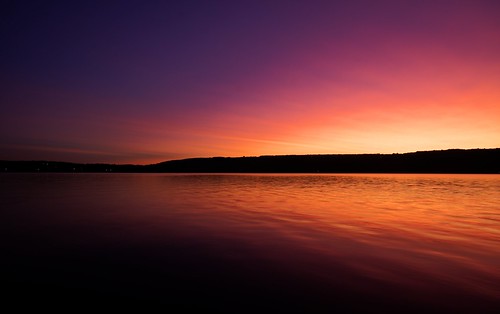
Photo by Kevin Reilly
Step 3: Set that Camera!
Here’s where we get down to the nuts and bolts of successfully shooting a dance recital. First of all, I’d suggest either using full manual mode, or speed priority mode. That’s because shutter speed is the most important variable in shooting moving objects in low light. For your reference, you can shoot as slow as 1/60th of a second and capture a stationary object in pretty decent focus most of the time. Unfortunately, dancers are seldom stationary, so even a slight movement will require you to speed up that shutter to 1/125th of a second. A walking dancer (again, not often seen in the real world) requires a much faster 1/250th of a second. And when dancers are doing what they are born to do – namely running and jumping all over the stage — you’re going to have to set that speed to 1/500th of a second.
So, how do you get to 1/500th of a second? It all depends on your camera and your lens. A fast lens, f/2.8 or faster, helps a lot. But even with that, you’re probably going to have to increase your sensor’s sensitivity by bumping up your ISO. How far? Well, that also depends on the available light. But you’ll probably be in the iso 800 range. But there are so many variables, it’s impossible to come up with a rule of thumb. Every theater and performance is unique, and your lighting can change dramatically, even in the middle of a recital.
To make sure the dancers are doing the movement, and not my camera, I like to bring along a monopod to these kinds of events. Easier to use, and less cumbersome than a tripod, a good monopod really does keep your camera steady.
What do you do if you only have a slower lens? Well, if the lens doesn’t have a constant aperture (meaning it’s faster when it’s zoomed out than when it’s zoomed in) make sure you get as close to the stage as possible and resist zooming in. I know it’s hard to resist bringing in that great big telephoto lens, but please pay attention to this one piece of advice – don’t do it! If you try to shoot a dance recital with an f/5.6 zoom you won’t be able to shoot fast enough to avoid blurry photographs without increasing your ISO to unacceptable levels. And I should also mention that long lenses also come with a shallow depth of field, meaning you’ll have an even more difficult time keeping your subjects in focus.
Of course, the amount of light isn’t the only issue you’ll be facing. The quality of light in a room full of artificial lights is a challenge as well. I usually shoot events like this in RAW, so I can easily make adjustments to the white balance in editing. But to save time, and to see a more representative sample shot in my LCD, I like to adjust my white balance at the event. You can start by switching your camera’s white balance to Tungsten, but because of the wide variety of lighting and the lighting gels many theaters use, you might need to bring a white balance card and use your camera’s custom white balance settings.
To deal with some of those changes, make sure you set your camera to spot metering. Those bright spotlights can really skew your evaluative metering. And be sure to check your histogram as often as possible to make sure you’re not bumping up against the edges.
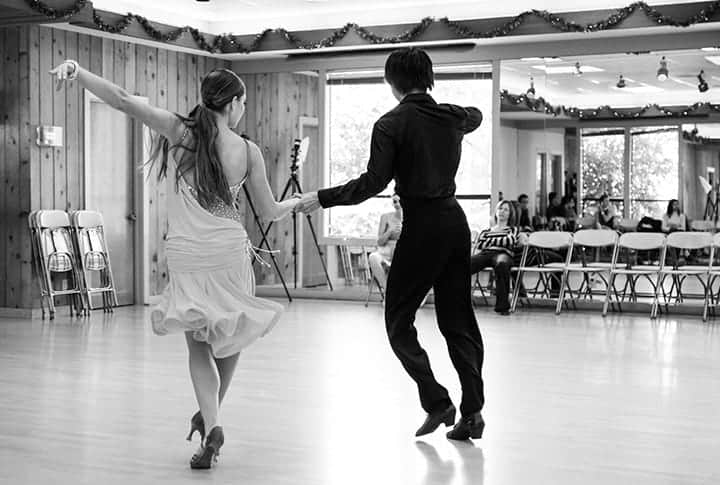
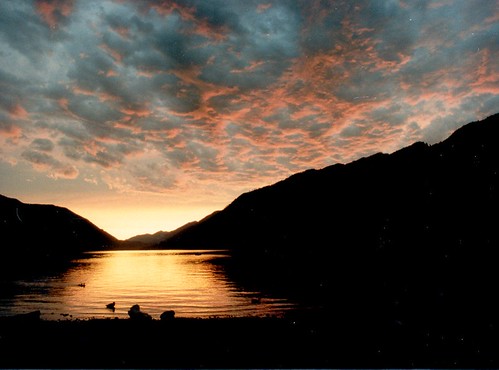
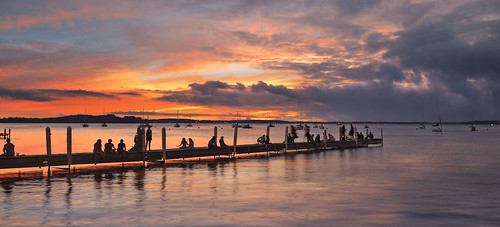
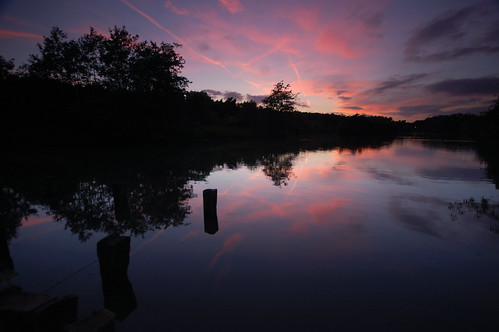
Photo by Kevin Reilly
Step 4: Be kind to others
If you want to be invited to photograph the next dance recital, make sure you are on your best behavior during the one you’re already photographing. I have a simple way of remembering how to be a courteous photographer. I just imagine myself as anyone else in the room. Am I getting in the way of a parent who has been looking forward to this event for months? Am I distracting the dancers by standing too close? Did I make the cardinal mistake and use a flash? (Just an aside — flashes and dance recitals don’t mix well at all. In fact, firing a flash at a dancer who is in the middle of a difficult movement could actually put the dancer in danger. So put that flash back in the bag.)
If you’re shooting from a seat in the audience, keep your equipment to a minimum, and be aware that the sound of your shutter is louder than you think.
Step 5: It’s all in the details
When you’re shooting a dance performance, it’s easy to become overwhelmed by the big picture. The action, the lights, the sets, the overall energy of the performance can have you slamming down on that high-speed shutter button from the opening curtain to the final curtain call. But it’s the little details that makes a performance complete and you will do yourself and your viewers a big favor if you take a moment or two to capture some of those details. Try to capture images that focus in on the dancers’ feet, the way they hold their hands, or ever the way two dancers connect through eye contact. Remember that the best photographs do more than capture an event as it happens. The best photographs tell a story.
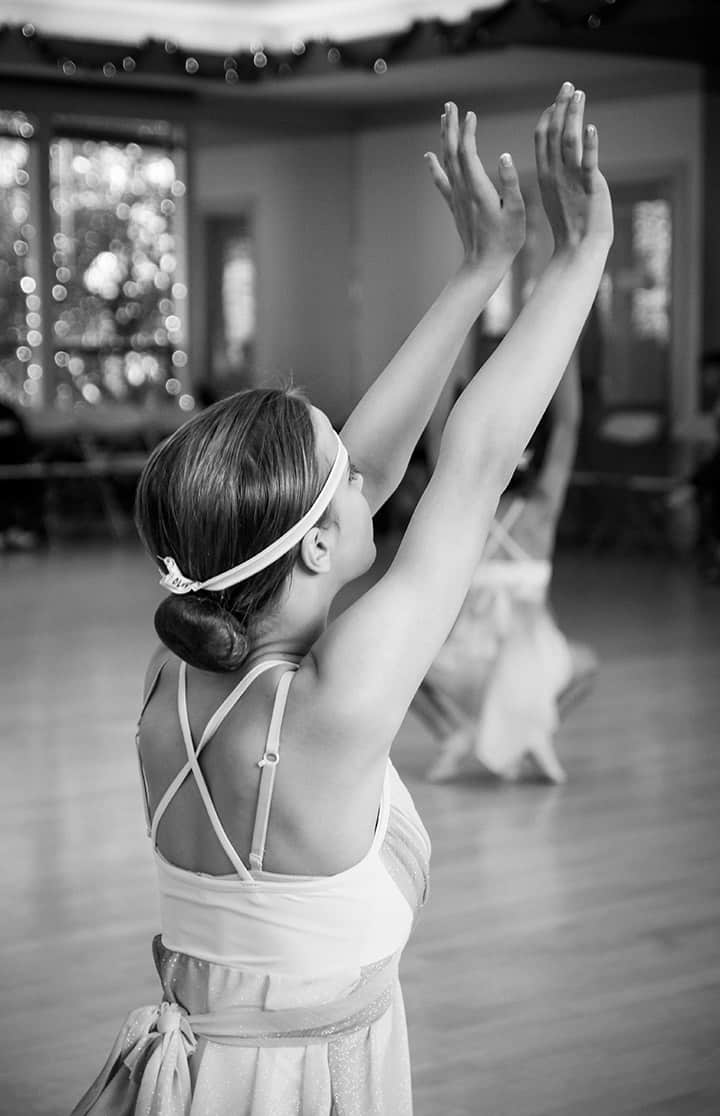
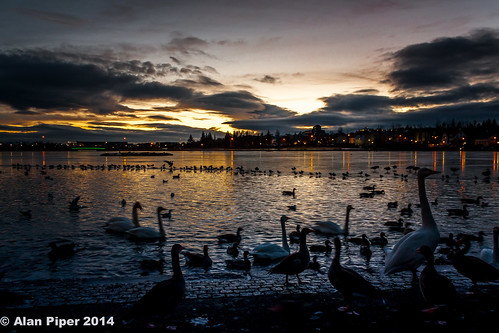
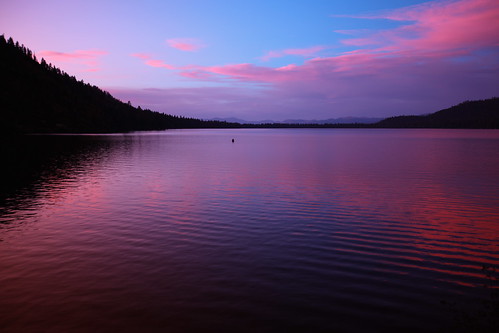
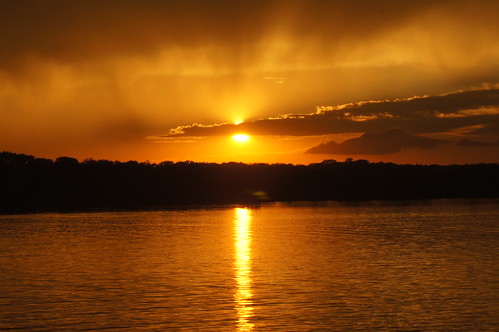
Photo by Kevin Reilly
Step 6: Bring your own dance partner
I’m very lucky that my wife loves photography as much as I do. We shoot nearly everything together and that means if I miss something, I’m sure she probably caught it. And I’m always there to back her up too. It gives us the freedom to move about without having to worry about missing something important. If you have a spouse, a good friend or even an acquaintance who loves photography, bring them along. You’ll find, at the end of the day, two photographers equal a lot more than just twice as many photographs.
Step 7: You’ve got all of these wonderful models, why not shoot some portraits?
You won’t be shooting with a flash during the performance, but there’s nothing stopping you from bringing in your lights before or after the show. So why not find a space that’s out of the way and shoot some portraits? The dancers are usually excited to have their portraits taken, and who could blame them? After all, their hair is done, their makeup is perfect and they’re wearing wonderful costumes.
Step 8: Repeat
I don’t know about you, but I’ve never been completely happy with the first set of photographs I’ve taken of, well, just about anything. It’s just so much better the second or even third time around. After you come home and review your photos, I’m sure you say to yourself “I could do better”. It’s easy to be standing in the wrong place, at the wrong time, with the wrong camera settings. It happens to us all. But the next time, you know what you have to do to get the best shots. Fortunately, there’s nothing stopping you from going again. If you’re going to photograph a dance recital, and the performance is going to be held for several nights, make sure to go more than once. And if the show is for one-night only, see if you can shot the dress rehearsal.
Actually, I think you should try to shoot the dress rehearsal even if you can attend multiple performances. That’s because, in a rehearsal, you can often move around the venue without bothering an audience. Trying out all of those possible locations can help you decide where to be during the actual performance. And, if it’s a dress rehearsal, you’ll actually be getting shots you can include with your final portfolio for the event.
In fact, dance recitals don’t just appear on Saturday night from thin air, like a magician’s bunny rabbit. They take weeks, or maybe even months of preparation and practice. All of that practice can be tough on the dancers, but think what an opportunity it is for you. While the dancers run through their exercises, you can be running through some exercises of your own. And because the performers are apt to be practicing the same steps, time after time, you can work on your focusing skills as well as a variety of techniques to see which looks best. By the time the performance rolls around, you’ll be a shooting like a pro.
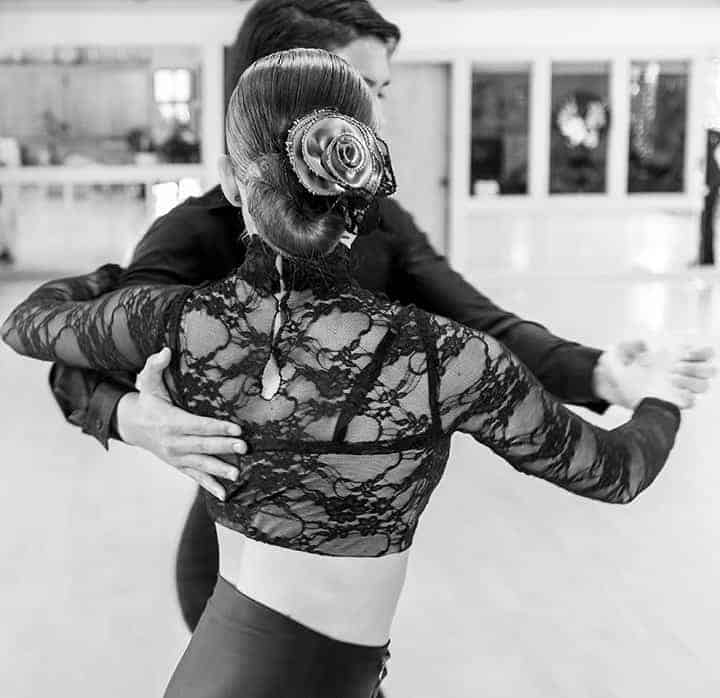
Photo by Kevin Reilly
Step 9: Be Generous
We all know photographers who horde their work. They worry so much about image theft; they lock away their precious photographs on external hard drives, which are, in turn, stashed away in dark closets and cluttered desk drawers. I don’t get it. Oh sure, we all have work that’s important to us, those shots that might reach a gallery wall, or win a contest or two. But those photographs are the exception, not the rule. I say “Share the Wealth”! Make up some DVDs with the best shots you take from the performance and give them to the dancers, and the parents of the dancers and the choreographers, and the studio owners, and anybody else you can think of. And make sure you include your card, and maybe some samples of your work. It’s inexpensive marketing and besides, it’s just a nice thing to do.
by: Kevin Reilly


.jpg)
.jpg)
.jpg)
.jpg)
.jpg)
.jpg)
.jpg)
.jpg)
.jpg)
.jpg)
.jpg)
.jpg)


