11 Techniques for Capturing the Best Sunset Photography
There’s nothing quite like a sunset. The sun slowly disappearing below the horizon is one of the most awe-inspiring sights in the natural world.
But despite their beauty, sunset photography is not as easy as you might think. Their glory doesn’t always translate into stunning sunset photos.
In this article, we’ve gathered our 11 favorite tips to help you capture stunning sunset photographs.
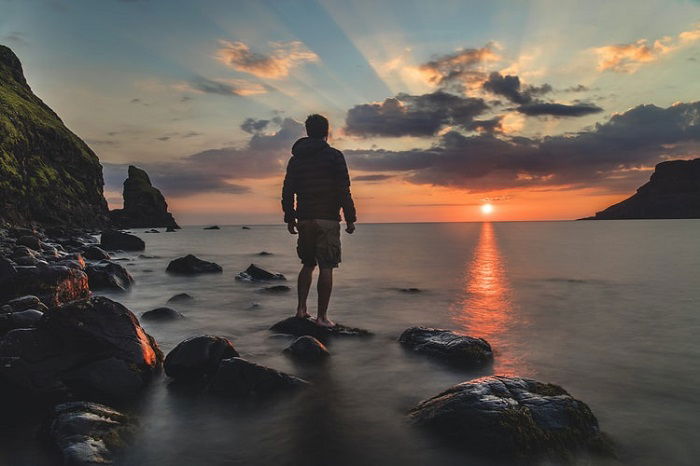
11 Tips for Stunning Sunset Photography
Shooting sunsets is one of the most popular types of landscape photography. It’s hardly surprising. But sunset photography is a discipline all its own.
You need to know what gear to use. And how to use it in the right way. But follow our sunset photography tips, and you’ll become a master of sunset photography.
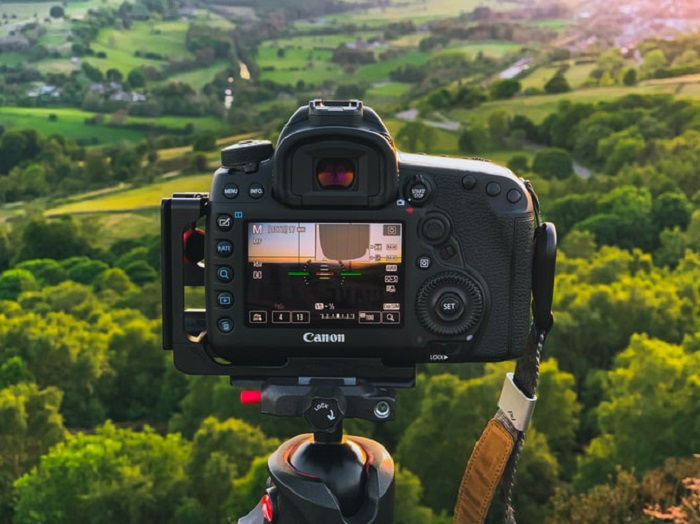
1. You’ll Need the Right Camera
We know we’re stating the obvious, but different photography genres often require different cameras. And sunset photography is no different.
For sunset photography, you need a camera that is well suited to landscape photography.
You want to capture every detail, so image resolution is important to look out for when selecting a camera. You can go DSLR or mirrorless, but we recommend a full-frame over a crop sensor camera.
Medium format cameras, with their larger sensors, are also excellent for landscape photography. But they are expensive and lack the versatility of smaller format cameras.
One thing to look for in a camera for sunset photos is a high dynamic range. A typical sunset shot will have brights and dark areas. You need to know that the camera will be able to capture the detail in both. A high dynamic range will bring depth to your sunset photos.
And good ISO range is also important. It might look like some cameras have a limited ISO range. But they often have expandable ranges, so make an effort to check that out before purchasing.
2. Select the Right Lens for Landscape Photography
When it comes to specific genres of photography, you want to have a lens suited to the work you’re doing.
For sunset photos, you’ll ideally want a wide-angle lens. They’re excellent for landscapes. And the wide focal length will allow you to capture a broad sunset scene.
Whenever you’re shooting an image that includes the horizon, you want to include as much of it as possible. It helps provide the sense of grandeur that’s a feature of good landscape photography.
You can still capture an excellent landscape image without a wide-angle lens. But you’ll need to set your lens to its widest focal length. Usually, you will want to include as much of the scene as possible.
A prime lens is all you need. Zoom or telephoto capabilities aren’t necessary for sunset photography.
Your lens options will be determined by the camera you have. But Nikon, Canon, and Fujifilm all have excellent selections.
3. Use Manual Mode to Capture Fleeting Sunsets
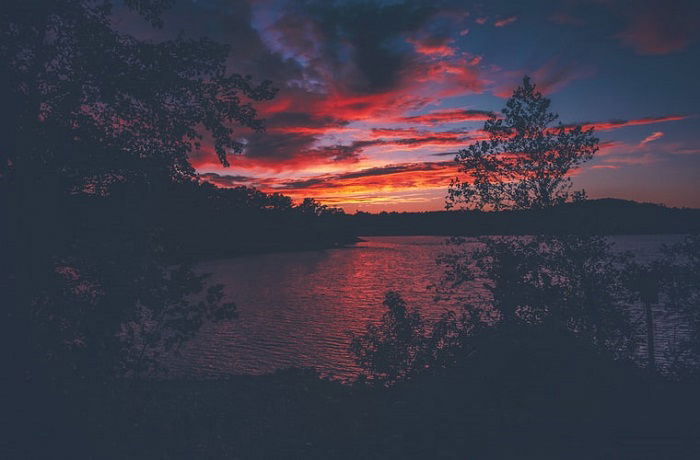
Modern cameras have excellent automatic functions. For sunset photography, we recommend you go manual. Like Luke Skywalker, turn off your guidance system and trust your feeling.
Conditions are constantly changing as the sun sinks lower in the sky. You’ll have to adapt and change as quickly as the conditions. There’s a higher risk involved. But the rewards will be greater.
The auto-settings will produce consistent results. But they can often be flat and lifeless. So, to get the best sunset photos, you need to master the settings. It could take time, but once you’ve nailed it, you won’t be sorry.
4. Adapt Your Camera Settings
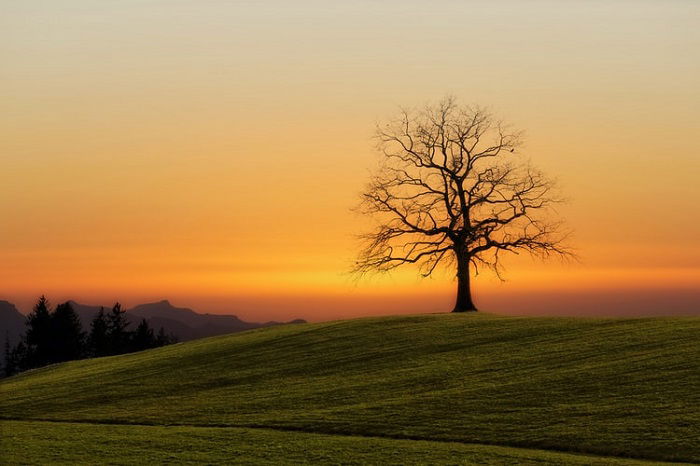
The demands of a sunset scene are pretty unique in photography. You need to have your camera settings adjusted for the purpose at hand.
White Balance
Set your camera up with a daylight white balance preset. The sunlight won’t be as bright as at midday. But if you select a different preset, it won’t pick up the richer colour tones of the golden hour.
The auto white balance is another attractive feature. But again, we say go manual. The auto mode is fine for most situations. But sticking to the daylight preset will give you a more vibrant sunset image.
Aperture
Any landscape photographer will tell you to go with a narrow aperture. And they’d be right. Something around f.16 or f.22 is ideal.
A narrow aperture setting will give you a wider depth of field. The smaller your aperture, the more of your image will be in focus.
You are free to experiment with this. But a shallow depth of field might give you a flat and featureless sunset image.
ISO and Shutter Speed
Landscape photographers tend to opt for a lower ISO and a slow shutter speed. This approach will give your sunset photos stronger tones and sharper detail.
ISO 100 or 200 is a good place to start. You can venture lower if your camera is able. You’ll need to compensate with a slower shutter speed. Just remember the exposure triangle to get the camera set up correctly.
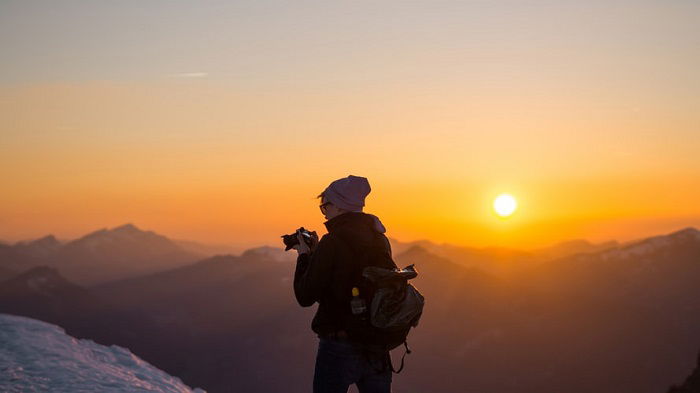
5. Use a Tripod to Avoid Camera Shake
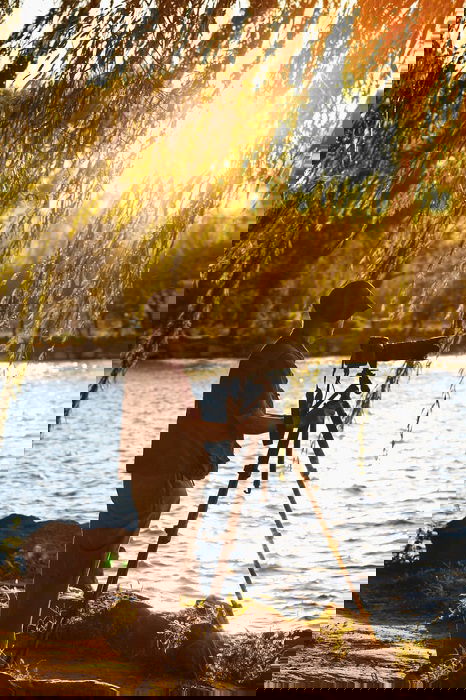
A tripod is a vital piece of equipment for sunset photography. Of course, you could get some good shots without one. But having one will make your life a whole lot easier.
A tripod gives you more flexibility with your camera settings. You’ll be using a narrow aperture, so a tripod will allow you to use a slow shutter speed without camera shake.
You’ll need a tripod with legs that can be adjusted independently. You’ll be working in natural environments, and the ground will often be uneven. The tripod needs to give you the level platform to work from.
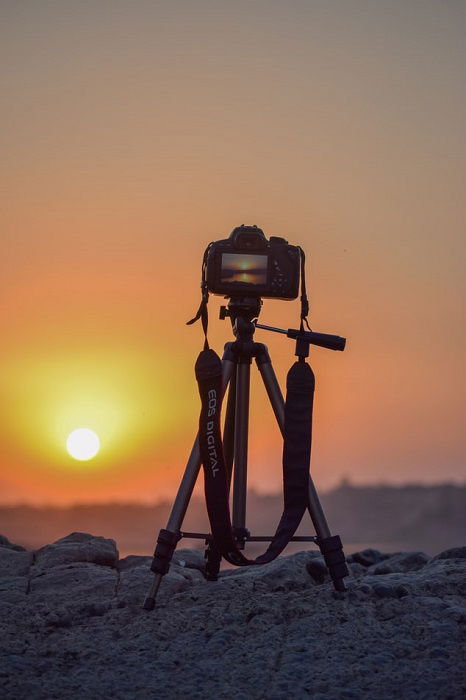
6. Use an ND Grad Filter to Capture the Perfect Exposure
During the golden hour, you often have brights areas contrasted with dark areas. With sunsets, the sky around the sun will be bright. And earth and clouds are dark.
Even a camera with a good dynamic range can struggle to find a balance between light and dark. An ND Grad Filter can really help address this issue.
A Neutral-Density Graduated filter is a tinted piece of glass you can put over bright areas of your shot. It allows you to find exposure setting that suit the whole scene.
If you don’t have a filter set, you can try exposure blending. You take two shots of your image. The first shot has your camera set to capture the bright areas. And the second shot has settings for the darker sections of the frame. You then blend the two images in post-processing.
If you try this technique, don’t move the camera between shots. The composition needs to be identical. And you’ll need to act quickly. The sun will be sinking fast, and you don’t want to miss the second shot.
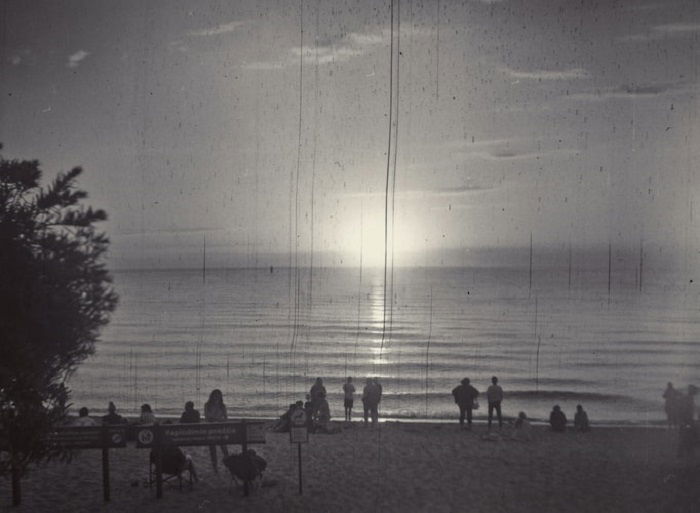
7. Look for an Ideal Location
Sunset is spectacular no matter where you are. But when you want to photograph sunsets, your location is essential.
Scout out the best locations in advance. Take evening walks to find the best spots. You can take a smaller camera with you so that you can experiment and generate ideas.
Find the locations where the sunset is at its most breathtaking. Think about composition and what you want your images to include. Perhaps there are landmarks that can make your sunset images unique.
If you’re travelling and you don’t have the time to scout locations, ask the locals. They’ll know all the best viewpoints in the area.
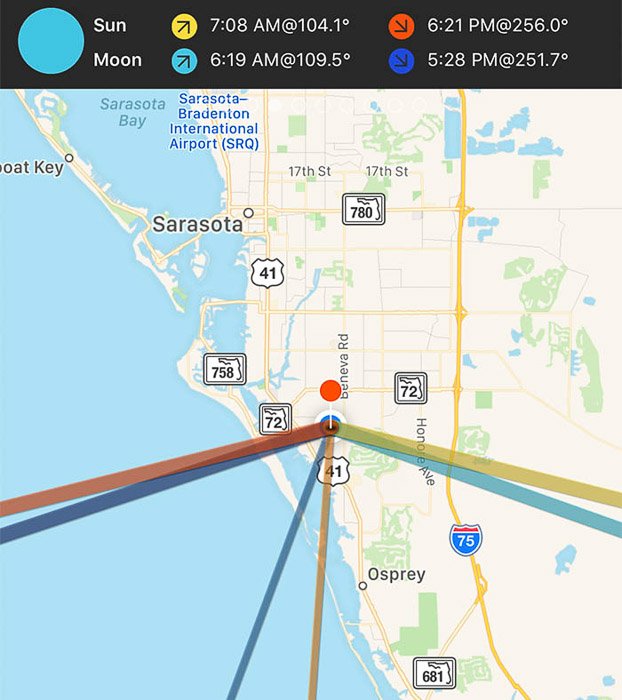
Some handy smartphone apps can help you plan for a sunset shoot. Photo Ephemeris and PhotoPills are two great apps that help predict lighting conditions for outdoor shoots.
It has to be a location that is easy to get access. On the day of the real shoot, you’ll be carrying all your gear. Mobility won’t be as easy.
8. Plan Ahead to Capture Stunning Sunsets
A powerful sunset can make you think time has stopped completely. But when you’re shooting sunsets, you’re working against the clocks. The sun sinks fast. And before you know it, the burning globe has sunk below the horizon.
You should already know your location so get there as early as you can. Give yourself time to get set up before the golden hour starts to get into gear.
If it’s a location you’re heading to for the first time, set off early. Give yourself plenty of time in case you get lost.
The tripod needs to be flat and stable. And you need to get the camera framed just as you light it. This preparation means you can start snapping as soon at the sun begins its earthward descent.
Even if you’re only a few minutes late, you might miss the best shots. You don’t want to be adjusting your tripod legs when the sky explodes with colour.
9. Use Clouds to Add Dynamism to Your Sunsets
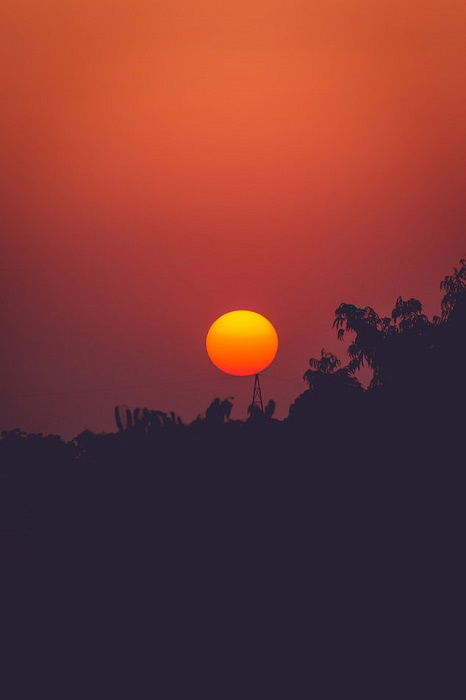
There’s an assumption that sunsets only work when you have a clear sky. But this is not true. If the sky is completely overcast, there won’t be much of a sunset. But having clouds in the sky can add something special.
Clouds are the perfect canvas for the setting sun’s last splash of colour. They can add extra shades and tones. And they’ll enhance the sense of depth in your sunset images.
The weather is not something you can control, so there is a large element of luck involved. But don’t be disheartened if there are clouds in the sky. Embrace them. Watch how they move so you can plan your shots.
There are many different types of cloud. They can add texture to a smooth sky. And they can add depth to otherwise flat imagery. And they can hold colour after the sun as stunk below the horizon.
The colours and textures often make clouds the most prominent element of your shot. They can steal the show. Use them to strengthen your sunset images.

10. Search for a Unique Perspective
For genuinely stunning sunset photography, you need your photos to stand out. There are millions of good sunsets photos out there. But many are very similar and much the same.
Embrace your surroundings. Natural features or landmarks in the landscape can help to identify your image. In addition, they can help tie your photo to that specific location, making it more meaningful.
Water is another asset to the sunset photographer. It has a reflective quality you can exploit to make your sunset photos pop with colour. And the surface also adds new textures. The ocean is an obvious choice, but pools and ponds are excellent too.
Don’t let the weather scare you. Don’t venture out if it’s dangerous. But if the conditions aren’t as you planned, head out anyway. It’s a chance for you to experiment. And you might end up with some stunning images you didn’t expect.
11. Be Prepared for Outdoor Photography
If you live in a beach-side villa, you won’t need to consider much other gear. But if your sunset shoot involves an excursion, there are other things you will need.
If you’re not familiar with the area, take a map. Smartphones have GPS capabilities, but you might run out of battery. A paper map won’t let you down.
If you’re shooting in a remote location, plan your route home. Things look different in the dark, and it’s easy to get lost.
A torch is an essential piece of equipment for a sunset shoot. When your shoot is over, night will have fallen, and you’ll be in the dark. We favour a head torch as this leaves your hands free to pack up your gear.
Warm and waterproof clothes are important. You might work up a sweat hiking up to your location. But once the sun dips below the horizon, the temperature can drop fast. And the rain clouds could close in at any moment. You don’t want to be caught in a rainstorm unprepared.
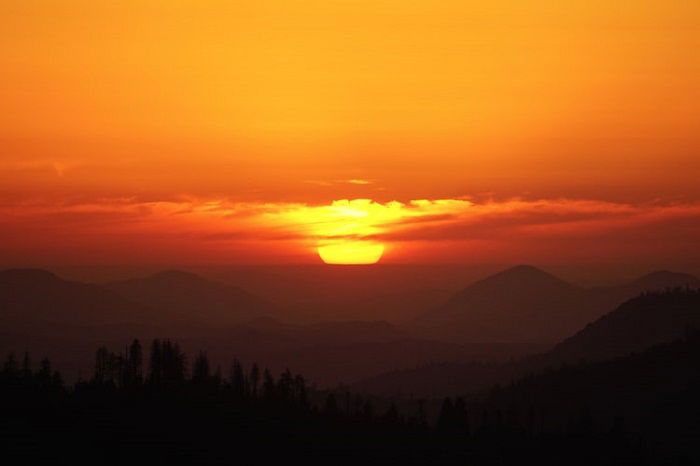
The natural beauty of a sunset can make some believe sunset photography is easy. But that’s not the case. Sunset photography is a form of landscape that has a unique set of skills and considerations.
You need the right gear. And you need to know how to use it to make your images special. And great sunset photos have features that make them stand out.
We hope these sunset photography tips have helped, and you now feel confident about shooting sunsets. Be confident and have fun. Go out and experiment with the information we’ve provided.
-----------------------------------------------------------------------------------------
No comments:
Post a Comment
Note: Only a member of this blog may post a comment.