Learn Beginner Videography Techniques in This Tutorial for Photographers
 #Photography
It wasn't all that long ago that photographers and videographers were two distinct groups of people.
But now that camera manufacturers from Apple and Samsung to Canon and Nikon are outfitting cameras with solid video capabilities, more and more photographers are becoming videographers, too.
If you're ready to expand your horizons from photography into videography but aren't sure how to do it, get some insider tips for doing so with these videography tips for photographers.
Videography for Beginners: Learn Frame Rates
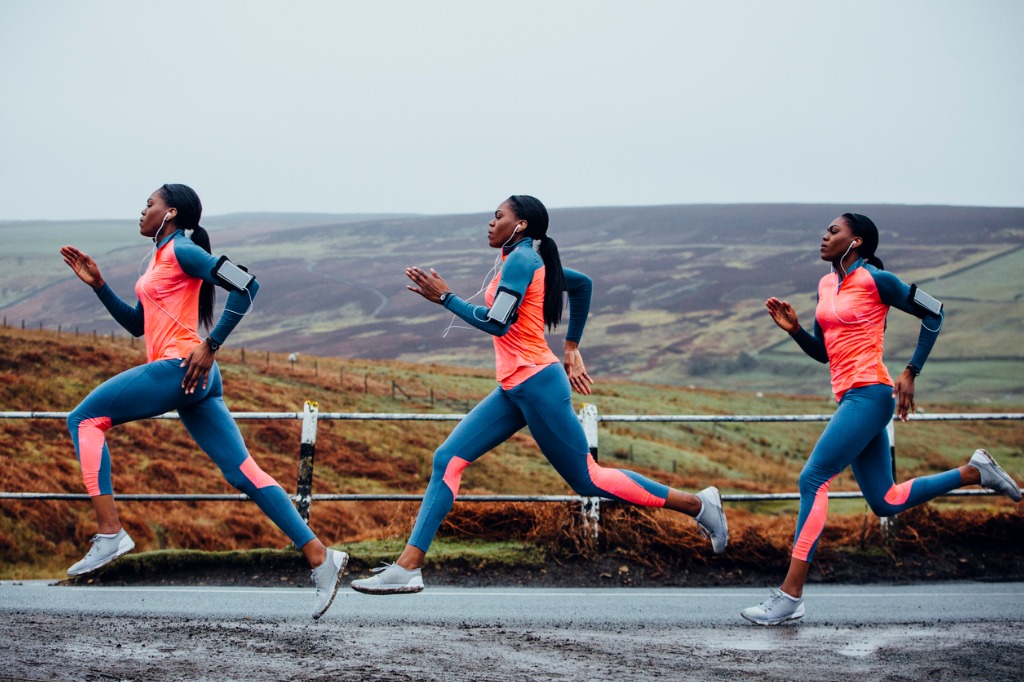 Image Credit: SolStock via iStock
The number of exposures that are created each second is called frame rate, which is measured in frame per second or fps.
The higher the frame rate, the smoother the video footage appears to be. So, 60fps offers a more fluid viewing experience than 24fps.
Typically, motion pictures are filmed at 24fps or 25fps, which give them a cinematic-looking quality.
At 50fps or 60fps, the video begins to mimic human vision more closely, and looks much more fluid.
Interestingly, common frame rates change depending on where you are in the world.
For example, in the U.S. and Canada, 24, 30, and 60fps are common. In Australia and Europe, however, 25 and 50fps are common.
In the end, you can use whatever frame rate you like; it just depends on the look you're trying to achieve.
You Need to Shoot in Manual Mode
Taking high-quality videos requires that you stop shooting in full auto mode and learn how to shoot in manual mode.The primary reason why manual mode is required for shooting video is that you can't have the camera constantly adjusting the exposure settings. If it does that, it will be plainly evident in the video as it brightens and darkens.
Only after you dial in those settings should you start shooting video!
If you're not quite sure how to approach shooting video in manual mode, check out the video above by DSLR Video Shooter for a detailed tutorial.
The Shutter Speed Needs to Double the Frame Rate
 Image Credit: piola666 via iStock
But when you shoot video in manual mode, adjusting the shutter speed is not an option.
That's because the shutter speed is used to control the amount of motion blur in each image that's in the video sequence.
That means that it needs to remain constant for a fluid video...
A good piece of advice is to set the shutter speed at double the frame rate. So, if you're shooting at 25fps, set the shutter at 1/50 seconds. If you're shooting at 60fps, your shutter speed will need to be 1/120 seconds.
If the exact shutter speed isn't available, just select the closest one and you'll still get good results.
Stabilize the Camera
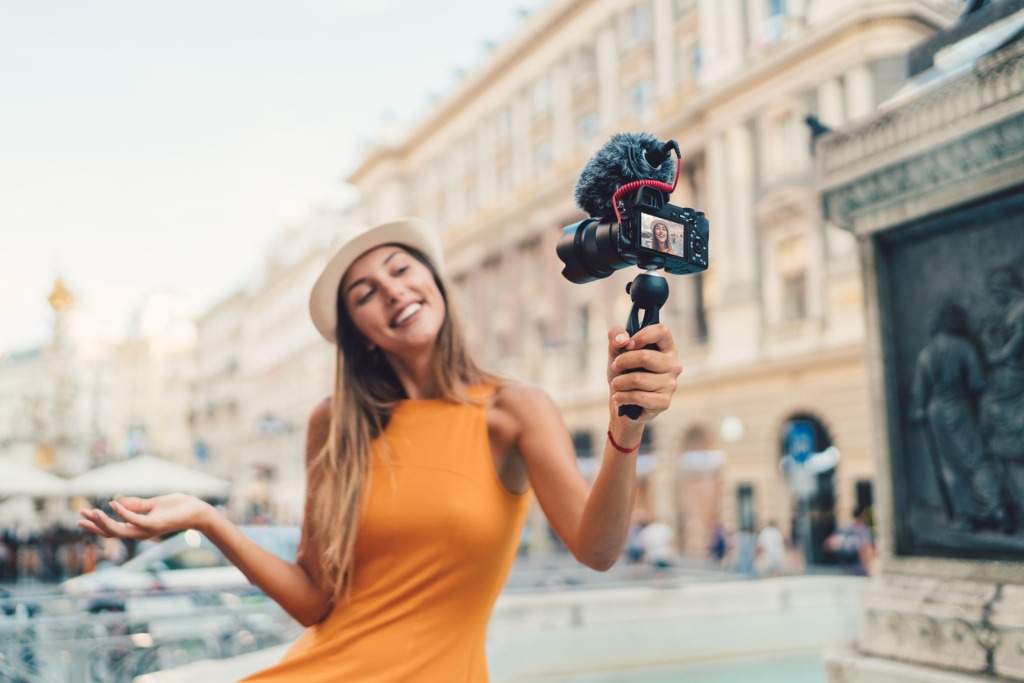 Image Credit: martin-dm via iStock
In some situations, a video tripod is the best solution.
Video tripods have what's called a fluid head, which allows you to pan the camera from left to right and tilt it up and down with very fluid motions.
This helps you frame your shots just how you want, which is important because unlike still photos, videos aren't typically cropped in post-production.
When shooting video handheld, it's often beneficial to have a gimbal to help stabilize the camera for a smoother result.
Though you can certainly shoot video handheld and without a gimbal, it takes a lot of practice to master.
Learn How to Produce Top-Notch Videos

Of course, planning your video shoots and recording the videos is only part of the process.
Instead, you also need to process and edit your videos and produce a final product that will knock people's socks off.
If that sounds complicated, it isn't...
There are plenty of video making tools out there today to help you create awesome videos, but for my money Kizoa is at the top of the list.

For starters, Kizoa has been in the business for over a decade, so they know what they're doing when it comes to providing tools for burgeoning videographers.
Kizoa's online video maker gives you tons of options for customizing your videos. That includes an array of music and special effects, text and transitions, and even ready-to-use templates that allow you to create professional-looking videos in short order. You can see how easy it is to create a video from a template in the video below:
Aside from all the video making features that make the process of creating your final product easier, Kizoa also allows you to share your videos with greater ease.
You can quickly share it on social media platforms like YouTube, burn it to a DVD, email it, or download it in various formats, including MOV, MP4, AVI, MPEG2, and GIF.
You also get access to Kizoa's secure online cloud storage so you have a place to keep all your videos safe and sound.
Perhaps best of all, Kizoa starts at just $30, and that gets you a lifetime membership - no annual or recurring fees to worry about!
Between learning the basics of shooting video and having access to a wide range of professional video editing tools with Kizoa, there's nothing stopping you from creating breathtaking videos!
No comments:
Post a Comment
Note: Only a member of this blog may post a comment.