8 Best Tips for Framing Photography Shots
Why Framing Is Important in Photography
In photography, composition and lighting are everything. Without the right perspective,
your subject will look unflattering or not stand out.
This is where framing comes in.
In essence, framing photos is surrounding a subject with different elements. This makes
it stand out and grab the viewer’s attention. You can think of this as a frame within a frame.
There are many ways you can use framing. Some depend on luck. Others rely on the
photographer’s creative eye. The right photo framing will make your photos look original
and stand out. Here are a few ways you can achieve this.
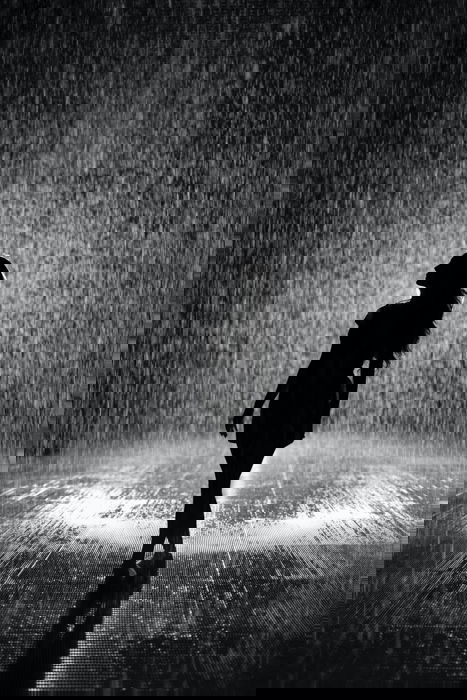
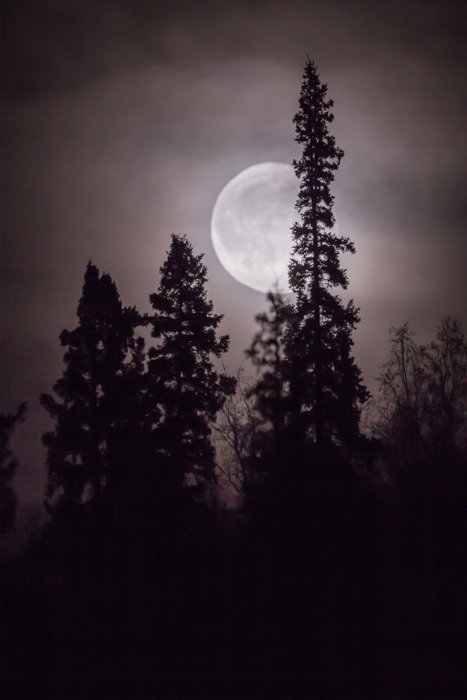
8. Create Frames Using Light and Shadows
Photography is the art of capturing light. Light is one of the best ways of highlighting elements
in your image, whereas darkness hides elements.
So it is understood that one way of creating a frame in your image is to use light and shadows.
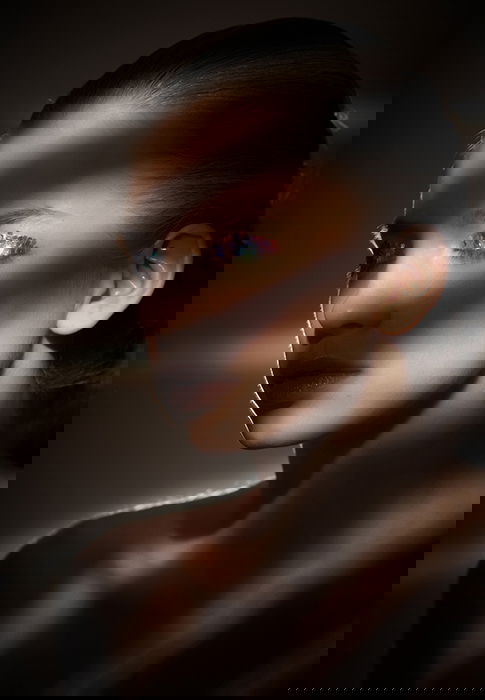
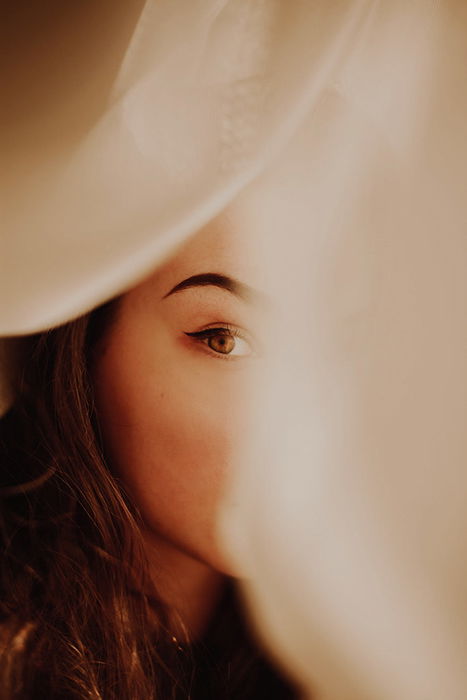
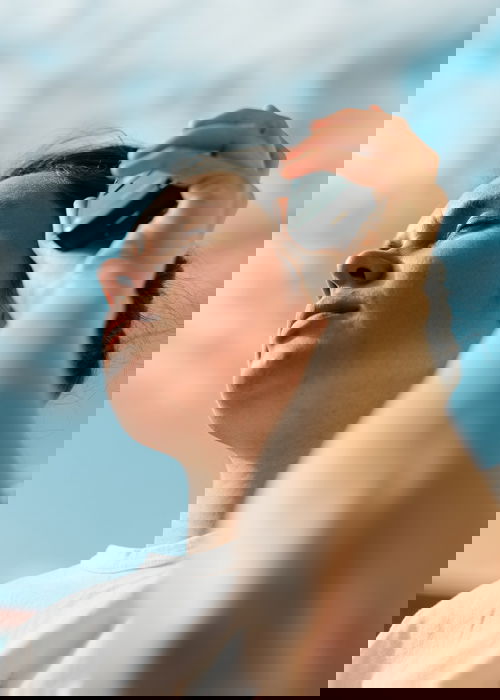
Shadows don’t always have to be harsh to frame the subject. Take a look at the image below.
You may not even realize the soft shadows at first glance
the soft shadows that subtly frame the woman. 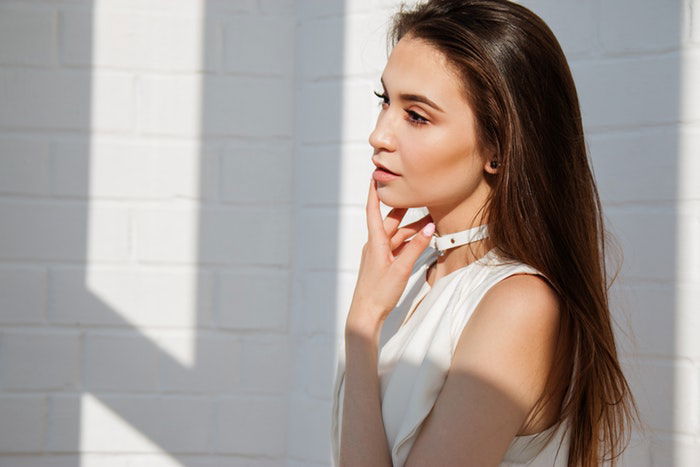
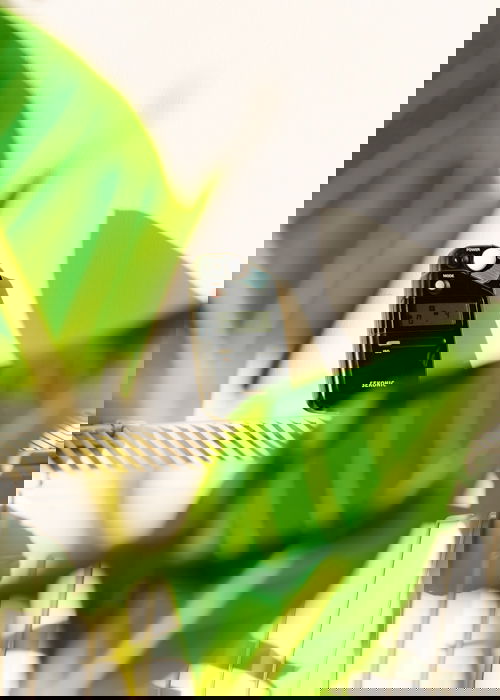
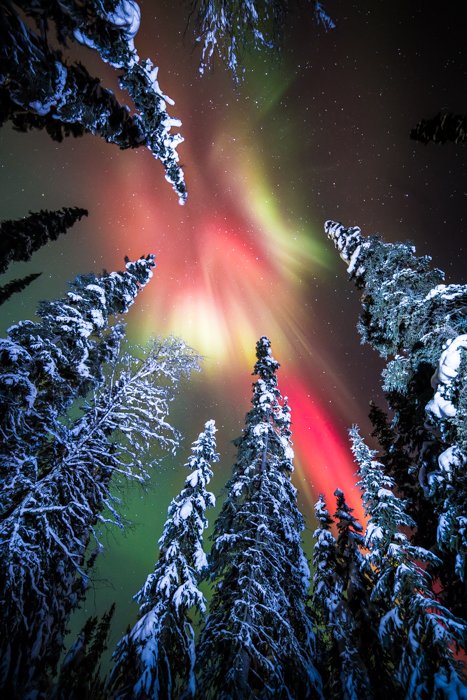
7. Experiment with Bokeh
Bokeh is a creative way of using light to frame your subject.
There are many ways to create a bokeh effect. You can use fairy lights, capture light shining
through leaves, or use a crystal or glass. This creates a soft, artistic frame.
You can incorporate bokeh in the background, in the foreground, or in both.

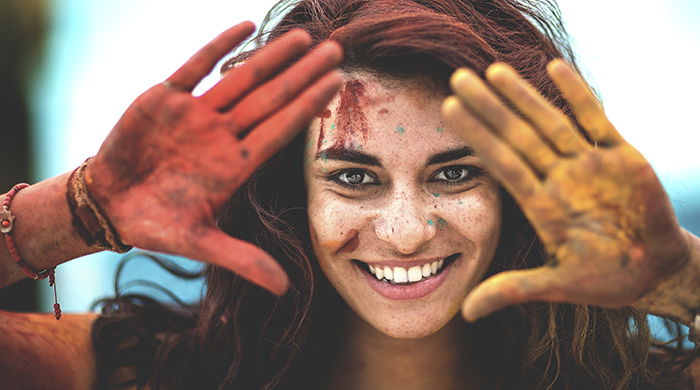
6. Ask the Subject to Frame Themselves
If you are shooting a person, you can also use them to frame themselves. Many models and
professional portrait photographers use this technique.
The model can place her hands, for example, in a way that it created a frame around her face.
This is a natural and flattering way of putting emphasis on a certain body part.
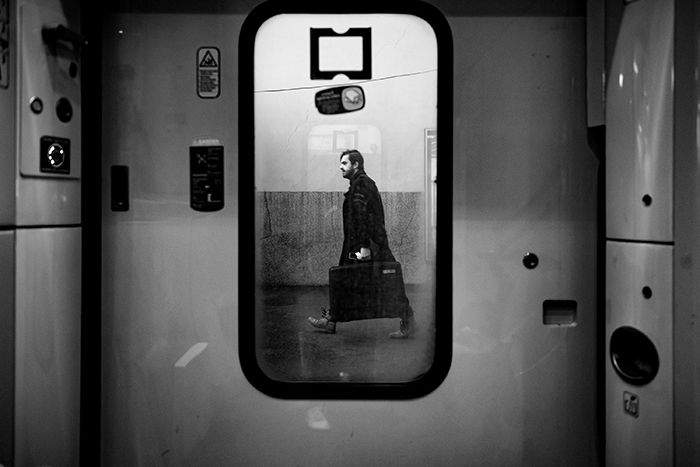
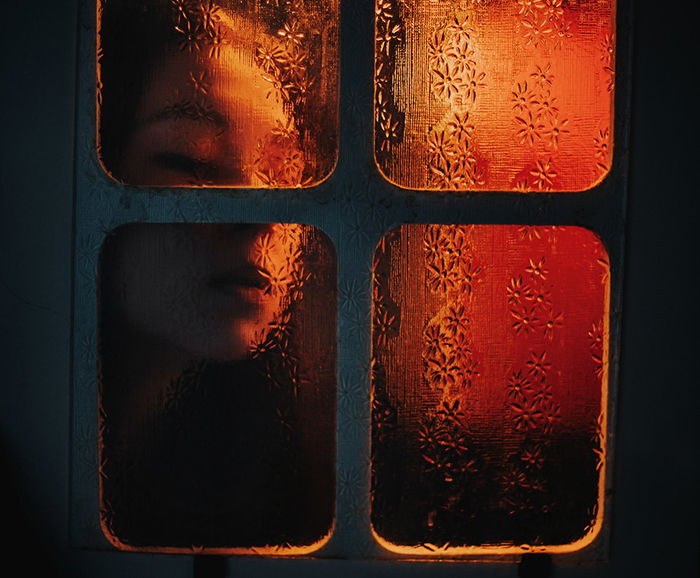
5. Use Doors and Windows to Make Your Subject Stand Out
One of the best ways to frame around your subjects is to use doors, windows, or actual
frames. These can be in the foreground through which you shoot. Or they can be in the
background with the subject in front.
Doors and windows are perfect for framing simple photos of people, places, and objects.
There’s a lot you can do with a single framing tool. For example, you can use a window as a
background or a blurred foreground. Or you can use a frame that you shoot through to
emphasize an indoor or outdoor landscape.
If you’re shooting at a wedding, you can use simple photo booth frames. You’ll get
funny photos without compromising the quality of your photography composition.
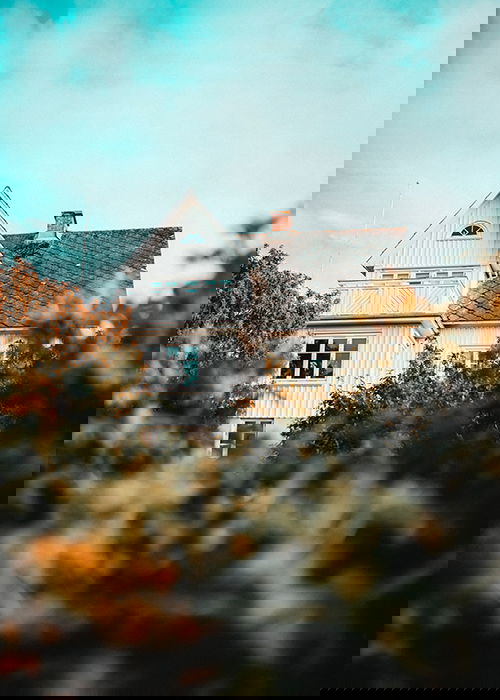
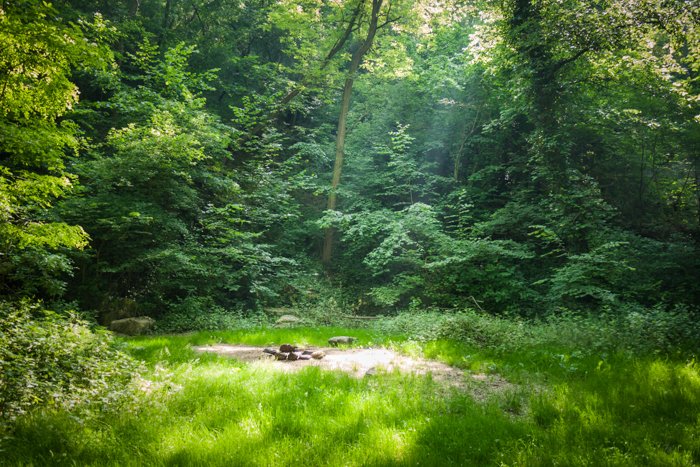
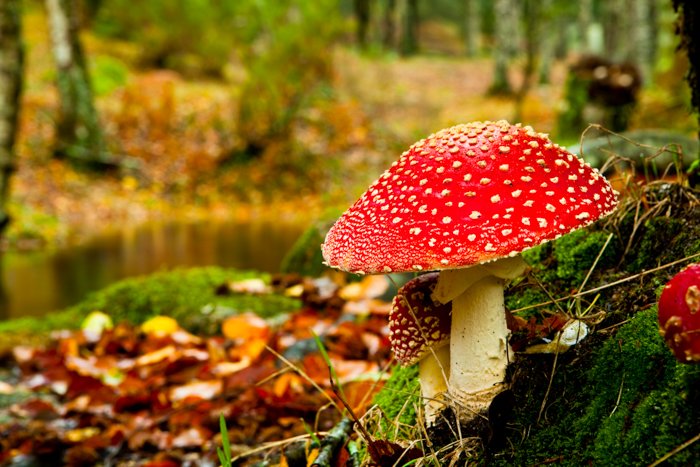
4. Shoot Through Objects to Bring out Details
Using elements in the foreground to fill negative space can make your image look more
interesting.
If you want to create a soft atmosphere, use a large aperture. Make sure the object is close
to your lens without completely covering it. Your goal is to put the spotlight on your focal
point by covering its surroundings with a pleasant blur.
For something more detailed, use a smaller aperture. Take a few steps away from the
foreground. This will still create a blur, but it will make the foreground more visible. This
technique is often used in wide-angle photography. It helps capture as much of the
atmosphere as possible.
Depending on your theme, you can use a combination of simple and vibrant objects.
You can use foregrounds to make a minimalist portrait stand out. Flowers work especially
well here.
For a moody landscape shot, you can take photos through a branch or a bush.
3. Cover Your Subject in Simple Fabric for Minimalistic
Effect
Outfits and decorations are very helpful when enhancing a composition. Your subject might
look awkward or dull compared to their surroundings. Try framing them using cloth or fabric.
This is most useful for framing portrait and still life photography.
Ensure the cloth you use complements your subject’s appearance and shape. Neutral and
pastel colors tend to work well in most shots.
Make sure the clothing you use complements your subject’s appearance and shape. Neutral
and pastel colors tend to work well with almost everything.
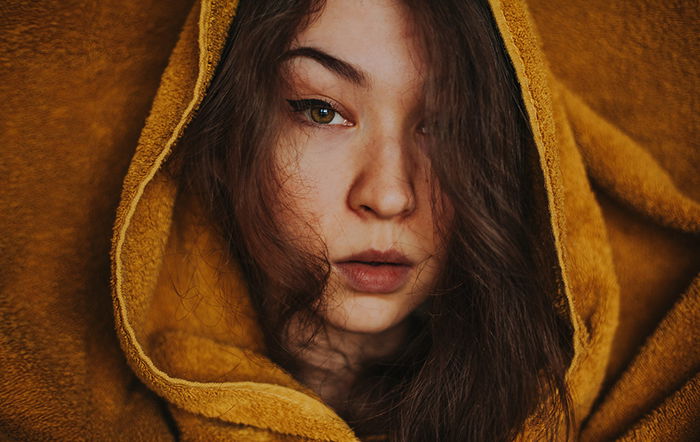
Another way to use this framing technique is to cover parts of your subject. This puts the
spotlight on a specific area.
For example, if you’re photographing a person, you can cover half of their face. This will
lead the viewer’s eye to the part of their face that’s visible. And it’ll make your composition
more intriguing to look at.
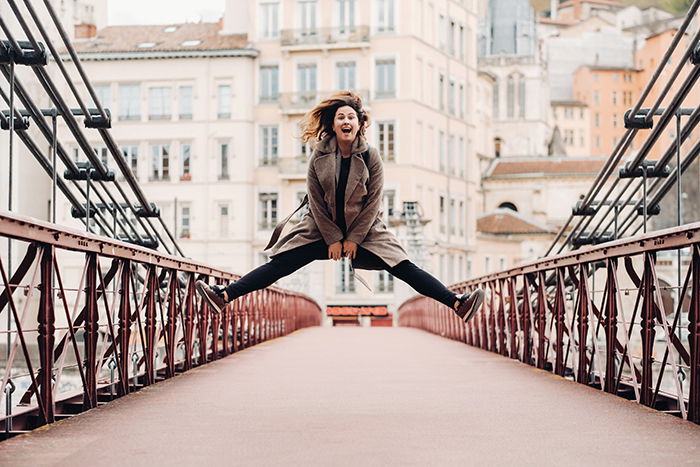
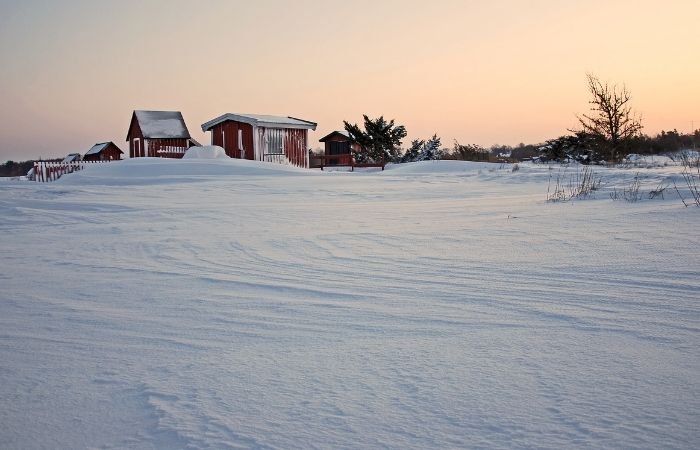
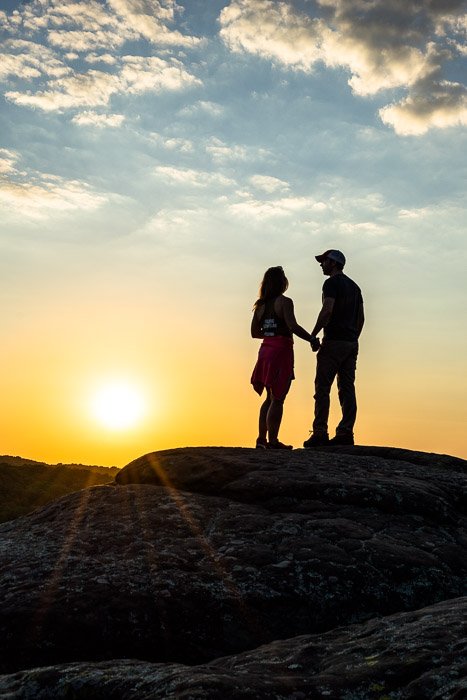
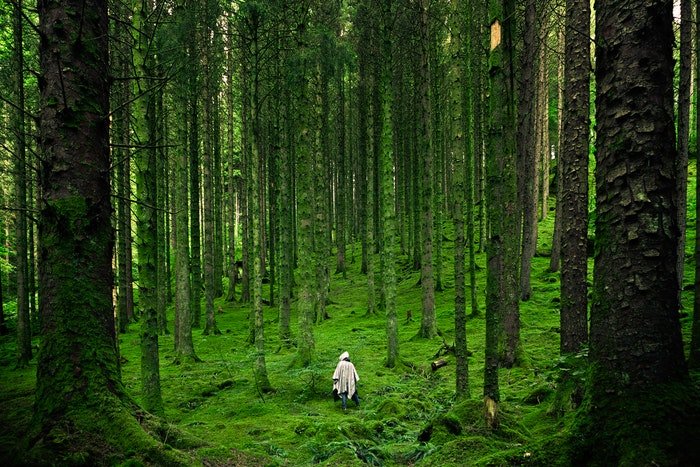
2. Use Natural Symmetry to Put Emphasis on Your Model
Compositions and symmetry go very well together, especially in atmospheric photos.
You can take a few steps back from your model without making your composition look busy.
You can do so using basic symmetry knowledge.
This doesn’t mean you have to set up a studio with symmetrical props or backgrounds. Look
for symmetrical elements in cities or out in nature. Some of the many examples could be
countryside roads, skyscrapers, bridges, or water reflections.
Place your subject in the middle (or somewhere close to the middle) of these environments.
This will help create appealing compositions.
Of course, too much symmetry can also be distracting. Don’t be afraid of creating imperfect compositions.
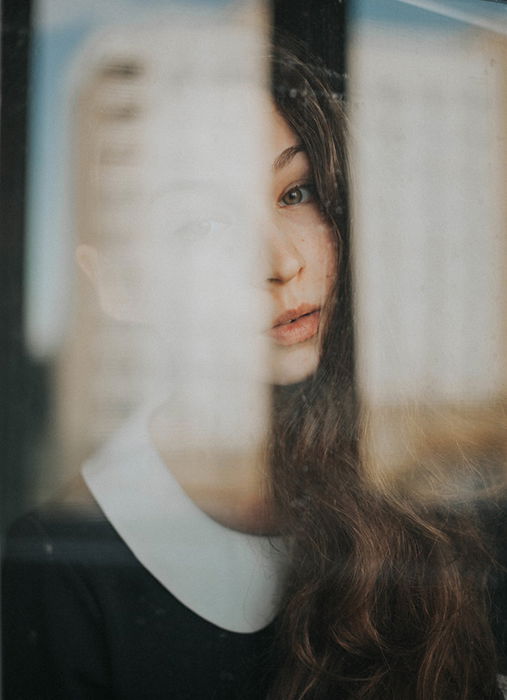
1. Use Reflections for Framing Photography
Window reflections are perfect for framing minimalist photoshoots. You can use them in
almost any genre.
For portraits, make sure your model is standing behind a window. Take photos from different
angles to find the best reflections. (Don’t shoot right in front of a window or else your camera
will end up in the reflection.)
Reflections tend to be abstract and neutral in colour. This is perfect for hiding or emphasising
certain features. This is like what you’d do with blurred foregrounds.
If you’re a landscape photographer, photograph different views reflected in a window. This
creates a somewhat distorted and atmospheric effect.
You can also combine reflections and symmetry. Try creating surreal photos like the one below.

There are many photographic framing techniques you can use to improve your compositions.
Frames help you create balance and highlight specific elements for the viewer.
Knowing how to frame a photo will help you turn even the simplest subjects into
eye-catching works of art.
-----------------------------------------------------------------------------------------------------
Free Photography Ebook
There are numerous articles on the topic of producing sharp pictures.
You’ll often see advice on how to hold the camera or what your shutter speed should be for a given lens.
However, we noticed that there is one aspect of image sharpness and focusing that is rarely discussed, and that is the theme of this free guide.
 by Darryl Turner


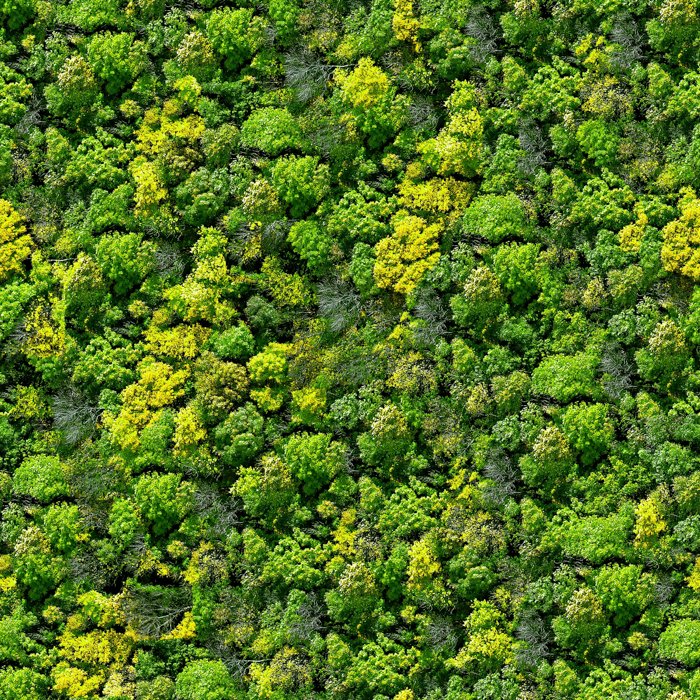


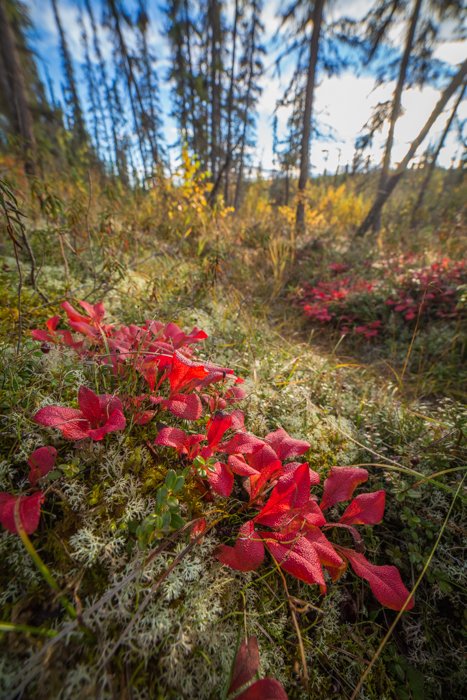
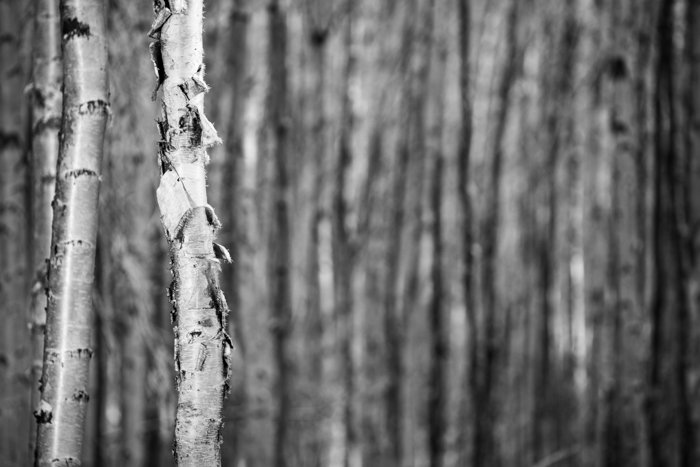
 Tight
and wide-angle compositions are both options in these scenarios. A wide
scene might provide a sense of scale, the drama of a seemingly endless
patch of forest.
Tight
and wide-angle compositions are both options in these scenarios. A wide
scene might provide a sense of scale, the drama of a seemingly endless
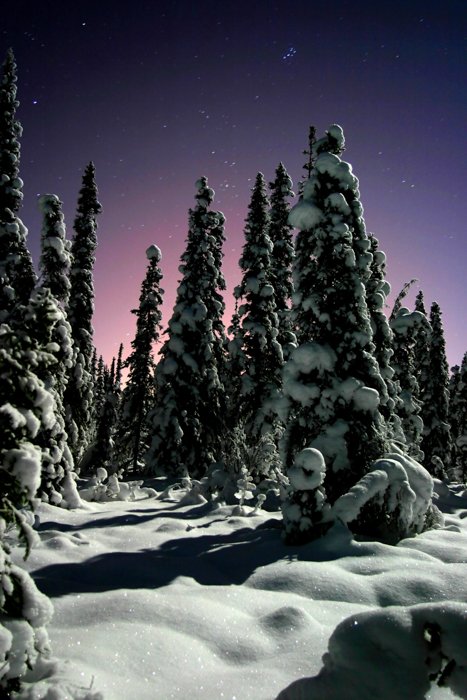
patch of forest. There
isn’t a right or wrong way to make these forest images. What will work
and what won’t depends entirely on the scene at hand.
There
isn’t a right or wrong way to make these forest images. What will work
and what won’t depends entirely on the scene at hand.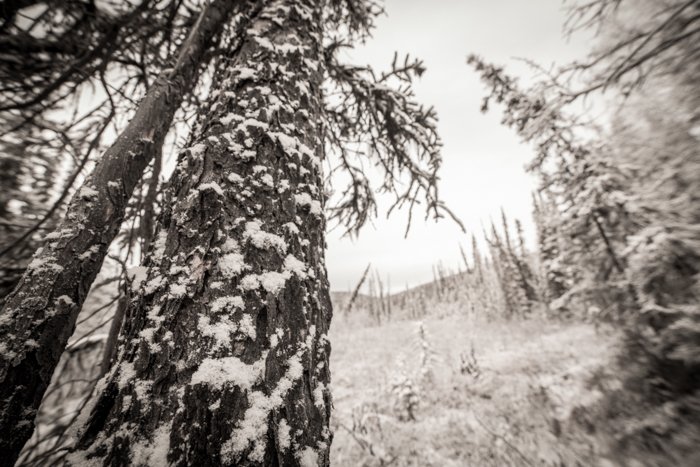 But
black & white photography is tough. In the woods, it takes time to
learn to “see” in B&W. We view the world in colour, and determining
how a colour scene will appear in black & white is challenging and
requires practice. Here are a few guidelines:
But
black & white photography is tough. In the woods, it takes time to
learn to “see” in B&W. We view the world in colour, and determining
how a colour scene will appear in black & white is challenging and
requires practice. Here are a few guidelines: