11 Best Entry Level DSLR Cameras in 2021
Many new photographers don’t have the budget or need for the most professional camera systems. Especially since some of these can cost thousands of dollars.
Entry-level cameras provide photographers the chance to capture amazing scenes without breaking the bank. After all, it’s all about the person and not the camera.
Here’s our list of the best entry-level DSLR cameras in 2021.
What Is an Entry Level DSLR?
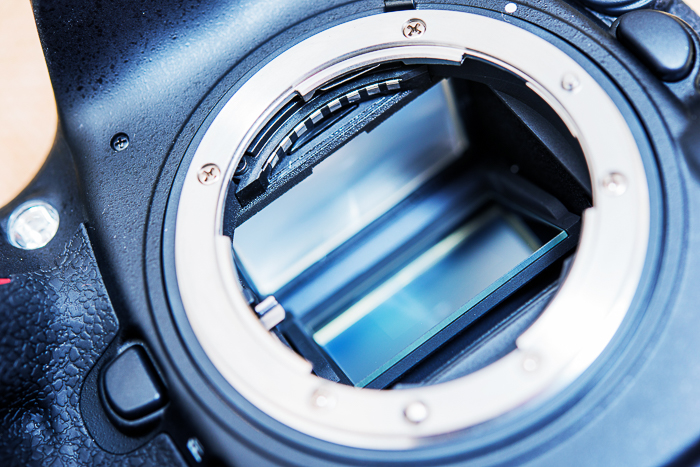
A DSLR is a digital single reflex camera. This type of camera uses one lens to view the scene and capture it on the sensor. It does this by using a mirror that changes it from viewing to capturing.
DSLRs can range from $400 for the Canon Rebel T6 to $6,500 for the Canon EOS-1DX Mark III. The former is an entry-level camera, while the latter is a professional DSLR.
There is a world of difference between these systems, but they have the same basic functions. Both cameras have a digital sensor, the same exposure triangle settings and other basic functions, such as autofocus, burst shooting, and mirror lockup.
Where they differ is the extent of these functions.
There are smaller learning curves with entry-level DSLR cameras because their settings and features are limited. But as I said, the basics are the same across every digital camera.
Warning – Don’t Buy the Bundle
When it comes to searching for an entry-level DSLR camera, we really want you to heed the following warning: Don’t go for the bundle package.
There’s a reason we link and show photos of the camera without any extra stuff, and particularly lenses. This is because the lenses that come with the camera are usually not great.
These lenses are what we call ‘kit-lenses’ and are of lower quality than other lenses, traditionally. Modern kit lenses are much better, but still often don’t give you the best experience. Of course, there are great kit lenses, but they usually come with more expensive camera bodies.
As for options one step above the ‘kit’ level, a few options come to mind. On the Canon side, the EF-S 15-85mm f/3.5-5.6 IS USM is a cost-effective option offering a great image. Nikon offers the excellent 16-80mm f/2.8-4 DX lens, although that’s quite a bit more expensive. There are fantastic third-party options, too, such as the Sigma 18-35mm f/1.8 (Canon version).
With a bundle, you get a lot of junk that you won’t need. Because of this, these bundles are actually overpriced. The items are of low quality, and perhaps items you don’t need or never use. If you need memory cards and bags, source them individually. You’ll save money and get what you actually want.
You might find discounted kits which are actually cheaper than the camera body alone; if this is the case, go for it, of course.
Now, let’s see our favourite entry-level DSLR options from the four manufacturers that still produce them.
Canon
1. Canon EOS Rebel T7i
- 24.2 Megapixels
- 1.18 lbs
- APS-C sensor (Cropped Sensor)
- Built-in WiFi & Bluetooth
- High-Speed continuous shooting at up to 6 fps
- 45 AF points
- Vari-angle touch LCD
- 25,600 ISO range
The Canon EOS Rebel T7i, otherwise known as the EOS 800D has all the bells and whistles you’d expect from a Canon DSLR. It comes with a 24-Megapixel sensor, dual-pixel AF and even a tilt-flip touchscreen.
The viewfinder shares the same 45-point autofocus system from the 77D, making it a pretty good contender for sports photography. This also matches with the possible 6 fps.
This camera shares most of the same specifications as the T6i. The resolution is the same, the weight is similar and they both have WiFi built-in, alongside a vari-angle LCD screen.
The advantages with the T7i is the advanced technology, the longer usage time and the slightly faster burst rate. These come at a higher cost of around $150.
This is one of the best DSLRs at entry-level available, and possibly the best that Canon digital cameras have to offer in this list.
2. Canon EOS 70D
- 20.2 Megapixels
- 1.7 lbs
- APS-C sensor (Cropped Sensor)
- Built-in WiFi
- High-Speed continuous shooting at up to 7 fps
- 19-point Autofocus
- Vari-angle touch LCD
- 25,600 ISO range
The Canon EOS 70D is the most expensive option among their entry-level DSLR range. It’s actually an older midrange model, which slowly descended into more affordable territories. It’s almost 7 years old now, but we still consider it to be a great digital camera.
It has a resolution of 20.2 megapixels. Its autofocus system is one of the first implementations of the Dual Pixel technology. This means each pixel is split into two separate readable photodiodes, which face left and right.
This means that, in principle, it is capable of phase detection autofocus. This feature works across 80% of the frame, down to 0 Exposure Values and up to f/11. All these attributes make this a very capable autofocus system.
Other attributes are the 7 frames per second and the Digic 5+ processor that was first seen in the beast we know as 5D Mark III.
Video mode is accessible with the flick of a lever. The camera provides continuous autofocus tracking during live view and video recording.
The 70D bridges the gap between entry-level and professional cameras. There are many similarities between the 70D and Canon’s 6D and 7D lines.
It has the separate top LCD for showing exposure parameters even when the main LCD screen is turned off. It has two control dials, making manual operation a lot easier.
Its function buttons are laid out next to the top LCD, which makes it quicker to operate blindly. You can concentrate on getting the image and what happens in the viewfinder.
So, if you’re planning to upgrade but don’t yet have the budget, it might be the perfect option.
3. Canon EOS Rebel SL3
- 24.2 Megapixels
- 1 lb
- APS-C sensor (Cropped Sensor)
- Built-in WiFi & Bluetooth
- High-Speed continuous shooting at up to 5 fps
- 9 AF points
- Vari-angle touch LCD
- 4K video
The Canon EOS Rebel SL3 boasts a great deal. It has Dual Pixel autofocus, WiFi with NFC and Bluetooth. It even comes with a new interface, making it more accessible to beginners.
Its small size might be misleading, but as the Nikon D3500’s main competitor, it is just a tad smaller and lighter. The less weight is a welcome feature, perfect for long hikes and country hopping.
Compared to the SL1, it’s almost the same. Except here you get better focusing in live view. In terms of the Canon Rebel T7i, you do get more, but for a higher price.
If you don’t need the extra autofocus points, stick with this model. It will capture scenes excellently without breaking the bank.
In live view mode, you can use the excellent eye detection Canon has added to Dual Pixel systems. 4K video recording lets you capture memories in higher resolution than ever before in an SL camera.

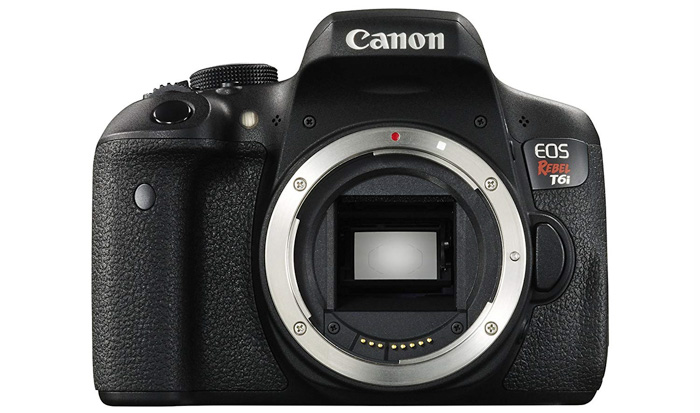
4. Canon EOS Rebel T6i
- 24.2 Megapixels
- 1.22 lbs
- APS-C sensor (Cropped Sensor)
- Built-in WiFi
- High-Speed continuous shooting at up to 5 fps
- 19 AF points
- Vari-angle touch LCD
- 25,600 ISO range
The Canon EOS Rebel T6i was the newer version of the Rebel T5i, adding more megapixels, a slightly faster burst capacity, and 10 more phase-detection points to its autofocus system.
Also coming with this system is the addition of WiFi and Near Field Communication (NFC).
Here, you’ll find the Hybrid CMOS AF III. Canon claims that the performance of the Hybrid CMOS III is close to that of the original Dual Pixel AF found in the 70D and 7D II.
It’s a great camera to use. The image quality is excellent, and it performs well in low light situations, making it one of the best entry-level DSLRs out there.
Nikon
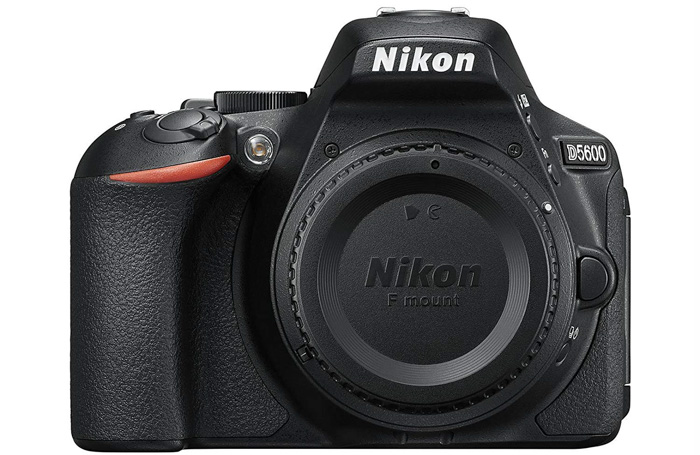
1. Nikon D5600
- 24.2 Megapixels
- 1.04 lbs
- APS-C (Cropped Sensor)
- Built-in WiFi & Bluetooth
- High-Speed continuous shooting at up to 5 fps
- 39-point Autofocus
- Vari-angle touch LCD
- 25,600 ISO range
The first thing you will notice about this miniature beast is its lightweight body. It is also very connected, having WiFi and Bluetooth built into the camera.
As we look across these entry-level cameras, we see they are very similar. The most important thing that really separates the Nikon D5600 from the Nikon D5300 is the addition of Snapbridge.
Otherwise, this is an incremental, but useful update.
Snapbridge, if this is a new term for you, is Nikon’s answer to syncing the images you capture with your DSLR to other devices, such as a smartphone or tablet.
The image quality is excellent, and in terms of the high ISO range, it is one of the best in our list. It keeps the quality high even in the lowest light situations.
Its dynamic range is outstandingly wide, market-leading in the entry-level segment.
For the Nikon range, this is one of the best cameras for excellent image quality.
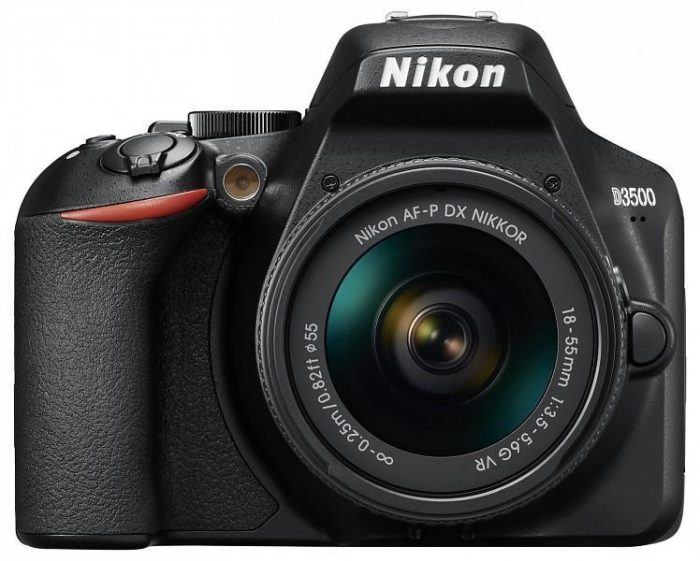
2. Nikon D3500
- 24.2 Megapixels
- 0.86 lbs (without battery)
- APS-C sensor (Cropped Sensor)
- Built-in WiFi & Bluetooth
- High-Speed continuous shooting at up to 5 fps
- 11-point Autofocus
- Vari-angle LCD
- 25,600 ISO range
The Nikon D3500 is the update on the Nikon D3400. It is specifically made for those first-time photographs with no experience of ILC (Interchangeable Lens Cameras).
The difference here is the Snapbridge connectivity across devices using built-in Bluetooth. The battery life increased, but they scrapped the Ultrasonic sensor cleaning.
In terms of competition, this is a very similar Nikon version of the Canon T6i. The one thing that does set them apart is the battery life. The Nikon can capture 3 times more images on a single charge on paper, although the difference is smaller in real life.
This camera is great for travel or any field of photography where you’ll need to hold your camera for extended periods of time. It doesn’t even weigh 1lb, so your arms and back will thank you for it.
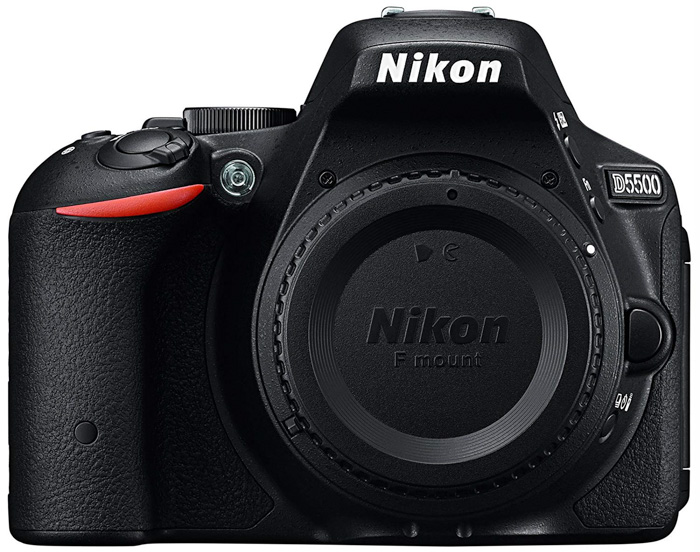
3. Nikon D5500
- 24.2 Megapixels
- 1.4 lbs (with lens)
- APS-C (Cropped Sensor)
- Built-in WiFi
- High-Speed continuous shooting at up to 6 fps
- 39-point Autofocus
- Vari-angle touch LCD
- 25,600 ISO range
The D5500 falls between the D5300 and the D5600 in terms of age and features, but also price. It also has the competitive WiFi feature built-in, and a usual 39 point autofocus and 25,600 ISO range.
These settings are usually in this area of entry-level cameras. It does have a solid noise reduction capability and is smaller and lighter than the Nikon D5300, also on this list.
How did they manage to make it lighter? Instead of polycarbonate, this camera uses a carbon fiber composite. It’s a great camera to use. One of the reasons for this is the curved grip, making it easier to hold.
Although it utilizes a pentamirror rather than the brighter and clearer pentaprism, you won’t notice any problems with this easy-going system.
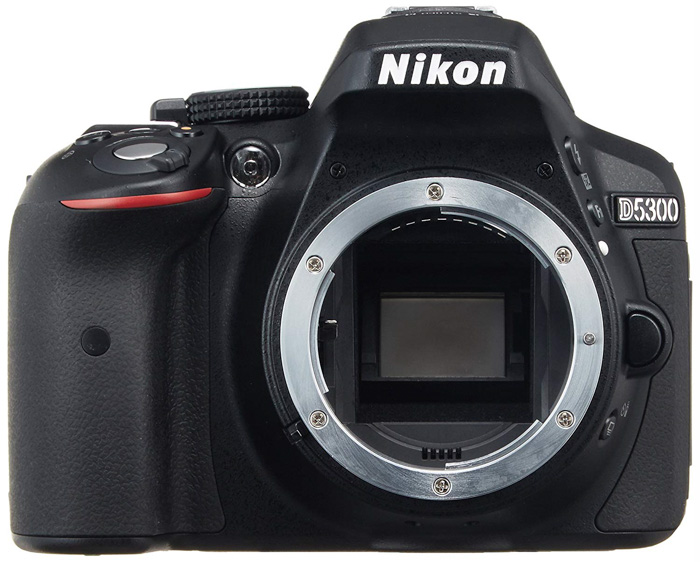
4. Nikon D5300
- 24.1 Megapixels
- 1.05 lbs
- APS-C sensor (Cropped Sensor)
- Built-in WiFi
- High-Speed continuous shooting at up to 5 fps
- 39-point Autofocus
- Vari-angle LCD
- 25,600 ISO range
The benefit of having an entry-level camera is its ease of use. There is no need to have all the bells and whistles if you aren’t going to use them. They’ll just hinder your learning curve as a hobbyist photographer.
With the Nikon D5300, you get a very competitive range of features and settings. These are the 39 autofocus points, the 25,600 ISO range, and the 24-megapixel resolution.
The difference with this system is the added GPS. This makes it easy to reference your images, especially with Lightroom’s map module.
While this is not the newest generation of the Nikon 5X00 series, it’s still a viable choice if you’re on a slightly lower budget.
Pentax
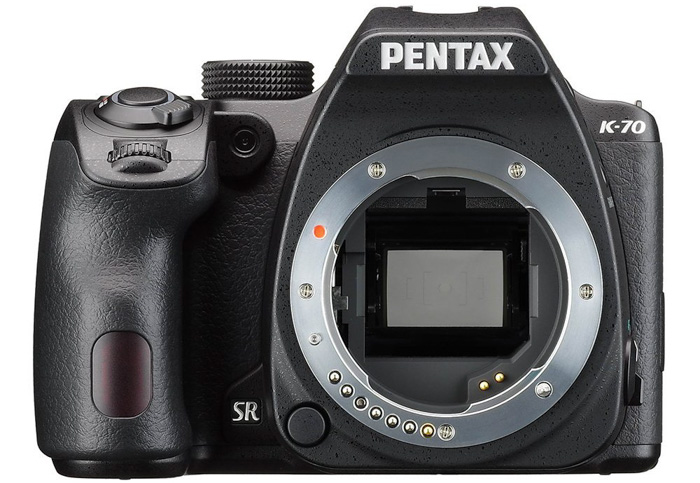
1. Pentax K-70
- 24.2 Megapixels
- 1.5 lbs
- APS-C (Cropped Sensor)
- Built-in WiFi
- High-Speed continuous shooting at up to 6 fps
- 11-point Autofocus
- Vari-angle LCD
- 102.400 ISO range
There is a lot to like about this camera. Its incredibly high ISO range, faster frames-per-second than other entry-level DSLR cameras and image stabilization are among them.
There is a function where the camera automatically detects a slanted horizon and corrects it. On top of this, there is a pixel shift function. Here, the camera takes four images to produce one huge photograph. This will give you a high-resolution image without having to invest thousands of dollars into top-notch specialised gear. You need a tripod to fully use this feature, though.
Image stabilization allows you to shoot sharp images in darker conditions than usual, by reducing the movement caused by your own hands.
The body is splash-proof and can be used in inclement weather conditions.
The K-70 has two unique buttons to Pentax cameras. On the top is a green button that switches functions back to their default settings.
On the left-hand side, the camera offers a button that allows the user to toggle between JPEG and Raw mode. The camera offers two Raw formats: Pentax’s own “PEF” format and Adobe’s “DNG” format.
2. Pentax KS-2
- 20 Megapixels
- 1.49 lbs (with lens)
- APS-C (Cropped Sensor)
- Built-in WiFi
- High-Speed continuous shooting at up to 5.4 fps
- 45-point Autofocus
- Vari-angle LCD
- 51,200 ISO range
You might only be aware of Canon and Nikon DSLRs. Yet, Pentax makes a few really great entry-level DSLRs that might surprise you.
The Pentax KS-2 is an all-weather camera. This means you can embrace the elements with landscape and adventure photography, without worrying about your device.
Image stabilisation counteracts hand movement and ensures sharper images when shooting handheld.
It is compact, yet is slightly heavier than the other entry-level DSLRs. Some people prefer that, as the weight makes it easier to grip, hold and shoot with.
It offers excellent quality and decent performance for its class. The biggest area you will find that sets itself apart is its extended ISO range of a maximum 51,200. This is perfect for low light situations.
If you’re a fan of vintage manual lenses, a Pentax camera is a great option you. Pentax has kept the same lens mount for many decades now, allowing intercompatibility with old lenses.

Sony
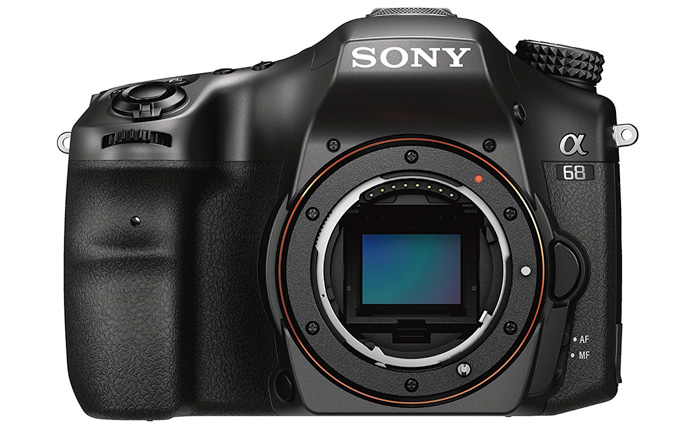
Sony Alpha a68
- 24 Megapixels
- 1.34 lbs
- APS-C (Cropped Sensor)
- No Built-in WiFi
- High-Speed continuous shooting at up to 8 fps
- 79-point Autofocus
- Vari-angle LCD
- 25,600 ISO range
The a68 is technically not a DSLR, but in many aspects, such as size and weight, it’s similar to one. However, it has an electronic viewfinder instead of an optical one.
What you’ll find with this system is a 24 megapixel cropped sensor. It gives you a 79-point autofocus selection, and a frame rate of 8 shots a second.
These two settings make this camera great for fast-moving subjects that vary in distances from the camera.
This camera has lots of dials and buttons, making it easy to flip between the settings you need. Everything is viewed from the display panel, which can illuminate when dark.
Most of these buttons are customizable, allowing you to make the most of your device.
You won’t find WiFi or a touch screen – but these are bonus points and not necessary for amazing photography.
At this price, you’d be hard pushed to find another camera system that has this many advantages. If you don’t mind the electronic viewfinder on this mirrorless camera, this camera is for you.
Like anything else in photography, your camera needs to reflect your field and involvement.
There are many DSLRs on the market across 4 or 5 different manufacturers. they come in a range of prices, suited to attracting hobbyists and professionals alike.
Many of them are very similar across different specifications. They all create a 20-24 MP image, all have a cropped sensor, come with WiFi as standard and have different ISO range, but similar low-light capabilities.
Looking at this list, we see the specifications that are better and worse than the camera’s competitors. This is a good place to start, as it shows you the strengths and weaknesses of each system.
You will no doubt have an idea in mind of what you plan on doing with your camera. For me, being a live gig and musician photographer, a high ISO range is a must.
Due to this reason, I’m more likely to go for the Pentax cameras.
If you are looking to capture moving objects, then Sony is your best bet. This Alpha a68 system will capture 8 fps, 20% faster than its competitors.
For those who will spend long times outdoors, such as travel or street photographers, a weighty camera is a no-no. Here, you are more likely to go for the Nikon D3500 as it weighs less than 1 lb.
If budget is a big issue, then the cheapest entry-level DSLR camera will be your best bet. Many photographers will tell you that your money is better spent on lenses rather than camera bodies and sensors.
All of these cameras as identical in that they allow you to produce high-quality images for both print and web use.
Feeling lost and want to know more before buying?
Try this link: (Tri-State Camera Online Store) for discounted prices: https://ebay.to/2Smb1ho
PHOTOGRAPHY FREEBIE:
How to make money with your Photography even if you're not a Pro.
Copy & paste this link into your browser, click ENTER, and enjoy:
https://mrdarrylt.blogspot.com/2020/01/how-to-make-500-month-from-your.html
or
https://www.photography-jobs.net/?hop=darryl54
----------------------------------------------------------------------------------------------------------------------
Visit me on Facebook and post your pictures.
https://www.facebook.com/Darryl-T-363867387724297/------------------------------------------------------------------------------------------------------------------------