Which Lens Do I Need? From Fisheye to Super Telephoto
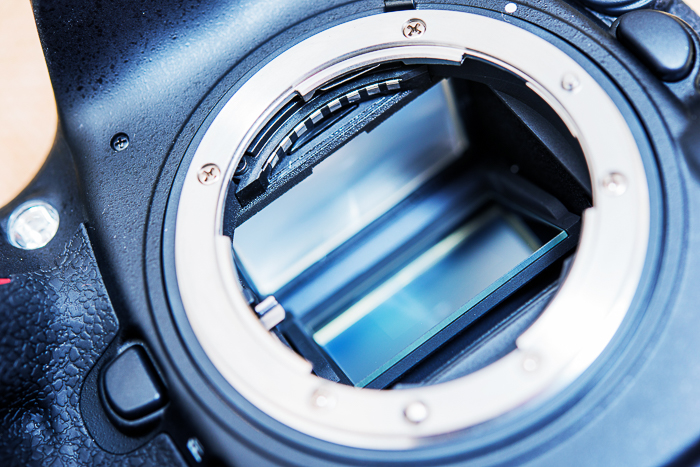
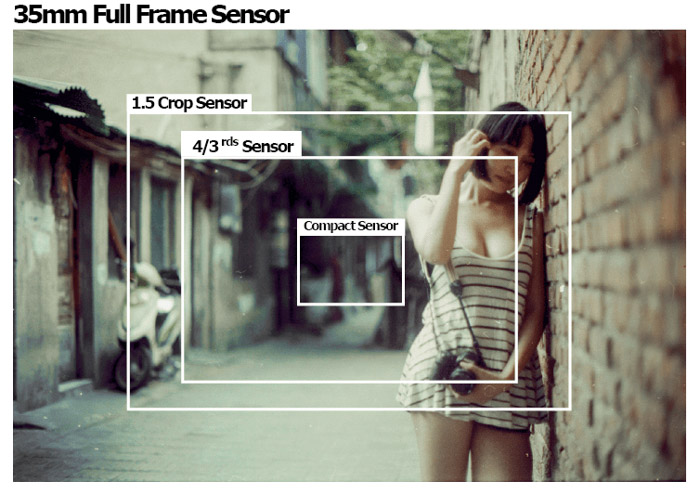
Full-Frame Vs. Cropped Sensors
A full frame DSLR or mirrorless
camera has a sensor the same size as the 35mm format (36mm x 24mm).
35mm was always considered small format, compared to medium and large
format cameras.
These sensors will give you the highest resolution and image quality unless you move to a larger format camera.
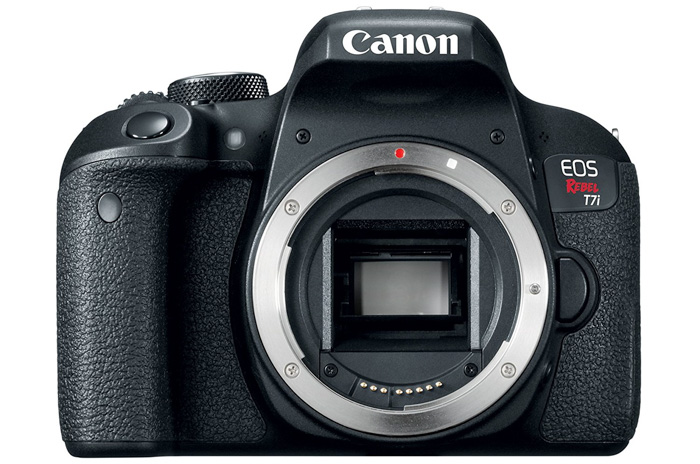
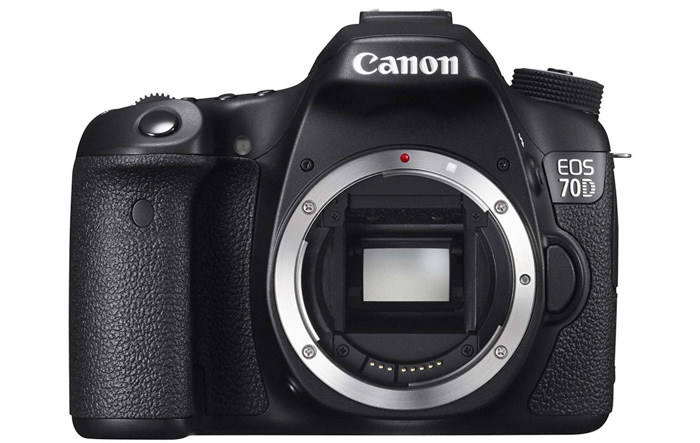
Cropped sensors are smaller than the 35mm format. They include APS-C
(Nikon, Sony), APS-H (Canon) and four thirds (Olympus, Panasonic).
The APS-C has a sensor size of 23.6mm x 15.7mm, APS-H has 28.7mm x 19mm
and the four-thirds system has 17.3mm x 13mm. These are generally
cheaper to manufacture and buy.
These affect your lens’ abilities. A full frame-lens working with a cropped sensor will multiply the focal length by x1.6 (APS-C), x1.5 (APS-H) and x2.08 (four-thirds).
So, a 50mm
full-frame lens will effectively become a 75mm lens on a Nikon DX
camera, an 80mm on a Canon 7D and a 104mm on an Olympus camera.
This is great for getting closer to a subject without buying an extra
lens. The 50mm turns into a telephoto lens on the Olympus, or a macro
lens if you turn it around using adapters.
The only problem is that you are cropping into the image, so the resolution will never be the same as the full frame version.
Prime Vs Zoom
A prime
or fixed focal length lens is one where you need to get closer or
farther away from a subject to frame correctly. These lenses are
typically lighter, faster and cheaper as they do not require motors or
devices inside the lens.
Their quality is unsurpassed, yet they make that a trade-off for versatility.
There will be situations where you can’t move physically, yet still, need to get a tighter frame on a subject. The Canon EF 50mm f/1.8 II or Nikon AF Nikkor 50mm f/1.8D are the perfect examples.
A zoom or variable focal length lens is one where you can ‘zoom’ in and out of a scene.
This means that by standing in the same place, you can tighten or loosen
the frame around the subject. Typically, they are more expensive and
heavier due to the amount of machinery needed inside.
Remember, they need to move and focus at a whole range of focal lengths.
They also have a lower quality overall than prime lenses, and they don’t
allow you to open your aperture as wide as a prime lens. The Canon EF 24-70mm f/2.8L II is a perfect example.
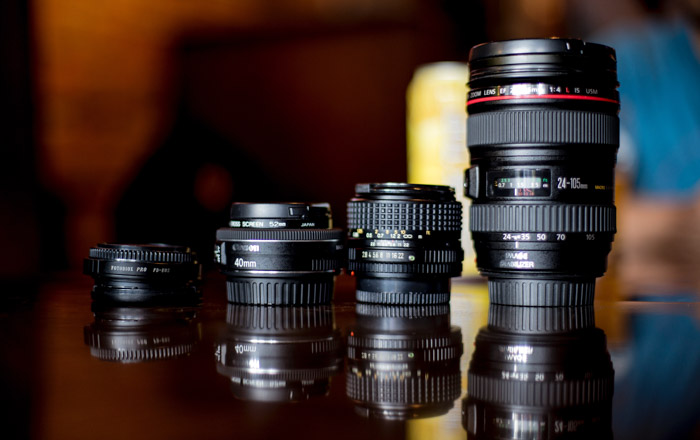
Different Types of Lenses
Fisheye/Ultra Wide Angle
A fisheye or ultra wide angle lens is a lens that achieves extremely
wide angles of view. The focal length of a fisheye lens is the smallest
focal length you can find in photographic lenses.
These lengths can be anywhere between 4.5mm and 24mm, where the angle of view is anywhere between 100° and 180°.
When it comes to using these lenses, you will find that there are the different types; circular cropped circle and full-frame.
A circular lens will give you a circle image, a cropped circle will give
you images with curved sides, and the full-frame will give you a
rectangular image, cropped from the captured circular image.
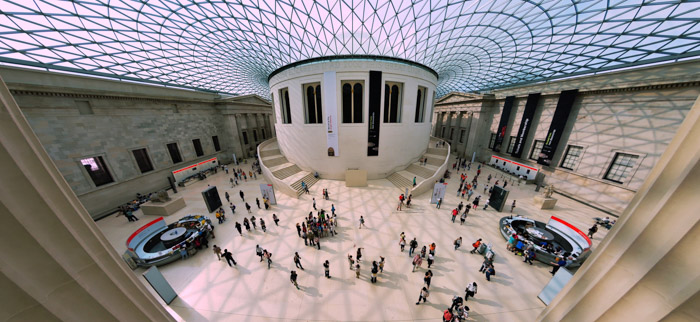
In terms of positive uses, they will capture very wide
panoramas and skyscapes very well. They have been used for cityscapes,
as they give you an ultra-wide view.
On the flip side, they give you unparalleled levels of
distortion. This is due to the lenses having to squeeze in all the
information. You can use rectilinear remapping to correct the
perspective, turning the curved lines into straight ones.
They give you an unusual perspective that you may want to use rarely,
making this a very expensive lens if you don’t use it often.
They are great for capturing scenes where the photographer needs to fit
in a lot of a scene into a photograph while operating from a small
space. Their biggest use is more artistic, where you might use one to show an above and below water scene.
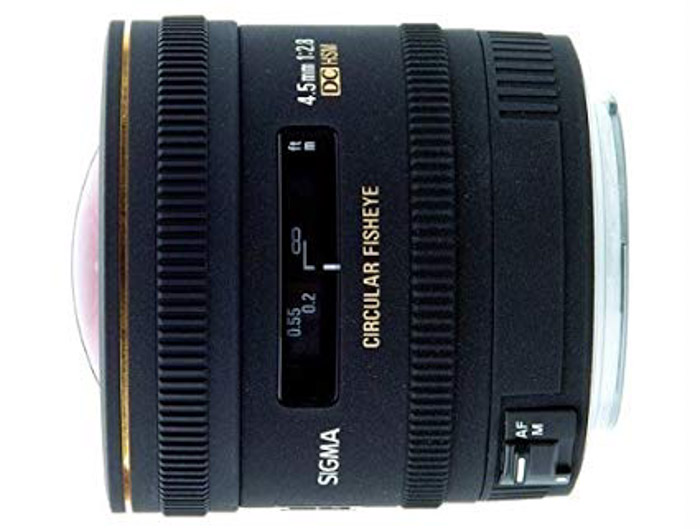
The smallest focal length fisheye lens is currently the Sigma 4.5/2.8 EX DC Circular Fisheye. This is extreme when it comes to fisheye lenses, where a more popular choice would be the Nikon AF DX NIKKOR 10.5mm f/2.8G ED.
Wide Angle
A wide-angle lens refers to a lens where the focal length is
substantially smaller than the focal length of a standard or ‘normal’
lens. This will translate to a lens with a focal length of 24mm to 35mm.
They typically have an angle of view of between 64° and 84°.
They have the capacity of fitting as much of a scene into the frame
without being as overly distorted as the fisheye lens. The amount of
distortion can be annoying but easily corrected using lens profiles in
Adobe Lightroom.
Wide angle lenses will help in emphasising the difference in size between the background and the foreground.
With these, you have to get close to your subject, which could break the
candid state of the scene. Also, Bokeh is out of the question as the
depth of field is long.
They usually don’t have the widest apertures, and buying one will most certainly need a remortgage on your house.
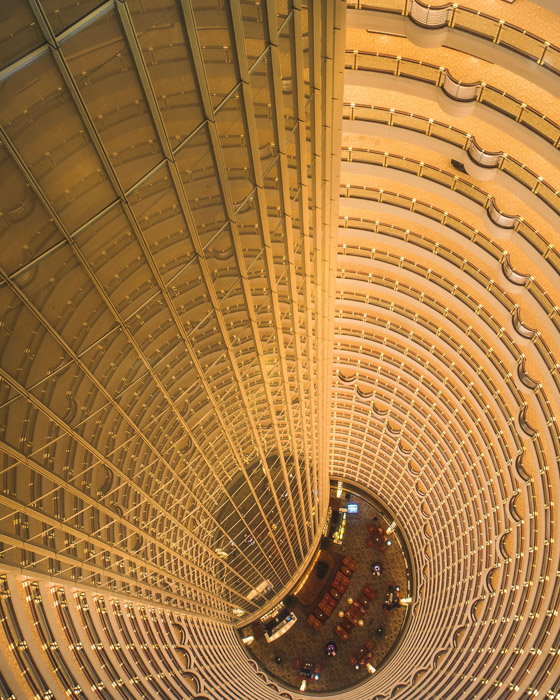
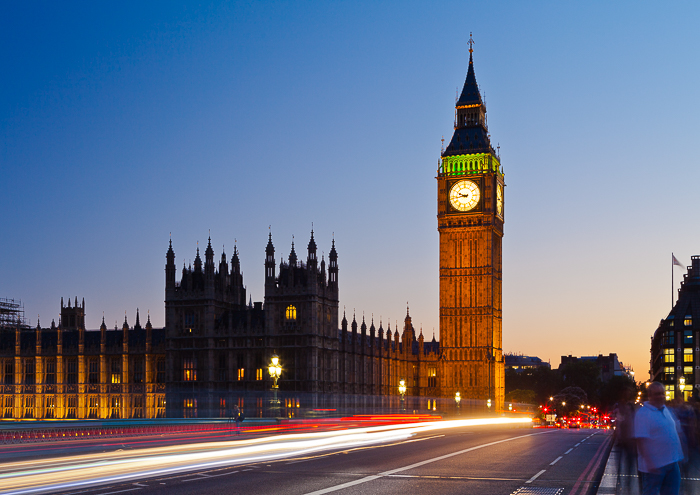
This lens allows the most amount of a scene to be included in a
photograph. Perfect for use in architectural, interior and landscape
photography. They are especially useful when the photographer is unable
to move further away from a subject.
Great for street photography, where a background scene is important in storytelling.
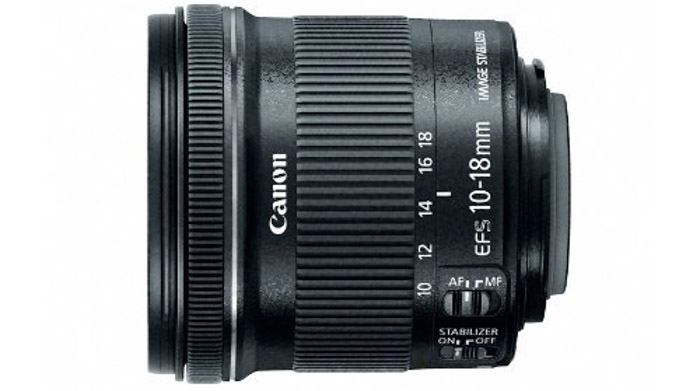
The Canon EF-S 10-18mm f/4.5-5.6 IS is a great lens to work with, and being a zoom lens, it gives you room to play. The Nikon 24mm f/1.4G is a great choice as a wide angle prime lens, yet expensive.
Standard / Normal
A standard or ‘normal’ lens is usually what all other lenses are
compared to. This lens is closest to the human eye in terms of focal
length and angle of view. Typically a 50mm feels natural, without an
overabundance of lens distortion.
They sit firmly at a focal length of 50mm and generally have an angle of view of 58°.
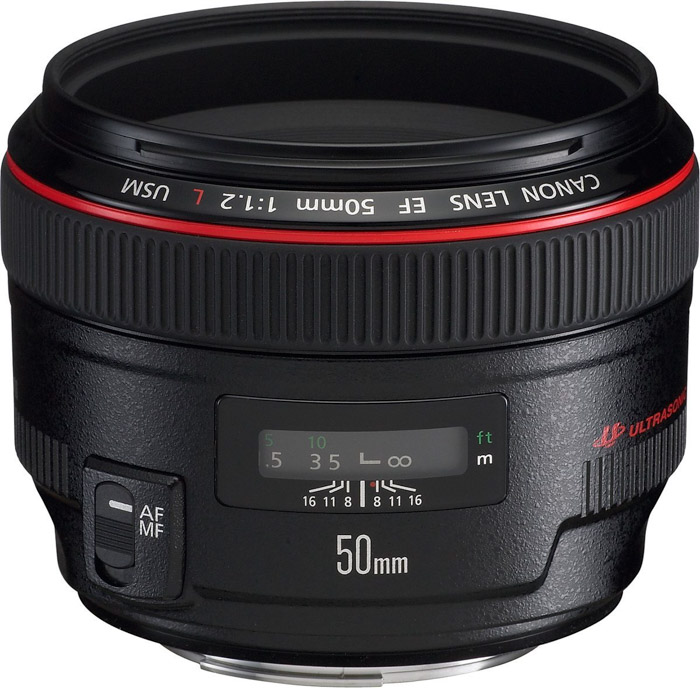
Positively, a 50mm lens is a prime lens, which is
lighter, faster and creates a higher image resolution. A ‘nifty fifty’
has a very wide aperture (f/1.4 or f/1.8), making it faster and very
good in low light conditions.
With any prime lenses, you need to move physically to get closer to a subject. On a negative note, these lenses are mostly plastic, where the 50mm metal lenses are very expensive.

As their name would suggest, normal or standard lenses are versatile
lenses. They can be used for almost all sorts of photography. It will be
street, portraiture, landscape, or event photography.
As this is a prime lens, it tends to have a wider aperture, which allows you to keep your ISO low and quality high.
For a ‘nifty fifty’, look no further than the Canon EF 50 mm 1.8 STM. For the faster, heavier and pricier version, have a look at the Canon EF 50 mm f/1.2L USM.
Telephoto
A telephoto lens is one with a longer focal length than the standard
lens. It gives you a narrow field of view and a magnified image. These
lenses range from 70mm – 200mm and have an angle of view of 10°-30°.
Positively, a telephoto lens will let you capture subjects that are too
far away, or too dangerous to approach. With this lens, you capture
better candid images. However, as they have such long focal lengths, their depth of field is very small.
This can drastically affect your foreground and background, pushing both out of focus.
The perspective you get from this type of lens has the potential of
bringing the subject and background closer together, almost squashing
them together. This can be used to your advantage.
They are heavy, cumbersome and generally expensive, especially as zoom lenses.
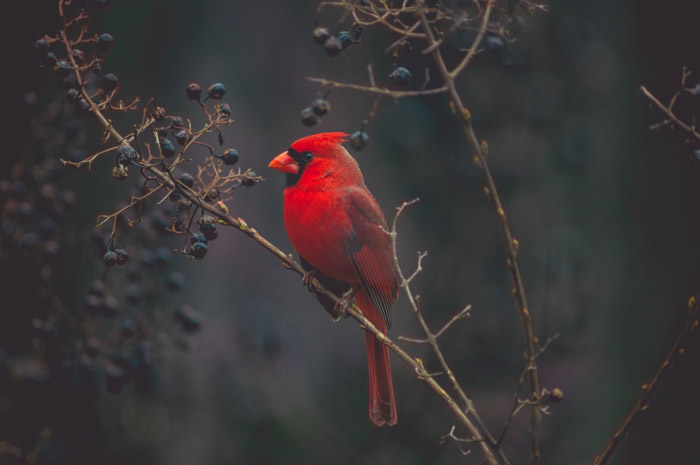
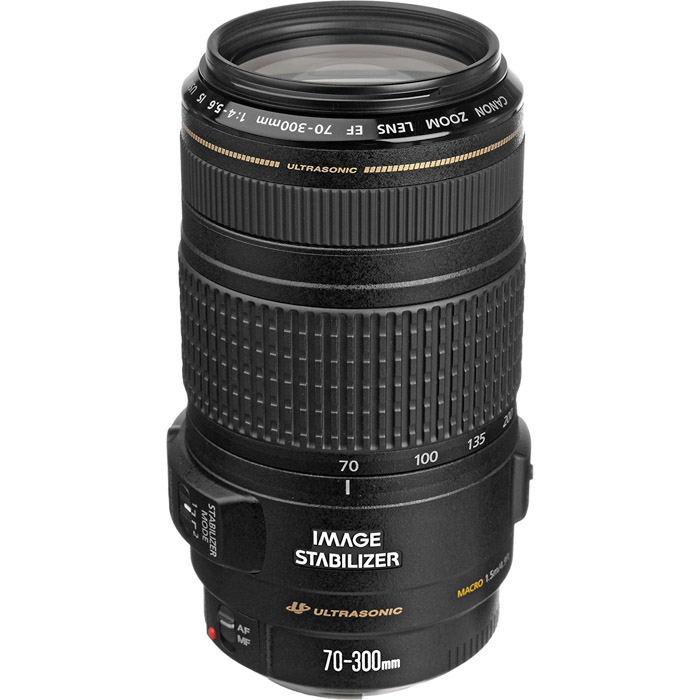
Telephoto lenses are typically used in sport and wildlife photography,
astrophotography and capturing specific details in landscapes. They can
be used in street photography, allowing you to keep your distance or
capturing details in architecture.
The Canon EF 70-300mm f/4-5.6 IS USM
is a notable lens, which comes with image stabilisation to help
eliminate camera shake, which itself is exemplified by the lens’ low
depth of field.
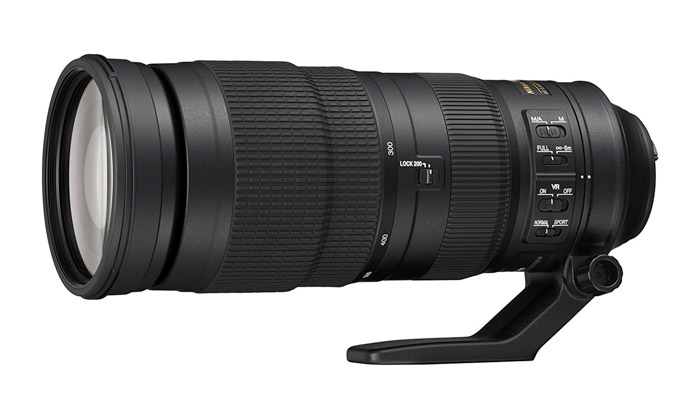
Super Telephoto
A super telephoto lens goes above and beyond the capabilities of a telephoto lens. These start at 300mm and can go all the way to 600mm. Their field of view is a drastically small 1° to 8°.
Positively, if you can’t get close to a subject, this is the lens. For
some areas of astrophotography, it is this lens or a telescope, which
could end up being smaller than the focal length of a super telephoto.
If used with a cropped sensor, this lens is almost a 1000mm lens.
Negatively, this lens has a telephoto effect, as it will push the
subject and foreground closer together. This is made more apparent than
just a telephoto lens as the focal length here is longer.

The super telephoto lens is for really far away subjects. For sports, wildlife, nature and astronomy are all subjects for this lens.
The Nikon AF-S 200-500mm f/5.6E ED VR is an affordable lens in the super telephoto category.
Specialist Lenses
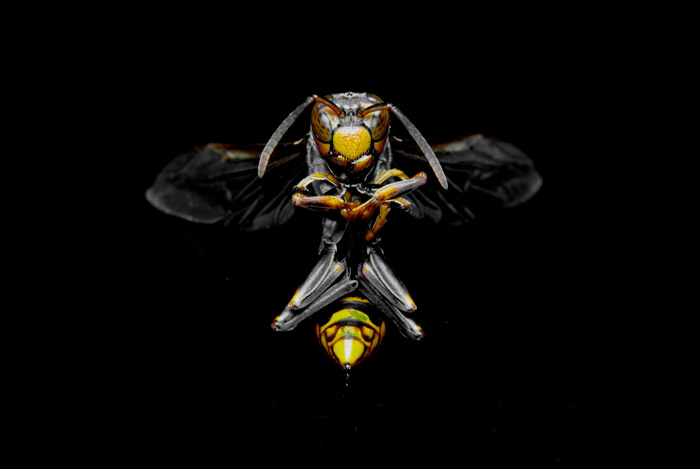
Macro
A macro lens is a specific lens created to photograph small objects at a very close range. They are able to focus from 1cm to infinity.
A macro lens can be replicated by either using extension tubes or by
turning an already owned lens the wrong way round, mounting it with an
adapter.
Macro lenses let you focus close, but they also work as a normal lens.
This lets you get some versatility out of your lens, making this a cheap
option. Extension tubes cut out light entering the lens as the film and
focal planes are further apart.
A macro lens doesn’t cut down the light, allowing you to keep your ISO low.
These lenses come at a higher cost, as the number of motors and
mechanics involved on the inside of the lenses. they aren’t super light
lenses either, so expect yet another weight added to your bag.
On top of this, macro photography does require special equipment, meaning more items and weight added to your trip.
You will use this lens for insects and small objects that you want to blow up larger than the 1:1 ratio.
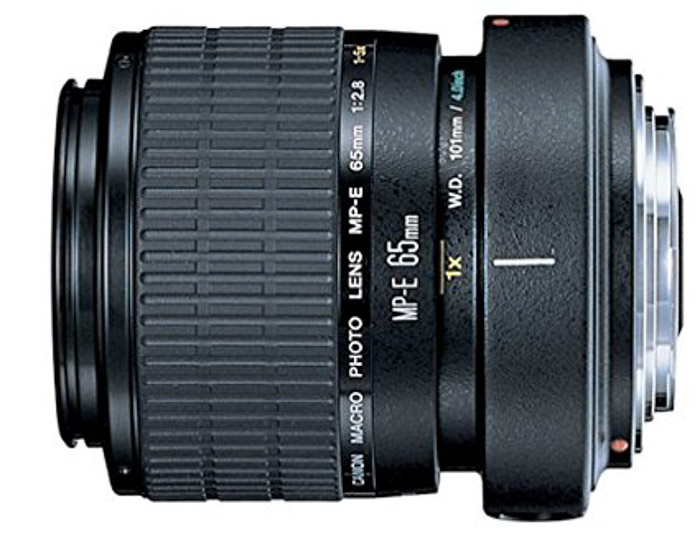
The Canon MP-E 65mm f/2.8 1-5X is a lens we all wish we could enjoy the benefits from. This lens will magnify your subject up to five times its actual size.
PHOTOGRAPHY FREEBIE:
How to make money with your Photography even if you're not a Pro.
Copy & paste this link into your browser, click ENTER, and enjoy:
https://mrdarrylt.blogspot.com/2020/01/how-to-make-500-month-from-your.html
or
https://www.photography-jobs.net/?hop=darryl54
----------------------------------------------------------------------------------------------------------------------
Visit me on Facebook and post your pictures.
https://www.facebook.com/Darryl-T-363867387724297/