Wednesday, August 14, 2019

Tips for Aviation Photography with a Canon EF 24-105 f/4L Lens

The Canon EF 24-105mm f/4L IS USM (and its upgraded version the Canon EF 24-105mm f/4L IS II USM) are great lenses. Like many photographers, the versatility of the EF 24-105mm f/4L IS USM makes it my go-to lens.
Tips for Aviation Photography with a Canon EF 24-105 f/4L Lens
But while its reach is generous, the EF 24-105mm f/4L IS USM doesn’t quite cut it where a dedicated telephoto configuration is considered the norm. In aviation photography, for example, a long telephoto lens is the accepted approach to capturing airborne aircraft.
Nevertheless, there are plenty of ways to make up for the Canon EF 24-105mm f/4L IS USM’s lack of ultra-telephoto capabilities. Here are some tips for aviation photography with the Canon EF 24-105mm f/4L IS USM.
Tips for Aviation Photography with a Canon EF 24-105 f/4L Lens

Amazing airshows

My first recommendation for anyone looking to get into aviation photography is to head to your nearest airshow. Airshows have an amazing array of interesting aircraft on display. In the air, airshow pilots operate nearer to the crowd with photogenic low n’ slow passes. This allows for closer, more comprehensive photography with the EF 24-105mm f/4L IS USM.
On the ground, taxing aircraft are a good subject for panning shots. Static displays allow photographers to get up close and personal with flying machines. They provide opportunities for the unique detail and environmental shots with which the EF 24-105mm f/4L IS USM excels.
tips-for-aviation-photography

Hang out at airports

Airports are another great option for aviation photographers. I have fond memories of wandering around airport hangars with my Dad as a kid. Unfortunately, those days are gone, with heavy security and fencing lining the perimeters of most airports nowadays.
However, the good news is that many airports do have designated plane spotting areas that can be located with the help of Google, Facebook or airport websites. Depending on the airport and conditions, you may even be able to position yourself under the path of aircraft landing or taking off. This is ideal for closing the gap between airborne aircraft and the maximum reach of the EF 24-105mm f/4L IS USM. As long as you stay outside fenced-off areas, photographing under the flight path is perfectly legal.
While planning your shoot, check airport arrival/departure times and apps like Flightradar24 to track aircraft movements. Some airports accommodate mainly GA (general aviation) aircraft which may fly low enough for the Canon EF 24-105mm f/4L IS USM to capture. Other, larger airports see hundreds of aircraft from mid-sized Dash 8’s to enormous A380’s coming and going within operational hours.
Image: The Flightradar24 app is free and simple to use to track aviation traffic
The Flightradar24 app is free and simple to use to track aviation traffic
If you are going to photograph at an airport, familiarize yourself with security precautions. Don’t use flash. Have your ID with you. Don’t enter into restricted areas and never operate drones in the vicinity of aircraft. If police or security do approach you, they usually just want to make sure of your intentions. Be polite and comply with any instructions they may give.
In addition, keep an eye out for specific airport open days, which can often include flyovers and static displays.
Tips for Aviation Photography with a Canon EF 24-105 f/4L Lens

Fun with flyovers

Flyovers are aviation events conducted for occasions like memorials and anniversaries. Operating over landmarks of significance, the public is usually notified about upcoming flyovers through social media and relevant websites. Depending on the aircraft, flyovers are usually conducted at a reduced speed and a low altitude. They are a spectacular opportunity to get close-up shots of aircraft with the Canon EF 24-105mm f/4L IS USM.
Flypast announcements usually specify the route that participating aircraft will take. If you get the heads up about a flyover, plan to be as close to the aircraft as you can. Many aviation photographers position themselves on nearby hills to be as near to the action as possible.
tips-for-aviation-photography

Look for larger aircraft

Depending on the airshow, airport or flyover, small airborne aircraft like the Cessna 172 can be difficult to photograph with the EF 24-105mm f/4L IS USM. If you can’t get close enough to a smaller aircraft to photograph it adequately, try focusing on larger aircraft instead.
At airshows and flyovers, aircraft like the C-17 (seen in the image below) demonstrate their vast abilities in impossibly slow passes – a perfect subject for the EF 24-105mm f/4L IS USM.
tips-for-aviation-photography
For civilian aircraft, regional airliners frequent airports globally. If you get a good position at an airport (especially under the flight path), Dash 8, ATR 72 and Saab 340-sized aircraft and up will prove large enough to fit the EF 24-105mm f/4L IS USM’s capabilities.
Image: A Bombardier Dash 8 on finals
A Bombardier Dash 8 on finals

Get in formation

Another way to fill the camera frame is to photograph several aircraft in formation. Here in Australia, a fleet of RAAF aircraft called the Roulettes make appearances at occasions all across the country. They perform precision maneuvers in hair-raising tight formations which make for great photography. Equivalent display teams around the world are sought after by aviation photographers because they photograph so well. If you’re shooting with an EF 24-105mm f/4L IS USM, these teams are fantastic subjects.
tips-for-aviation-photography

Remember composition

Aircraft may be the main subject in aviation photography, but composition is key to creating an engaging photograph. For example, leading lines can be expressed through smoke trails, aircraft design, and the horizon. You can apply the rule of thirds to offset the key components of an image, creating dynamic momentum in a photograph. Color sets the tone of an image and texture illuminates the tactility of aircraft construction.
Aviation photography (and all photography really) is comprised of infinite combinations of the principals and elements of art and design. Composition brings order to these combinations, creating a comprehensive narrative. The EF 24-105mm f/4L IS USM may not have as greater reach as a dedicated telephoto, but conscientiously applying composition techniques can make up for the lens’ shortcomings considerably.
tips-for-aviation-photography
A panned shot of a Mustang taxiing to the main runway of an airshow

Take a minimalist approach

If you’re looking to photograph an aircraft at a distance with the EF 24-105mm f/4L IS USM, you can always take the minimalist approach. By photographing an airborne aircraft in an environment made up of minimal detail, the subject of interest is emphasized. In the example below, the minimal nature of the background accentuates the focal point of the image.
Tips for Aviation Photography with a Canon EF 24-105 f/4L Lens

Move around

When everything is unfolding before you at an airshow or an airport, its easy to get into the habit of staying in one position. However, moving around is a vital aspect of aviation photography. By adjusting your perspective, you have a much greater chance of capturing something unique.
At airshows, there are plenty of interesting vantage points to make use of. Away from the main runway, taxiways and static aircraft provide great opportunities for interesting perspectives. Crouching, or holding the camera above your head to take a shot can also provide a viewer with an engaging point in which to enter a photograph.
At airports, change perspective as much as possible, altering your point of view under the flight path or positioning yourself at different spots around the airport perimeter. Make use of dedicated plane spotting facilities, but don’t be afraid to experiment a little.
Tips for Aviation Photography with a Canon EF 24-105 f/4L Lens

Go abstract

Artistic renderings of aviation are well within the capabilities of the EF 24-105mm f/4L IS USM. Abstract photography is a field of photography that removes the literal aspects of a photograph. Instead, abstract photographers rely on composition elements such as form and texture to create intriguing imagery. For many people, aviation is viewed from afar. Taking an abstract approach to aviation photography can create a fascinating insight into the artistic geometry of aircraft.
Tips for Aviation Photography with a Canon EF 24-105 f/4L Lens

Capture the environment

Incorporating environmental elements such as the landscape, sun or clouds into your aviation photography adds drama and separates aircraft from a standard blue backdrop. In addition, including man-made features such as fence lines, hangars, runways and approach array into your images provides context, scale, and interest.
Golden and blue hour photography emphasizes shape and form and reiterates the ever-changing nature of the atmosphere in which aircraft operate. If you’re at an airshow, be sure to stay the whole day so you can take advantage of lighting conditions into the evening. If you’re at an airport, try a session around golden and blue hour to capture the effect of the setting sun.
tips-for-aviation-photography
A Bombardier Challenger during golden hour

Join the club

Joining a plane spotters group on Facebook is a great way to keep updated with interesting aviation movements around a particular area. The groups are also full of valuable information on how to get the best (and closest) shots possible. There are heaps of Facebook groups for thousands of different airports around the world. Those with info can update aviation-enthused photographers on flight movements. Plus, everyone is free to contribute their photographs to the group for discussion and advice.
Tips for Aviation Photography with a Canon EF 24-105 f/4L Lens

There’s no doubt that the EF 24-105mm f/4L IS USM (and it’s big brother the EF 24-105mm f/4L IS II USM) are assets to any photographer’s kit. While aviation photography tends to center around the intimate shots that a dedicated telephoto lens affords, a little research and creativity mean that the EF 24-105mm f/4L IS USM is a great tool for capturing the unique spirit of aviation.
We’d love you to use some of these tips for aviation photography, and share your images with us in the comments! Share this article.



https://resources.digital-photography-school.com/ref/937/

Five Easy Tips for Better Indoor Architectural Photography


By Tiffany Mueller 
 

#photographyeveryday #photographyislife #photographylover


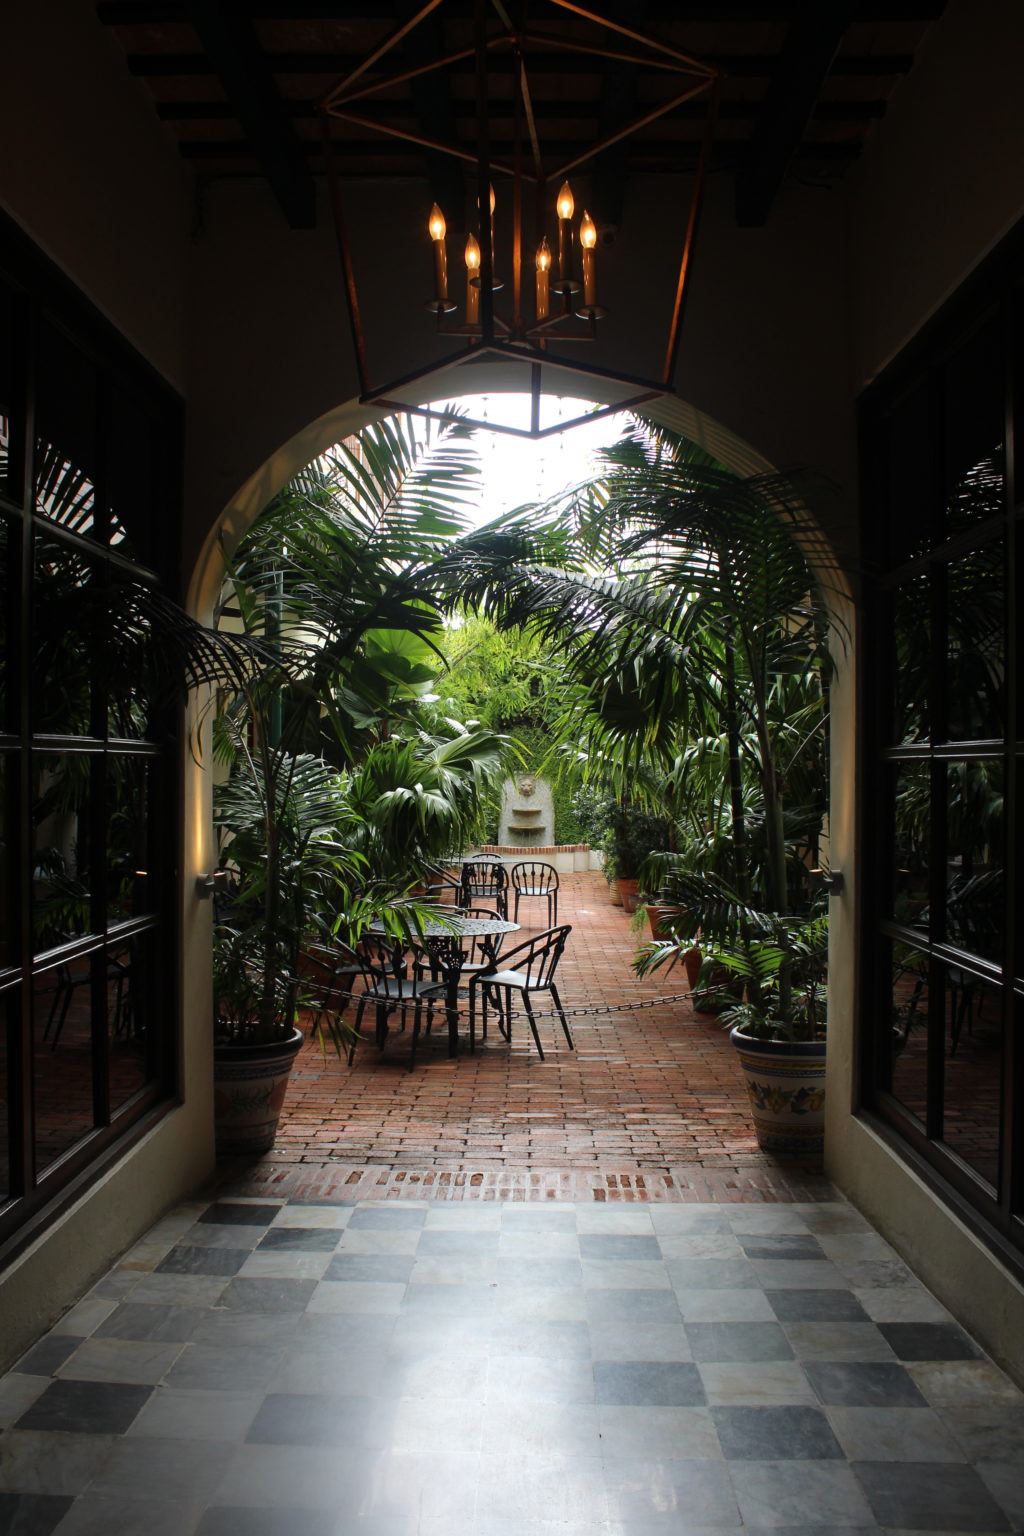
There is an art to photographing indoor spaces and truly capturing the essence of their architectural design. Not only does it take a skilled photographer, but also one that has a solid grasp on the elemental aspects of the space they are photographing.
The point of architectural photography is, after all, photographing a structure in a way that brings out the highlights of its design. Like any style of photography, it's a skill that takes time and practice to master.
Here are a few tips that can help you along the way:

Mark McCammon

1. Child's Eye View

As a general rule of thumb, start with your camera position at about the same level as a child's eye. Avoid shooting from too high or too low, you're ultimately looking for a nice middle ground between the two. Somewhere between waist and eye level is typically a good range to stay within and will help create depth in an image.

Medhat Ayad

2. Understand the Floor Plan

Study the layout of the room and look at how all the objects within it interact with each other aesthetically. One of the most important factors of indoor architectural photography is shooting at the correct angle. In other words, think about where your camera is pointed. How do the angles of the room align with it's furnishings when looking at the viewfinder of your camera? In the photograph below, you can see how the photographer used the foreground objects (doorway, wall-mounted towel rack, and candles) to lead the viewers eye to the background objects in the photograph, all while keeping the corner angles perfectly in line.

Quang Nguyen Vinh

3. Interior Staging

As we learned above, the camera angle is as important as ever. If you encounter a room that seems cluttered and awkward to photograph, it's perfectly acceptable to stage it. Before you go through the trouble of redesigning a space however, a quicker remedy could be just moving your camera. Sometimes a quick zoom adjustment or a slight 6-inch shift in position can align an image perfectly. It won't always be effective, but definitely worth a try.

Deeana Garcia

4. One Point Perspective

In a nutshell, this architectural term means that you have placed your camera so that the horizontal lines run horizontally and the vertical lines run vertically. That means your camera has to be absolutely parallel to the wall in which it is pointed at, like in the photograph shown below. While this seems easy enough, even few degrees can throw the entire photograph off. Keeping that in mind, if you can't quite get the one point perspective down, it's best to use shots that don't utilize the technique rather an image that looks like a failed attempt.

Jesse Bridgewater

5. Wide Lenses

It's no secret that using a wide angle lens adds depth to a room, making appear larger than it actually is. It's because of that very reason, real estate photographers use the lenses so freely. But, a wide lens isn't always the best choice. They often distort images and can be very distracting to look at. In many situations, it's better to just take two photographs of the room. When doing so, make sure there is an object common to both images, such as a chair, that will help viewers associate the two.
What's great is that many of these pointers will translate well into other styles of photography as well, so even if architectural photography isn't necessarily your thing, understanding how it works can still improve your craft. Get shooting and feel free to share your architectural photographs in the comments below!

Share this article.

Security Firm Demonstrates How Ransomware Can Hijack the Canon 80D – Company Issues Update

By Kehl Bayern 


Almost anything can be hacked if it uses software, and apparently Canon DSLRs are among those things you have to watch.

EOS 80D
from Canon.
A story traveling throughout the photography world is telling all of us Canon fans to update our DSLR software – and now – or risk being taken hostage by ransomware that can be installed via the camera’s Wifi connection. Check Point Research released a video showing how easily a Canon 80D could be hijacked by hackers and then held using ransomware that forces the user to pay a huge sum in order to have their device and its contents released. Long a problem plaguing computers and smartphones even, ransomware on a DSLR is new but probably something just waiting to happen.
Unveiled during Hacking Conference DEF CON 2019, Check Point Research demonstrated how Canon’s “Picture Transfer Protocol” had vulnerabilities that allowed for this kind of thing to occur. A report from PetaPixel states that “such an [infection] will allow attackers to do whatever they want with the camera, and infecting it with Ransomware is only one of many options.”
Canon just happened to be the focus of this exercise, but Check Point thinks there are other makes other there with vulnerable devices. To quote, “Based on our results…we believe that similar vulnerabilities can be found in the PTP implementations of other vendors as well.”
Before making their results public, the group shared their data with Canon to allow the company time to make a patch to overcome the flaw. That’s why this revelation came out alongside an update for Canon’s affected DSLRs so quickly – and we’re pretty grateful they chose that route to take. Unfortunately, the patch out there now is for the 80D as shown in the demonstration video. Until the company can update the protocol for all of its DSLR cameras, it has some advice that you can read here.
As always, we’d love to know your thoughts on this story. How scary is the thought of having your DSLR held for virtual ransom? Pretty terrifying, honestly. Let us know your feelings in the comments below.

Share this article.

Tuesday, August 13, 2019

10 Tips to Create Emotive Portraits

10 Tips to Create Emotive Portraits
Portraiture is as vast a genre of photography as it is rewarding. There are a lot of ways to go about creating portraits with a lot of visual interest, but one of the most satisfying ways to do this (to me anyway) is to create emotive portraits. Being able to capture your subjects showing emotion (whether that be positive or negative) not only allows you to show your viewer a more human aspect of your subject, but it can also help create compelling and arresting imagery. This article provides you ten tips to help you with your create emotive portraits. Some of these tips are technical, but most of them, perhaps unsurprisingly, focus on how you interact with your subjects.

1. Concentrate on the gesture

When you’re photographing emotion, it will be helpful to consider what information you need in your frame. If your subject is smiling, crop in close on the head and leave all other information out. The space in your frame is valuable, and you want to ensure that you get your message across clearly. Unneeded information (such as things in the background or body parts that are not involved in the gesture) serve only to detract from the focus of the image.
create-emotive-portraits
By cropping in closer, the emphasis of the composition is placed on the
gesture of the expression, leaving nothing to distract from it.
That said, pay attention to your subject’s body language. If they are gesticulating with their arms as part of the expression, be sure to include that in your frame as it will help to complete the expression.

2. Keep the lighting simple

Image: Basic lighting techniques work well when trying to capture emotion. A lot of the time, you do...
Basic lighting techniques work well when trying to capture emotion. A lot of the time, you 
don’t need more than one light and a reflector.
Just like in a lot of other walks of life, less can definitely be more in emotive portraiture. By keeping your lighting simple, you are controlling how much information is in the frame. Just like the first tip, this is about ensuring that your viewer’s attention is placed squarely where you want it to be.
The lighting pattern that you choose will likely depend on what emotion you are trying to convey. For bright, happy emotions, you may opt for something like butterfly lighting. You also might choose to use a lot of fill light. For darker emotions, like sadness, more dramatic light such as that provided by short lighting is a fantastic tool that provides many shadows and can add tons of mood to your images.

3. Communicate clearly

Image: Before you even start a shoot, explain to your subject as clearly as possible what you want f...
Before you even start a shoot, explain to your subject as clearly as possible what you want 
from them. If you need to, show them examples.
Assuming you are staging your portrait session rather than taking candids, you will want to very clearly communicate with your subject exactly what it is that you are trying to achieve. Be specific and avoid vagueness. If you tell someone to be happy, you might get that generic smile that everybody gives a camera. Instead of happy, try saying something along the lines of: “I’m looking for genuine expressions of joy. I want you to imagine that you’ve just got a new puppy.” You’ll find this kind of thing works well very often as you almost always evoke genuine emotion from someone.
If the puppy doesn’t work, feel free to substitute it with anything that might. Kitten, baby, chinchilla, motorcycle; it doesn’t matter as long as it works.

4. Genuine rapport

create-emotive-portraits
Having a good rapport with your subject will often give you more subtle and genuine
expressions.
To get the very best and most authentic expressions out of your subjects, you will want to build a genuine rapport with them. Be nice, be polite, let them talk about themselves, show them the back of the camera, joke around (appropriately) and develop a light-hearted banter (if warranted, not everyone appreciates it).
Also, try to keep the session relaxed and stress-free. You, as the photographer, might be worried about the lighting and all of the technical things, but I think it’s vital for you to worry about your role in your head and keep your subject’s focus on their role.

5. Make your subject an actor

Image: Instructing your subjects to act out various scenarios can give you a range of images from wh...
Instructing your subjects to act out various scenarios can give you a range of images from
which to choose the most natural and evocative images.
An approach that can help to elicit good expressions is to tell your subject to act rather than to pose. Still images and video are very different things, and people change their behavior accordingly. If you suggest that they should treat the session and the scenarios you give them as if you were filming, or as if they were acting on stage, you can get much more natural expressions. Better yet; book an actor if you want the very best results, and it suits your project.

6. Look away from the camera

create-emotive-portraits
One of the easiest ways to get emotion into your photos is to have your subject look away
from the camera.
One of the simplest ways to help convey real expression is to make sure your subject isn’t looking directly at the camera. Instead, pick a point for them to look at and direct them to do so. Where you pick isn’t important as long as you can capture and clearly convey the emotion that you are after.
This is very useful for the more somber emotions. Sadness, longing, and thoughtfulness can all be more easily portrayed with your subject looking off into the distance. This isn’t a rule, so please don’t shoot every single shot this way unless the situation calls for it.

7. Give permission to be ridiculous

Image: Tell your subjects they can be as ridiculous as they want. It can help to loosen them up and...
Tell your subjects they can be as ridiculous as they want. It can help to loosen them up
and act more natural later. Sure, there will be unusable frames, but you might just hit gold.
Many people (including those with much experience) tend to go rigid in front of a camera. Let them know that they can act ridiculous. Moreover, encourage them to act as ridiculous and exaggerated as possible. This will help them to loosen up, and it will also help to lighten the mood of the session. Having your subject’s pull funny faces is a good way of cutting through the seriousness of a photoshoot.
Another trick that I sometimes use (it doesn’t work on everyone) is to get someone to fill their cheeks with air and then blow out as hard as possible.
If they’re open to it, it almost always results in fits of laughter.

8. Have a set of techniques that provoke reactions

Image: Blurting out random words and photographing the reactions can lead to fantastic results.
Blurting out random words and photographing the reactions can lead to fantastic results.
There are a lot of tips on how to provoke reactions from people. My favorite is to blurt out random words and photograph the reactions. To do this, just say a different word in-between frames. It could go something like alpaca, cheeseburger, dunce cap, or giant mushroom. Feel free to adjust your words based on the person you are working with.
Again, it doesn’t work on everyone, and you may have to switch to another technique.
If you know your subject well enough, you could always show them some funny pictures or memes on your phone. Just be sure that whatever you show them matches their sense of humor or you might ruin the rest of your shoot.

9. Give food for thought

create-emotive-portraits
Try giving your subject a specific scenario to think about for a few frames. This works
well across the board, no matter how happy or sad you want them to act.
Instead of strings of random words, you can give your subject a specific thing to think about. This works well for all manner of emotions, whether that be happy or sad. I recently worked with an actor, and she introduced me to the sentence, “Imagine a badger eating spaghetti.” For laughter, I don’t think I’ve come across anything that works better.
For sadder emotions, I suggest (from experience) avoiding being too specific. If you say something along the lines “Imagine the loss of a pet” and they recently lost a pet, it’s really not going to go down well.
Instead, ask them to imagine feeling a loss and let them think about whatever it is that comes to mind. Remember, when trying to capture negative emotions, you will generally have no idea what’s going on in your subject’s life. While you want to capture an emotion, it’s not usually a good idea to put your subject through unnecessary emotional turmoil. Please try to be respectful of that and the people you work with.
I know of a lot of wonderful photo projects that exist to document the rawest emotions in people (Sam Taylor Wood’s “Crying Men” is easily the best photography exhibit I have ever seen). I am not saying “don’t do that” if that’s your goal. However, do be explicit with your intentions to your subjects, and do ask them if there’s anything they would rather you not touch on.

10. Outtakes

Image: Don’t forget to take a look at your outtakes from any given shoot. They are usually the...
Don’t forget to take a look at your outtakes from any given shoot. They are usually the
most spontaneous and natural shots of all.
During a normal portrait session, outtakes can often be seen as a fun extra. However, when you’re creating emotive portraits, it’s the outtakes where you might find the most genuine expressions. Don’t forget to give them a look through once you have the photos on the computer. You may find that a spontaneous outtake has given you exactly what you were after.
create-emotive-portraits
Seriously, the world needs more outtakes.

 
https://resources.digital-photography-school.com/ref/937/

That’s it

Sometimes getting your subjects to react the way you want and then to convey those emotions well in your photographs can be a challenge. With these ten tips, you hopefully have a few more tools in your belt to make that process easier. These are just a handful of things that can help; however, and there are plenty of other techniques out there.
If you have tried and tested methods, or things that you say to subjects to provoke expression, please add it to the comments below.

Share this article.

21 Vibrant Landscape Photographs of Valleys  

  By Rob Wood


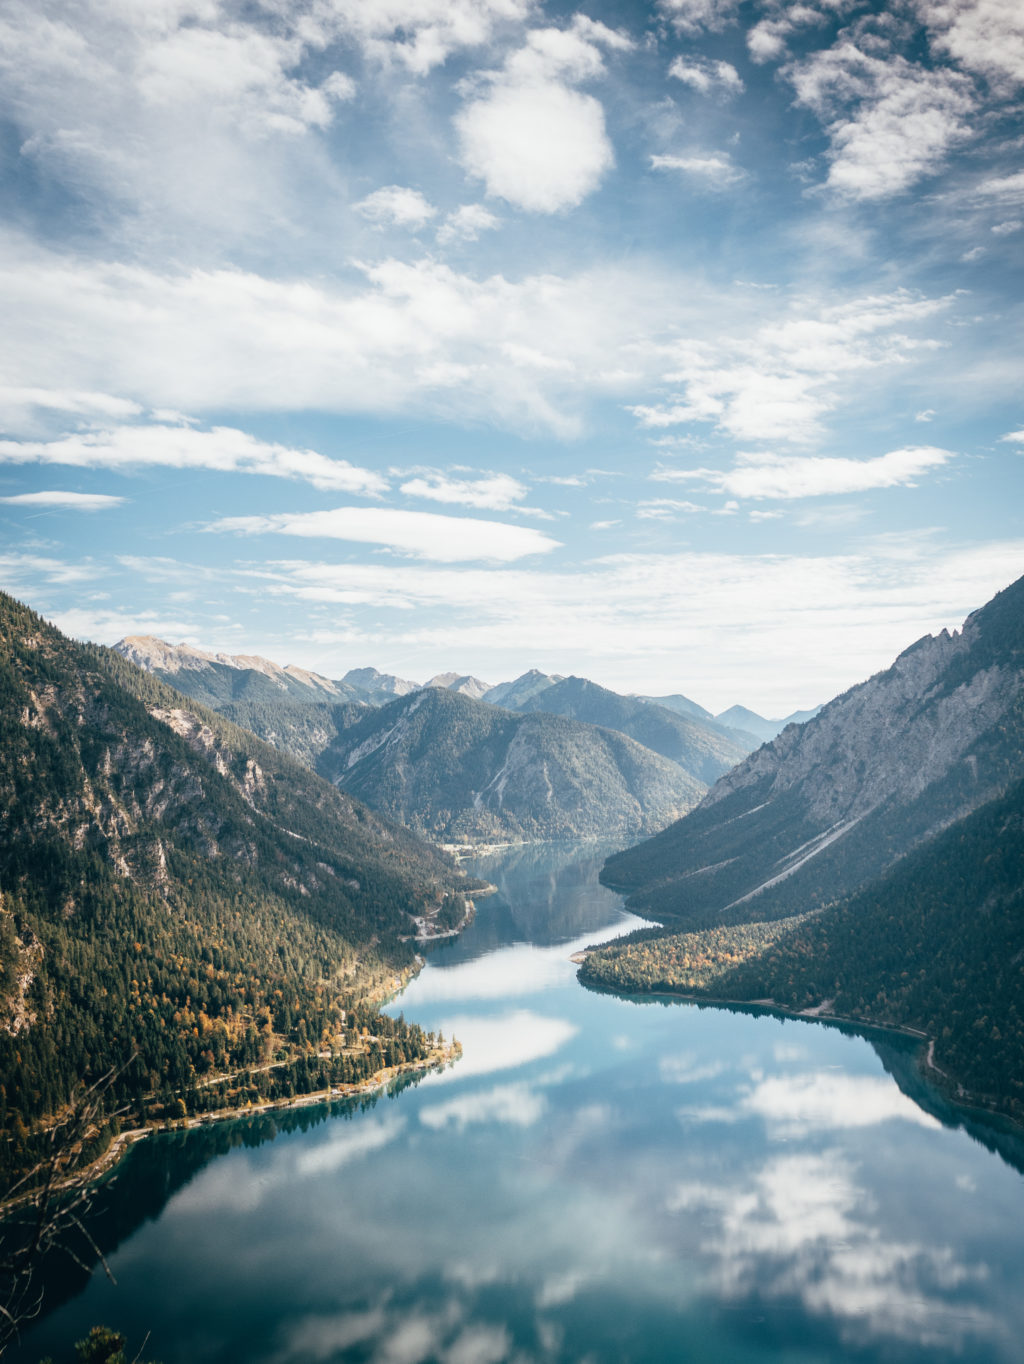
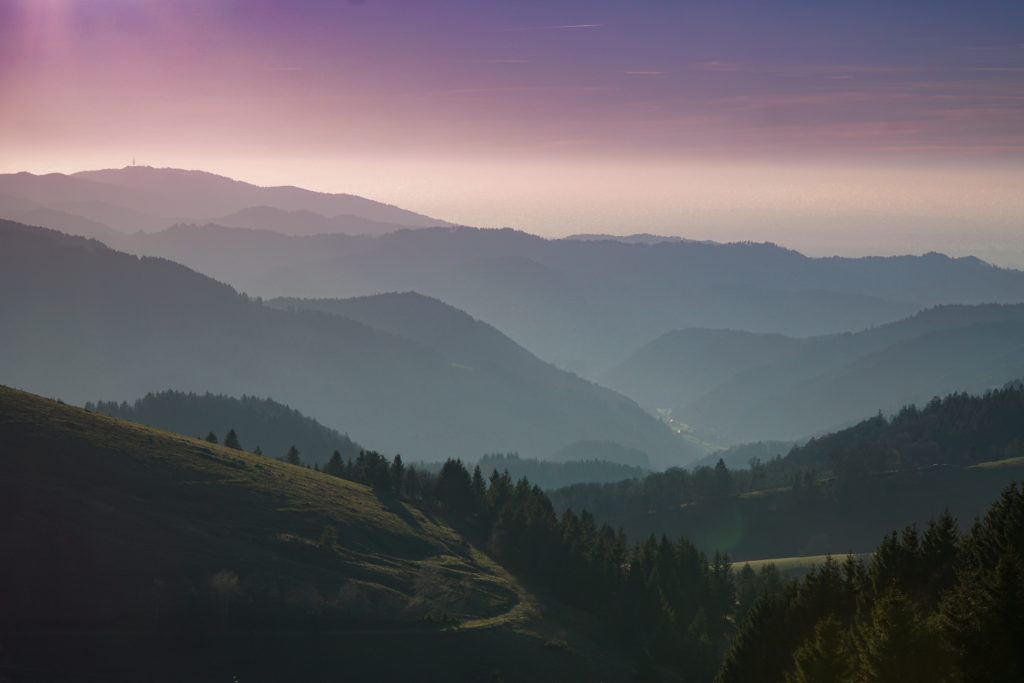
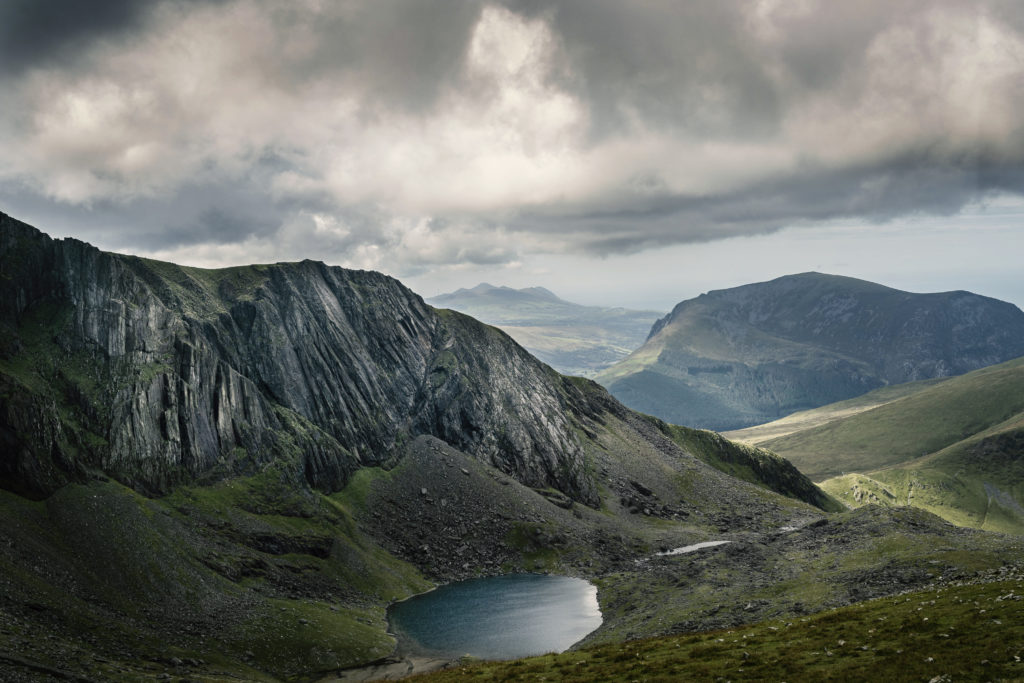
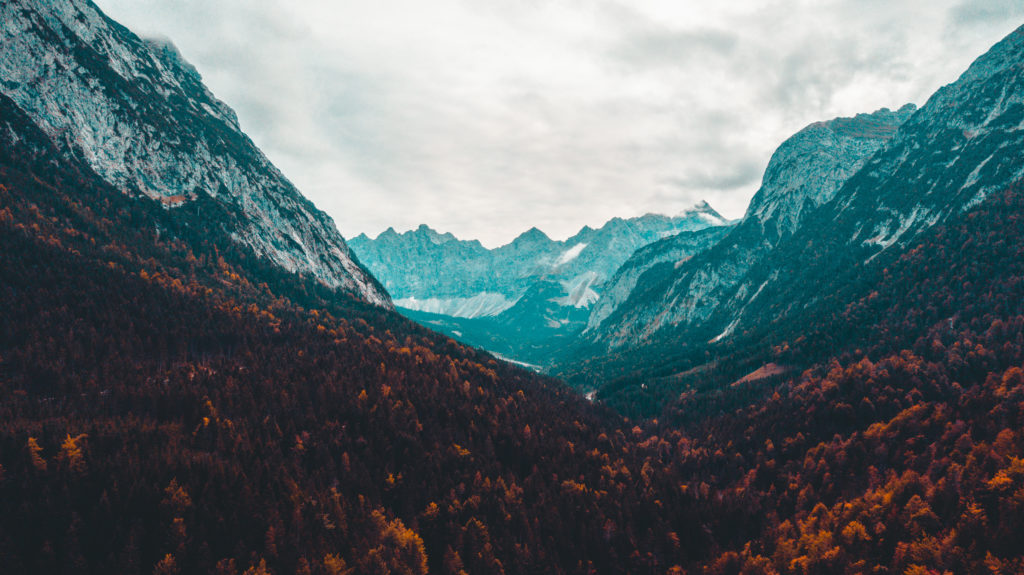
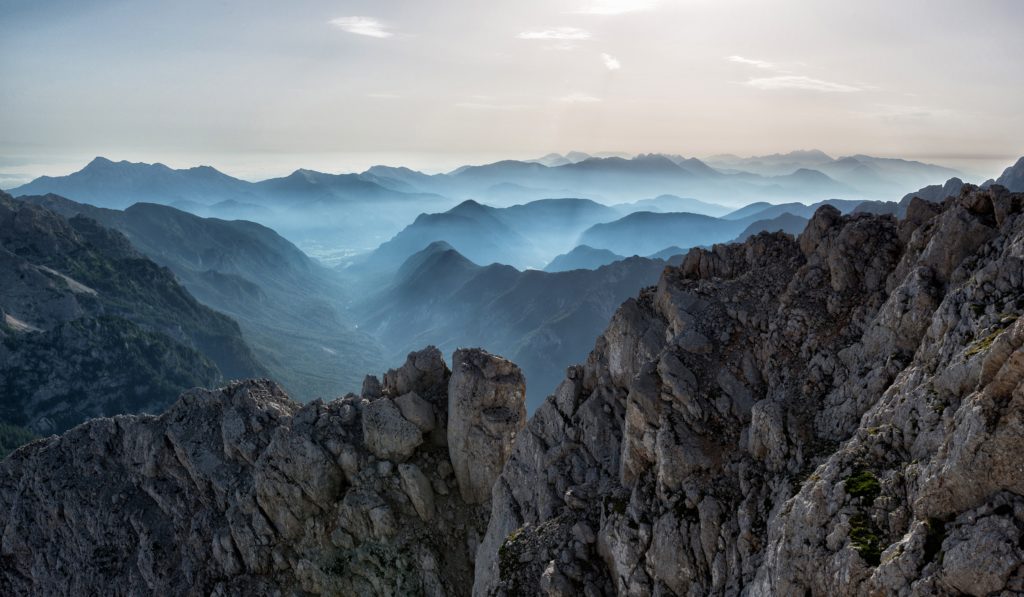
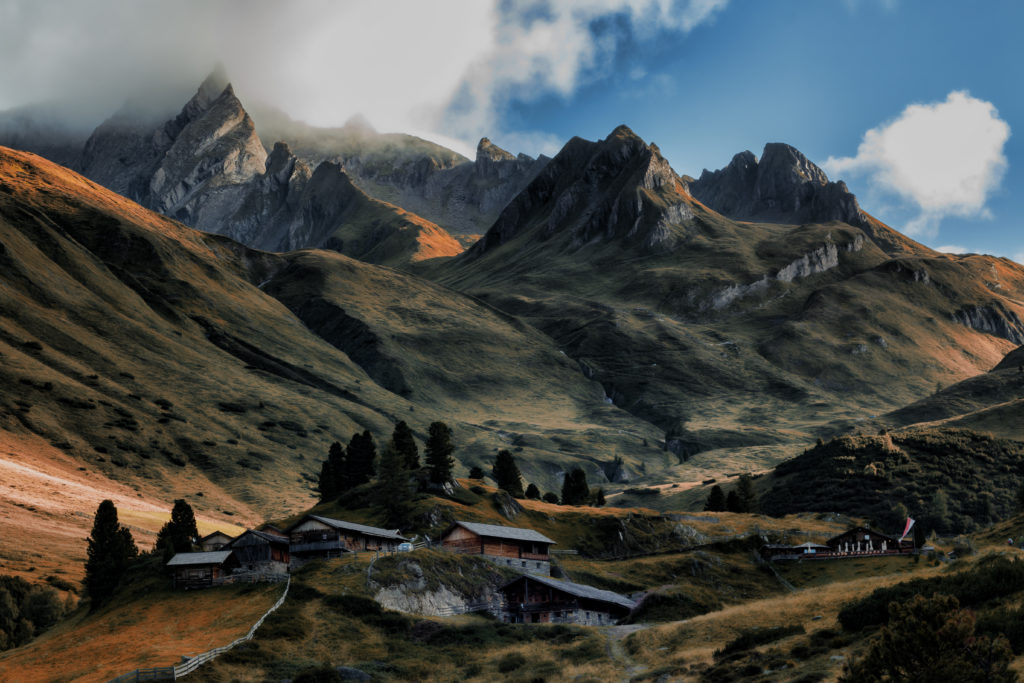
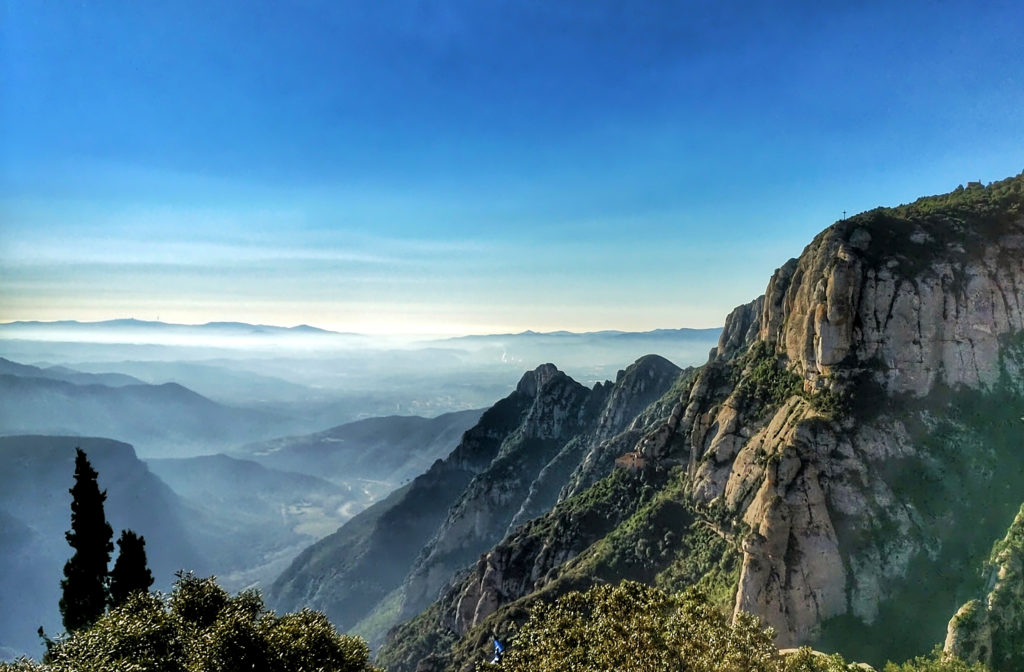
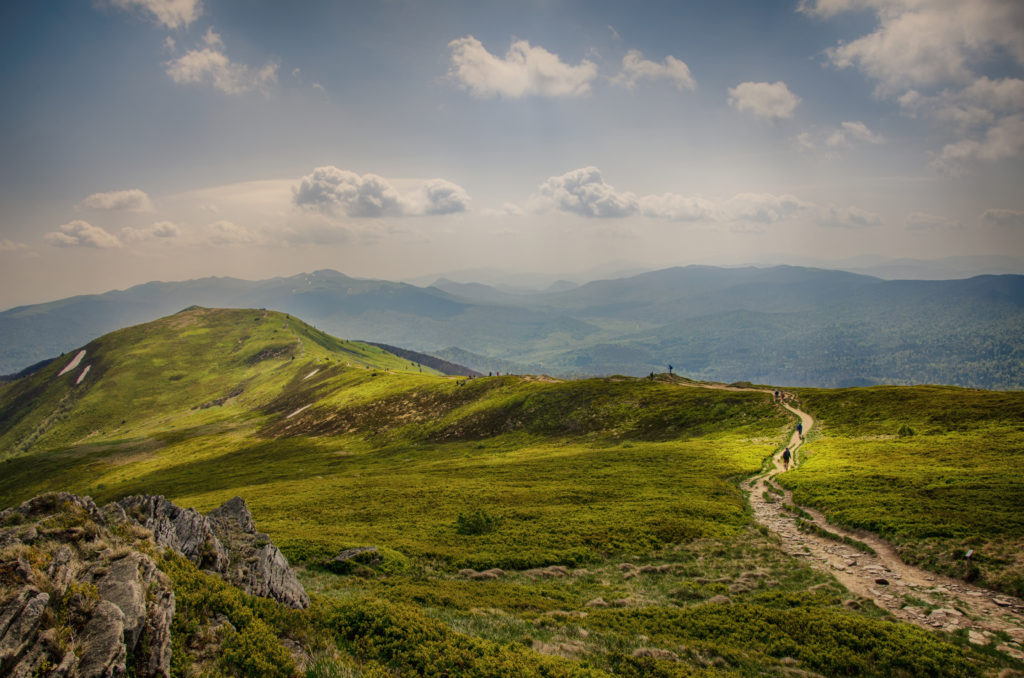
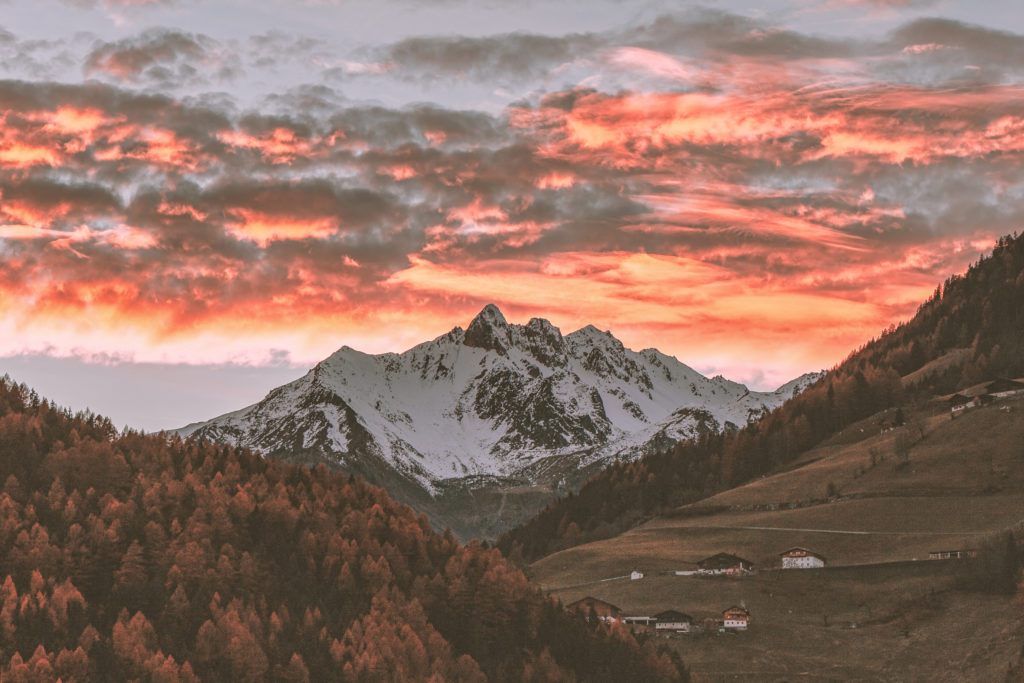
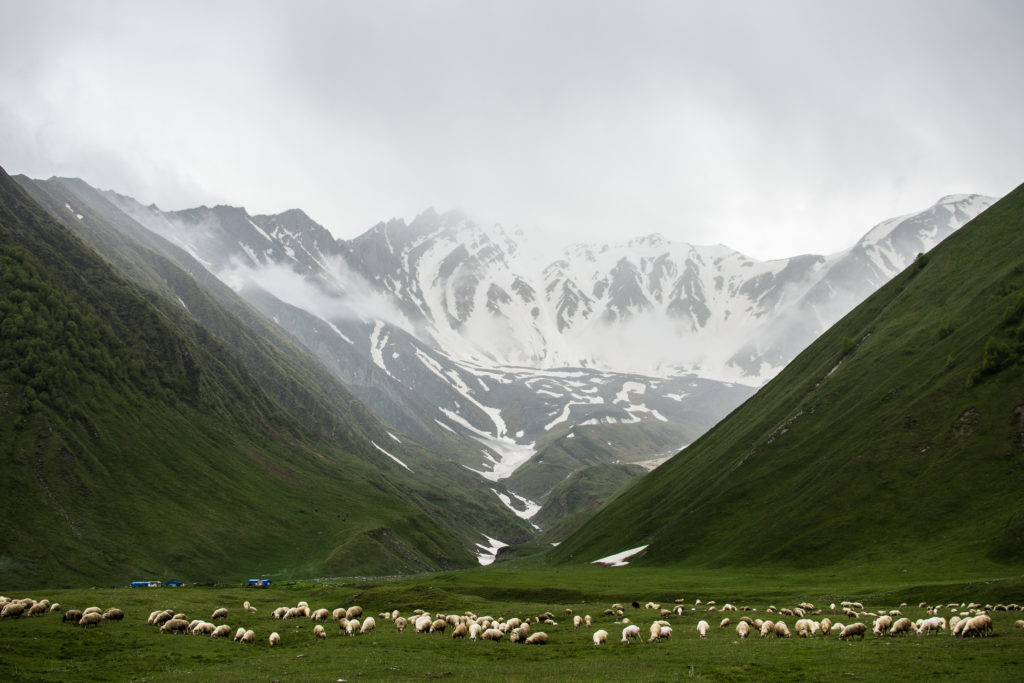
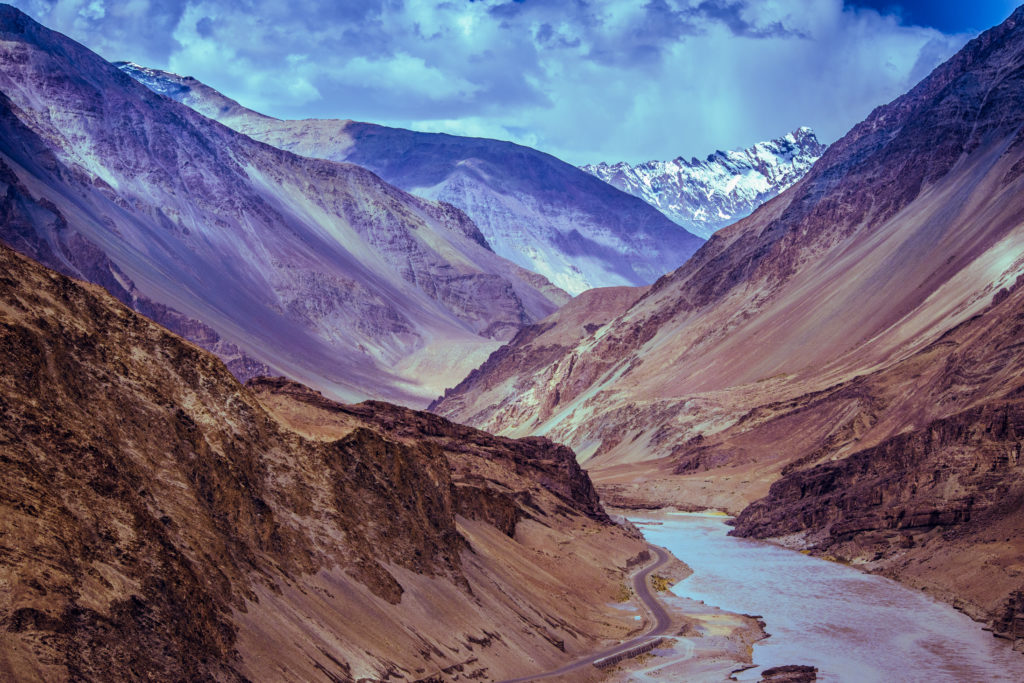
Some days and places it can be difficult to take a bad photograph. Even still, these landscape photographs of different valleys from around the world are a great reminder to get out and shoot! Share your own in the comments!
Also, make sure you check out our wonderful resource page on Landscape Photography – we love that you can get all these resources in one place and we hope it helps you to become a great landscape photographer.

We hope you've enjoyed this gallery of stunning valleys.


 https://resources.digital-photography-school.com/ref/937/
Professional Food Photographer Reacts To Food Styling Hack Videos