Five Easy Tips for Better Indoor Architectural Photography
By Tiffany Mueller
#photographyeveryday #photographyislife #photographylover
There is an art to photographing indoor spaces and truly capturing the essence of their architectural design. Not only does it take a skilled photographer, but also one that has a solid grasp on the elemental aspects of the space they are photographing.
The point of architectural photography is, after all, photographing a structure in a way that brings out the highlights of its design. Like any style of photography, it's a skill that takes time and practice to master.
Here are a few tips that can help you along the way:
 Mark McCammon
1. Child's Eye View
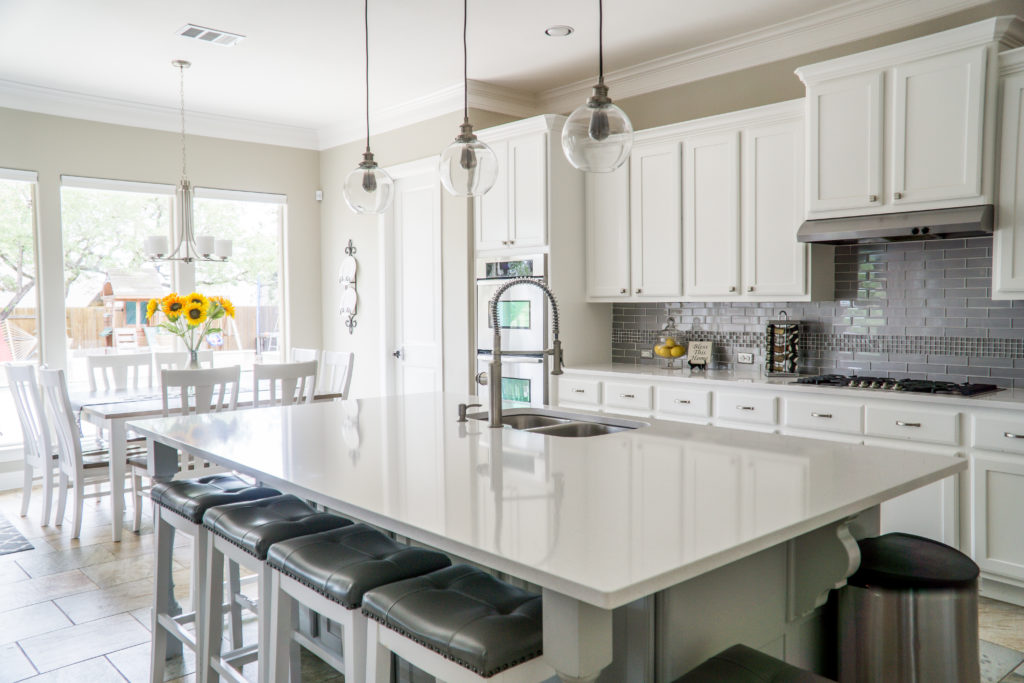
As a general rule of thumb, start with your camera position at about the same level as a child's eye. Avoid shooting from too high or too low, you're ultimately looking for a nice middle ground between the two. Somewhere between waist and eye level is typically a good range to stay within and will help create depth in an image. Medhat Ayad
2. Understand the Floor Plan
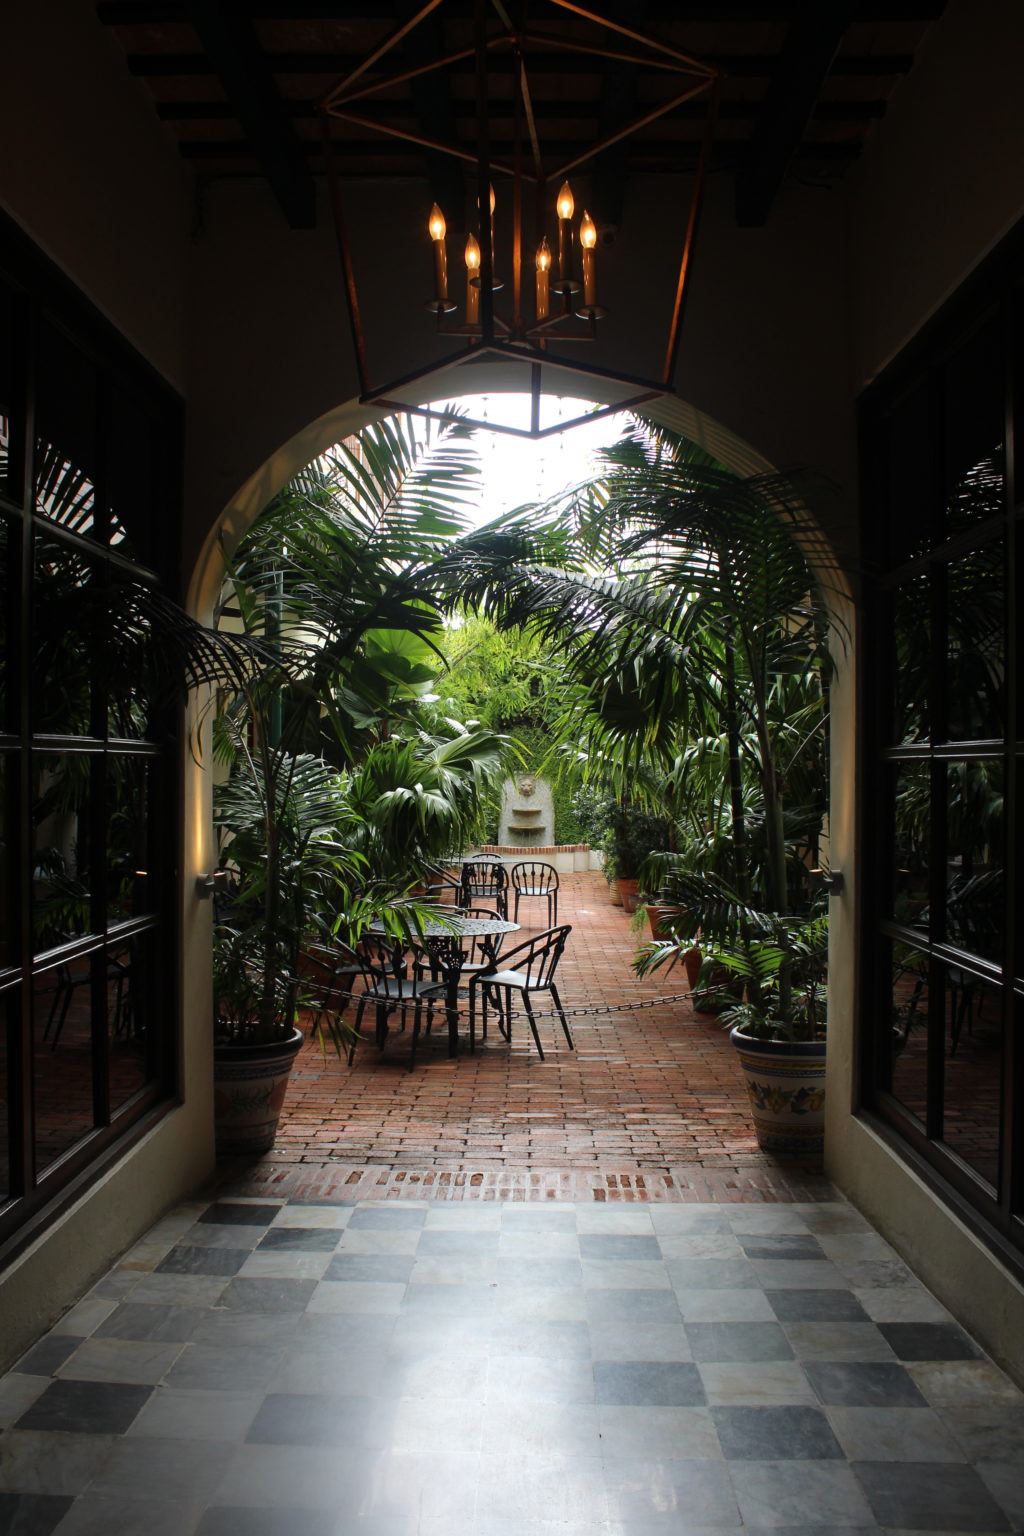
Study the layout of the room and look at how all the objects within it interact with each other aesthetically. One of the most important factors of indoor architectural photography is shooting at the correct angle. In other words, think about where your camera is pointed. How do the angles of the room align with it's furnishings when looking at the viewfinder of your camera? In the photograph below, you can see how the photographer used the foreground objects (doorway, wall-mounted towel rack, and candles) to lead the viewers eye to the background objects in the photograph, all while keeping the corner angles perfectly in line. Quang Nguyen Vinh
3. Interior Staging
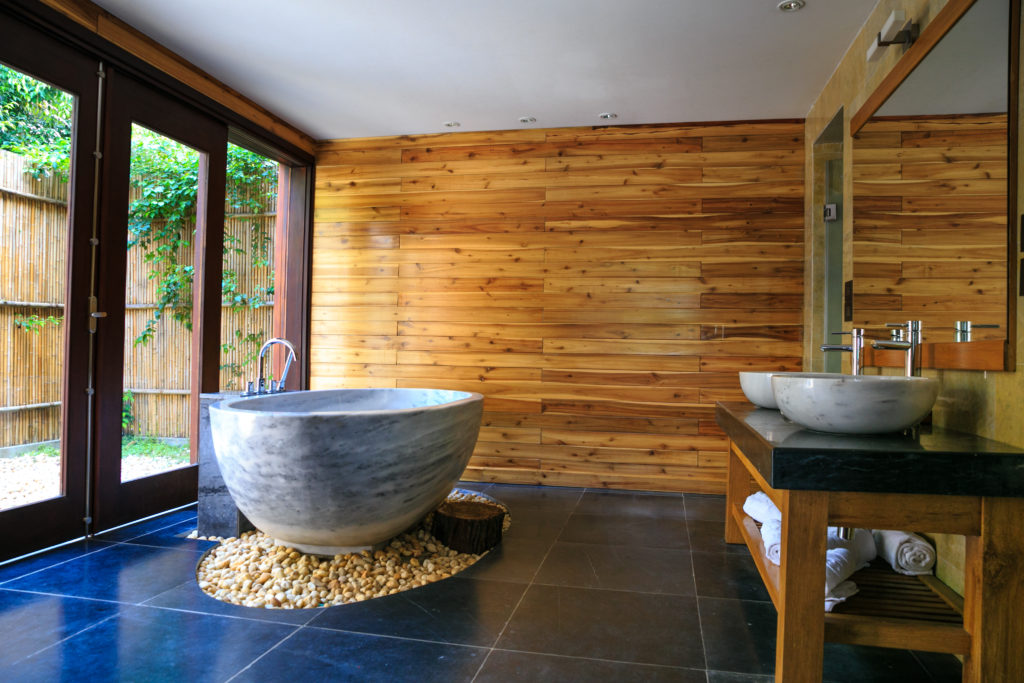
As we learned above, the camera angle is as important as ever. If you encounter a room that seems cluttered and awkward to photograph, it's perfectly acceptable to stage it. Before you go through the trouble of redesigning a space however, a quicker remedy could be just moving your camera. Sometimes a quick zoom adjustment or a slight 6-inch shift in position can align an image perfectly. It won't always be effective, but definitely worth a try. Deeana Garcia
4. One Point Perspective
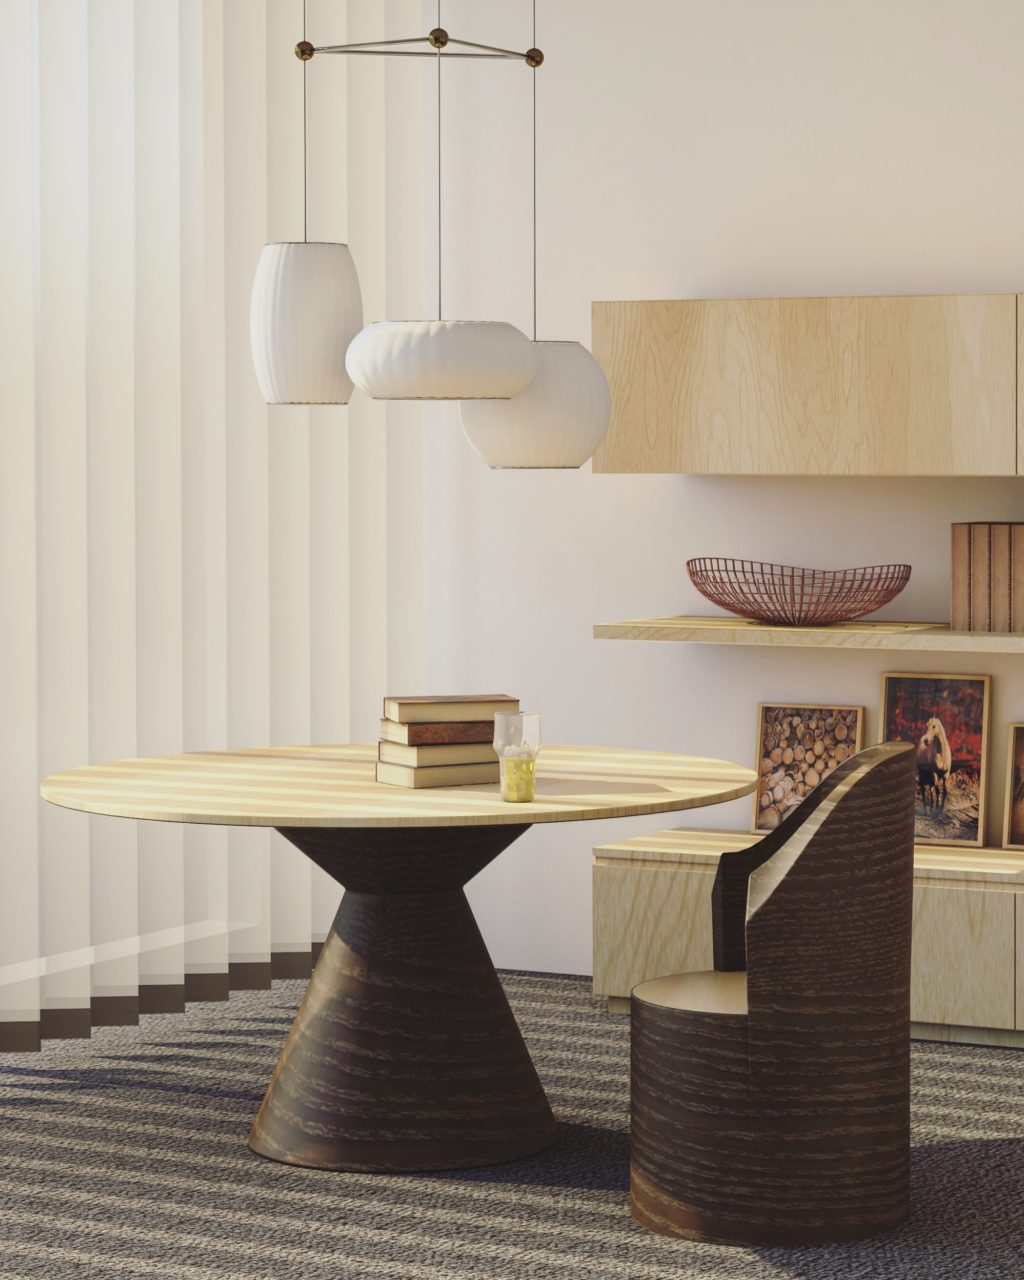
In a nutshell, this architectural term means that you have placed your camera so that the horizontal lines run horizontally and the vertical lines run vertically. That means your camera has to be absolutely parallel to the wall in which it is pointed at, like in the photograph shown below. While this seems easy enough, even few degrees can throw the entire photograph off. Keeping that in mind, if you can't quite get the one point perspective down, it's best to use shots that don't utilize the technique rather an image that looks like a failed attempt. Jesse Bridgewater
5. Wide Lenses
It's no secret that using a wide angle lens adds depth to a room, making appear larger than it actually is. It's because of that very reason, real estate photographers use the lenses so freely. But, a wide lens isn't always the best choice. They often distort images and can be very distracting to look at. In many situations, it's better to just take two photographs of the room. When doing so, make sure there is an object common to both images, such as a chair, that will help viewers associate the two.What's great is that many of these pointers will translate well into other styles of photography as well, so even if architectural photography isn't necessarily your thing, understanding how it works can still improve your craft. Get shooting and feel free to share your architectural photographs in the comments below!
Share this article.
No comments:
Post a Comment
Note: Only a member of this blog may post a comment.