A home studio is a great option if you are taking clients to support your photography business. But before you open your home to your clients, make sure you have a setup that will give you great results and deliver the professional photos every client is looking for from their photographer.
Follow these 14 tips to help make your home studio space work for you, not the other way around! And don’t miss out on the recommended home studio gear list at the bottom.
1 – Dedicated Studio Space

An ideal home studio setup should have its own dedicated space where all your photography toys can hang out. Your family does not want to feel like they are tripping over your gear and constantly needing to move it around to accommodate daily living. Having this dedicated space is also important because you don’t want your clients to feel like they have just invaded your personal space. This creates a subtle tension in the room and ultimately someone is bound to be uncomfortable. Whether it is you or your client, the discomfort will show up in the photos.
Another bonus to having a dedicated space is that you can close off the rest of the house while you are doing a shoot. You want to isolate your shoot from the cartoons playing on the T.V. or restless children running through the house. Those distractions take your focus away from where your attention needs to be: on the client and the technical execution of the photos you are taking.
While having this dedicated space might be difficult to arrange, it is absolutely worth the effort. Evaluate your situation, think creatively, and see what you are able to do inside your own home to make it happen. You’ll be glad you did.
2 – Room to Zoom

The biggest hurdle you need to overcome in your home studio setup is making sure you’ve got enough room to zoom. If the space is too cramped, you won’t be able to get a variety of photos from your studio, and (even worse) there is a chance your photos will look distorted.
If you use a wide angle lens while standing close to your subject, you will quickly find that the image is distorted and your subject doesn’t look good at all in front of the camera. The best way to prevent this distortion is to step back and zoom in. To do that, you need the physical space to move back. If you plan to take full body shots, a 20 foot deep room is generally considered ideal. You can make it work in a room that is 15 feet deep, but if it is much smaller there won’t be room for much of anything.
To help avoid lens distortion in your photos, don’t go wider than 50mm. Whether you use a zoom or a prime lens for your photos, 50mm should be your absolute minimum when you shoot portraits in your home studio.
3 – Remember the Low Ceilings
While depth of the room is a serious limitation, don’t overlook the height of the ceiling. If you have a low ceiling, you can be sure light will bounce off it. The ceiling effectively becomes a giant reflector board, adding light that you didn’t even think about. You will have to work with your studio setup to learn how the light behaves and what it takes to avoid having too much light bounce off the ceiling.
Another limitation low ceilings introduce is that there isn’t enough space to place a hair light. A hair light is used to light the back of the subject and separate them from the background. With low ceilings, you will be able to use a hair light for a seated subject, but not for a person who is standing (unless they are really short – for very young children you’ll probably still be ok). Generally, you need about 3 feet between the subject and the hair light for it to work properly.
4 – Using Window Light

Window light simply refers to the light that comes through your window and into the room. There are pros and cons to having a window in your home studio. Assuming the window is placed in an ideal location in the room, when used properly it can be a great benefit to your studio.
Pros
- Soft, even, light.
- No need for flash.
- Easy to cover up – a good set of drapes will shut out the extra light.
Cons
- Extra ambient light.
- Direct sunlight if the window is not north- or south-facing.
- Harder to control.
- Limited use/creativity.
5 – How to Manage Ambient Light

Ambient light is the extra light that appears in your photo that you didn’t put there intentionally. This is one of the most common things to overlook when you’re ready to take your first shot. Ambient light can include (but is not limited to): window light, room light, reflections, and so on. Many of these ambient light sources are regulated through the amazing optics in our eyes and consequently go unnoticed until they show up in photos.
The easiest type of ambient light to detect is the mixture of incandescent lighting in the room with the light from your flash. The warm, yellow hue cast by incandescent lights is a very different temperature from the light cast by your flash. This is obviously not ideal, but can be easily corrected. Either turn off the lights, change out your bulbs for daylight balanced ones, or
gel your flash.
The best way to manage ambient light is to know where it is coming from. Once you know the source, you can block it, turn it off, or do whatever you need to get rid of it. The way to control it in your camera is through the shutter speed. However, when doing flash photography there is a limit to how fast you can go with the shutter. Usually you can eliminate a lot of ambient light with the shutter speed, but not all of it. That is when it is good to know the source of all the extra light that shows up in your photo.
6 – Have a Good Backdrop
The backdrop is merely a background for your setting. In home studios, nice backdrops are often seamless so they don’t distract from the subject and instead provide a clean, simple look. There are a lot of different backdrops you can buy; they range from plain white to printed graphics and locations, with all sorts of things in between. The only limitation on the number of backdrops your studio can have is determined by how much space you have to store them.
Trendy backgrounds are just plain solid colors. You can get neutral colored backgrounds and use gelled lights to change their color, or use Photoshop to edit different colors or backgrounds onto them.
The idea behind having a good background for your photos is to remove distractions, enhance professionalism, and add to the control you have as a photographer over your photos.
If you have limited space, you can
buy a wall mount that allows you to hang 2 or 3 rolls of paper. When you are done, you use the chain and roll the paper back up. If using a wall mount isn’t an option (maybe because you live in an apartment), then using stands for the backdrop works well too.
7 – The One Stop Prop Shop

Using props to add a new element to the photo can make all the difference. One difficulty with studio photos is that it doesn’t take very long before every photo in the studio starts to look the same. You will need and want to mix it up by adding in creative elements with the use of props.
Props can be anything: clothes, clothing accessories, furniture, or even a staged scene in place of a plain background. Start collecting things now to add to your prop shop. Garage sales, thrift stores, grandma’s attic, or your best friend’s closet are great places to acquire fun props that don’t cost a lot of money, if any at all. Then, once you get them, place them in a dresser or closet nearby that is easy to get to and manage.
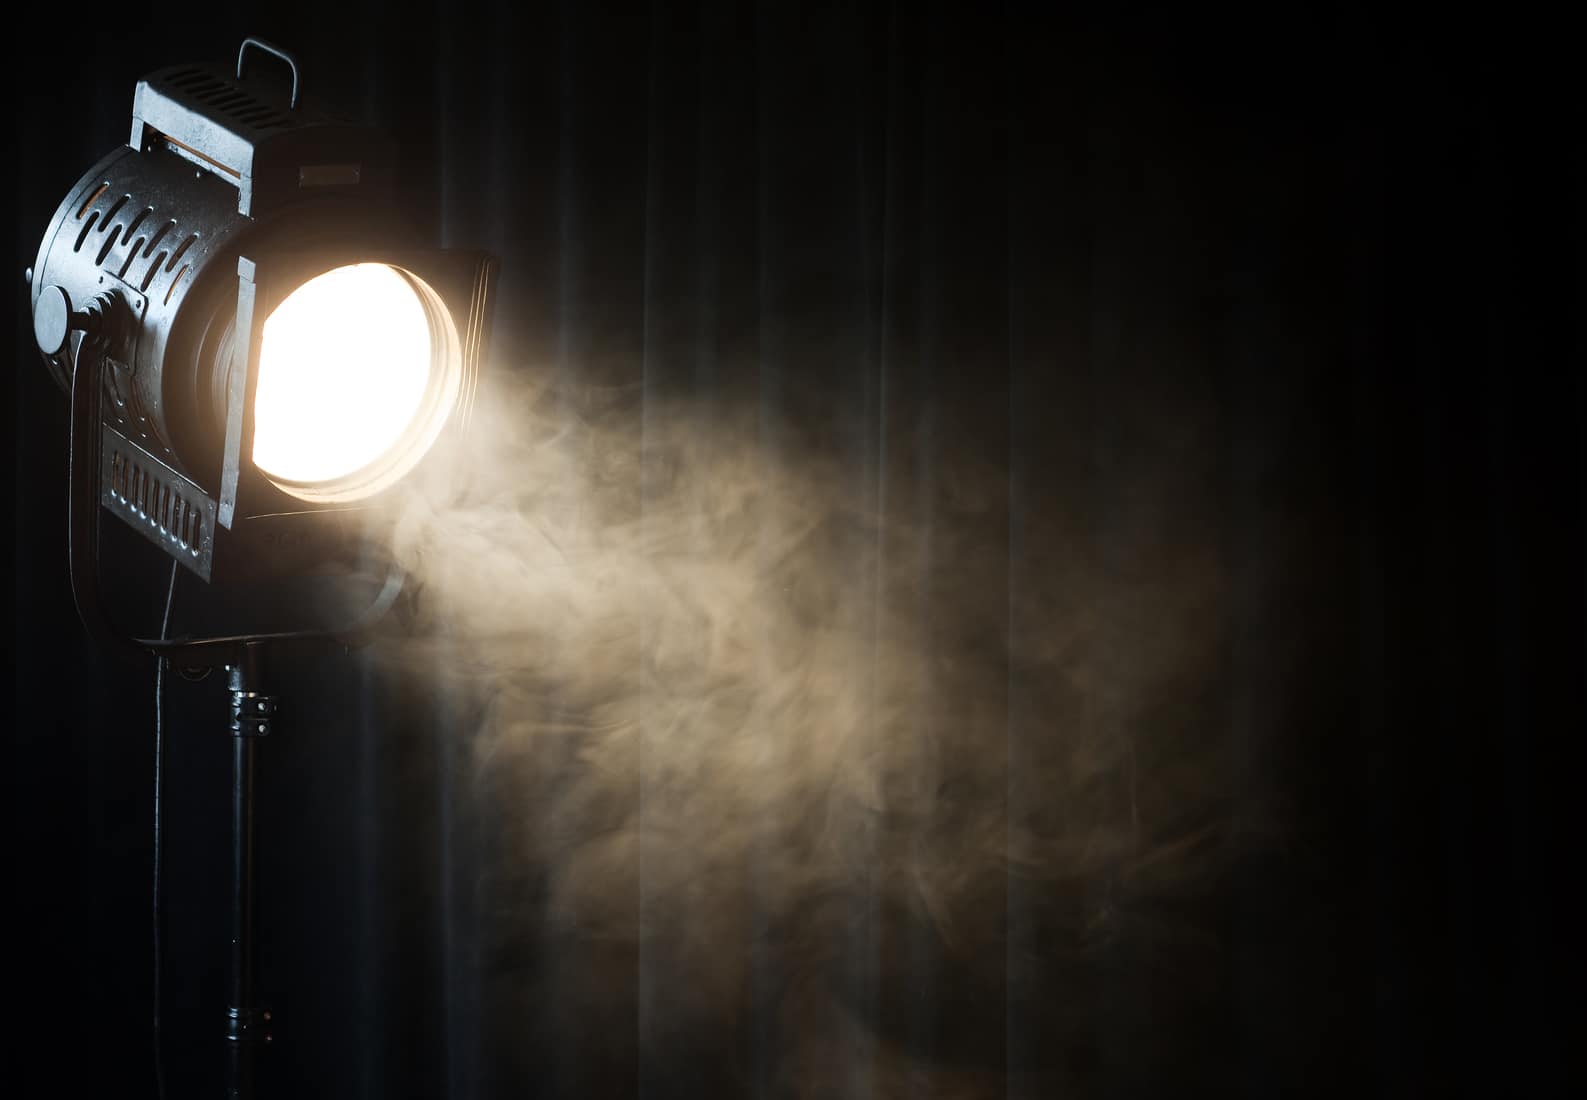
8 – Lights

There are a lot of studio lights to choose from that claim to do certain things to help you with flash photography. The basic types of lights you want will be one of these three:
Constant Lights
These are lights that are on all the time. (Pretty much a fancy word for a lamp.) These are nice because you can instantly see how the light will fall on the subject. However, they often lack the brightness and power that you can find in a speedlight or strobe.
Constant lights are not very portable or much good outside. Before getting a set of constant lights, consider these other, more versatile lights.
Speedlights
These are compact flashes that are easy to set up. The best way to use these lights is in conjunction with radio triggers and receivers. This allows you to use them off-camera and not be tethered by cords as you move the lights around the studio. You can also take these lights with you anywhere because they are so small.
Studio Strobes
A studio strobe is a high powered flash that plugs into the wall. These are a dream when compared to the speedlight and constant light, but they come with a high price tag. They have great output and an incredible recycle time that is sure to never slow you down. Studio strobes are often a photographer’s choice for any studio setup if their budget allows. The downside to these lights is that they are heavy and need to be plugged in all the time.
9 – Light Modifiers

A light modifier controls the effect the light has coming from the flash. You can choose from umbrellas, soft boxes,
beauty dishes, strip banks, flash benders, and more. There are a lot out there to choose from, and they come in all different sizes.
To keep things simple, this list will only focus on the two major light modifiers that you can buy to use with any of the three lights discussed above.
Umbrellas
Umbrellas are intended to spread light. This is a nice choice if you are trying to light a large area or a group of people. You have little control over where the light goes because as far as the umbrella is concerned, you are not trying to limit its reach.
There are different types of umbrellas out there, but for a home studio purpose, stick with a white shoot-through umbrella or a small silver reflective umbrella. These are highly portable and very cheap depending on what you get.
Softbox
A softbox gives you greater control over the direction of the light. These are often seen on constant lights, but they can be attached to speedlights and studio strobes as well. Softboxes are more expensive to get into and less portable than umbrellas. However, you get better control over the light so these are great for smaller studio situations where you’re trying to keep the light from going everywhere.
10 – Portability
How much of your studio do you want to take with you on location? Before you run out and buy a bunch of gear, this is a very important question to consider. A lot of studio gear is big, cumbersome, and often requires being plugged in. The studio strobes and modifiers, for example, are great but are difficult enough to set up that it is easier to leave them instead of tearing them down and loading them in the car.
But don’t despair – you can achieve great studio photos with portable gear. Going the speedlight route will be the easiest and by far the most cost effective method. If you are tight on space and money for your home studio, then buying speedlights is probably your best option.
11 – Set Up in Phases
Don’t feel pressured to go out and buy everything right now. There is nothing wrong with building up your studio setup as you go.
An added benefit to purchasing as you go is the possibility of learning about new or different pieces of gear that might make more sense for your particular studio. Each studio space is going to be a little bit different. Because of this, each studio will require unique pieces of gear to make the space as functional as possible. Determining what else you need after using your current gear for a while will help you make more educated choices with your next gear purchase.
12 – Hang Your Best Work
Show your clients other work you have done. The studio is your space, so show off some of your best work! Chances are they have already seen some of your work and that is why they are in your home having you take their photos. But there is something special about seeing a printed photo; it’s a different experience and really brings the photo to life.
Also – here is the real added benefit – you can show your clients what different sizes of prints look like if you offer that in your packages. Help them fall in love with large prints and upsell them to the idea that they, too, can have that on their wall.
Legal Reminders
Note: Improve Photography, LLC does not offer legal advice. This is a simple suggestion to encourage you to seek out proper legal advice within your jurisdiction.
13 – Have Insurance for the Just In Case
Inviting people into your home business comes with a few inherent risks. Not only are you exposing pieces of your personal life to them, but what if they get hurt on something while in your home? What if someone trips over cords in the studio or falls down the stairs? Risk is always there, and you need to be protected should anything happen to your clients. Be sure to have business insurance to project your business endeavors from the unexpected.
Then there is you! What if you have a client who has sticky fingers? Imagine: you set your client up in the studio, but the phone rings or your child calls for your help and you have to leave the room. The client takes something from your studio and you don’t notice until after they leave. For a small monthly investment, get set up with renter’s insurance (or equivalent) to protect yourself from any loss or damage.
14 – Taxes
Get in touch with your accountant and make sure everything is in place for proper tax filing in your area (where applicable). This is going to be a pain, but I promise you it will be better than the heartache in store if you sidestep this section of your business plan. Using your home as a place for business can come with some added benefits! Your accountant will help you keep track of procedures and paperwork, and inform you of proper business practice when it comes to finances and taxes.
Home Studio
Shopping List
Total: $999
 Seamless Background Paper$65 x 2 = $130
BUY:
WHITE |
BLACK |
OTHERSWe have had such great success with these paper rolls. When the bottom gets too dirty, just cut it off and start over. It always looks great in every photo and the mount above does a great job of keeping the paper in good condition every time it gets rolled up.
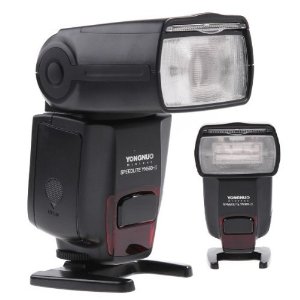
 Yongnuo YN-560 III Yongnuo YN-560 III
$80 x 3 =$240
BUY NOW | Comes with a built-in receiver to work with the RF-603 transceivers by Yongnuo. This is our favorite flash here at Improve Photography. It has 90% the power of the $500 flashes made by Canon and Nikon, and does just as well. Packed with all the important features any speedlight needs to have. |
 Yongnuo RF-603 Yongnuo RF-603
$36 x 1 Set = $36
BUY:CANON |NIKON |SONY | These very affordable radio transceivers work great with the YN-560 III recommended above. They work with other speedlights as well, and you will need to buy enough for every flash if you are not buying the YN-560 III. |
 Impact Light Stand Impact Light Stand
$39 x 3 =$117
BUY HERE | These stands are much more stable than the ones in the beginner kit. I use these with some HUGE 5 foot tall (1.5 meter) lighting modifiers and it can withstand any flash. This is very comparable to the Westcott brand, but cheaper. |
 Flash Bracket Flash Bracket
$7 x 3 =$21
BUY HERE | These are decent flash brackets with umbrella holders. They will NOT work for a softbox. These are durable brackets and will last for a really long time. |
 43″ Umbrellas 43″ Umbrellas
$30 x 2 =$60
BUY HERE | This is a versatile umbrella that has a black cover that comes off so you can use it as a black umbrella, or a white shoot through. Very handy when trying to travel light with gear. And it’s affordable! |
 24″ Speedlight Softbox 24″ Speedlight Softbox
$60 x 2 =$120
BUY HERE | I LOVE this softbox! It works very well and it is a good, manageable size. The best part is that your speedlight can attach to this. You will get great quality light compared to many top name-brand softboxes. |
 32″ 5-in-1 Reflector 32″ 5-in-1 Reflector
$45 x 1 =$45
BUY HERE | I personally own and often use this very reflector. It has served me well for several years. Understanding all that you can do with this will make this a must-have piece of photography gear. |
 ROSCO Flash Gels ROSCO Flash Gels
$15 x 1 =$15
BUY HERE | Slip these little gels on the head of your flash and you can change the color of the light. Very handy for creative lighting. I use them all the time. |
 Muslin Backdrop Muslin Backdrop
$156 x 1 =$156
BUY HERE | Very nice to have a sturdy backdrop stand and some backgrounds that you can use to set up a studio anywhere. This one is rock solid and cheap. |
 Backdrop Wall Mount Backdrop Wall Mount
$59 x 1 =$59
BUY HERE | This is such a great product! This works great when you have rolls of paper that already have a tube in it. Others would work too if you had a roll to attach to the bracket. It’s very comparable in price to what you would find in a DIY project. |
 A common issue some people have is getting their images to portray a sense of movement. Today we are going to look at how adjusting our shutter speed can help achieve the desired look that we want. For this simple example we will look at a ceiling fan taken at different shutter speeds so you can see how adjusting the shutter speed through an entire typical range can help you achieve the exact look you are aiming for.


 It’s a secret that portrait, product and commercial photographers have long known: the value of using a softbox in their studio photography.