#Basic Photography, Amateur Photography
How to Effectively Use Camera Angles in Photography
Camera Angles in Photography for Intimate Perspectives: Taking Eye Level Portraits
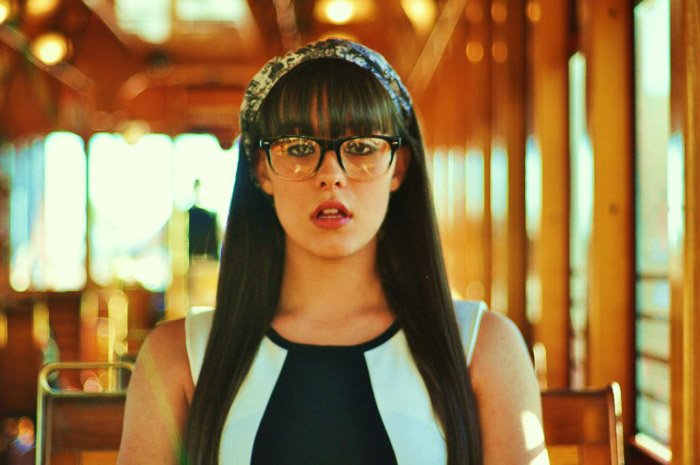
Eye level is the simplest and most common photography angle. This is the most familiar perspective for us.
The first step is to look at the eyes of the person you’re photographing. Newbie photographers often use their own eyes as the guide for eye-level shots.
But in reality, you need to be in line with your subject’s eye. If you
find yourself tilting your camera up or down, you’re doing it wrong.
Move your camera to match the height of your subject. If the subject is
taller than you, turn on the live view on your screen and lift your
camera above your head.
When you’re shooting a smaller person, consider crouching or even kneeling.
You should also pay attention to your subject’s head. Face angles are
essential when it comes to eye-level shots. In most situations, you want
your model to look away from the lens.
Ask them to fix their gaze on an object behind the camera. Doing so prevents them from looking awkward in your shots.
If you want intimate portraits, have them stare into the lens. Or you can ask them to look at your camera’s logo on top of the camera, instead.
Try a Low Angle Shot to Make Your Subject Appear Huge
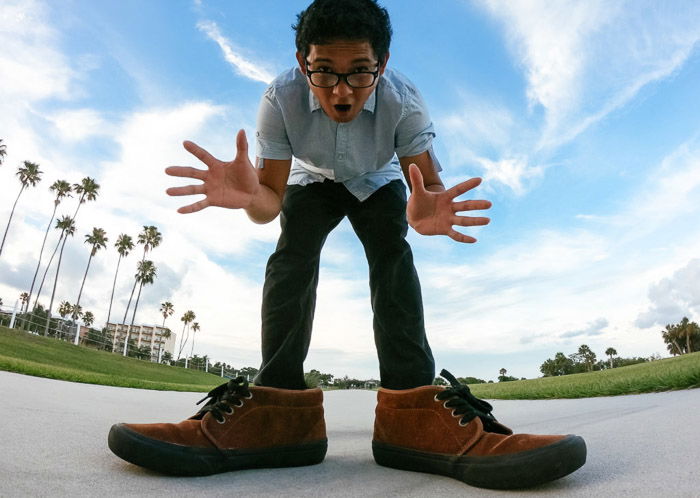
Eye level can get boring if that’s the only perspective you use. You can always switch it up by using low angle shots, instead.
A low angle shot makes your subject look much bigger than they are. If
you want them to look dominant in your image, then it’s the best
perspective to use.
Low angles also make movement in your photo more dramatic. Since it
makes legs look gigantic, anything your subject does also looks more
intense.
That’s why movies use them a lot in action scenes.
But there is also a downside. Low angles are not the best option when it comes to portraits because it makes people appear unappealing since you’re shooting from below.
It can also make your subject look menacing because their bodies look
out of proportion. Feel free to take some test shots and figure out if
it’s the right perspective for your image.
Go With a High Angle Shot to Include the Background
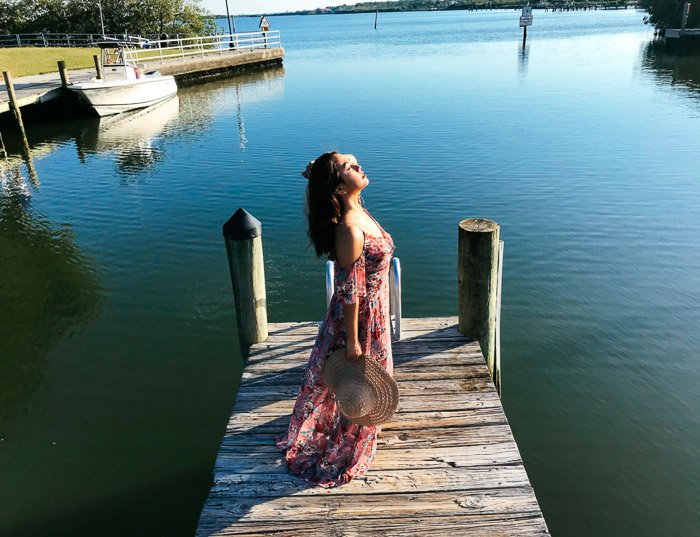
If you want to make a person look smaller than average, take a high
angle shot. Since you’re shooting down on them, you make your subject
look diminutive.
This perspective also evokes various psychological effects on the
viewer. In most cases, it makes your subject look less powerful because
they look small.
Its effect becomes more apparent when you’re shooting a few feet above them. It can also help convey childlike innocence especially if they’re staring up into the lens.
If you raise your camera a bit higher, this angle can create a
perception of freedom. Why? Because shooting from high up makes people
feel like flying.
You often see movies show epic shots of actors from a crane.
Use a Bird’s Eye View Angle With a Drone
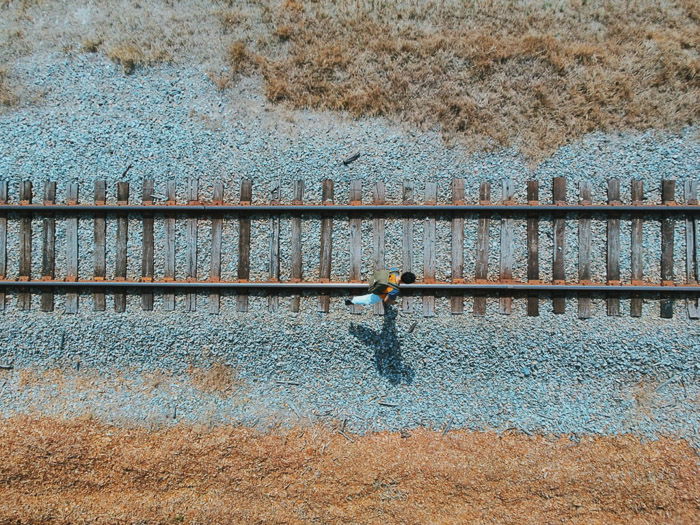
Ready to take your high angle shots to new heights? Consider using the
bird’s eye view. As the term implies, this perspective involves taking
photos from the sky.
The bird’s eye view is the same as the high angle shot. The only
difference is that you’re taking photos from a considerable height.
These days, you can produce a bird’s eye view image using a drone. But you can also do it by going to the higher levels of a building and pointing your camera downward.
The bird’s eye view can make your subject feel significantly smaller
than when you’re on the ground. This perspective can also make your
audience feel like they’re looking at a diorama.
This unique perspective also covers more area since you’re farther away from your subject. So it’s the perfect way to document landscapes and architecture as well.
Use the Dutch Angle for Edgy Photos
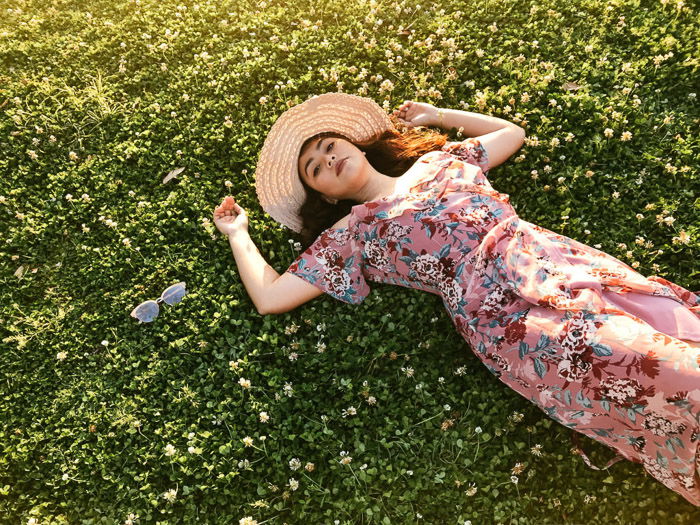
The Dutch angle (a.k.a. tilted angle) makes images look edgy because it provides an unconventional perspective.
People expect photos to be straight all the time. When you tilt your
frame, you grab your audience’s attention because it’s out of the
ordinary.
This creative perspective has its roots in cinema. Since it makes your photo look unstable, it creates a feeling of discomfort. That’s why you see horror movies use it a lot.
But the dutch tilt doesn’t have to be menacing all the time. It could
also make the action in your photo seem more adventurous and daring.
The tilted framing adds the illusion of motion. It enhances the movement
of your subject. So it’s not surprising that you also see it in action
scenes all the time.
Take Close-Ups for Intimate Portraits
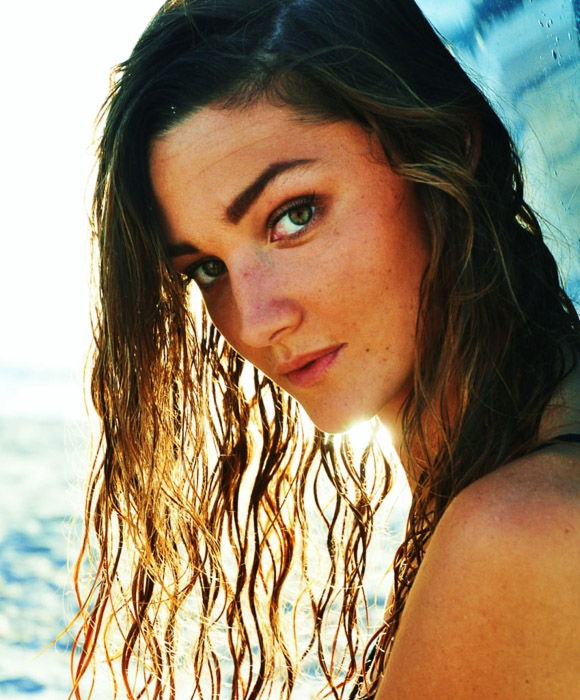
The close-up is among the most useful photography angles available. It provides the perfect distance between you and the subject.
It creates an intimate and friendly atmosphere in your photos. This angle is not confrontational, but it’s also not too distant.
When shooting portraits, think about the distance from a person when
you’re talking with them. You shouldn’t be too far away that you have to
scream.
But you also shouldn’t be too close that you’re invading their personal space.
Portrait photographers use close-up shots all the time. But it’s also one of the most common photography angles for still life photography.
It’s effective because it offers a perspective that matches how we look at objects in real life.
Take Extreme Close-Ups to Capture Facial Details, Like Eyes
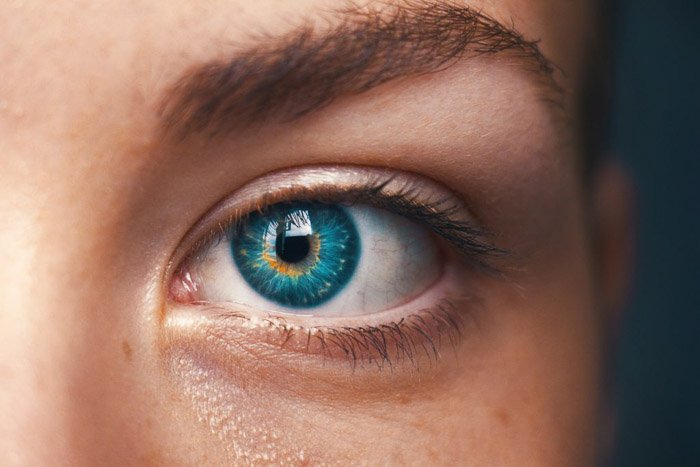
Extreme close-up (a.k.a. ECU) creates a more intimate space between the
image and the viewer than an average close-up. It also allows your
audience to interact with your photo in a more personal manner.
This angle lets people see finer details they wouldn’t otherwise.
The ECU has a lot of positive uses, but it can also have negative
effects on your photos. Its distance can make people feel
claustrophobic.
And since it’s confrontational, it may also create discomfort for some
of your viewers. Most of all, focusing on one area prevents you from
showing the rest of your subject. Keep this in mind when you’re
composing your shots.
Use a Long Shot to Show the Subject’s Environment
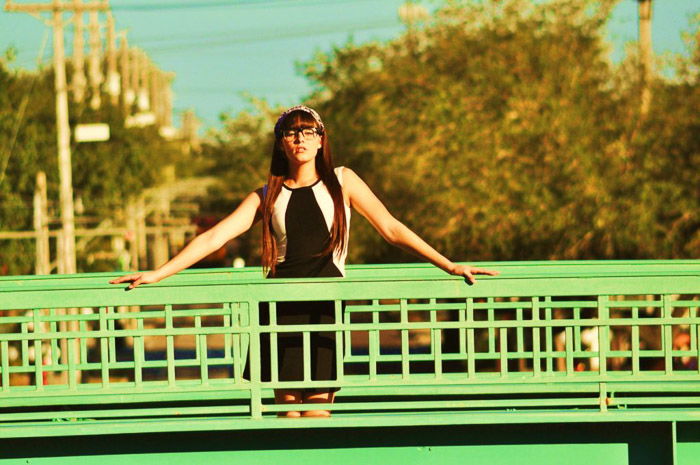
A long shot is a technical term that implies shooting from a distance.
Photographers often use it to show the environment the subject is in.
You can use a long shot to photograph any place whether it’s a street or a hallway. Its primary purpose is to establish a scenario and provide people with more context of the location in the image.
If you want to take a long shot, the whole length of the person you’re photographing should fit within the frames.
You also need to show enough of the location to give people a clue where everything is taking place.
Try Extreme Long Shots to Add a Sense of Scale
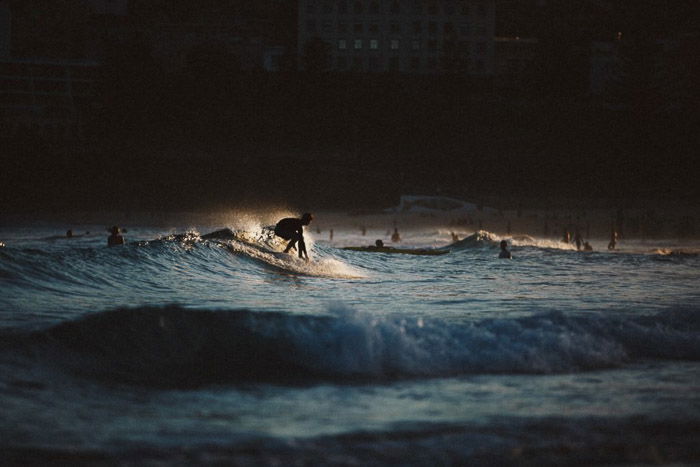
The purpose of an extreme long shot is to show the massiveness of the location as compared to your subject.
So if you’re shooting a person in a city for instance, then the buildings and the sky need to take up most of the space.
This angle works much like the regular long shot. The only difference is
that your distance from your subject is now more considerable.
In other words, you should be far enough from your point of interest that it’s only a small section in your image.
Take a Wide Angle Shot to Introduce Creative Distortions
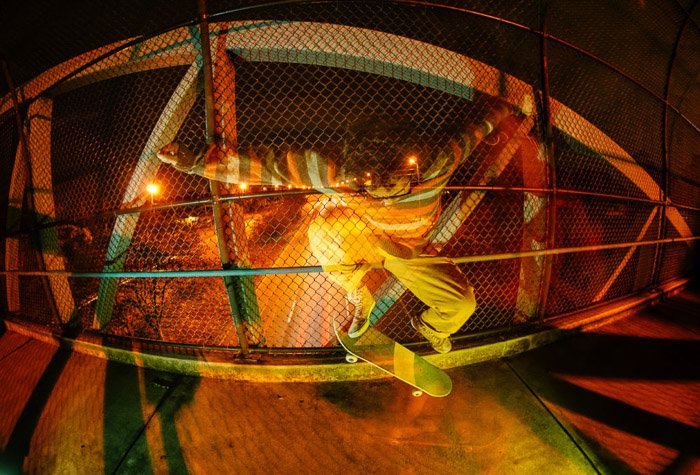
The wide angle isn’t
so much about how you position yourself while taking a photo. Its magic
lies in how it distorts the elements in your image.
So you can shoot with it from various perspectives and create a unique result every time.
For instance, you can use a wide-angle shot to make your subject appear
bigger. It creates a similar effect to a low angle shot since it throws
your subject’s limbs out of proportion.
But you can also use a wide angle for long shots. When you shoot from a
distance, it tends to make your subject look smaller. So in this way, it
makes the background look more prominent in the image.
Using wide angle also allows you to photograph beautiful landscapes and
architectures. You can shoot more of the scenery since it covers a lot
more space than a regular lens.
Your use of camera angles makes all the difference when creating
exceptional photography. So take your time to learn them to help you
engage your audience more.
Remember that it’s not all about the cool perspectives. It’s also how you make people feel about your images in general.
----------------------------------------------------------------------------------
--------------------------------------------------------------------------------
No comments:
Post a Comment
Note: Only a member of this blog may post a comment.