| #Photography Tutorial |
How to Take Good Photos (10 Foolproof Steps for Beginners)
If you’re one of those people who always leaves their camera at home, it’s time to start thinking about how to take good photos. Even if you don’t have an expensive camera, there are a few things you can do to take great photos with whatever camera you have. Here are ten foolproof steps for beginners that will help you take better photos right away!
10. Take Good Photos by Learning Manual Mode
Like most people, I struggled to see the point in this when I bought my first digital camera. Why couldn’t I just leave it on priority mode?
Manual mode is much like using an old film SLR from the 1960s, when they didn’t have buttons like aperture priority and other modes that do it all for you.
Being the only option, photographers were forced to learn to use their cameras in manual. In doing so, they fully learned how their cameras worked.
Once you know how to properly use your camera, it becomes much easier to spot where you’re going wrong and to fix it.
Priority modes are good for some
situations. But once you know how to properly shoot on manual, you’ll
find there’s no need for them and you’ll get better photos on your own. A silhouette of a dog on the beach – how to take good pictures
9. Learn Basic Composition Techniques… and Then Forget Them
This one might seem a little funny but let me explain…
Once you’ve learnt basic composition techniques, such as the rule of thirds and the use of leading lines, you start to look at everything differently. You’ll start seeing and thinking about how you might frame a photo, even when you haven’t got a camera on you.
This knowledge sticks with you and subtly helps your photos improve from good pictures to great pictures.
Well then, why forget them?
Simple. As a photographer, this becomes too obvious to be interesting and you’ll become bored of your photos.
One of the main challenges of photography is to keep your photos fresh and interesting. You can do this by pushing the boundaries of the ‘rules’ of photography.
8. No On Camera Flash!
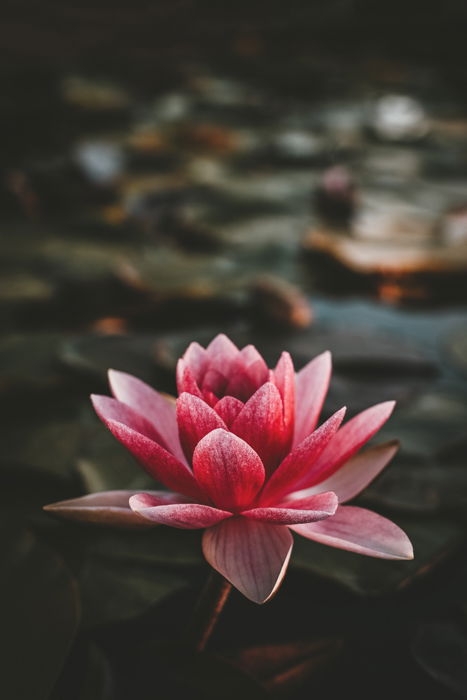
I can’t stress this enough so please pay attention. On camera flash (pop-up especially) is incredibly unflattering to your subject and really flattens your image. It could be from your DSLR camera or iPhone.
When the light comes from the same angle as the lens, you’re left without any of the scene’s natural shadows. Photos with on-camera flash may as well have been taken on your phone.
When I first started out, I hated the pop-up flash so much so that I didn’t consider myself a ‘flash’ person. This lasted until a friend talked me into buying an external flash unit.
I finally saw what I was missing – buy one now! Natural light as your only light source can only get you so far in the search for better pictures.

7. Find a Fresh Perspective
As a tall person, I always find myself adjusting my height when taking photos of people so that I’m not looking down on them.
I try to take this a little further where possible and find new ways of looking at photos. If you follow professional photographers on social media, you might find that they always present new ways in capturing professional shots.
Instead of mounting the camera on a tripod, why not use the floor or through a crowd? Keeping a fresh perspective maintains fresh photos!
6. Zoom With Your Feet and Get Closer
I am my own telephoto lens and you are too!
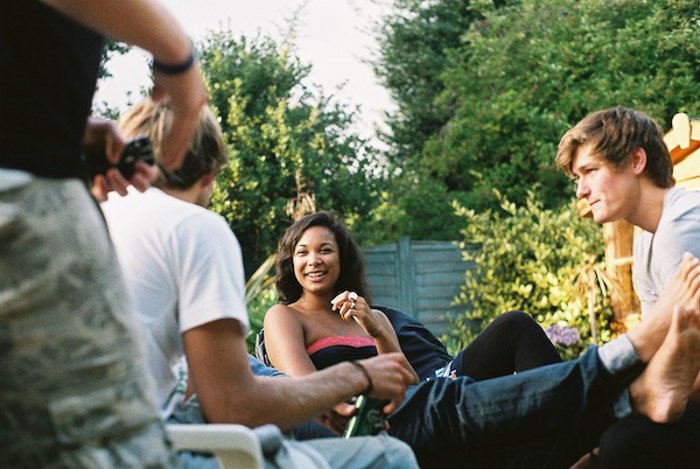
Instead of zooming in, get involved in the photo. Look at things from a different angle – this allows for a different perspective.
Search for the finer details that would usually be overlooked in a scene and make these the subject if you really want the best photos.
Think before you shoot or you’ll forget to think at all.
5. Clean Up Your Background
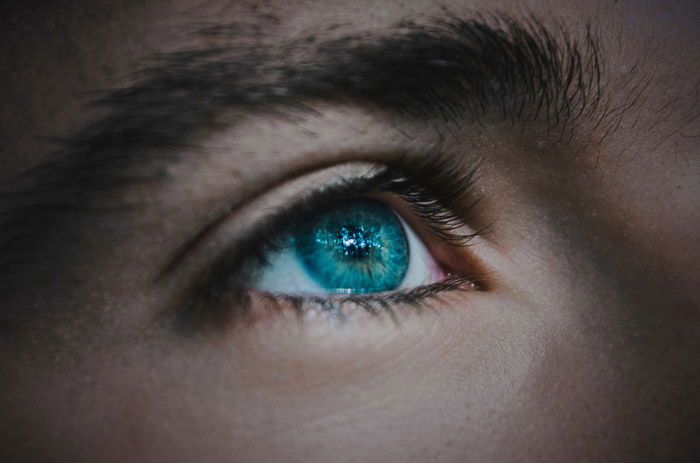
The background is as much a part of your photo as the subject so make sure it’s not cluttered and messy. Moving your camera just a few degrees to the side may make all the difference when it comes to cleaning up your shot.
Think about what’s in your viewfinder or on your screen. Ask yourself if each individual element adds something to make it a great photo. If the answer is “no”, it’s taking away from the photos.
Branches, sky and other people are just a few things to look out for. The branch in the shot below really bugs me. You can use photo editing software, such as Photoshop or a camera app.

4. Frame Your Subject
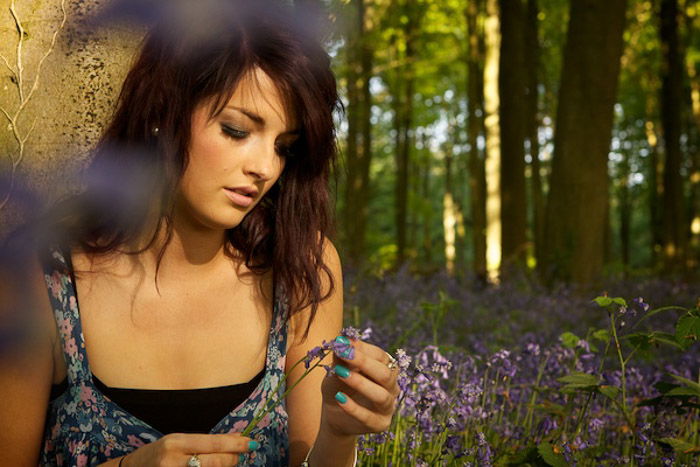
Look for a way to put a frame within a frame, like a doorway or window. In the photo below I used a bluebell flower.
Framing can add context to your photos, telling the viewer a little more about what’s going on and where the photo was taken.
Not only does this add a sense of depth but also another element of interest that the photo didn’t have before. Try a close-up shot for a tighter frame.
3. Get Your White Balance Right!
This is so vitally important if you want good photos that I’ve written an entire post on it here. I strongly suggest you read it.
The WB is all about the color cast of your photos.
Shooting indoors without a flash often results in the people in your photos appearing to have nasty orange-colored skin.
Mastering WB really sets you apart from other people, most of whom aren’t even aware of the problem. It will dramatically improve your end results.

2. Use the Histogram
LCD displays on digital cameras are getting better these days but are still subject to the environment you’re in.
If you’re out and about on a really sunny day, you’ll find that shading the display with your hand doesn’t do the job when it comes to looking at photos.
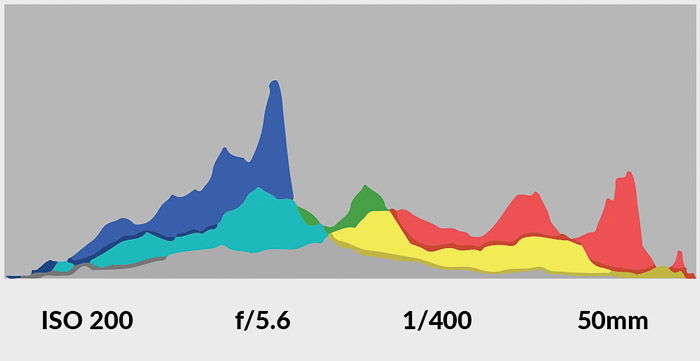
The histogram is a mathematical representation of how well exposed an image is. It’s a great basis for improving your photography (don’t worry, it’s not as complicated as it sounds).
It’s no use waiting until you get home to find out that your photos are no good! Read more about it here.
1. Practice Practice Practice!
Rome wasn’t built in a day; if you want to get good at anything in life, you have to work hard at it – these things don’t come for free.
The fortunate thing about photography is that it’s a lot of fun to play around with. Even though you’ll still think you suck from time to time, with just a little practice, you will always begin to see results in your photos.
Take the steps listed above and read some of the tutorials on this website – you’ll be an expert in no time. Ready to post the best social media images to boost your business.

---------------------------------------------------------------------------------
-------------------------------------------------------------------------------------------
Advertisement:
It's simple. Open an account and deposit at least $40 or direct deposit and receive an additional $40 from Netspend. In addition to the $40 you'll also get your own referral code where YOU can get paid $40 for each person YOU refer when they open an account and get approved for their Netspend Card.
Access Netspend: Click Here


No comments:
Post a Comment
Note: Only a member of this blog may post a comment.