8 Tips for Planning Better Landscape Photo Shoots
Some people think that landscape photography is about luck but in reality, it’s about planning. Good landscape pictures come out of many factors, and planning the photo shoot is one of the most important. The luck part takes no more than 5-10%.
The recipe is being in the right place at the right time. Otherwise, it doesn’t make any sense to go out at all.
In this article, I’ll cover the most efficient planning tips and tricks to get the best landscape images.
Planning a Landscape Photo Shoot
The planning stage includes several aspects, and each of them should
align perfectly to make the whole structure work. There are basically
two approaches – happy snapping and proper planning.
The former is good when you want to have fun and unwind with no serious
expectations. Sometimes the stars align and you get a great shot, but
chances are slim.
The latter approach is about planning, improving chances and using your
mind and skills efficiently. I strongly recommend planning every single
shoot to get the best possible landscape pictures.
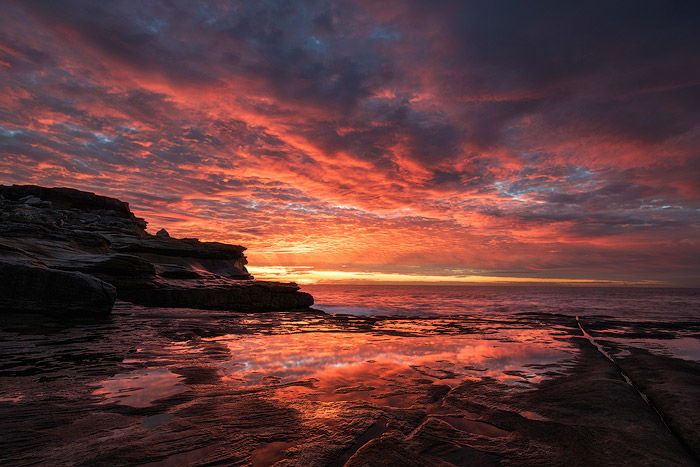
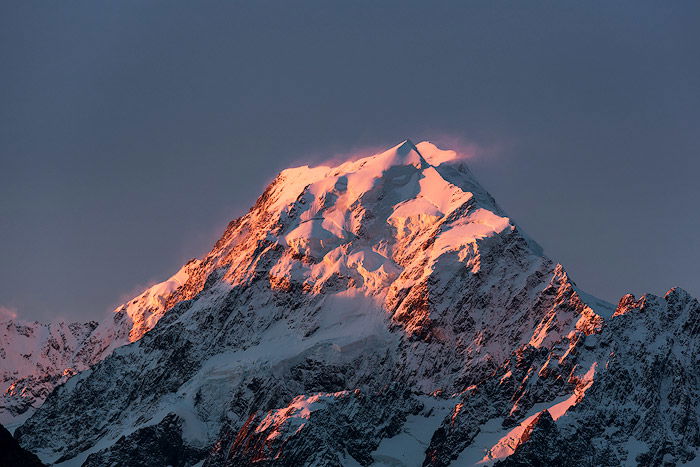
1. Weather in Landscape Photography
The weather has the most significant impact on the final landscape pictures. The cloud cover, the wind, tide, humidity – everything plays a role. There are no set rules because it differs for each scenery type.
Cloud Cover
I use http://accuweather.com/ to fetch this info as it provides hourly data. The other site to check for detailed cloud cover is Skippy Sky, which looks confusing but the data is unique.
High clouds typically produce better colours and start to lighten up much earlier than the low clouds.
For the general landscape photo shoot, I wouldn’t go out if the cloud
cover is less than 30%. For a morning forest walk, I could easily go out
when the sky is clear. The same clear sky works fine to shoot some of
the seaside lifestyle photography.
The general idea is to think in advance what kind of cloud cover works for your area and go from there.
Wind
The force and direction of the wind can also play a role in the
decision making. For instance, a strong wind blowing from the sea will
surely cover your lenses with a salty spray so it could be wise to go to
the cliffs, for instance.
On the other hand, the same strong wind blowing towards the sea is
dangerous when you climb those cliffs, so it’s better to stay at ground
level.
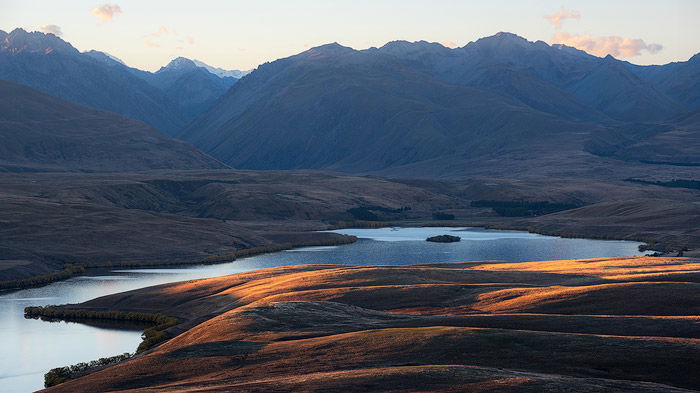
If the plan is to shoot reflections in a calm lake, look for weak winds
up to 10 km/h. The same thing applies to fog; strong winds won’t let it
form.
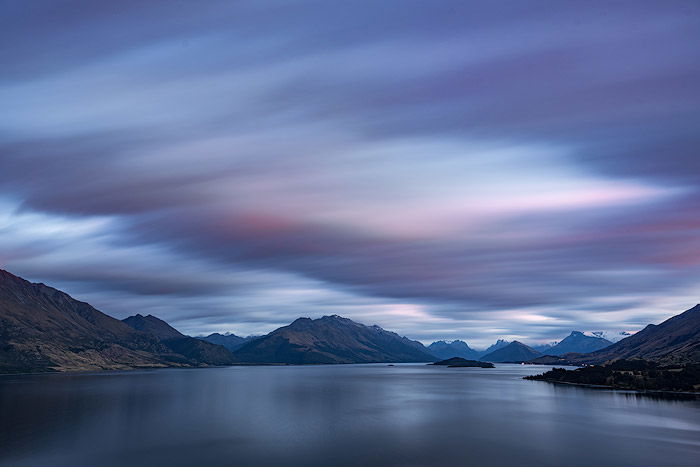
Also, wind is very important for long exposures.
The faster the clouds move, the more prominent cloud trails they
produce. So, if the plan is to create some movement in the sky, strong
winds work better.
Humidity
Photographers adore fog and haze. Weather websites have general
predictions and sometimes we could miss perfect fog if we skipped
physics in school. For fog to form, we need a temperature lower than the
Dew Point (shown on Accuweather).
The dew point calculation includes humidity, of course. But the weather
sites don’t take into account that certain areas have higher humidity
than average. Like, near the lake or the river.
So, if the forecast isn’t showing fog, but the temperature is just 1-2C
higher than the Dew Point, and the general humidity is high enough
(>85%), there’s a good chance of witnessing morning fog.
2. Pick the Right Time of Day and Year
Some areas work best during the sunrise, some work only for sunsets.
It’s up to the photographer to figure out when to arrive. Have a look at
the objects you want to photograph and envision the light coming from
the East or the West and see which highlights the features better.
Walk around, try several frames and then you’ll know which side you need the light coming from.
The hard part here is that the Sun position changes throughout the year
and you need to include it in planning. The easy way to determine the
exact Sun position is to use SunCalc right in your browser. The other way is to use apps like “PlanIt! For Photographers”, TPE or PhotoPills.
They also show this data for any day/time/year and also have a virtual
reality mode where the app shows Sun position overlaid on the camera
picture of your phone.
Make notes, don’t rely fully on your memory. Too many places and conditions to remember.
3. Research on the Spot
The best way to prepare is to research on the spot. Come over well
before the best light, walk around, take notes of the best spots and
points of view. Envision where the Sun is going to be at certain times
and see what’s the best position to stand.
This research is also good for safety – you get familiar with the area.
This is when you determine if the area works for sunsets or sunrises,
how a long exposure shapes the terrain, etc.
Another aspect of this research is to discard certain locations. You
could see some fantastic photo on the internet, and in reality, it is
completely different.
It could work only for a certain season or tide level or only in a
certain light. Or some landmark has been destroyed. Or it’s so full of
photographers that it is no longer possible to do any serious
photography.
4. Research Online
Online research is my favourite way to find locations. The number of approaches you can take is unlimited. This is what I do to find the best spots:
- Images on Google maps. People upload tons of photos right to the maps. Of course, they are mainly touristy, not artsy. But that’s good for us as we could find some not-so-famous spots.
- Google maps. This approach is different. You turn on satellite view and scan the area to find something interesting just by looking from the top. Once you have several candidates, you’ll need to research them further using other methods.
- 500px search. Photographers often set a location on their photos. They could also include it in tags or description, and the search reveals all of it. I guess you could do the same on Flickr, but you’ll have way more data to dig through. I have found a good number of nice undiscovered spots using this method.
- Local photo tour guides. Some tour guides publish their tour itineraries, and you could stalk best locations if you are planning a trip. Once you have a list of locations, you’ll need to research them individually to find exact spots. Google something like “Photography workshop Sydney” or “Photography tour Australia” and then go through the sites. Not all of them will have a list of locations but some will.
- TripAdvisor. Not so much photographer-oriented but it could also provide valuable textual data when you already have a list of locations. People here also upload photos, and it’s easy to understand if the place holds any photographic potential.
- Use apps. I have already mentioned a few Android/IOS apps and SunCalc website. You don’t need to be there physically to determine if the Sun/Moon/Milky Way is in the right spot.
5.Look Out For Special Conditions
It not wise to visit a location just once. Many areas look ordinary
but have a huge potential during certain weather conditions. You need to
take notes and envision what the area could turn into when something
special happens.
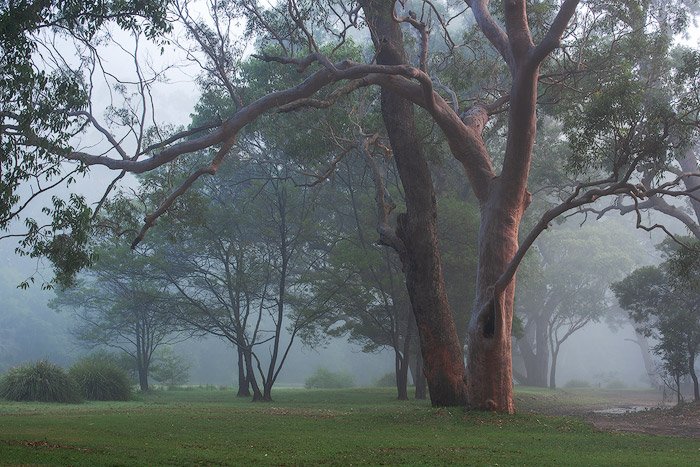
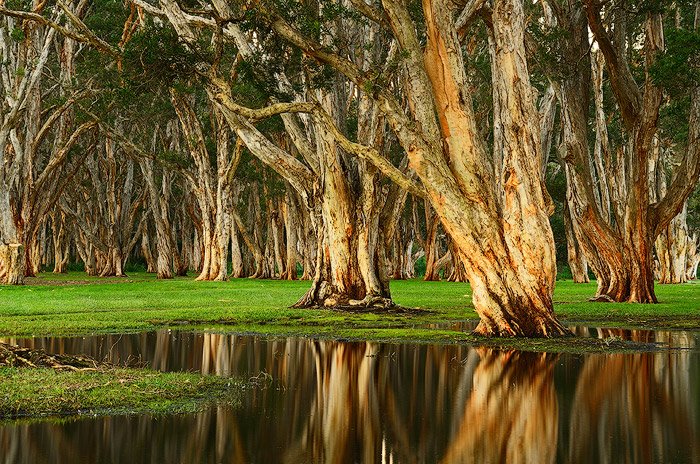
A great example is a Centennial Park here in Sydney. On a regular day,
it looks nice but ordinary. But I figured it used to be a swamp. It
means it holds water for a long time.
I went there right after the rain, and I was rewarded with the
completely new landscape. Could you guess I made this shot right in the
middle of the city?
Other special conditions include – Sun position, Milky Way position,
tide, rain, fog, storm, tornado, etc.. Use your imagination.
Pro tip: Do not run away immediately if the weathers bad. Remember an
old saying about the rainbow after the rain? Give nature a chance; maybe
it shows some magic.
Patience leads to some unbelievable results.
6. Plan Enough Time
We all know (I suppose) that the best time to shoot landscape images
is approximately 1 hour before sunrise to 1 hour after sunrise and 1
hour before sunset to 1 hour after sunset. But it doesn’t mean we have
to arrive exactly 1 minute before the best light.
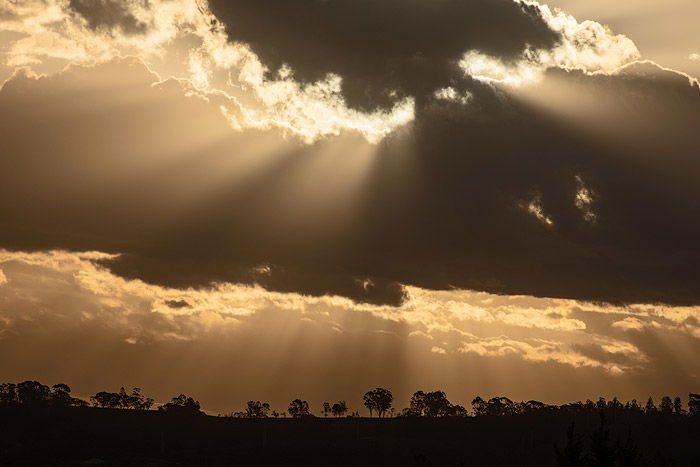
These timeframes can be easily extended depending on weather conditions.
For instance, the sun can produce crepuscular rays 2 hours before
sunset. Or the clouds can lighten up 75 minutes before the sunrise in
extreme cases.
Also, for me, I need some extra time to get myself to the right mood. I
can’t jump out of the car and start shooting right away. I suppose it
could be the same for others – walk around, breath in the air, have a
look at various elements, calm down, clear your mind, etc.
And when the light comes in, you’ll be ready.
7. Research Less Famous Places
Some places have been photographed for decades. It’s a
little presumptuous to believe that you can shoot this particular
landmark better than thousands of photographers before by visiting it
only once. Or at least that you can make a unique shot.
I mean, you surely can, but what are the odds? You get yourself stuck in
an unnecessary competition and comparison. And finally, you’ll be
biased with the composition choice because you’ve seen it all.
Wrapping up, shoot famous places but focus on less crowded and
photographed areas. Find new gems, discover places, build your own
secret spots.
One day you could blast off a photography tour, and you need those
unique places. No one will attend a tour based on a spot they can Google
in 2 minutes.
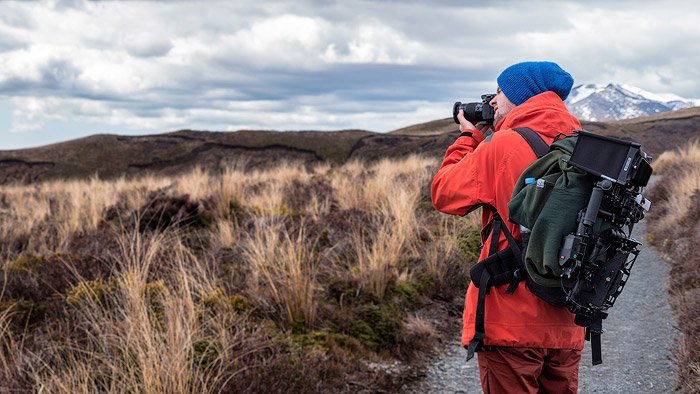
I have described some ways to discover new places
earlier in this article. But nothing beats you with a backpack roaming
around, taking notes and looking for wonders. It doesn’t have to be a
place in the absolute wilderness where no one has ever been before. It
could easily be a good underrated location.
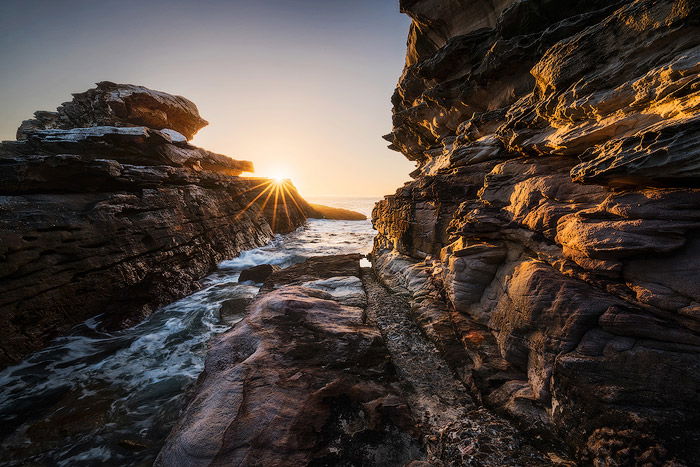
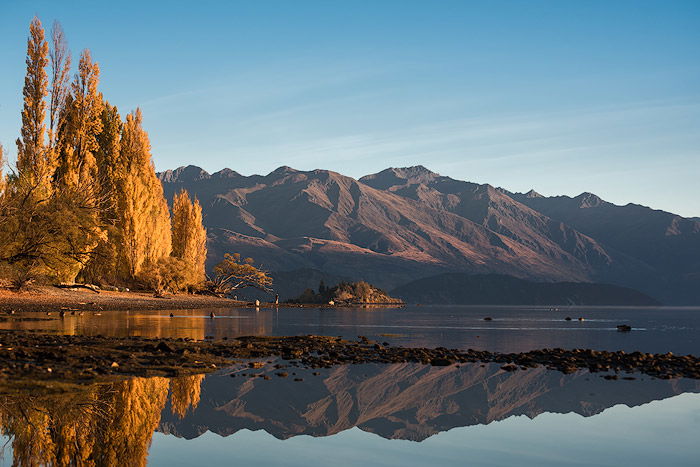
A good example is Wanaka Tree. I went there and was baffled by the
number of photographers standing in the same spot doing the same shot.
So I walked around and found this frame just 200 meters away.
8. Pack the Right Gear: From Clothes to Tripods
Packing right is often overlooked. But I must assure you, it is very important. Proper equipment in your bag could save a trip. It’s also nice to have a checklist to go through before going out. Create one for yourself using some of the tips below.
Warm clothes
If the days are hot, it is easy to forget that the nights can be much
colder, especially if it isn’t summer. Staying in a spot with minimal
movement is not the same as trudging through the forest with a backpack.
Take warm clothes. I also have spare socks for the way back in case my feet get wet during the shoot.
Rain/Wind Protection
If there is a chance for the rain, take an umbrella. An umbrella is
too old-school you say? Well, it’s not for yourself, it’s for the camera!
An umbrella is very useful to protect your camera
from the rain, obviously, but also it can resist wind, which could
easily ruin your long exposure shot. Get a raincoat for yourself.
Tripod
Believe me, it’s very sad to forget a tripod or a tripod plate. Just check them before going out to avoid the disappointment.
Battery
Check the battery before going out. Take a spare one if you have it.
Memory cards
The same applies to memory cards. Verify that one is inside you camera and bring another one just in case.
Extra Lenses
This advice is my favorite one. Do not set limits for yourself! If
the plan is to shoot wide-angle seascapes, take a telephoto too. There
could be a dolphin or a shark in the distance.
Do not take everything you have because you still need to move somehow
but guess the possibilities and cover as much focal range as you can.
There is a place for luck in the photographer’s life but it plays a
much smaller role than some would think. The most significant role is
reserved for proper planning. Of course, you can’t plan everything and
weather forecasts fail too.
It’s more about being prepared for several scenarios. We need to be in
the right place at the right spot and that’s exactly what planning is
all about.
------------------------------------------------------------------------------------
Free Landscape Photography Ebook
Photo Shutterbug Shirt
No comments:
Post a Comment
Note: Only a member of this blog may post a comment.