How to Capture Great Photos in Low Light
Types of Low Light
Visible
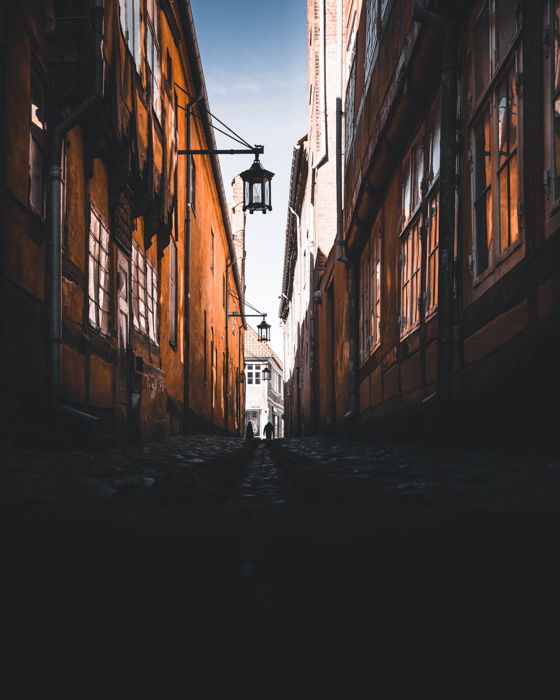
These are the dark areas you’ll find in the daytime. Shadows created by large buildings or trees can be down to -2 stops of light than the well-lit areas.
Low Light
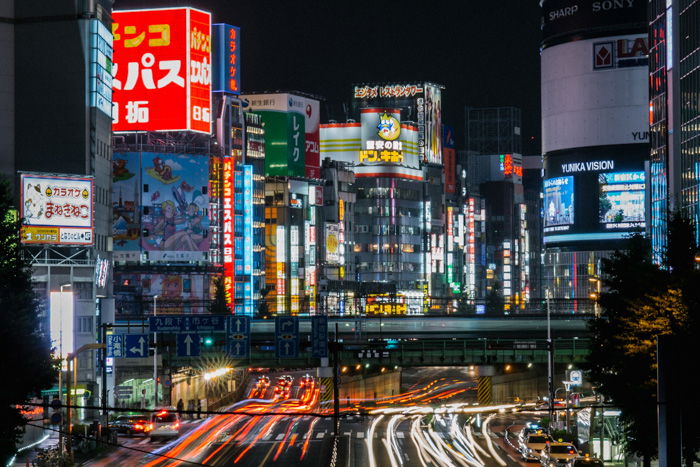
After sunset, areas may still be visible, yet too dark to capture.
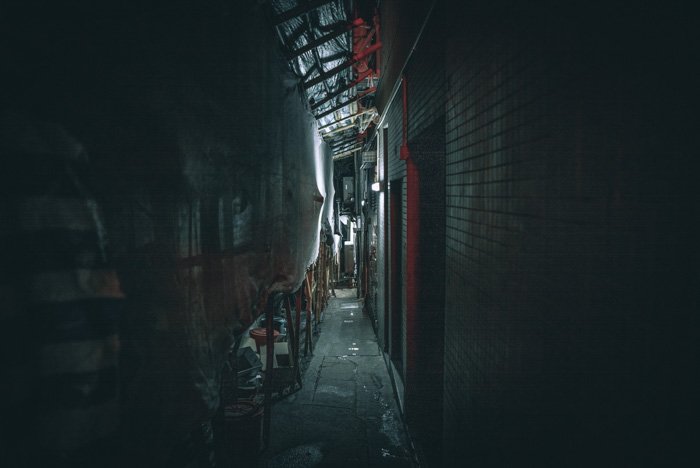
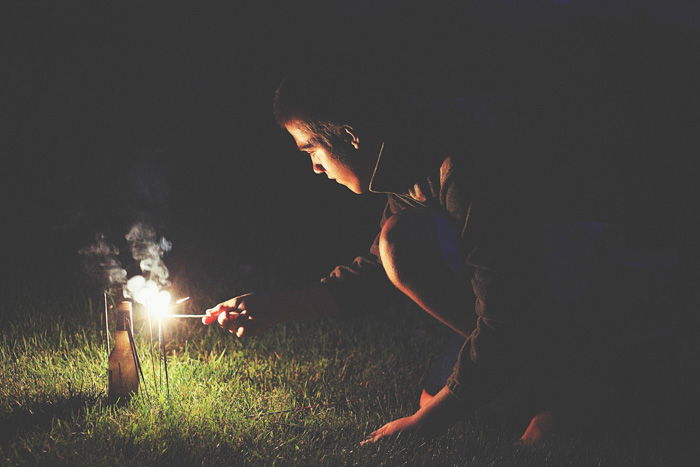
Dark
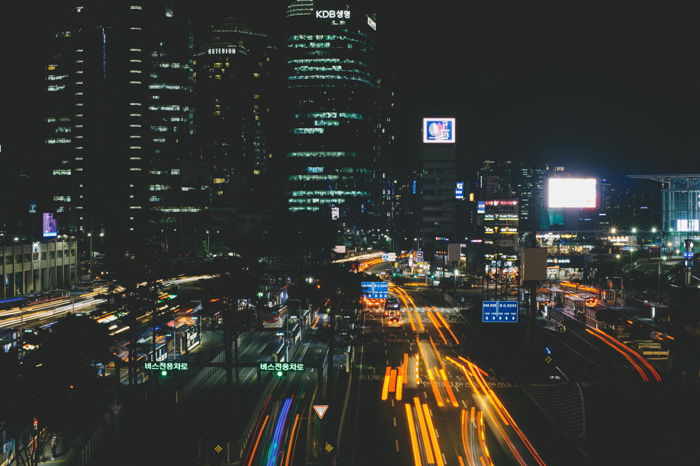
This is when only the brightest objects are visible at night-time.
Use a Slow Shutter Speed for Low Light Photos
So how do you shoot in low light? It all starts with shutter speed, which helps determines the amount of time light can enter the camera. The lower your setting, the more light will come into your sensor.
But a slow shutter speed also causes motion blur, especially without a tripod.
So how do you take with a sharp photo with low light?
As a rule of thumb, the average person can take a sharp, blur-free image by setting the speed to a fraction of the focal length when shooting handheld.
For example, to take a photo at 30mm, you would set the shutter speed to 1/30 of a second. Any slower and motion blur is likely to occur.
It’s worth noting that this rule is only relevant to full-frame cameras. If you use the same 30mm lens on a crop sensor, you’ll need to use 1/45th of a second instead of 1/30th due to your sensor’s crop factor.
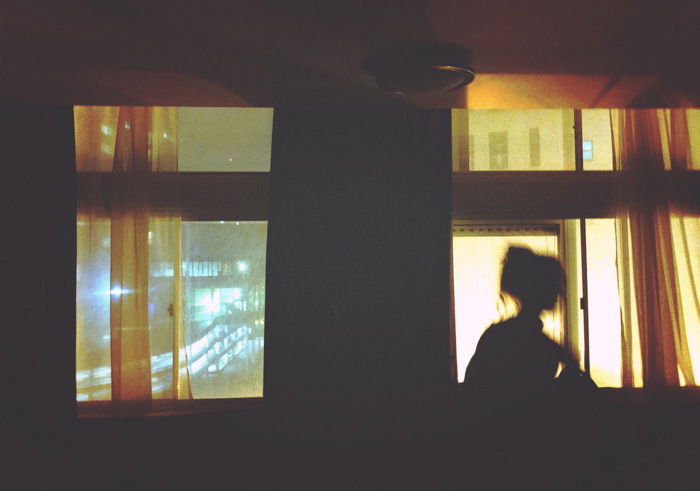
Image Stabilization Allows You to Drop Your Shutter Speed Down
When it’s dark, sometimes 1/30th or 1/40th of a second wouldn’t suffice to capture correctly exposed pictures. But at the same time, going any slower also causes motion blur.
So how do you solve this issue when hand holding a camera? The answer is ‘image stabilization‘.
Nikon, Canon, and even third-party manufacturers make lenses that reduce camera shake. Not all lenses have this feature, but most kit lenses come with it.
Image stabilization is so effective that it can allow up to 4.5 stops of compensation. In other words, it lets you shoot at 1/15th of a second or lower without motion blur.
This impressive feature works best in conditions with visible light.
Find Ways to Stabilize Your Camera Without a Tripod
If you are capturing a low-lit scene and do not have a tripod, a few methods help keep your images well exposed and sharp.
One is to stabilize your camera by using your camera strap around your neck. Making it taught allows you to minimize camera shake.
To add additional stability, you can also rest your back against a wall. Doing so eliminates even the slightest movement you make while shooting.
But the best solution is to set your camera on a table or a ledge to ensure it doesn’t move while you’re taking photos.
These techniques work best in low light conditions.
Use a Tripod for Shutter Speeds Lower Than 1/60
The techniques I showed you on how to avoid motion blur when shooting handheld aren’t foolproof. Even a slight camera shake from your hands can ruin our shot.
So if you don’t want to take any chances, just use a tripod. And always bring it any time you want to shoot some low light photography.
Use a Fast Lens for Low Light Situations
The choice in a lens is crucial when it comes to the maximum achievable aperture.
Choose the widest possible apertures to capture images in the dark. An f/1.4 value will give you four times as much light as f/2.8.
Most kit zoom lenses find their limit at f/3.5-f/5.6 for maximum aperture. Meanwhile, professional zoom lenses often have a maximum aperture of f/2.8 or wider.
High-end prime lenses can be expensive. But you can also buy cheap options such as the Canon EF 50mm f/1.8 II if you’re still starting in photography.
Many prime lenses can reach f/1.4, and even some of the most specialist lense can drop down to f/0.95. The wider the aperture (the lower the f-number), the faster the lens is considered to be.
Go for a Wide Aperture to Let More Light In
The aperture is the hole the light passes through in your lens. The wider it is, the more light comes in. Bear in mind that the wider the aperture, the lower the f-number and not the other way around.
This step isn’t particularly useful if you’re still using your standard kit lens because of it the maximum aperture of somewhere around f/3.5. Unfortunately, that value won’t let in enough light for good results. I suggest buying that cheap prime lens we talked about earlier since it has a maximum aperture of about f/1.8.
Setting your lens at f/1.8 lets in 4 times more light than f/3.5. That means you get to expose your photos faster to avoid motion blur.
But you also need to remember that a wide aperture will produce a shallow depth of field.
So if you’re taking photos of groups of people in dim environments, don’t use f/1.4 or f/1.8. Doing so would make the background and some faces blurry. Instead, use a higher value such as f/8 to ensure sharpness.
Adjust Your ISO to Get the Right Exposure
If you’re struggling to get the correct exposure just by changing the shutter speed and aperture, the best thing to do is to raise the ISO.
ISO is responsible for changing your camera sensor’s sensitivity. The higher the value, the better your camera can take pictures in dim situations.
But ISO is also tricky to manage because the higher the ISO, the more digital noise you’ll have in your photos. Typically, I don’t raise my ISO above about 1600 because the images start looking muddy and unusable if I go any higher.
Use a Large Sensor Camera to Capture More Light
The sensor is what captures the information that makes your image. It goes without saying that the larger the sensor, the better the quality and resolution.
Smartphones and point-and-shoot cameras typically have the smallest sensors. The next in line is the Micro Four Thirds, named after its size as compared to a full sensor. And the most common one is called the APS-C, which you can find in most consumer DSLRs and mirrorless options. At the top of the line is the full-frame sensor, which is inside professional cameras. At 35mm, it’s more or less the same size as 35mm film cameras.
So which camera is best for low light photography? The quick answer is a full-frame camera such as the Canon 5D Mark IV. Due to its sensor size, it can easily capture scenes with less noise. In return, it allows you to increase the ISO without having to worry about too much digital noise.
Shoot in Raw to Add More Exposure Stops
You need to shoot RAW all the time because it offers more flexibility when it comes to editing your image.
So why use RAW in low light photography? The most straightforward reason is that it lets you add 2/3 stops or more to your exposure without affecting the quality of your file.

AF Assist Will Help You Use Auto-Focus in Low-Lit Situations
Shooting in dim conditions may mean that your camera will find it difficult to auto-focus. Sometimes it’s just too dark for the camera to determine how far a subject is.
Thankfully, any modern digital cameras have an “AF assist” feature. The AF assist lamp is often in front of the camera. It turns on to illuminate the scene if it’s too dark.
You can activate this feature on your camera’s menu. It will automatically turn on when you half-press your shutter in dark environments.
Zoom In While in Live View to Focus in the Dark
Your “AF Assist” may not work in some situations, especially if your subject is too far away. In this case, a flashlight may help illuminate the scene to get a focus lock.
It would also help a lot if you turn on Live View and zoom in on the subject digitally to let you see the details better.
Using your screen as the guide, twist the focus ring manually until your main point of interest is sharp.
Now all you have to do is press the shutter and voila!
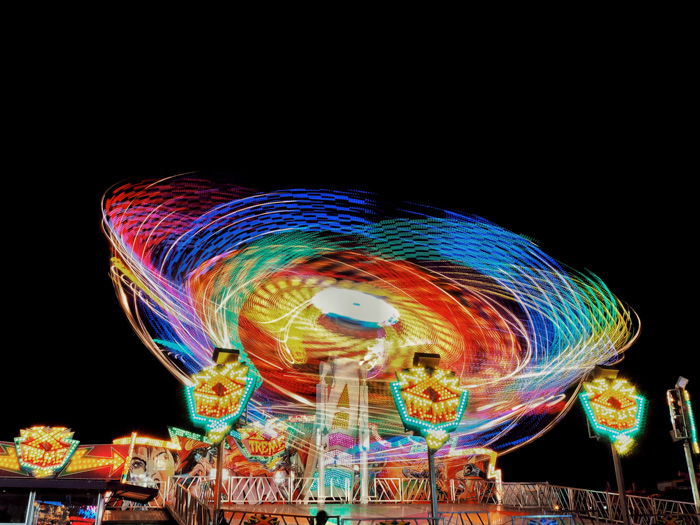
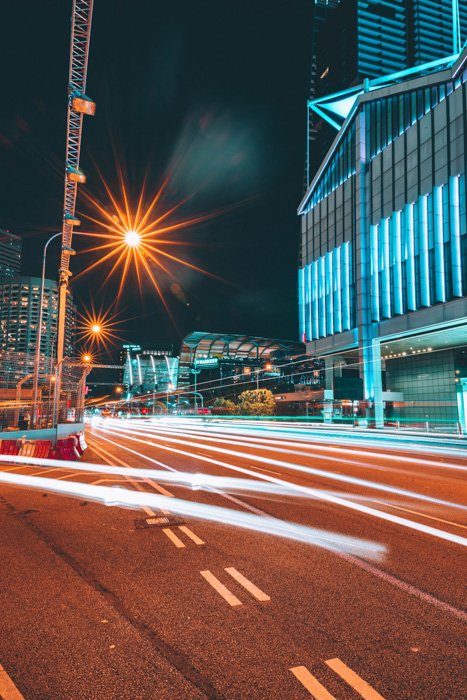
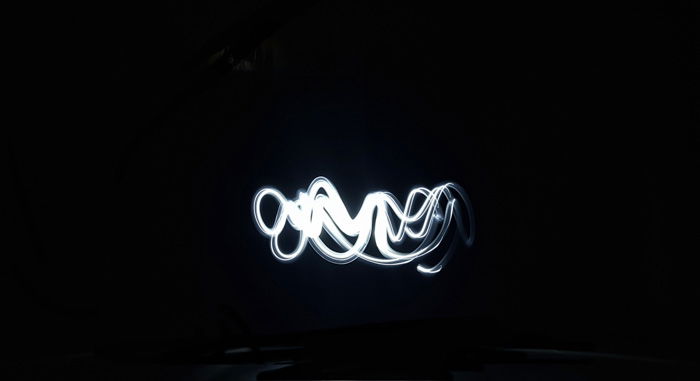
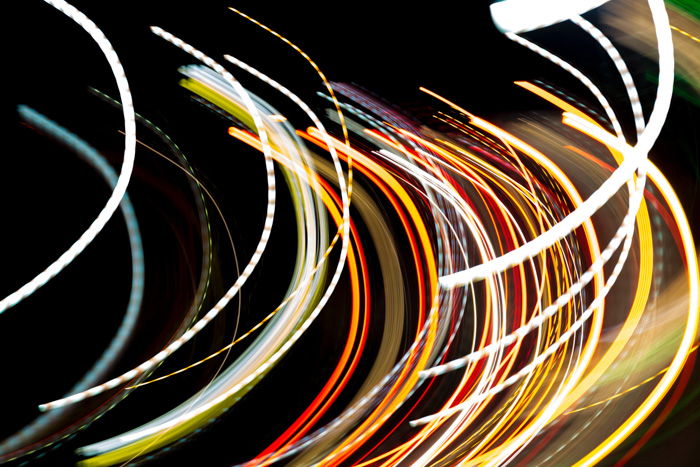
Play with Flashlights to Create Colorful Effects
Even when your camera is stable, any movement in front of the lens will still register as a blur. The photography process that uses controlled use of light is called light painting.
Ever wondered how to take photos of light streaks, here’s what you do:
Place your device on a tripod and choose a slow shutter speed (between 2 to 30 seconds). Get in front of the camera and trigger the shutter using a remote or a self-timer. Once you hear the click, start moving your flashlight around to create patterns.
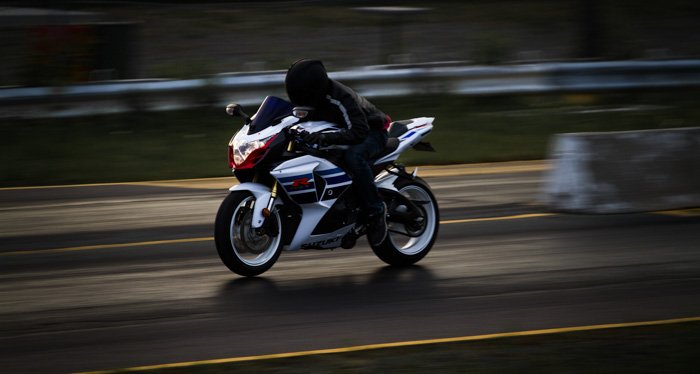
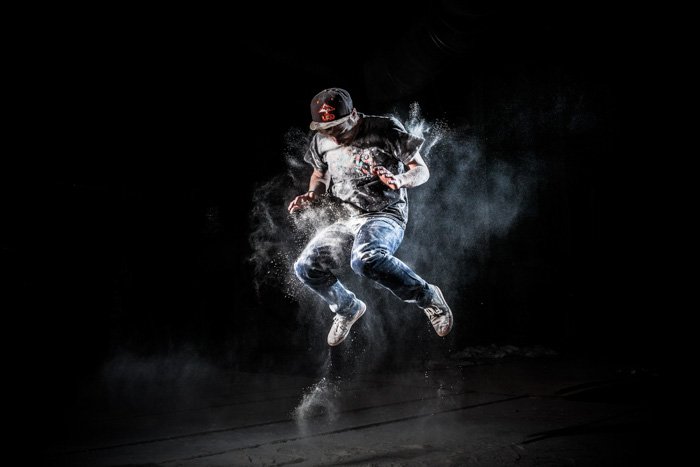
Use Flash to Freeze Images
If you can recall, slow shutter speeds cause motion blur while fast shutter speeds freeze motion. So, where does flash fit in this scenario?
The beam that a flash produces is powerful enough to let you shoot with fast shutter speeds. That means that you can use 1/250th of a second even if it’s dark and still get sharp pictures.
But just because you’re using a flash, it doesn’t mean that you can set your ISO back down to 100. If you do, you’ll start to lose background detail in the dark.
I like to leave my ISO on about 400, as I feel it gives an acceptable amount of grain and detail. All cameras are different, so play around with yours to see what works best.
The pop-up flash on your camera often produces unflattering results. Nonetheless, it still works well if you want to freeze motion.
If you’re using an external flash, it’s best to bounce the beam off of a wall or ceiling. But you can also use a diffuser to make the light appear less harsh.
Like everything else, practice makes perfect. By understanding the various types of lighting conditions, you will see what is possible and where the limitations lie. Taking photos in low light conditions is one of the most exciting areas you can cover.
-----------------------------------------------------------------------------------------------
PHOTOGRAPHY FREEBIE:
How to make money with your Photography even if you're not a Pro.
Copy & paste this link into your browser, click ENTER, and enjoy:
https://mrdarrylt.blogspot.com/2020/01/how-to-make-500-month-from-your.html
_______________________________________________________________
Kick Covid 19s' butt Tee shirt

Kick Covid 19's butt! Classic Tee Shirt
No comments:
Post a Comment
Note: Only a member of this blog may post a comment.