Film vs Digital Photography Debate (Which is Really Better?)
Over the last 30 years, digital camera technology has taken great strides in quality and performance. Many photographers have turned to digital cameras for both work and pleasure. It seemed the demise of film photography was almost inevitable.
But there are still plenty of traditionalists flying the flag for film cameras. Seemingly immune to the features and functions of digital technology, they prefer the smell of film and the sound of the shutter. And many digital photographers are also returning to film and analogue photography.
Is it just a fad? Is it a retro fashion trend? Or, is this the tide turning on the digital vs photography debate?
We’ll look at some of the main areas of contention, such as resolution and dynamic range. Then, when the points have been counted, we’ll give our verdict.
Does Digital Have Better Resolution Than Film?
All photographers, whether film or digital, want beautifully crisp and vibrant photos. They want their images to stand out. That’s why the resolution is the perfect place to start the debate.
How does a roll of film compare to a digital sensor?
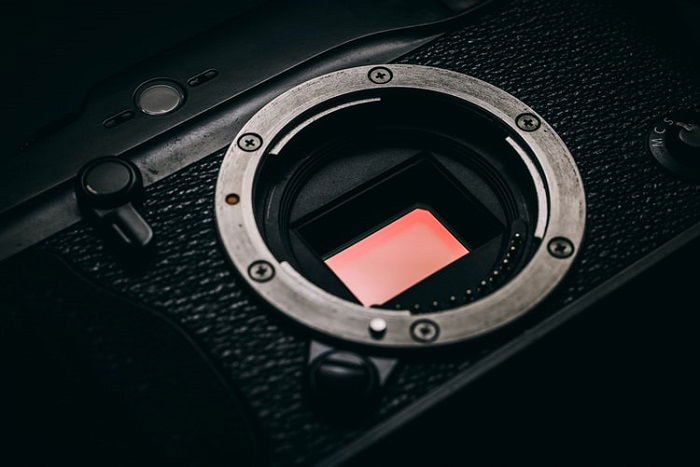
The resolution of a digital sensor is measured by the number of pixels they house. The more pixels the sensor has, the more detailed the image will be. Film doesn’t use pixels—the resolution is measured in ‘angular resolution.’
If we compare film with a digital sensor, it has a resolution range equivalent to 4 to 16 megapixels. The exact number depends on the film type you use.
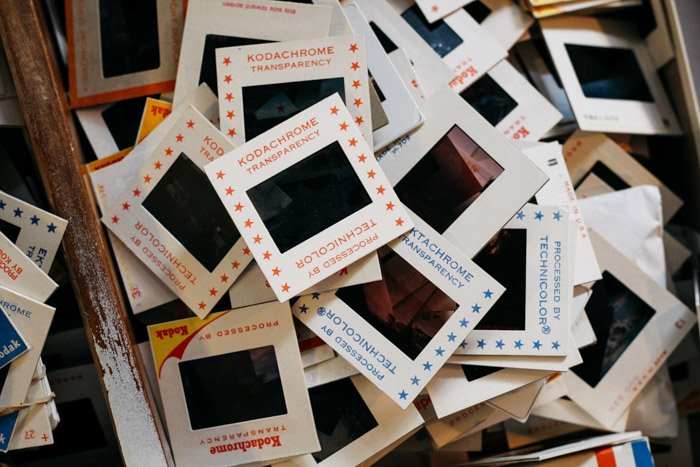
For example, the Kodachrome 64 film has an effective comparison of around 10 megapixels. Entry-level DSLRs, such as the Canon EOS Rebel T7i, has a resolution of 24.2 megapixels. In this example, film falls behind.
Film Cameras Can Use Larger Format for Increased Resolution
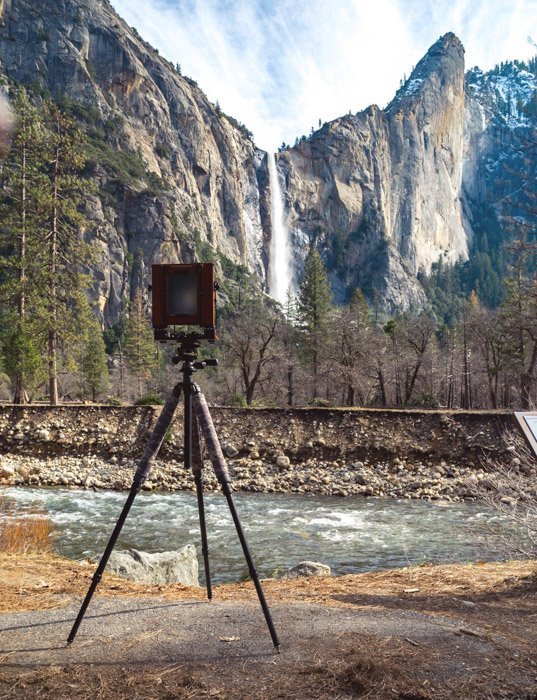
So, it looks like digital cameras have an edge on resolution. But, film photographers are not limited to 35mm. When they need a higher image resolution, they can turn to medium or large format cameras.
Increasing the film size is like increasing the sensor size in a digital camera. It means you will have a higher image resolution.
Medium format film can reach a whopping 18cm x 6cm. Large format film is 4″ x 5″ (10.16 cm x 12.7 cm).
Medium format has an image resolution equivalent to an unfathomable 400 megapixels. Even the best digital sensor doesn’t come close to this.
In fact, digital technology limits the resolution of a medium photo image when scanned onto a computer. The scanned version falls somewhere between 50 and 80 megapixels. Large format reaches 200 megapixels, even after scanning.
Digital Cameras Are Best For Everyday Use
It’s important to remember that resolution and megapixels only count if you’re printing or enlarging your images with a computer.
So even though large format film cameras are in a different league to digital cameras, digital image resolution trumps film for everyday use.
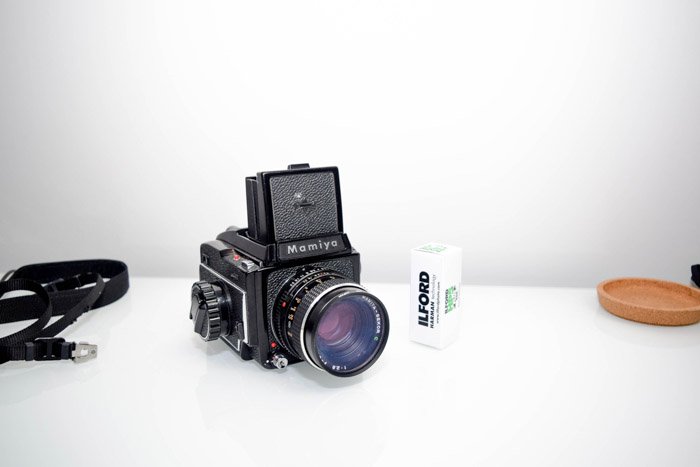
But for specialist use, large and medium format film cameras offer a much higher resolution than digital. A medium format camera will also help your wallet. For example, a second-hand Mamiya medium format analogue camera ($250) has a higher resolution than Phase One’s latest system ($40,000).
Use Digital Cameras to Avoid Film Grain
Film photographers will be familiar with grain. It’s the granular texture you find on a photo, usually caused by low lighting.
With film, this is caused by a chemical reaction on the film’s light-sensitive emulsion. It’s the result of a lack of light reaching the particles.
In low light conditions, you’ll need a film with a higher ISO. The higher the ISO, the higher the ratio of silver halide crystals in the emulsion. It means the film is more sensitive to light, but there’s a greater risk of grain on the final photo.
In the digital world, this granular effect is called noise. This results from visual distortion, where the sensor has to deal with a lack of light.

Digital cameras have surpassed film when it comes to light sensitivity. Digital noise is is becoming less of a problem with every sensor upgrade. And, for a long time, this was the main purpose of digital photography.
But today, grain is coming back into fashion. People like the retro aesthetic of a grainy film photograph, especially in black and white.
Digital technology is superior to film if you want true-to-life colour photos without noise. For many photographers, that is what they’re looking for. Others are looking for something with a bit of mystique. They want a photo that looks like a piece of history. And for that you need film.

Digital Cameras Have Better Dynamic Range
Dynamic range refers to the amount of light a film or sensor can capture. If there is a section of your image with too much light, it might appear as a white blur. If there’s a lack of light, you get a patch of detail-less black.
Until recently, digital could not compete with film’s dynamic range. But now digital is starting to take the lead.
Achieving a better dynamic range in a digital system is a complex process. High-end sensors, powerful file compressors, and digital algorithms improve this aspect of digital photography.
Traditional film uses a dynamic range of 13 stops. Digital cameras are now reaching 14 stops, with the Sony A7R III system hitting almost 15.
Film was the dominant force in dynamic range, and they still beat low to mid-range digital cameras. But now the tide is turning, and some digital cameras are now leading the field.
Roger N. Clark conducted tests in 2005 demonstrating that high-end digital cameras showed a huge dynamic range. These were compared to analogue scans and prints, specifically Kodak Gold 200 and Fujichrome Velvia.
Digital cameras can capture sequential shots (e.g. HDR, Fusion, focus stacking). This can be a great advantage to their digital range.

Film Cameras are at a Disadvantage for Film Speed
The speed of film relates to its sensitivity to light, which is measured with ISO. The higher the ISO grade, the more sensitive the film.
Analogue film is available at speeds between 50 and 3200 ISO. You can also find ISOs of 6400. You can also “up-rate” the film by pushing the ISO speed, then develop the film for longer. This does affect the contrast, so they will have a distinctive look that is better suited to art than editorial.
Digital cameras now have broad ISO ranges built-in. A consumer camera like the Nikon D5 has an ISO range of 100 to 102400.
Digital Cameras can Change ISO at the Press of a Button
Digital cameras have another huge advantage. A film camera is limited to the ISO of the film you have installed, while with digital you can change the ISO by pressing a button. You can change the ISO from shot to shot.
Medium format cameras have interchangeable backs, but this is still limited. They are bulky, heavy, and not exactly cheap. Large format cameras use sheet film, so you load the camera for one shot at a time. It makes changing ISO easy, but you are limited by the sheets you have on you.
Digital Cameras Are More Expensive
When making any comparison, looking at the prices is always a good idea. Photography is no different, so we’ll look at the costs involved for both film and digital.
With digital, the camera itself is the biggest expense. A top-quality digital camera isn’t cheap. A full-frame mirrorless camera, such as the Sony A7R III, will cost almost $3,000. That’s just for the body alone.
Lenses and other equipment aren’t cheap either, but these are not unique to digital. A digital photographer will also need a computer. They might need photo editing software as well.
Of course, there are more affordable digital cameras, which are often sold with bundles of gear. A Nikon D3500 is a good example of this.

Using Film Costs More in the Long Run
You can find film cameras in second-hand shops or online at bargain prices. You might be happy with your purchase, but the camera is just a small part of the financial picture.
The first significant expenditure is the film. Unlike digital, you essentially have to pay for each shot you take. As long as you want to shoot, you will have to buy film. A roll of film won’t break the bank, but it will add up over time. The more you shoot, the more you have to pay.
If you take 180 images using Kodak Portra 400 Professional film, it could cost you $45. For older film cameras, the film it takes can be in short supply and even more expensive. This makes film photographers more pragmatic. They need to be.
The benefit here is that film photographers have to consider every shot. They can’t be wasteful, so they need to be precise in practice.
Digital photographers can be more trigger-happy. Even if they reach the limit of their memory card, they can delete images to create space. This allows for more trial and error.
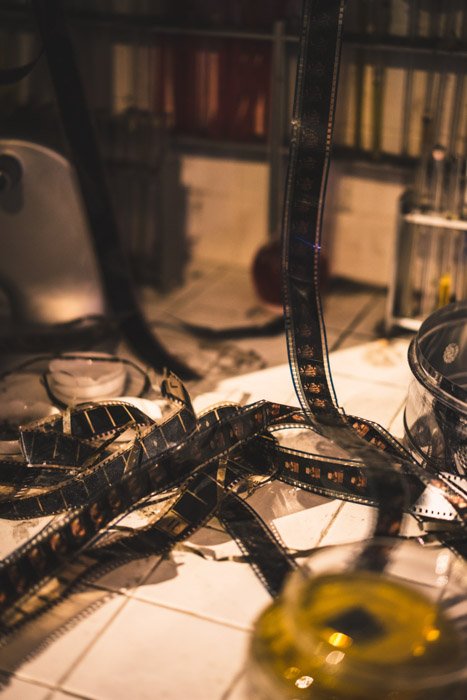
Developing Film Takes Time and Money
You will also need to get the photos developed. You can go to a shop or send them off for development, but you’ll be charged for the service. This also takes time. It is possible to get photos developed in a few hours, but many services can take days.
Another strategy is to develop your photos at home. But the chemicals and equipment aren’t cheap, and not everyone has space for a darkroom in their house.
You’re Less Likely to Need to Upgrade Your Film Camera
As technology advances, you may feel the need to upgrade your digital camera. If you think your system is obsolete, you will want a new camera to keep up with the highest standards.
But the cycle of obsolescence is slow, especially with high-end machines. So you won’t need to upgrade for many years if you buy a good digital camera.
With film cameras, you’ll rarely think about buying an upgraded model. As long as they are in good condition, they will continue to function as intended. They don’t feel the pressure of their modern competitors.
It’s Cheaper to Share and Save Images With Digital
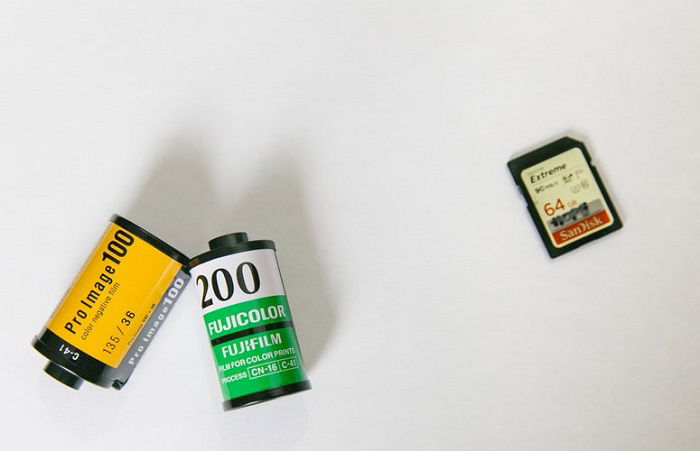
For digital, you will need a memory card. This is an added expense, but not so pay-as-you-go like buying rolls of film.
For $20, a CF memory card is available, allowing you to capture 160 images. It’s half the price of the film, and you can reuse it as many times as you need.
But, if you want to share your film photos online, the images will have to be scanned. Film developers can digitize the images for you, but you’ll have to pay extra. The other option is the buy a scanner.
Digital Photographs Are Much Quicker to Work With
Think about your workflow. If you use a digital system, it’s fast, convenient and efficient to capture a scene, edit and share online. From the click of the camera to online publication can take less than 10 minutes.
Film photography runs at an entirely different pace. Film is definitely the tortoise in this race.
Before you can even get your film developed, you have to complete the roll. If the image you want is shot one on the roll, you could be waiting a while. If you don’t shoot very often, then you need to be patient about seeing the images.
Once the roll is exhausted, it’s time for development. There are same-day services available, but usually you will be waiting a few days to get your photos back. Then, before you can share online, you will need to scan the images.
If you do opt for home development, there is a lot to learn. You need to mix the chemicals and keep them at the correct temperature. You’ll need to source all the equipment too. On top of everything, you’ll need enough space to do it.
Film Photography Can Be Inconvenient
Even before you take a shot, analogue photography takes time. Most medium and large format cameras won’t have light meters built-in, so a light reading may be necessary. And the lack of autofocus capabilities means you have to take your time capturing the shot.
In the convenience category, it seems that film has taken a beating. It’s true that digital is far more convenient in most respects. You can take a shot and share it online in minutes. If you’re a professional working to deadlines, then film is only going to cause problems.
If you work with film, you have to be patient. And, for many, the processes and the waiting are all part of the fun of analogue photography.
Conclusion
The final bell has rung and the points are being tallied up. In the battle of digital vs film photography, it seems that digital trumped film in most areas. But that’s only on paper. If digital is so much better, why does film continue to be so popular?
Good digital cameras are expensive, but once you have one, you can have unlimited shots. You can upload straight to your device and share images in minutes. You don’t need to buy more film or wait for them to be developed. Digital life can be a lot easier.
If you have tight deadlines, or if you need thousands of images, going digital will make your life a whole lot easier.
But photography isn’t just about meeting deadlines and convenience. Film photography still has a certain magic that digital can’t replicate. Every film camera has its unique quirks, and you never quite know how the photos will turn out. There’s a sense of creativity and mystery you don’t get with digital cameras.
On paper, digital looks to have won. But life isn’t only on paper. Film photography may not be as convenient as digital, but it allows you to indulge in the art of photography. That’s why it’s still so popular. And that’s why film isn’t going anywhere.
-----------------------------------------------------------------------------------