Location Scouting for Landscapes: 10 Lesser-Known Locations
10 Awesome Landscape Photography Locations
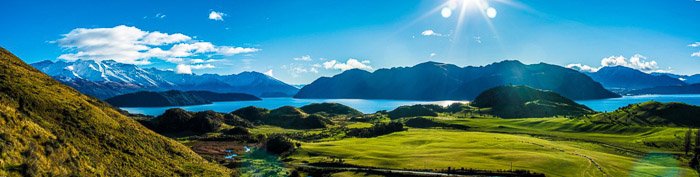
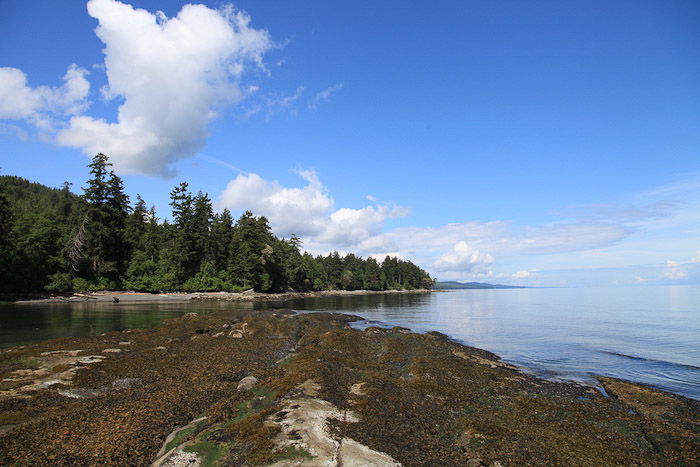
Wanaka, New Zealand
I’m definitely biased towards New Zealand, and it shows in this list.
But there’s simply nowhere else I’ve found which offers the sheer
diversity of climates and geography that New Zealand does.
Wanaka is a little lake town in the Southern Alps of New Zealand. In the
winter it serves as a ski base, and in the summer it serves as
everything else. It’s one of the more quaint and relaxing areas I’ve
ever been to, and there are photos everywhere you turn.
Monteverde, Costa Rica
After an assignment for a nonprofit in Guanacaste, a province on the
Pacific Coast, I spent a week riding the bus through rural Costa Rica.
While the beaches and coast are beautiful, you can find a lot of
off-the-beaten-path areas like the Cloud Forest area near Monteverde, a
town high up in the mountains.
It takes hours of winding up steep, gravely roads that snake up the side
of the mountain, but it’s worth it once you’re at the top. It’s cooler
than most of the area, due to altitude, and though it’s almost
perpetually foggy, this can make for some beautiful photography.
Be sure to catch the Arenal volcano just a few hours away.
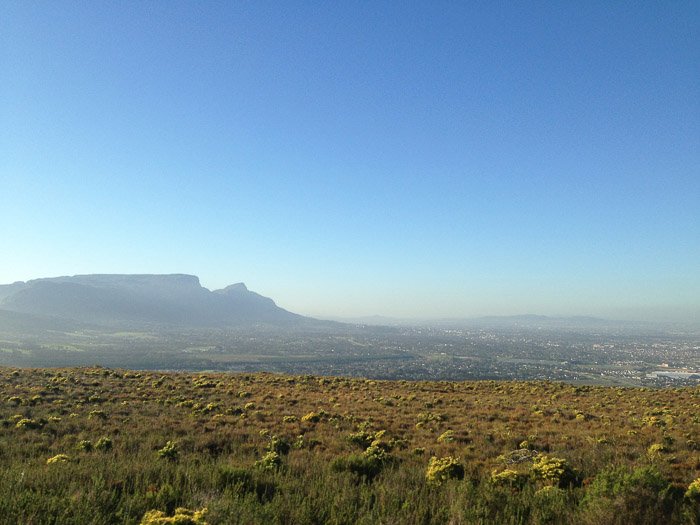
Cape Town, South Africa
South Africa is beautiful, but Cape Town transcends beautiful.
Imagine craggy mountains on the edge of a tropical sea, with vineyards
in between: that’s what Cape Town is.
As landscape photography locations go, it may not be as obscure as some
of the other locations mentioned here, but the fact that the city is
still not yet well known for the diverse landscapes in its surrounding
terrain that has earned it a spot on this list.
For example, the famous Table Rock towers over the city, and is perfect for early morning fog shots.
And if urban/humanitarian photography is one of your interests,
Khayelitsha Township is one of the largest slums in Africa: it spreads
for miles, just outside of Cape Town.
Go a few miles east, and you’ll be in the Stellenbosch winemaking
region, which runs along the coast. Strand, about an hour east, is a
popular beach destination.
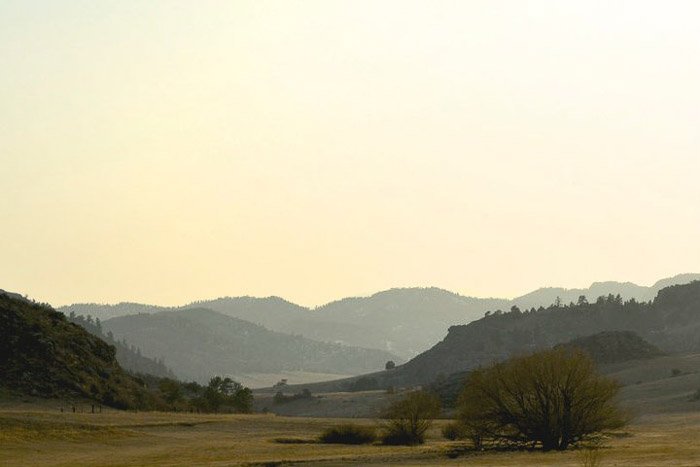
Thermopolis, Wyoming
It’s not your typical Western American destination, and due to the
active thermal springs it smells like sulphur. Just east of the Grand
Tetons is a little area called the Gateway to Yellowstone.
Thermopolis is an old hot spring resort town with a population of 3,000
and is nestled in between massive canyons and rolling plains.
Driving through the town recalls a heyday of long ago, but it’s still
worth visiting. Directly west are the Tetons, and directly south is
Colorado and the Rockies.
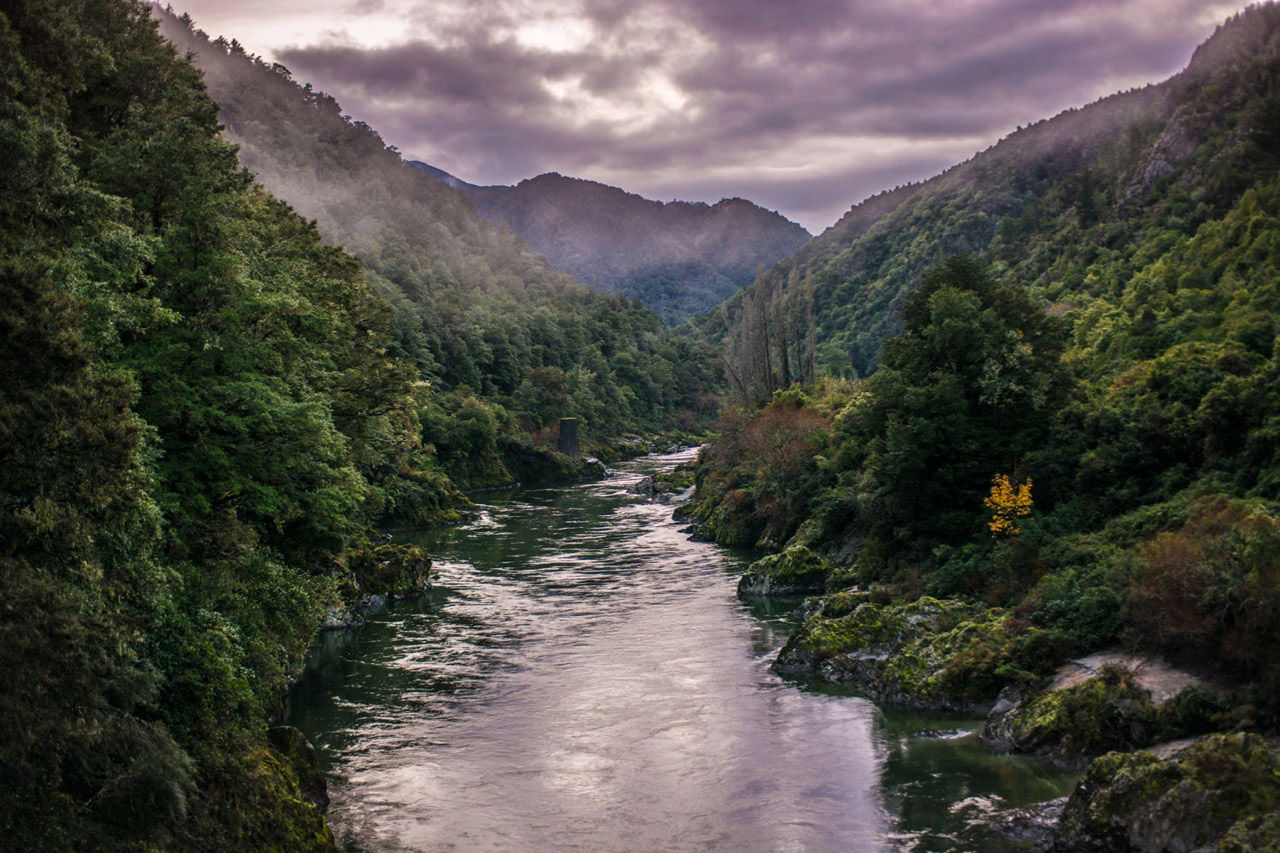
Buller Gorge, New Zealand
This mountainous area is one of the lesser-known areas of New
Zealand’s South Island. It’s a long, remote road through the mountains,
in between the Marlborough wine country and the rocky upper west coast.
Take the drive during a time in which you can catch either the foggy
dawn or the sunset, and fill up with gas before you start driving.
There’s only a couple of gas stations along the way.
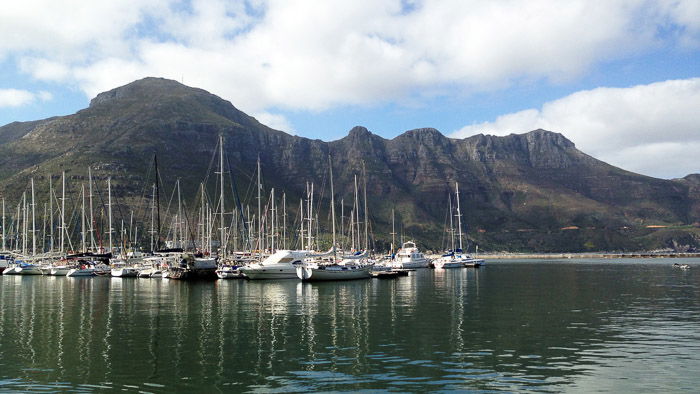
Fish Hoek, South Africa
Just south of Cape Town, there’s a small fishing village called Fish
Hoek on False Bay, with a picturesque harbour well-shielded from the
elements.
Keep on travelling down the highway for a few hours and you’ll
eventually come to the Cape of Good Hope, the traditional southernmost
point of the African continent, where the Atlantic Ocean becomes the
Indian Ocean.
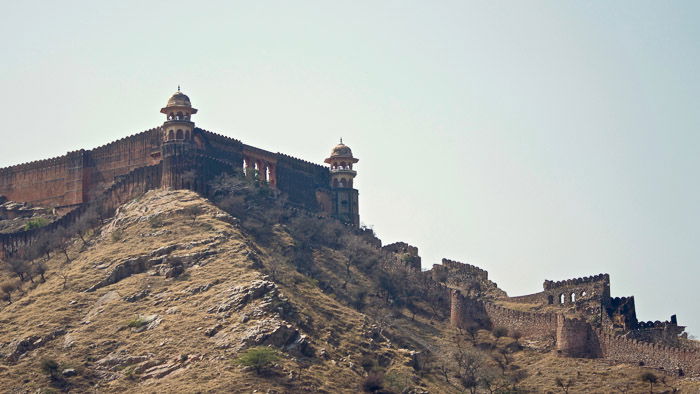
Rajasthan, India
India provides plenty of options for exotic photography, the most
interesting of which can be found by heading north, past the typical Taj
Mahal shots.
I hired a driver for three days for 10,000 rupees (around $150). He
drove me from New Delhi up to the Pakistani border, to the province of
Rajasthan. It’s straight Middle East: camels, sand, elephants, street
markets, and rolling red mountains.
Ireland-to-France Ferry
There’s a $60 overnight ferry that runs from Ireland to France. It
begins in a tiny fishing village in the south of Ireland called
Rosslare, and ends in a small city in the north of France called
Cherbourg.
It takes a little less than a day, but it’s worth the experience and
view. If you take it outside of vacation season, you might be one of the
only passengers on board. It’s the cheapest way to get a legitimate
ship ride experience that I’ve ever found.
Nile River, Uganda
The Nile River starts at Jinja, Uganda, where Lake Victoria becomes
the source of the Nile. It’s quite rapid and swift throughout Uganda,
and makes for some great photography as it winds through the bush.
An hour or two north of Jinja, a few locals have created an overlook in
the corner of a horseshoe bend where people come to look at the rapids.
In between it all, there are a thousand villages perfect for exploration
and photography.
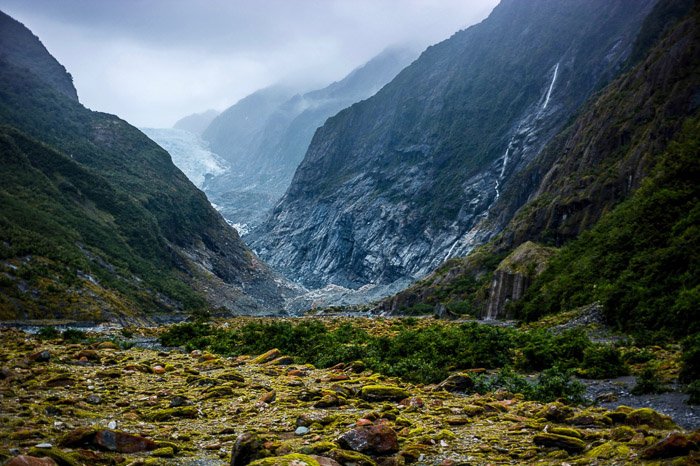
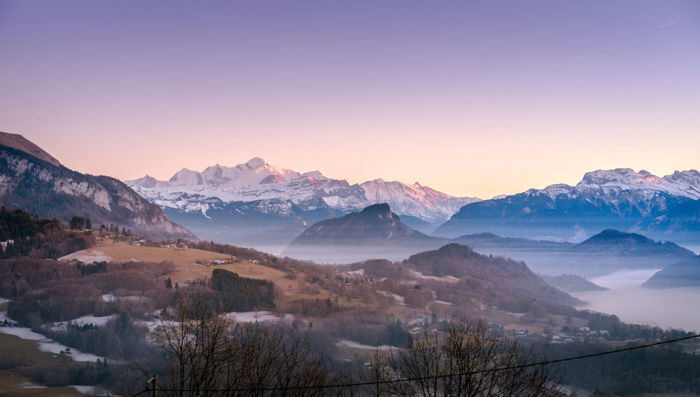
Franz Josef Glacier, New Zealand
Blessed as it is with its abundance of landscape photography
locations, New Zealand might deserve to be in this list ten times, but
that’s hardly fair, so we’ll have to settle for three.
If you’ve always wanted to shoot in Iceland, but haven’t yet had the
chance to pop over to Reykjavik, then an alternative might be the west
coast of New Zealand’s South Island.
It’s remarkably Nordic: it’s almost the southern hemisphere’s mirror reflection of the North Sea.
Franz Josef is a massive glacier tumbling from the Southern Alps down
into the Tasman Sea. It’s huge, the water is icy and blue, and at the
base of the glacier is a rainforest: one of only two places on earth
where a glacier is within walking distance of a jungle.
You can hike the glacier with a strenuous all-day trek, or take a helicopter ride up to the top.
Discovering breathtaking landscape photography locations is one of the
most exhilarating things in the world for travel and photo junkies. And
the world is a big place — there are plenty more photo-worthy places to
find almost everywhere. The key is to keep an eye open for the unusual
and rarely seen.
-------------------------------------------------------------------------------------------------------------------
Photography Freebie

In this downloadable free photography ebook, I have put together all the basics in a simple, practical and jargon-free way.
Get your FREE copy here: https://ianmiddletonphotography.com/free-photography-ebook/
Just copy and paste the link above into your browser, click ENTER, and enjoy.
 Respect the environment you’re shooting. You have to understand the importance of not disturbing natural environments.


 Darryl T