The 10 Best Street Photography Camera Options in 2021
Street photographers are always searching for the best street photography camera. Luckily, there are always new cameras developed and released on the market.
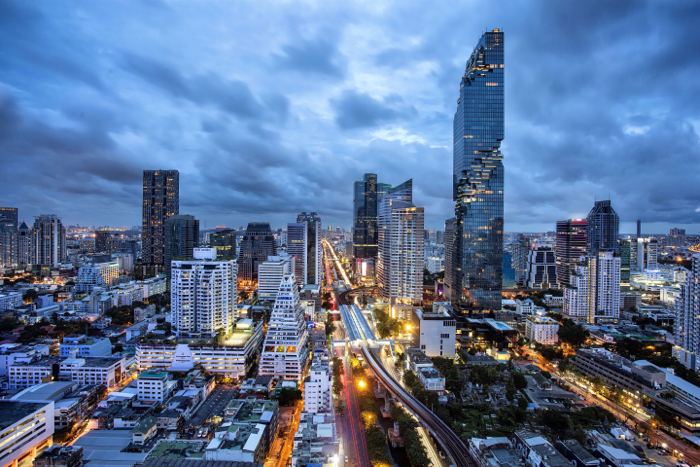
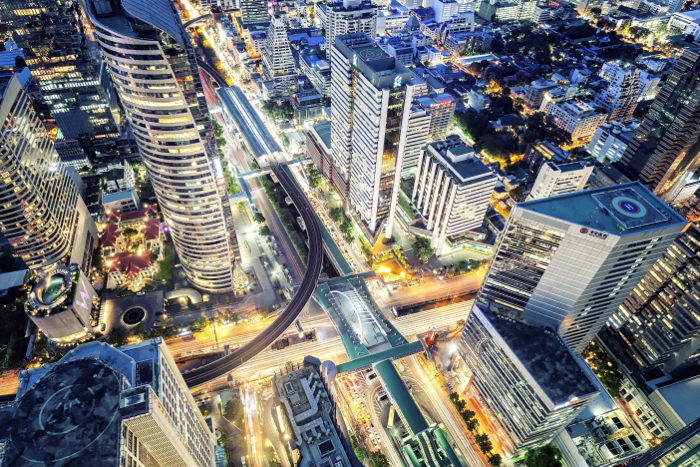
So, what is the best camera for street photography? It depends on what you are photographing. Candid images are going to be challenging to capture with a hefty DSLR camera. Architectural images won’t have the HDR (high-dynamic range) they deserve from a point-and-shoot.
But the camera is not the only important factor for great images. A stunning photograph comes from a multitude of areas. You need a useable camera and a quality lens, of course. But patience, planning and confidence are just as essential.
What to Look for in a Street Photography Camera
There are a few things your camera will need for capturing street photography. No matter what your focus is, shooting in RAW is a must. It gives you more play when editing your images.
A system that allows you to change your lens is a plus, but not a necessity.
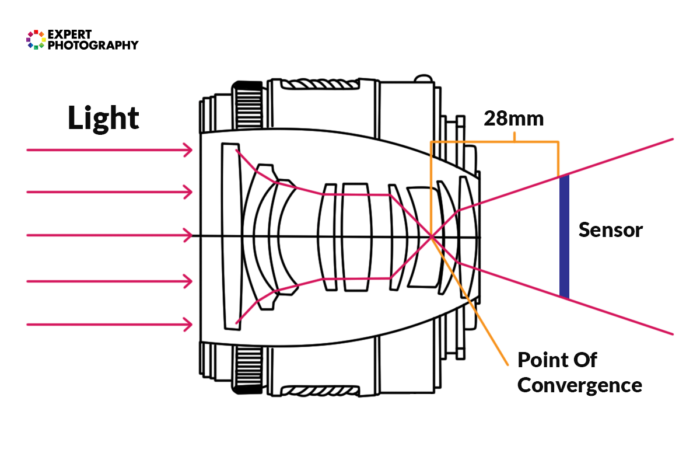
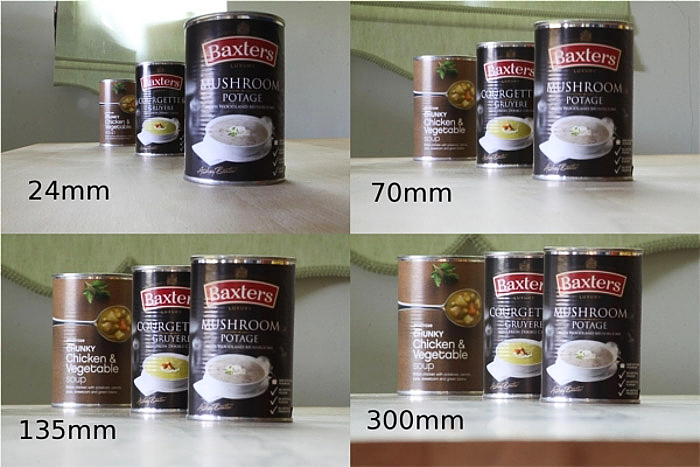
What is the best focal length for street photography? You’ll get the best, most inclusive shots with a medium-wide lens. Around 28mm, in my experience.
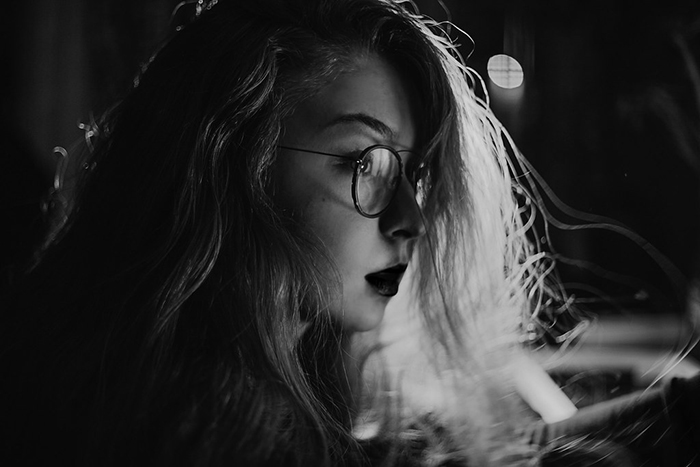
A High ISO range is beneficial in low-light conditions. Perfect for shooting behind windows and night-time photography.
Portability is also essential. You may find yourself traipsing far-and-wide over a city, capturing all it has to offer. You don’t want to have a camera that is too bulky.
Speed is essential in capturing those moments that happen in a blink of an eye. A high burst rate is really useful. It will allow you to have more chance to snap an image at the perfect moment.
A large, bulky camera is easily spotted a mile-off. This can stop you from catching those candid shots.
It will not fit in your pocket for discreet, spy-like captures. A
poorly designed camera body also means more time to navigate through
those buttons and settings.
DSLR
DSLRs are not for every type of street photography. If you want powerful sensors, high framerates, and other fancy features, you’ll pay a lot. And the camera will be big and heavy. If you want a smaller, cheaper package (say, under $1000), you have to make sacrifices on other fronts.
For some, a DSLR camera is still the preferred type for street photography. So, let’s see the camera options I recommend.
Nikon D780
The 24-megapixel D780 is a fresh update of the well-known D750. It’s relatively inexpensive and has all the advantages of a typical full-frame DSLR.
This includes a wide dynamic range, lens options, great control surfaces, and two card slots. So, if you ever want to use it for something else than street photography, it won’t fail you.
It also features a new EXPEED 6 image-processing engine besides WiFi connectivity and an unbelievable ISO capacity of 204,800. Besides these, Nikon recently started using backlight illuminated sensor technology to ensure that your images will be tack sharp and detailed.
It’s a workhorse camera, that’s for sure, and a great choice for
street, too. A sturdy and reliable model which probably won’t disappoint
you. 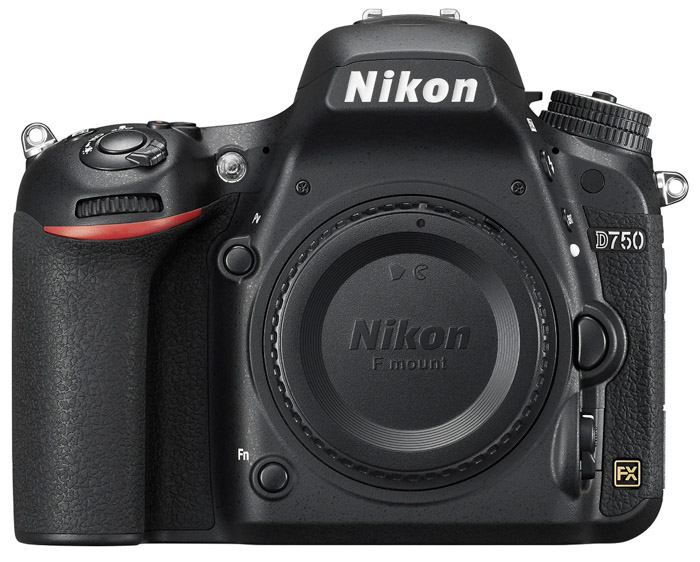
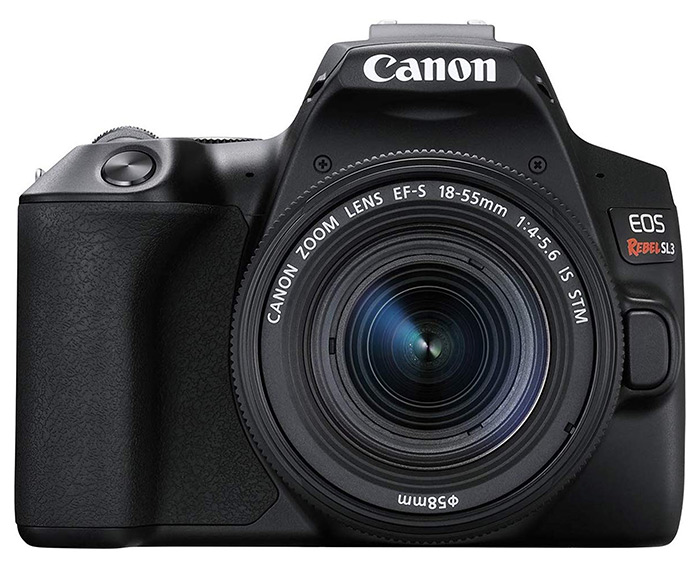
Canon EOS 250D / SL3
Canon’s best cameras for street photography are no longer their DSLRs. But when it comes to less expensive choices, one still stands out.
The SL3 is one of the smallest and lightest DSLRs ever made, yet it’s packed with powerful features. First in Canon’s Rebel series, it shoots 4K video. Its 24MP APS-C sensor produces nice images throughout the day. But don’t expect a revelation in low light.
Its autofocusing system is quite outdated in viewfinder mode. But Dual Pixel autofocus is accurate in live view mode. It tracks subjects well. A flip-out screen helps composition from unusual angles. Wireless connectivity options make it a great choice for on-the-road sharing.
Pair it with a 24mm f/2.8 pancake lens for a compact, affordable and expandable DSLR camera setup for street photography.
Rangefinder
Leica M (240)
The Leica M (240) Digital Rangefinder Camera is a one-of-a-kind. The 240 is bigger than it’s older brother M model. However, it has a very quiet shutter action. This is perfect for close-ups and candid street photos.
It has live view capability, through its 3″ LCD screen. The rangefinder is a treat for all those who miss it from the newer generation of cameras.
ISO runs all the way to 6400, yet only minimal noise comes even from the 3200 ISO setting. It has a full-frame sensor with a resolution of 24MP. The image quality of the jpegs is amazing, but it is a Leica we are talking about.
It is the most expensive camera here, coming in at well over double the price as other cameras. You pay for the brand and the feeling here. If that’s something that inspires and motivates you, the 240 won’t fail you.
It is a powerful camera for street photographers; just don’t be afraid to take it out.

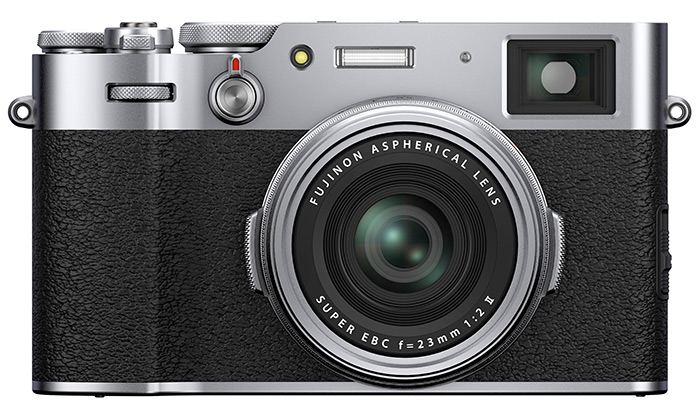
Fujifilm X100V
Fujifilm’s new fixed-lens rangefinder camera is similar in feel and handling to a Leica. Its price is quite high, too, but you get what you pay for.
Its brand-new, 23mm f/2 lens produces razor-sharp, colourful image quality. Paired with the 26MP APS-C sensor, the X100V promises excellent detail and dynamics.
It’s weather-sealed (if you add a UV-filter), and it’s built from high-quality metal. Durability won’t be an issue. Straight-out-of-camera tones (especially skin tones) are beautiful. If you can justify this price for a fixed-lens camera, you’ll love the X100V camera for street photography.
Mirrorless
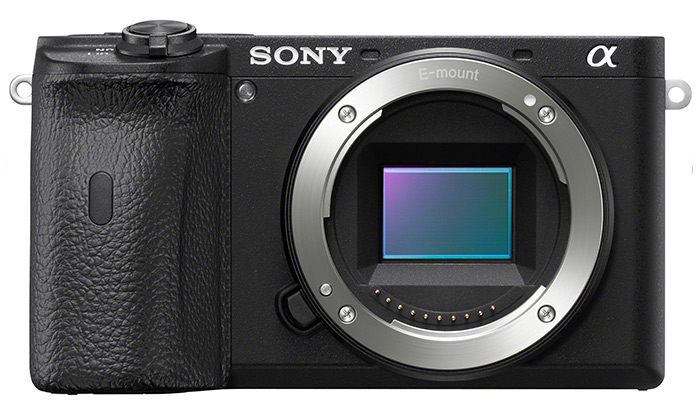
Sony A6600
Sony’s fantastic new crop-sensor camera promises a lot for street photography. Its blazing-fast hybrid autofocus system and high burst rate make sure that you’ll rarely miss any shots.
Its grip, while still not giving the same feel as a large DLSR, is comfortable to hold for longer periods. Yet, the body is still small. If you pair it with small or medium-sized lenses, you’ll get a stealthy street combo.
My recommendation is to use it with Sony’s 20mm f/2.8 pancake lens for street photography, the size and focal length are perfect.
Canon EOS RP
Canon’s tiny and cheap full-frame mirrorless is also an excellent option. Its 26MP sensor offers solid full-frame performance in terms of image quality.
Its Dual Pixel autofocus is fast and accurate, even in dark conditions. A recent firmware upgrade fixed many issues that earlier reviews criticised.
In a kit with the RF 35mm f/1.8 lens, it’s a fantastic deal for street photography.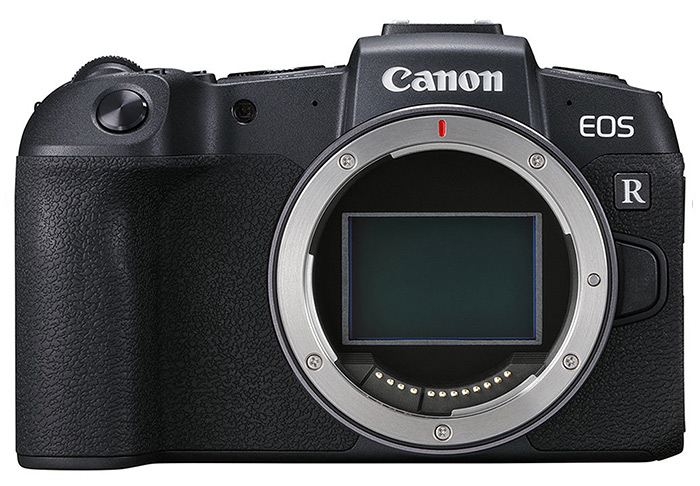
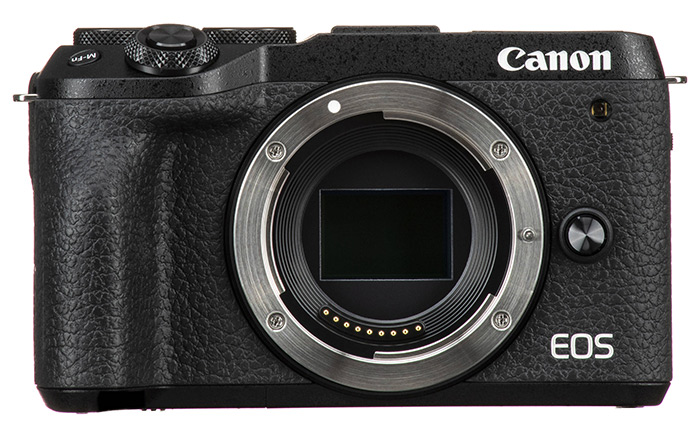
Canon EOS M6 MkII
Canon’s flagship APS-C mirrorless is a mini power station. It has a 32MP sensor and incredible tracking capabilities. Yet, it still fits in a similar-sized body as the A6600.
The issue with Canon sensors’ dynamic range is finally gone. The M6 MkII (like the 90D) is now up there with the competition. One downside is that it doesn’t have a lot of native lens options. The EF-M mount is not a wide-spread one.
Pair it with the EF-M 22mm f/2 lens, and you have a small, lightweight kit – perfect for capturing candid street moments.
Point-and-Shoot
Ricoh GRIII
The Ricoh GR III is tiny, fits in my pocket and allows me perfect spy-like images. A 28mm-equivalent, f/2.8 lens extends of the camera body but folds back when the camera is turned off.
Thanks to its phase-detection-based autofocus system, locking in on subjects is quick and accurate with the GR III. Its magnesium-alloy body makes this a very durable, easy-to-tote street photography camera.
Its 24MP APS-C-sized sensor produces dynamic and colourful (raw)
photos, with low noise levels. Ricoh omitted its optical low pass filter
for ultra-sharp and detailed images. We love that!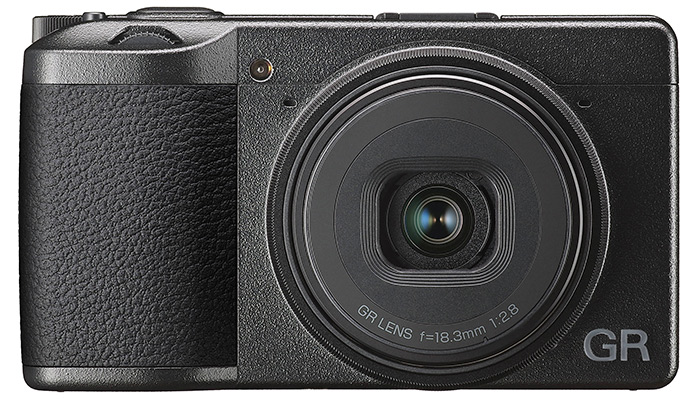
Fujifilm X70
Very similar in size and handling to the GR III, Fujifilm’s X70 is another advanced point-and-shoot. It has all the advantages of Fujifilm. Beautiful colours, film simulation modes, retro-like layout, and a beautiful, durable body.
Its autofocus is quick and snappy, utilising on-sensor phase detection. A 28mm-equivalent, f/2.8 lens projects clear and colourful images to the 16MP APS-C sensor.
It’s cheaper than the GR III – but it’s also one generation older. Both are designed and best used for street photography.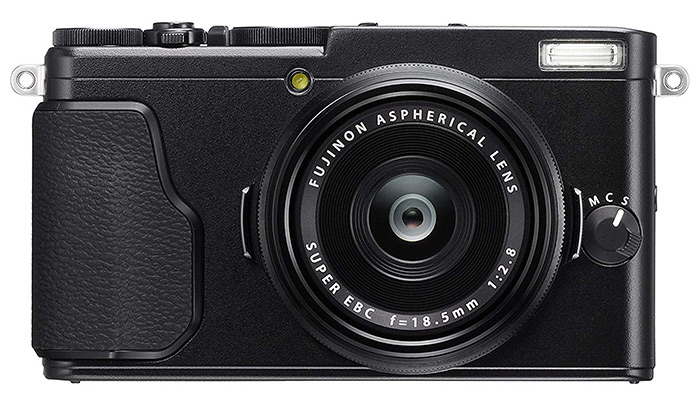
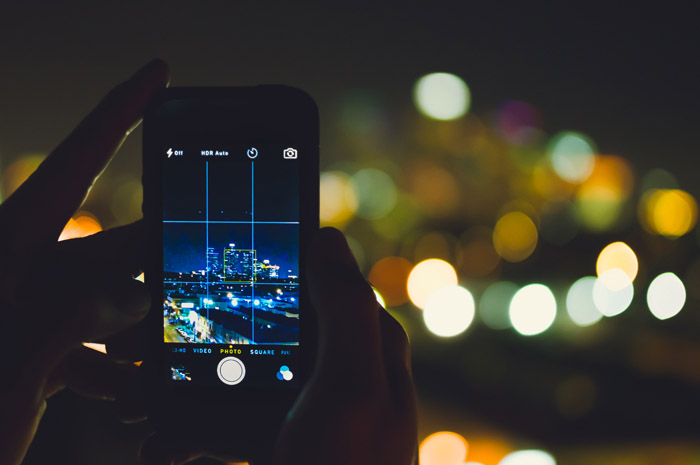
Your Smartphone
It’s a common saying, but true: the best camera is what you have with you.
This is particularly relevant for street photography, where your aim is to capture everyday scenes. You need to have your camera ready for that.
You most likely have a useable camera on your phone. It will be more than enough for shooting street photography with good image quality.
Most smartphone lenses are around the 24-28mm effective range. Thanks to intelligent algorithms, their sensors are getting better every day. Even for low-light performance. That’s what I recommend for street photography anyway – great!
Each one of these cameras has a specific area it will shine in. The DSLR captures the meat and majority of your work, due to lenses and settings.
The mirrorless systems are not far behind. They let you move freer and get more shots. They are also lightweight, meaning you won’t be frustrated with carrying the camera around. We value your input. Let us hear from you in the comments below.
---------------------------------------------------------------------------------------------------------------------
PHOTOGRAPHY FREEBIE:
How to make money with your Photography even if you're not a Pro.
Copy & paste this link into your browser, click ENTER, and enjoy:
https://mrdarrylt.blogspot.com/2020/01/how-to-make-500-month-from-your.html
or
https://www.photography-jobs.net/?hop=darryl54
----------------------------------------------------------------------------------------------------------------------
Visit me on Facebook and post your pictures.
https://www.facebook.com/Darryl-T-363867387724297/