How to Care for Your Photography Equipment in Cold Weather
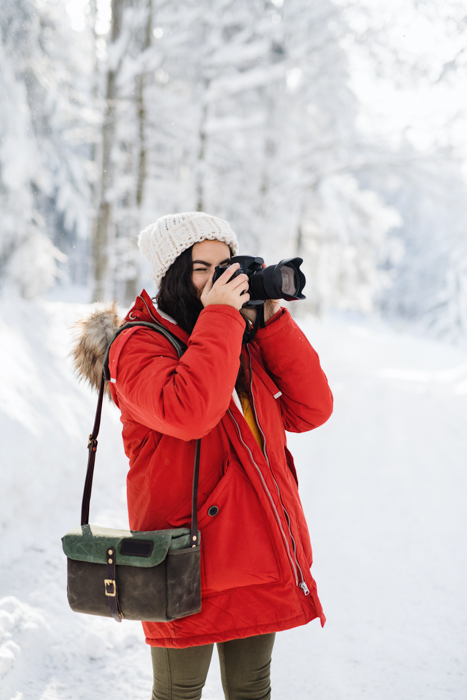
Protecting your equipment for winter photography is essential. After all, you don’t want to ruin all that expensive camera gear.
I live in Fairbanks, Alaska. That’s about 65 degrees north latitude, or
just a little over a degree south of the Arctic Circle. We are deep in
the interior of this most northern of US states, far from the
temperature-mellowing presence of the maritime areas.
My point is this: it gets cold here. Not just chilly, “I need to put on a
sweater” kind of weather, but honest-to-god, bone-chilling, spit
freezes before it hits the ground, kind of cold.
Yearly, our little northern city will reach temperatures colder than
-40F (-40C). We will go for weeks at a time where, even during the day,
our temperatures do not climb above -20F (-29C).
You might think that I wouldn’t even want to step outside in conditions like that, let alone take all my equipment out to take winter photography. But, you’d be wrong.
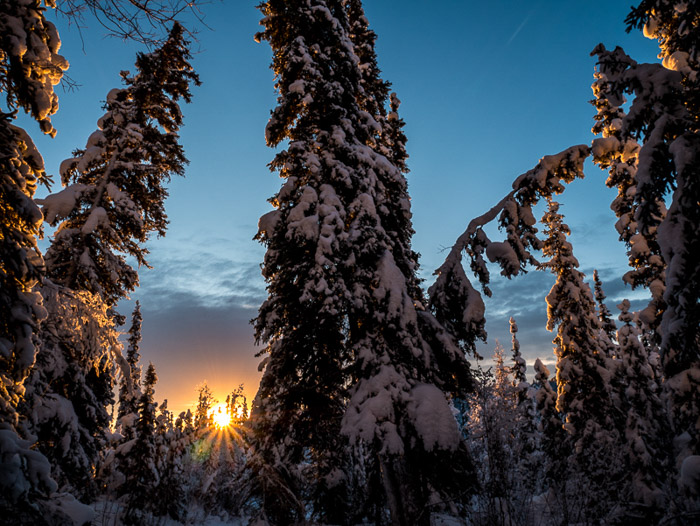
The light
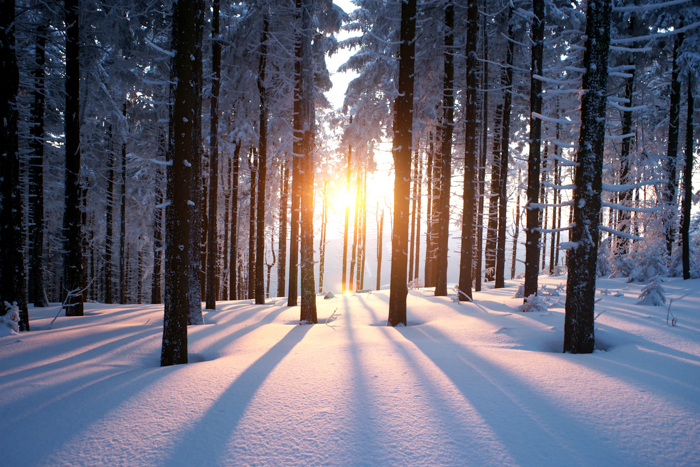
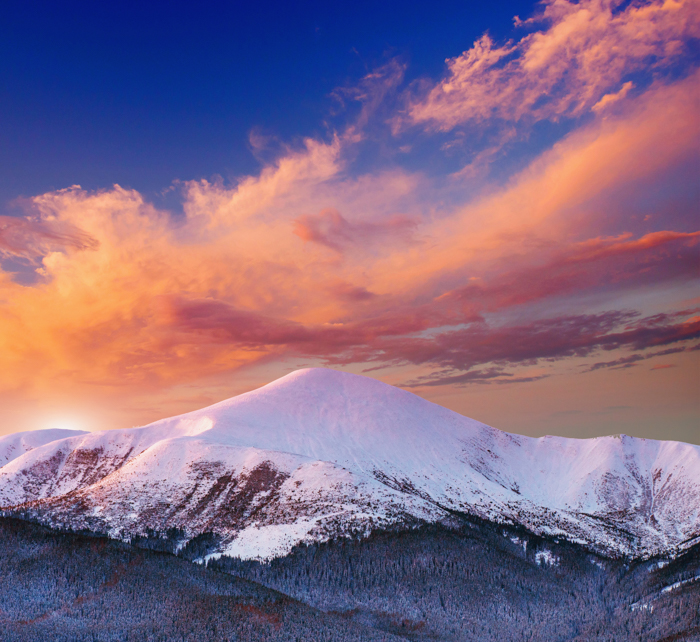
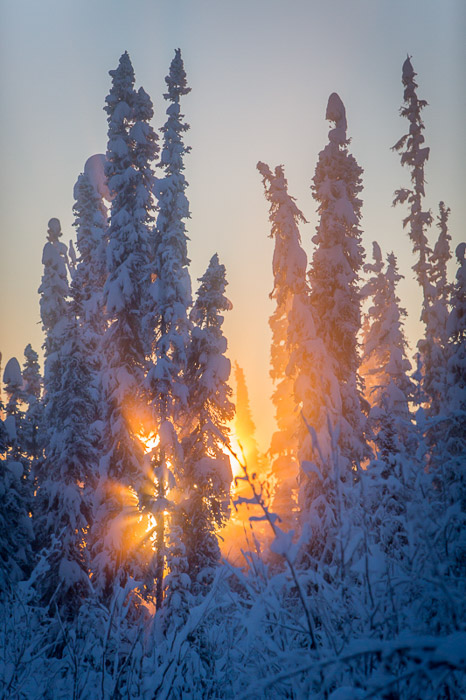
during the short days of winter is absolutely sublime. The sun never
rises far above the horizon and the low-angle, warm-toned light is often
too much for me to resist.
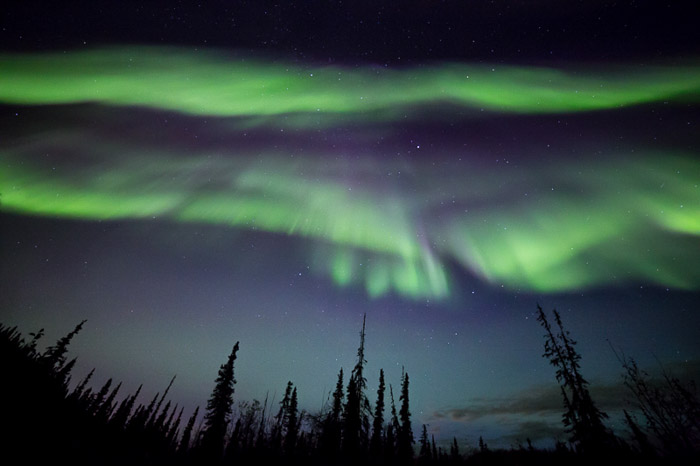
Winter is also the time that the aurora borealis
dances overhead, during our long nights. Frequently, I will spend hours
out, alone, in the dark and cold, photographing a display of northern
lights.
To venture out in those conditions for any length of time, you and your winter photography gear need to be prepared.
You need the right clothes to keep yourself warm, and you need to make sure your camera equipment is ready too.
Winter Photography Clothing
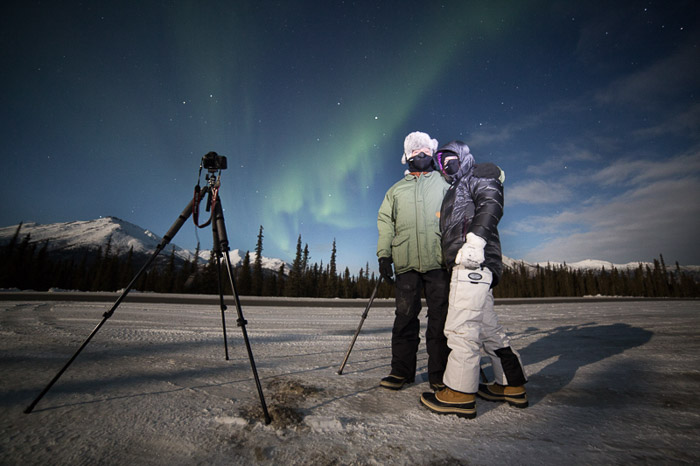
You’ve got to dress right. It doesn’t matter what the light is doing
if you get frostbite on your fingers, and can’t operate the camera. When
dressed for extreme winter photography, I feel a bit like an onion,
wrapped in layer upon layer.
From inside to outside my system goes like this:
- long underwear;
- fleece or wool sweater and pants;
- down or synthetic vest;
- 800 fill down jacket with hood;
- windproof Thinsulate pants;
- two pairs of thick wool socks topped by expedition quality winter boots;
- a musher’s style hat complete with ear flaps;
- a balaclava or face mask;
- thin nimble gloves with a pair of expedition over-mitts dangling from wrist straps.
Lastly, I’ll often throw a couple of chemical hand-warmers into my
jacket pockets. When temperatures drop to -40F, it’s best not to mess
around.
Camera Batteries
Keeping a camera operating in the cold can be one of the biggest
challenges to winter photography when the mercury drops. Cold
temperatures increase the internal resistance in a battery, limiting how
much electricity it can discharge.
On a warm day, a battery can dump all of its available power, but when
it drops down to 0F (-18C), you may only get 50% of the available power.
At -40, it’s a relatively small fraction.
In other words, much less time to shoot before your battery gives up the ghost.
The solution is pretty easy: carry multiple batteries. I keep at least a
couple of spares in an inside pocket, where they will stay warm. When
one dies, I swap it out for a warm battery.
By alternating back and forth, you can really extend the life of the
battery, and keep shooting hours longer than you would otherwise be able
to.
The more power hungry your camera, the more batteries you will need.
I’ve recently switched from Canon to Sony and Lumix, and one of the
things I miss is the long battery life of my Canon DSLRs.
With the comparatively small batteries of the Sony and power-hungry
mirrorless system, I have to carry twice the batteries, maybe more, as I
did with Canon. My Lumix however, despite also being mirrorless, has a
larger battery and a much longer life than the Sony.
My point is, even really good cameras have their limitations. You need
to know your gear, and plan for it. I can work with a shorter battery
life as long as I have spares available.
Camera Mechanics in the Cold
Within your camera’s manual, you’ll usually find a temperature range
within which it is designed to work. Never does that range include some
of the conditions in which I frequently work. Yet, despite shooting for
many hours at a time in temps as low as -45F, I’ve never had a camera
seize up.
However, I have had students, on aurora photo workshops, experience
that. Frequently this is a battery issue, just not enough juice to drive
the shutter and other mechanic parts of the camera. But occasionally
it’s a deeper problem.
On a workshop a year or two ago, a client’s Nikon DSLR completely
seized. Nothing worked. No shutter, no focus, nothing. The screen on the
back flickered with a warning code, and then died.
When a fresh, warm battery refused to bring it back to life, we packed
it in for the evening. After a night stored safely in a dry bag (see
below) he turned it on. The camera popped to life, no worse for wear.
When shooting in the most brutal occasions, sometimes you may just need
to stop and warm up your gear. Your gear will likely suffer no ill
effects.
Bad Breath
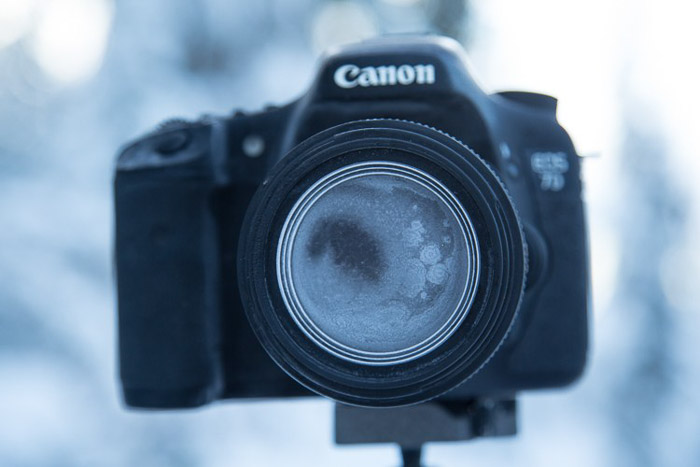
Cold temperatures require you to be careful not just with your
batteries, but also with how you handle it. The cold comes with other
risks. One in particular, can ruin your day of photography, and that is –
watch your breath. I mean it.
A mistimed, warm, humid, breath will condense on your lens, resulting in
a layer of milky frost on the glass. It doesn’t matter how much money
you spend on your lenses, no amount of sharpness will make up for that
kind of damage. Wiping at it usually just smudges it more, and
defrosting it inside (see below), can take hours.
Watch where you breathe, if you turn your camera around to check lens
settings, don’t exhale. I also usually wear a neck gaiter or balaclava
that I pull up over my mouth and nose. When wearing a mask, with your
mouth covered, your breath is directed up, where it frosts on your
eyelashes instead of your camera.
Use That Lens Cap
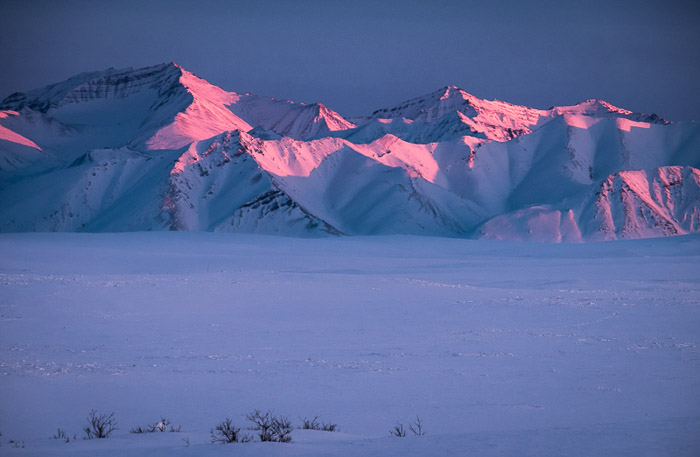
Breath is the usual culprit of fogged lenses, but when shooting at
night, there is always the chance that natural frost will form. To avoid
this, use your lens cap when you aren’t shooting. If you are walking
from one location to another, taking a break, or searching for a new
composition, put the cap back on your lens.
When I’m out shooting the aurora at night, my cap is on my lens, even if I’m just walking a short distance to a new shooting location.
Back Indoors
Last, and perhaps most importantly, is the return indoors. You know
how on a hot day, your cold beer glass gathers condensation? Ever
watched how those drips can form and run down the bottle, pooling in a
messy ring on the hard-wood table?
Imagine that happening to your camera gear. It can, and it will.
If you bring a camera indoors that you’ve been using in cold
temperatures, the equipment will be cold. After a frigid night
photographing the aurora borealis, an unprotected cameras will grow
frost crystals in seconds after coming inside.
This condensation can wreak havoc with the camera’s electronics, and
cause moisture to build up and fog in the internal workings of lenses
and bodies alike. I know from experience, it’s ugly, and it can wreck a
camera.
Fortunately, it’s easy to deal with. When you step back indoors to take a
break, warm up, or finish up for the day, place your camera and lenses
into an airtight bag. Simple.
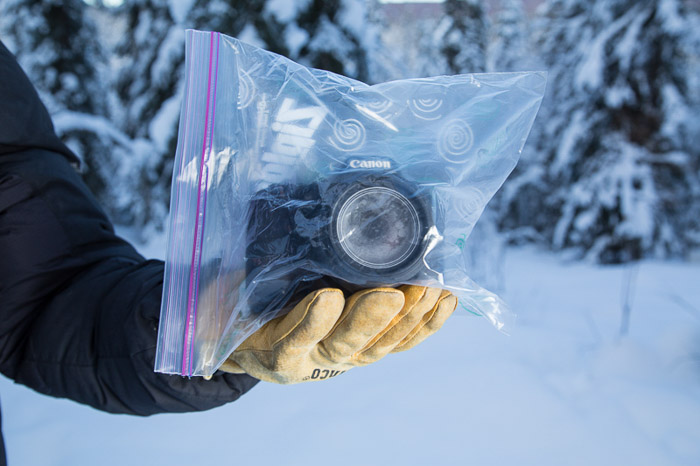
Ziplocks are good, but I favour lightweight roll-top dry bags like
those used by boaters to keep their gear dry. These are tough, reusable,
and work like a charm.
Once sealed up tight in a ziplock or dry bag, condensation can’t form on
your gear. Just let your camera warm up to room temperature before you
pull it out.
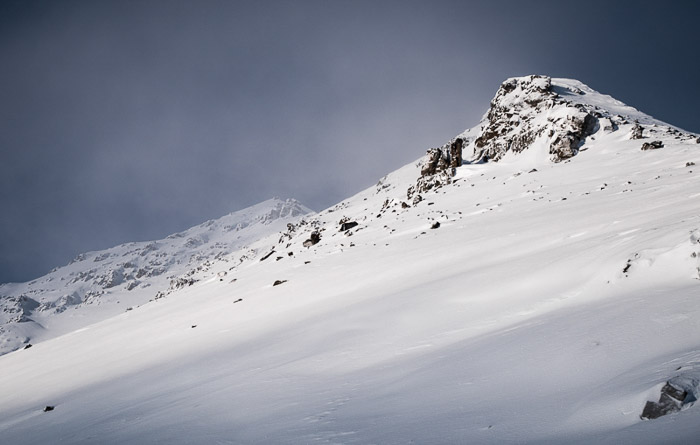
The cold scares a lot of photographers, and make no mistake, a frigid, mid-winter Alaskan night is nothing to mess around with.
But with a few precautions – warm clothes, spare batteries, avoiding frost, and protecting against condensation – you can take advantage of the stellar beauty of crisp, clear, days and nights.
