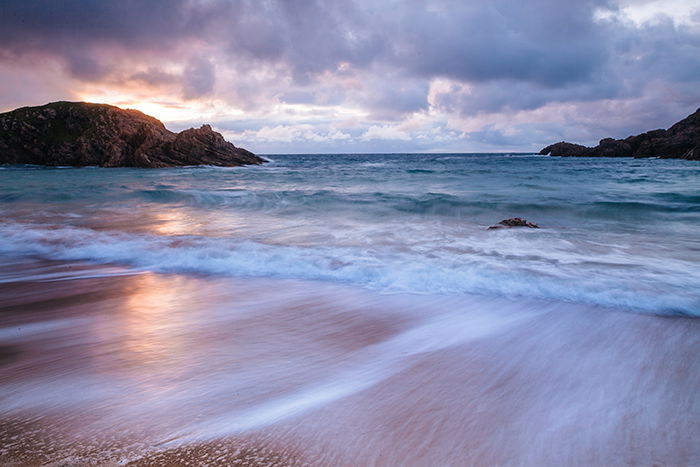
Thursday, July 28, 2022

How to Become a Photojournalist (Tips to Start Your Career!)

Tags: Shutterbug Photography, Rookie Photographer  

What Is Photojournalism?

If you want to know how to become a photojournalist, first you need to know what photojournalism means. A photojournalist tells news stories through images. Your job is to bring those stories to the people.
You’ll inform them on local or global events and it’s all about delivering as quickly as possible. Photojournalism can be both entertaining and informative.
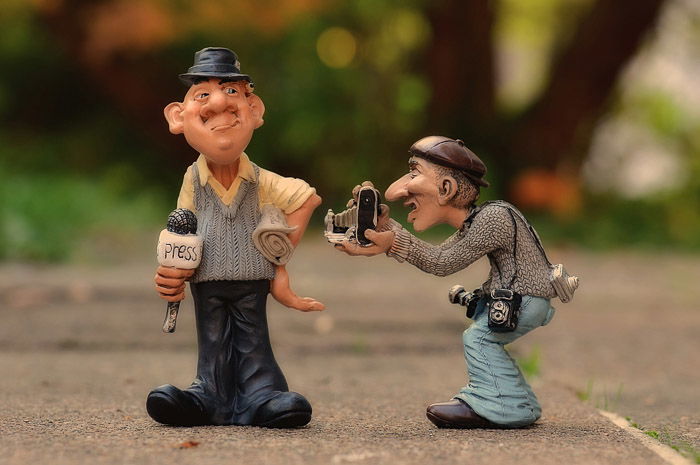
Figurines of a journalist taking a photograph of a television personality
What makes it different from other genres is that a photojournalist has to capture reality as well as possible. It has to follow a set of ethical rules.
Being honest and impartial is key if you want to do the job.

History of Photojournalism

Back in the 70s, photojournalists were highly regarded by newspapers and magazines. They were specialists in their field. Every media company or newspaper had an army of staff photographers but those days are over.
The birth of the internet meant that editors stopped sending off photographers. Instead, they used the internet to find someone who was already in the place of the intended story.
Does that mean photojournalism is dead? No, but it takes a lot more hard work to make it a career today.

How to Become a Photojournalist

Before you start, it’s important to find out what genre of photography you want to do. Photojournalism is not easy so you have to be sure when you want to take the step.
Don’t be afraid to make mistakes to find out. It took me years to find out what genre of photography I loved after I graduated from college as a photographer.
I started with publicity and ended up doing documentary and travel journalism, which is what I love to do.
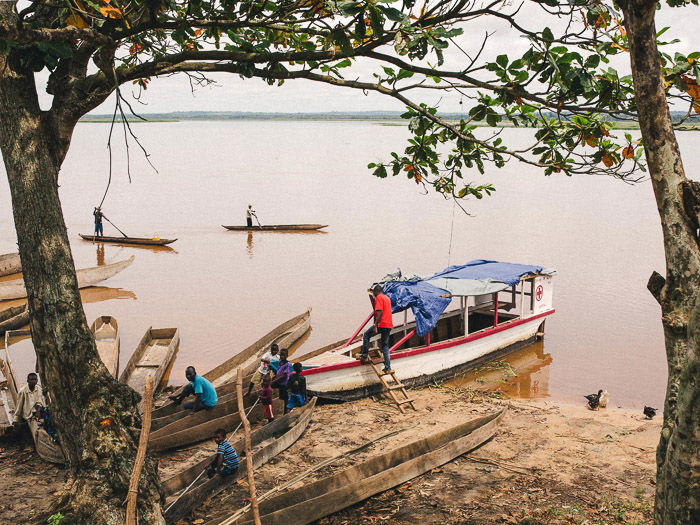
Boats on the edge of the water in India - how to get started in photojournalism
My first real assignment took me to Africa.

It’s very important to find out what path you want to take because you have to focus. If you want to build a career as a photojournalist, you have to specialize in the field.
A mistake many beginning photographers make is to do a little bit of everything. That makes it very difficult to get better and, more importantly, to get noticed.
If you want to become a photojournalist, you have to be a photojournalist before you even get your first job.

1. Build a Website to Get Your Work Noticed

Build a website to start your photojournalism career. Your computer and internet will be your office. Your website is how editors will find you.
Make it look good. Pick a clean design that makes your photos stand out.

A screenshot of a photographers website showing how to become a photojournalist
Make sure your website is all about showing photos.

2. Only Showcase the Best of Your Photos on Your Website

Don’t upload dozens or hundreds of photos when you’re starting out.
Sometimes, I hear beginning photographers say they have hundreds of photos. They want to show all those images on their website. That’s a big mistake.
Editors are looking for the best photojournalists in a pool of thousands. It’s important that you show then only your absolute top shots or projects.
Show twenty of your best photos. That’s better than showing hundreds of good or mediocre photos. Quality over quantity.

3. Learn Other Skills to Stand Out When Applying for Photojournalism Jobs

Photography and photojournalism are very competitive these days. If you want to reel in those exciting photojournalism jobs, it’s not a bad idea to learn some other skills.
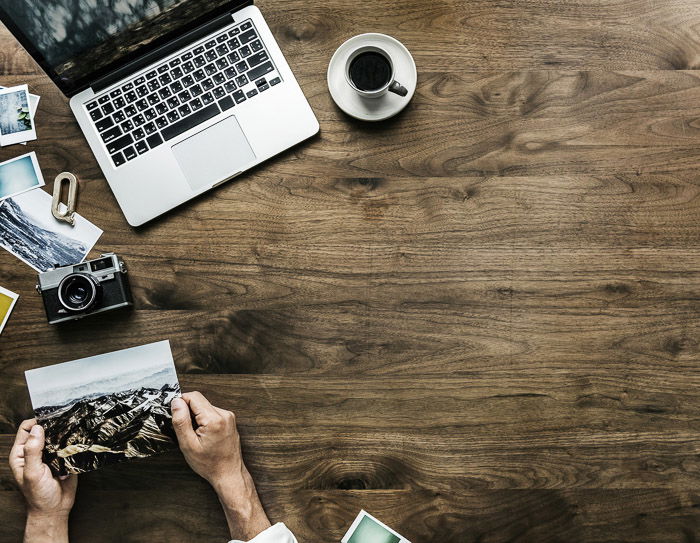
An overhead shot of a laptop, coffee and a person looking at photos

A lot of photojournalists write or shoot video too. Master another skill and you’ll be much more appealing to editors or media companies.
They can hire one person to do several jobs. A photography career is more than taking photos.

4. How to Get Yourself Noticed

Once you have a great looking portfolio website, it’s time to take action. A mistake beginning photographers make is to sit and wait until they get noticed.
Your work might be excellent but if no one knows you exist, they won’t contact you.
Here are some important actions you should take if you want to become a photojournalist:

Make Your Own Photojournalism Stories

Don’t wait for editors or magazines to call you. Use every bit of free time to look for your own stories. Get out there and take photos.
First, you’ll build a good portfolio. You’ll get better at photography faster if you keep shooting. Even if you don’t have an assignment, the best way to improve your photos is by taking lots of them.
And second, you can pitch those stories to editors. They might decide to publish the story and pay for it. At the same time, they get to know you as someone who takes action.
At some point, I had a lot of free time and decided to make a story of the street I lived on. It started out as something to keep busy.
Soon, it became one of my most important projects that won a photojournalism award.
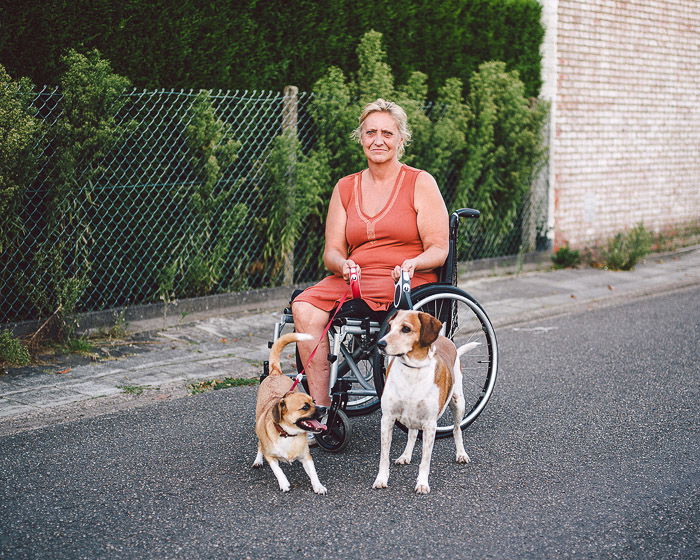
A portrait of a woman in a wheelchair outdoors
A shot from my personal project ‘Grey Summer Garden’.

Great stories are everywhere. You don’t have to travel halfway around the world or spend a lot of money to find them.

Talk to People and Other Photojournalists

Talk to people about what you’re doing. In real life or on the internet. It will help you to get your name and work out there.
Use social media to connect with other photographers, magazines, and editors.
With so many photographers out there, it’s important that people find you and your work.

Use Criticism to Your Advantage

The internet is a great place to get feedback on your photojournalistic work. Use all comments and criticism to your advantage.
Look at the work of other photographers and listen to what they have to say. Use everything you hear and see to make your photography better.

Pitch Your Work

Submit your work everywhere you can. Find websites, magazines or companies that might like your work and send it to them. It’s another way to get your name and work out there.
Awards are another great way to get exposure. Find photo contests that fit your work and enter your best photos.
Carefully selecting your photos for competitions also helps you to look critically at your own work. That’s a very important skill for photographers.

5. Photojournalism Is a Long Game – Don’t Give Up Early

And the most important thing: Don’t give up! It might take some time to build up a great portfolio and get your name out there. A lot of photographers give up too early.
Building a career as a photographer or photojournalist takes a lot of hard work.
If you want to find photojournalism jobs, it’s important to take as many photos as you can to get better at it. And to give it time.
It won’t happen overnight, but if you keep these tips in mind, you’re one step closer.
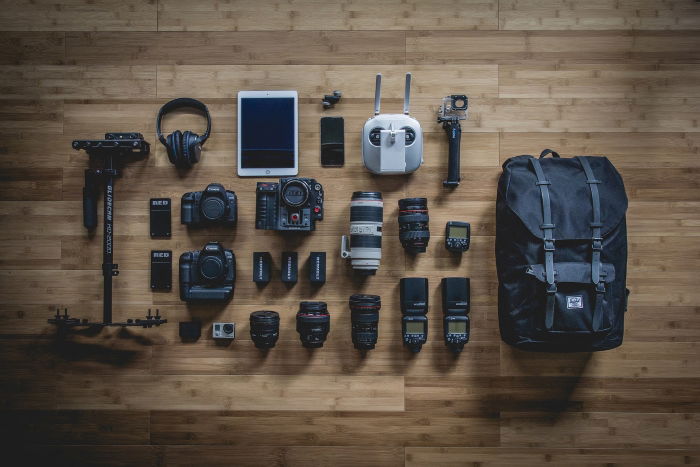
Photojournalism is definitely not an easy career. But learning how to become a photojournalist is so rewarding. If you set your mind on it and your photography is great, you’ll make it.
The internet has changed a lot for photojournalists so it’s important to take advantage of it. Only the ones who are creative and persistent will build a photojournalism career.
Try to stand out and don’t just wait for it to happen. Take action.

--------------------------------------------------------------------------------------
The Highest-Paid Art Photographers in the World and What Sets Them Apart – Free Quick Guide


Fine art photography is a highly creative and niche genre.

The works produced are generally displayed as wall art and are entirely in contrast to representational photography, such as photojournalism.

How do we define fine art photography?

Fine art photography combines photography with conceptual ideas. The photographer’s view and perception of the world are expressed through their photography.

Fine art photos follow all or some of the seven art and design principles. These principles are balance, rhythm, pattern, emphasis, contrast, unity, and movement. By applying these to a photo, art photographers create images grounded in the foundations of art theory.

A fine art photograph is never a literal representation of a scene or subject—it needs to reveal that the artist created it with a clear vision behind it.

So what does it take to become a highly paid, sought-after art photographer?

Grab your copy of this guide and find out!

Photo Credit: Reed Geiger

 
--------------------------------------------------------------------------------------------- 


Thursday, July 21, 2022

#Nature Documentary

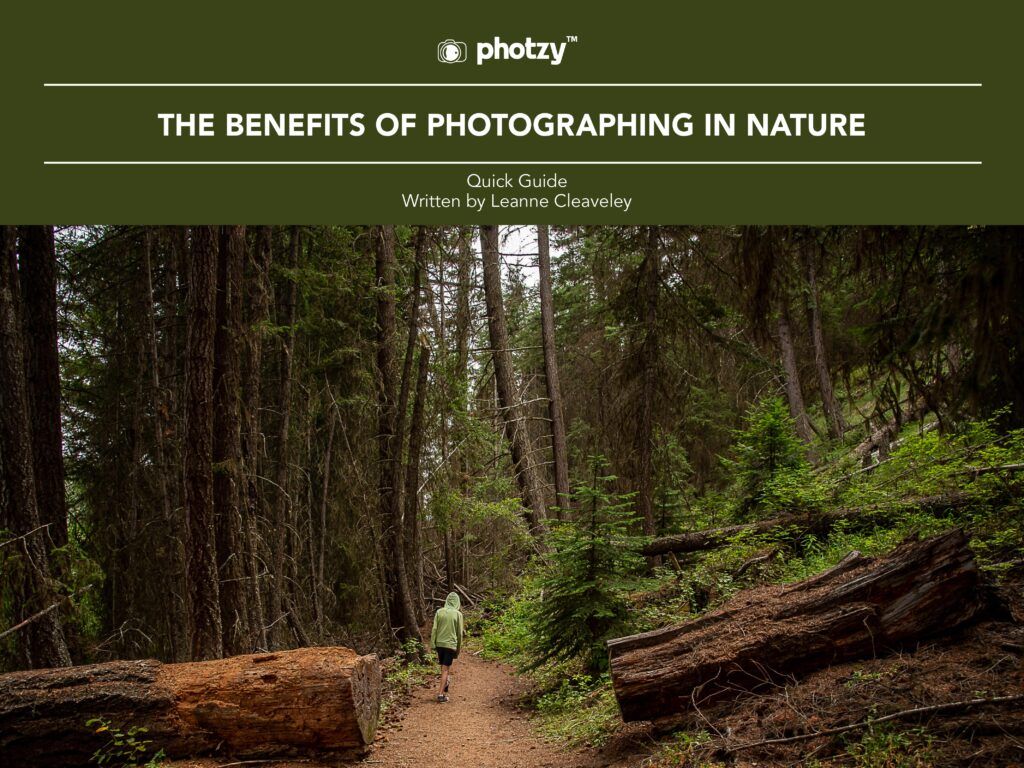
The Benefits of Photographing in Nature – Free Quick Guide


Sometimes we get so caught up in thinking about what we can do to make our photography better that we lose sight of how photography can make us better.

Think about that for a moment. You are improving yourself by using your camera. Pretty awesome thought!

In this guide, author Leanne Cleaveley walks us through her growth journey through nature photography.

Along the way, she will provide you with tips and suggestions on how to use her story as a springboard for your photography and learning experience.

She covers…

  • How photography can soothe the soul.
  • Why nature photography, in particular, is calming.
  • How to ground yourself through introspection and exercises.
  • Using photography to relieve the stresses of work.
  • The benefits of having a plan or perhaps not having one.
  • The joy of shooting in any weather or any season.
  • How to enjoy the moment—even if you don’t take any photos!

Ready to relax?

Get your special copy here.

Photo Credit: Leanne Cleaveley

 
--------------------------------------------------------------------------------------- 
 

Creating Professional Photography w/ $30 Reflectors - Photography Lighti...

Thursday, July 14, 2022

#Mobile Photography

Tips for Creative Storytelling Photography

width=

We’re all familiar with creative storytelling in literature and on the small and big screen. But photography is a great medium for storytelling, too. Remember, a picture paints a thousand words!

A powerful photograph can take us on a journey. It can transport us to another world. And it can tell us a story. It can be a story of real-life hardship. Or it can be a work of complete fantasy.

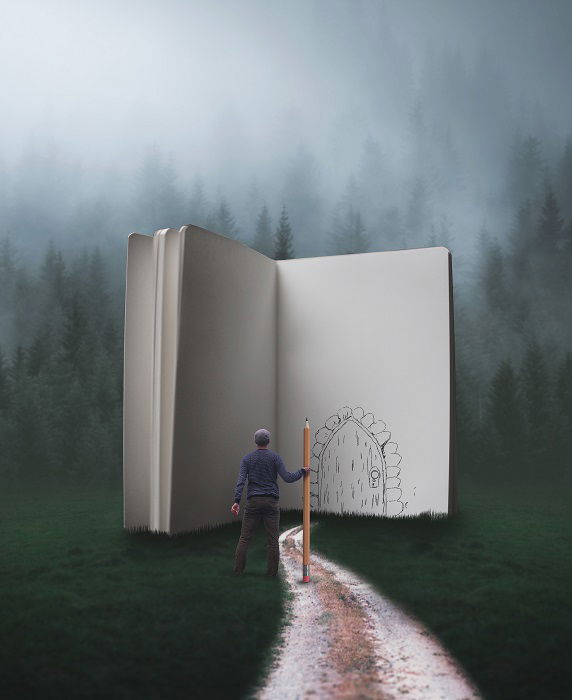
miniature man facing a door drawn in pencil on an open book
Photo by Joel Robison 

What Is Storytelling Photography?

Storytelling photography is where you use still photographs to tell a story. You can use a series of photos to tell your story. Or you can use a single image.

You can use photos to tell a whole story, from start to end. Or you can give your audience story fragments. As a storytelling photographer, you need to ignite the viewer’s imagination.

Storytelling isn’t exactly a type of photography. Any photography type can be used to tell stories. Documentary, fantasy, and even portraits are excellent for storytelling photography.

Storytelling in photography has more limitations than film or literature. There’s no movement, and there’s no dialogue. All the images are still, so you need all the information to be visual.

For a photo to tell a story, you need characters. You need to have a source of emotion. And you need elements that will connect with the viewer.

The camera isn’t the only tool at a photography storyteller’s disposal. You can use mixed media and post-processing to enhance the story. These can be especially useful when telling stories of fantasy or magic.

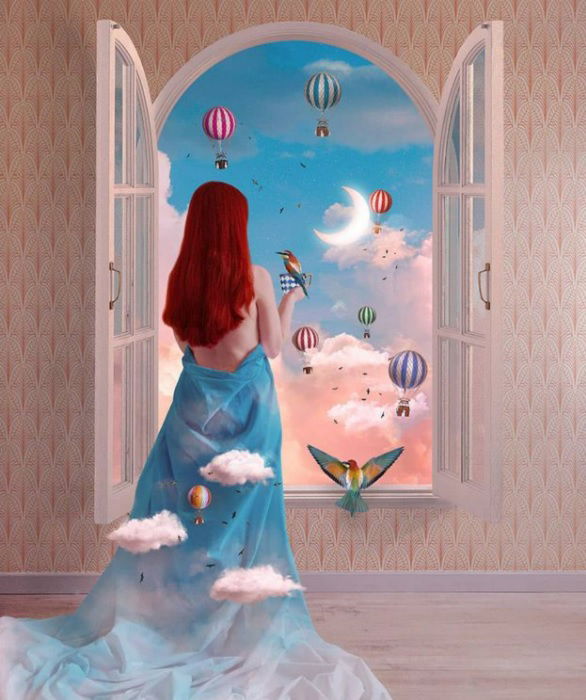
woman standing by a window looking out at clouds with miniature hot air balloons in the sky
Photo by Fabiola

8 Creative Tips for Storytelling Photography

Storytelling photography isn’t easy. Stories aren’t easily told with still images, especially when they are on their own. But if you follow our tips, you’ll become a master storyteller in no time.

1. Know Your Story

Before you can start telling a story, you need to know what it is. With photojournalism, the story might unfold in front of you. Your job is to capture the events as they come and go.

But if you’re telling a story of imagination, it’s best to know the story before you begin shooting. The story is your road map. You go off course, but having a route in mind can help your narrative.

With photographic storytelling, you can tell a closed story with a fixed beginning and end. Or you can tell an open story, where the course of the narrative is open to interpretation.

Your inspiration can be an existing myth or fairytale. Or you can create an original story to tell. Will you be using new characters or characters your audience is familiar with?

If you’re re-imagining an old tale, read it and learn about it. If it’s something of your own imagination, you can write it out. You can write a short story or write it out in the form of a comic book.

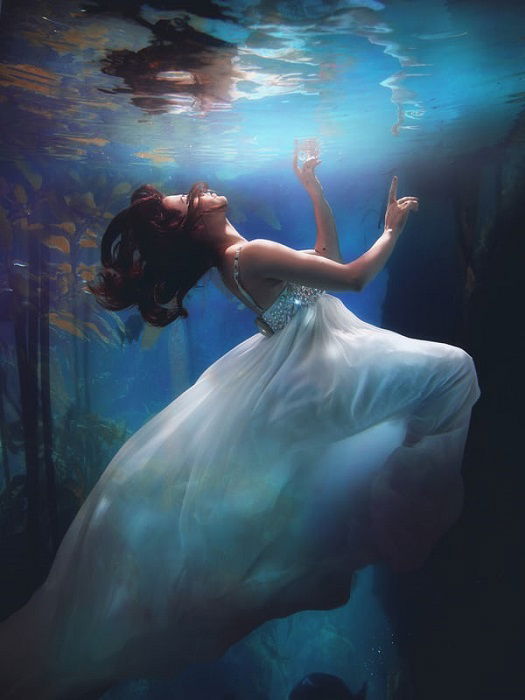
woman in a white dress floating underwater
Photo by Alice Alinari

2. Think About the Style of Photography

No one style of photography is used for storytelling. You can choose any type of photography you like to tell your story.

You can use landscape photography to create a new world. Or you can use portraits to create and develop characters.

Self-portraits are an excellent storytelling tool. The story then becomes a first-person narrative. And you can bring the viewer into the story with you.

Our collaborators Joel Robison and Fabiola both use self-portrait to tell their visual stories. They are the protagonists in their own work. And it helps the viewer identify with their story, enticing them in.

You can go for highly stylised shots in a studio. Or you can use a documentary photography style to depict your narrative.

But when it comes to storytelling in photography, you don’t have to stick to one style. You can use a variety of techniques to tell your story.

If you’re doing a series of images, each shot can be a different style. The perspective of the story can change from picture to picture. And the type can change with it.

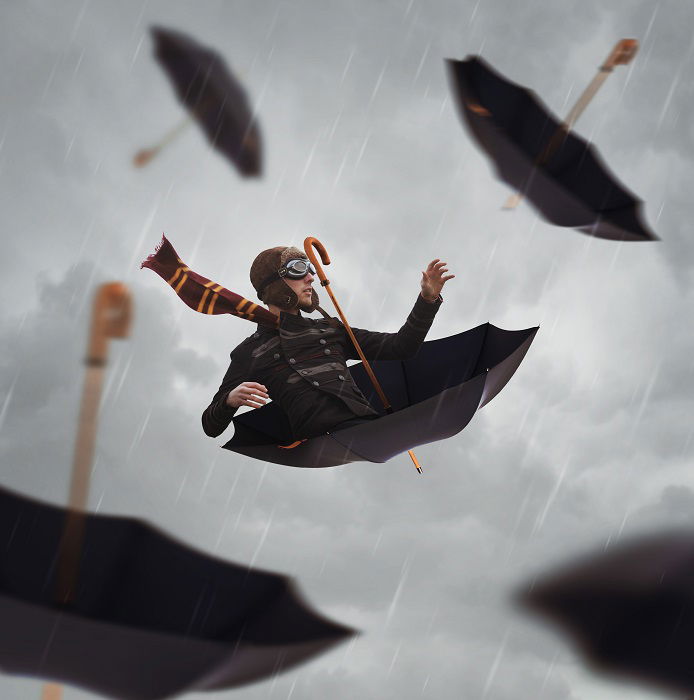
man nestled in an upside down umbrella floating in a grey sky
Photo by Joel Robison

3. Develop Character Using Costumes and Props

Without dialogue or written words, a photographer has to tell their story using visual language. Storytelling pictures use certain elements to elaborate their meaning.

Costumes are excellent tools of exposition in storytelling pictures. An elegant dress and a crown can identify a princess. And black clothes can help define an evil character or a sad situation.

The state of the character’s clothes can convey much about your subject and their situation. A once-glamorous dress in disrepair can tell a story all its own. And a change of costume from shot to shot has a similar effect on visual storytelling.

Props are equally as helpful when it comes to storytelling in photography. Every prop you include needs to say something about the character or plot.

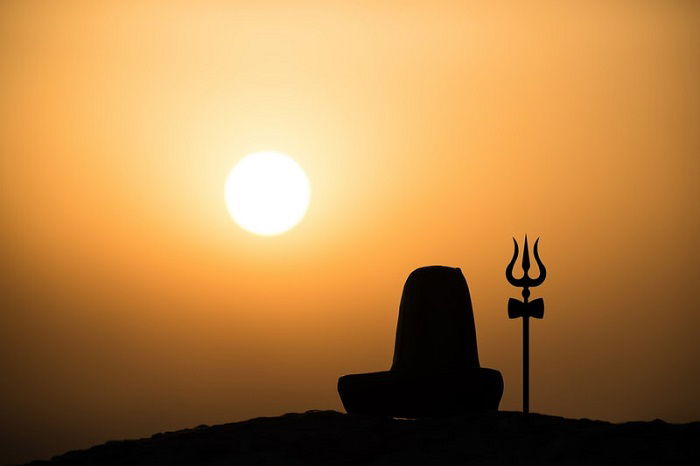
Props can help us identify the subject within the story. A bow creates a link to Robin Hood. And a trident reminds us of Poseidon, the Greek god of the sea. A sceptre denotes a king and a wand a wizard.

Weapons can represent heroism or violence. Money can symbolise greed. And flowers can be used for romance and death.

image using trident prop beside a throne
Photo by Naman Sood

4. Harness Symbolism in Your Images

Visual symbols are a great tool for storytelling images, evoking strong emotions. And they can lead the viewer in the right direction.

Animals, and animal-related imagery, hold a lot of information. Different animals hold certain associations. For example, they often have links to mythology and spirituality.

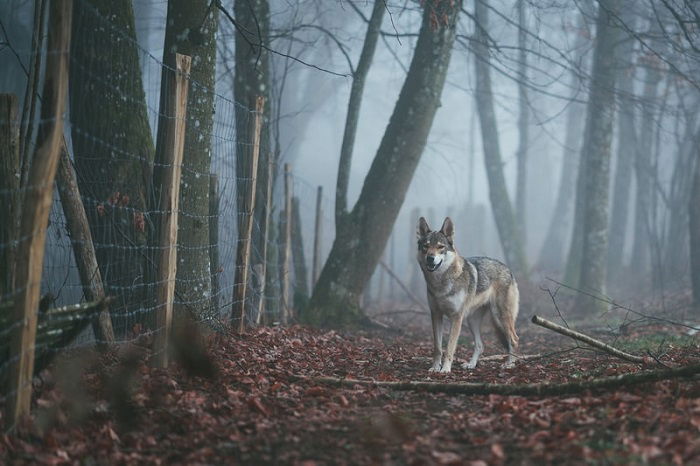
Wolves, for example, are feared predators. But they also have connotations of wisdom and family values. In Roman mythology, a wolf nurses the abandoned babies of Romulus and Remus. It’s an early example of many raised-by-wolves stories.

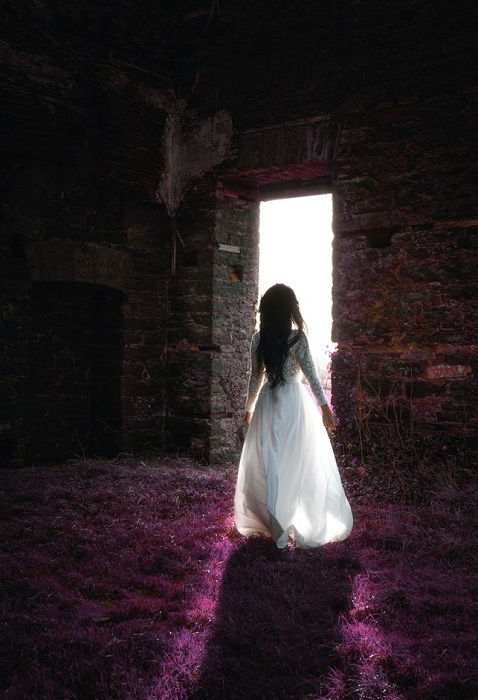
Doors are an excellent tool for storytelling in photography. It’s not just about going from room to room. A door can lead us anywhere.

An open door gives us a feeling of freedom. It gives us the ability to escape to something new. But a locked door makes us feel trapped and claustrophobic.

Windows hold similar storytelling power. An open window represents freshness and wonder. A closed or barred window makes you feel like a prisoner.

The weather is another important element in storytelling photos. The weather can set the emotional tone of the image. Sunshine and blues skies denote a happy scene. Rain expresses sadness. And a storm means trouble and change.

symbolic image of a wolf beside a fence in a woodland
Story by Tahoe

5. Use Colours to Enhance Your Storytelling

Colours are full of nuance, which is great for visual storytelling photographs. Using a colour scheme in your narrative is a great way to add meaning to your images.

Colour theory is fairly straightforward. You have warm and cool colours that can be used to flavour your images.

Warm colours heighten our feeling of enjoyment. And red tones invoke strong emotions like desire and passion.

Cool colours can make us feel uneasy. Pale blues and whites make us feel cold and uncertain. They can make us feel isolated and alone.

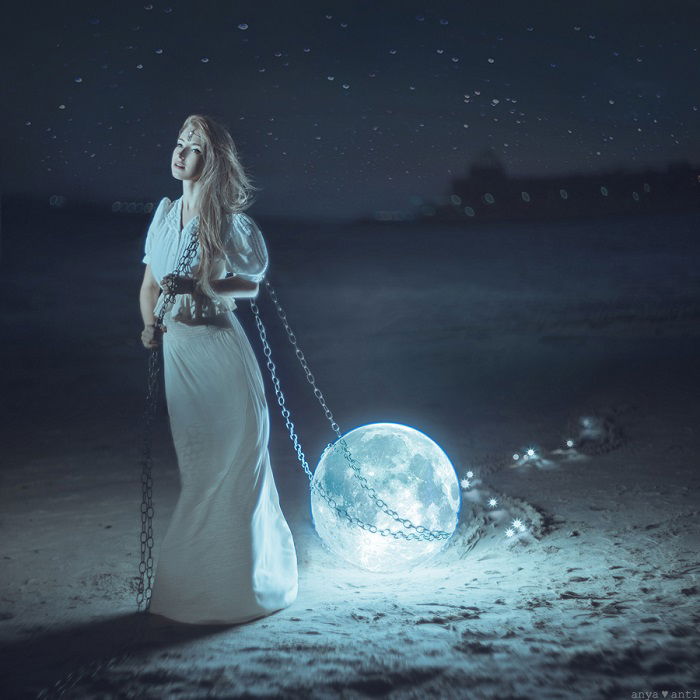
Expert Photography collaborator Anya Anti often uses cold colour tones in her storytelling images. It gives her self-portraits a sense of wonder and vulnerability.

Using colours in this way can help you structure your story and your images. For example, having a cool foreground with warm colours in the distance could signify a transition from worse to better. And vice versa.

Certain colours and tones can be linked to characters or places. Safe places will be full of warm colours. And weak characters will be surrounded by cold tones.

image of a woman dragging the moon behind her using a chain with cool blue tones
Photo by Anya Anti

6. Structure Your Narrative

The structure of your images is an essential element in the storytelling process. You need to decide how the story is going to be told.

What information is your image going to hold? Are you telling open stories or closed stories? Will you make a series of photographs or just one image?

For closed stories, a series of images will work well. You can give yourself fixed starting and finishing points. This makes it easier to create a linear narrative.

Although, it doesn’t have to be linear. Your story could still be open. A series of portraits could identify your characters while leaving the story open to interpretation.

Single images lend themselves to open stories. Having the whole story from beginning to end in a single frame is difficult. It’s not impossible, but it is tricky.

You want to think about how much of the story you want to tell. Even if you are doing a series of images, you might not want to get to the end. Or maybe you start your story at the end.

astronauts facing a rocket with a sense of anticipation and discovery
Photo by Mike Kiev

7. Use Composition To Drive The Story

When you’re storytelling in photography, the composition of your shots is very important. You’re leading the viewer through your story without words. You need to give them information and direction.

Portraits can be close up and tightly framed. Or you can try more expansive portraits that show more of the setting. You can use wide-angle shots that include more scenery to give your audience the bigger picture.

You can use stylised and posed shots that are full of symbols and suggestions. Or you can use actions shots to create movement and tension.

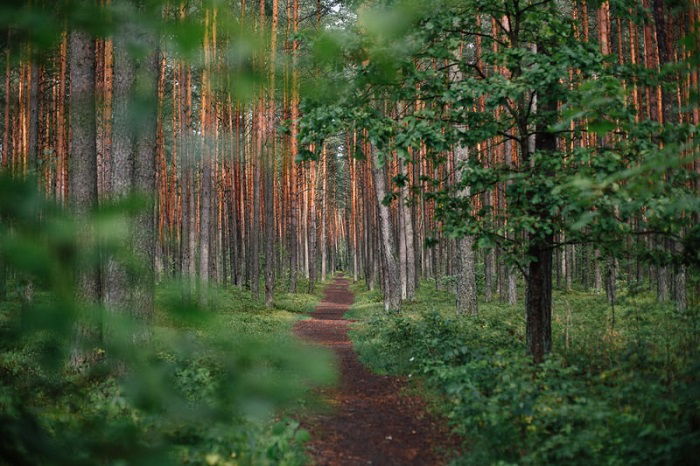
Doors and other pathways draw the viewers’ attention. A corridor naturally takes us forward, as does a path in a forest.

Our eyes are drawn to sources of light in dark spaces. You can use windows or cracks of light are a visual signpost guiding the viewer through the story.

But how much of the path are you going to show? If the pathway has a clear end, we know where we’re going. But if we can only see a small section of the path, it can add a feeling of trepidation.

When it comes to composition in storytelling, you need to strike a balance. You want to give the viewer enough information to draw their intrigue. But you want to avoid cluttered and messy photos.

image of a long and narrow woodland path
Photo by Ugne Vasyliute

8. Directing Your Subjects

The main focus of most storytelling is the characters. And it’s the same when you’re a photographer. The viewer is following the subject through the story. They are the heroes and the villains.

Body language is a powerful tool. It’s something we can all identify with and recognise. We can tell if a person is happy or sad. We understand behavioural patterns that suggest someone is relaxed or distressed.

Animals have emotional tells too. If a dog has his tail between his legs, we know he’s not happy. And when the tail wags, he is.

Facial expressions are full of information, which is great for telling stories. But having obscured or hidden faces can also draw viewers into a story. It can add intrigue and mystery. Or it can inject fear.

If your subject is moving away from the camera, the viewer will have the urge to follow. And if they are coming towards the camera, it gives the impression they have left something.

If the photographer bears over your subject, this makes them look weak and vulnerable. If the subject bears over you, they have a powerful presence in your image.

girl walking towards a bright stone door
Sean Pierce

If you want to flex your creative muscles as a photographer, you won’t find a better exercise than storytelling photography.

The scope for creating original stories with expressive and imaginative images is huge. You can experiment with different types of photography. And you can tell stories in different kinds of ways.

We hope these tips for creative storytelling in photography have helped to ignite your imagination. Explore your mind and start telling your own stories with photography. 

---------------------------------------------------------------------------
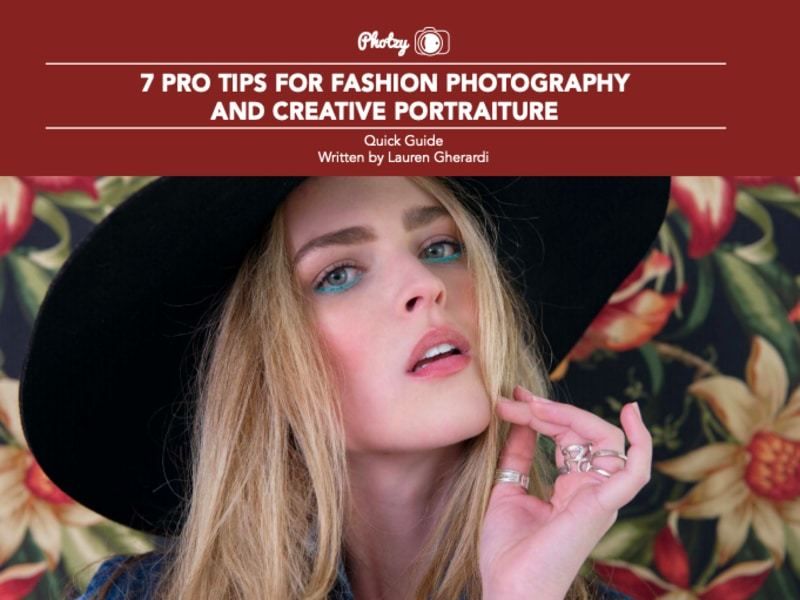
7 Pro Tips for Fashion Photography and Creative Portraiture – Free Quick Guide


What a great day! What a great day to take some pictures!

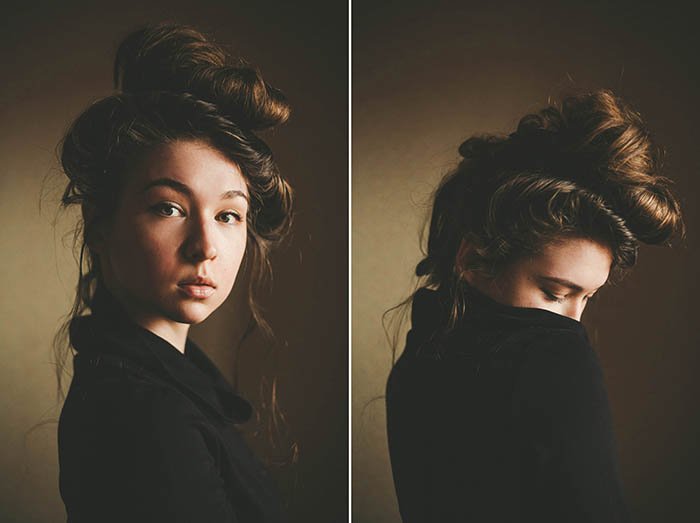
Today, professional fashion photographer Lauren Gherardi is going to give you 7 amazing PRO tips on how to create portraiture and fashion photographs – just like you see in the above example.

Here is why this guide is so cool!

These tips apply to any type of ‘people’ photography that you might be interested in. They can work for high school senior portraits! Portraits of kids! Weddings! Family shots! Even pet portraiture could benefit from some of Lauren’s tips.

Here is another reason this guide is amazing…

Lauren is going to show you…

  • How to shoot pictures like this on a low to non-existent budget!
  • How to find a model to photograph!
  • The benefits of collaborating with people you already know!
  • Shoestring shopping techniques for clothing and props!
  • How to pick a location!
  • Lighting choices!
  • And finally, some tips for the shoot – how to get your shots just right!


All of this for free. Plus, some of Lauren’s amazing photography to inspire you.

Photo Credit: Lauren Gherardi

 
------------------------------------------------------------------------------------ 
 

Thursday, July 7, 2022

#Creative Portraits

21 Creative Self-Portrait Ideas for Photographers (#7 Will Make You Smile)


The first photography genre I fell in love with was self-portraiture. It entered my life at the perfect time. I was yearning to express myself, get better at something new, and feel inspired.

Self-portrait photography provided me with plenty of inspiration. It also taught me how to find photo-worthy moments almost anywhere. That’s why I encourage every photographer to give it a try.

If you don’t know where to start, you’ve come to the right place. The tips and tricks in this article will teach you how to find inspiration and invest in the right equipment.
You might think it becomes repetitive, and you will lose motivation. If your subject is the same, how can you get creative? Don’t worry. We have the solution!

We also provide you with 21 creative self-portrait ideas so that you don’t end up with the same composition.

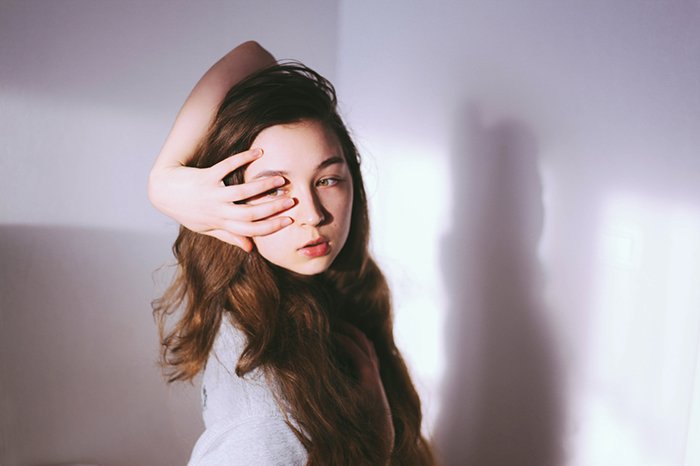
A girl posing for a portrait 

Essential Equipment for Self-Portrait Photography

Starting with the right equipment will make self-portrait photography easier.
A tripod and a remote are the essential tools. They’re both very affordable and enduring. Investing in them is something you won’t regret. A sturdy tripod will keep your camera safe, while a remote will let you use your timer from a distance. This will save a lot of time and help you focus more on the quality of your work.

Lighting is another crucial aspect of self-portrait photography. Natural light can look great. But you have very little control over it. You can use additional lighting to give yourself more creative freedom. A ring light is perfect for self-portraits. They provide soft and evenly spread light. You can use them to remove unwanted shadows on the face. Or you can use them for directional light. Reflectors are another excellent tool for light control. A mirror works well, too, as a DIY reflector, if you don’t have the budget.

21 Self-Portrait Ideas to Inspire You

In the beginning, you might feel lost. You don’t know what poses, facial expressions, and decorations to use. Find portrait photographers you admire, try to recreate their work, and ask them for advice. By experimenting with different styles, you’ll find your style.

Some of the most influential artists in my life are self-portrait photographers. Check out Rosie Hardy, or Sophie Eggert for some ideas. Getting photography inspiration from others helps me when I lose creative motivation. This is why I’d like to share these creative self-portrait ideas. They will spark your imagination, encourage you to look at things differently, or make you laugh. Feel free to adopt any of these to better suit your photography style.

1. Create Characters Through Props and Costumes

Self-portraits are an excellent way to explore and express yourself. But you can also use them as a means of escape. By using props and costumes, you can create a whole new persona. It can be an alter-ego—an expression of your inner desires or interests.

Building characters with self-portrait photography is a fantastic storytelling device. The props and costumes you use can create new characters. They can be protagonists in wild adventures or magical fairy tales. Jovana Rikalo uses elaborate costumes to build fairy tale characters. These characters inhabit her imaginative stories and landscapes.

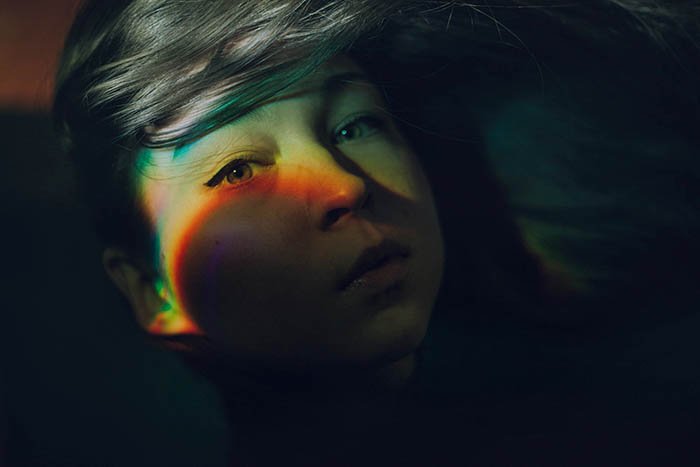
2. Add Rainbows

Vibrant colors and faces work very well together. If you don’t want to spend money on a prism, you can still create a stunning rainbow effect. All you need is a CD and a flashlight. Make sure the shiny side of your CD gets as much light as possible. Move it around until you have colorful stripes on your face. To make this process easier, use a mirror, a tripod, and a remote. 

Mysterious self-portrait photography showing rainbow effect on a girls face created with a CD 

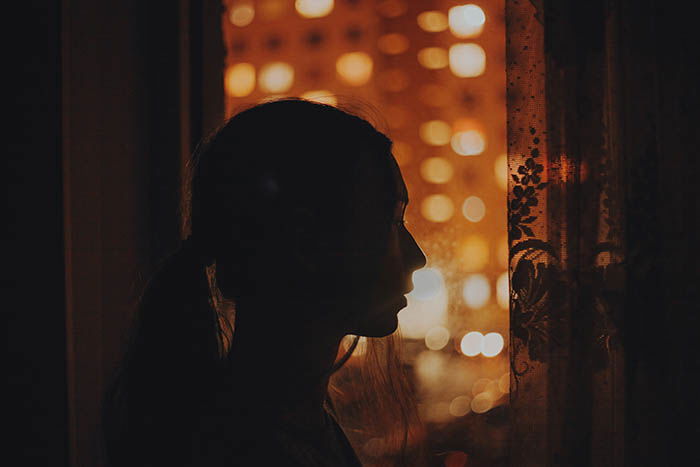
3. Photograph Your Silhouette

Silhouettes are great for those who don’t want to show their faces or those who want to look like someone else. These photos work very well with a shallow depth of field because of the resulting bokeh. It creates a soft, dreamy look.

To create a silhouette, stand in front of a background that is brighter than you. Make sure you stand so that it highlights the outline of your face. Then experiment with no fear!
a silhouette self-portrait of a long haired girl in front of a windowsill

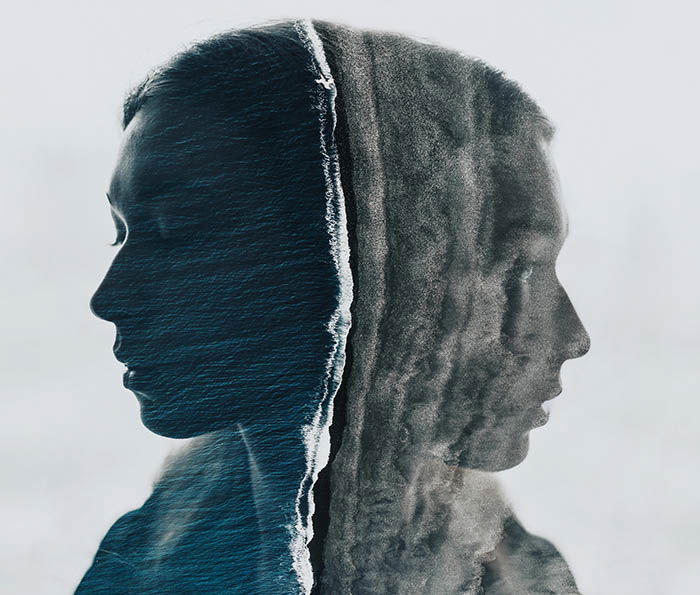
4. Transform Silhouettes into Double Exposures

Silhouettes are ideal for creating double exposures. A dark outline against a bright background is all you need to make artistic self-portrait photography. I often create double exposures out of pure curiosity.

You don’t need to have a groundbreaking idea in mind to create something fascinating. All you have to do is combine a photo of your outline with an image that complements your photo.
Awesome double exposure self-portrait of a female model

5. Use DIY Backgrounds for Self Portrait Photography

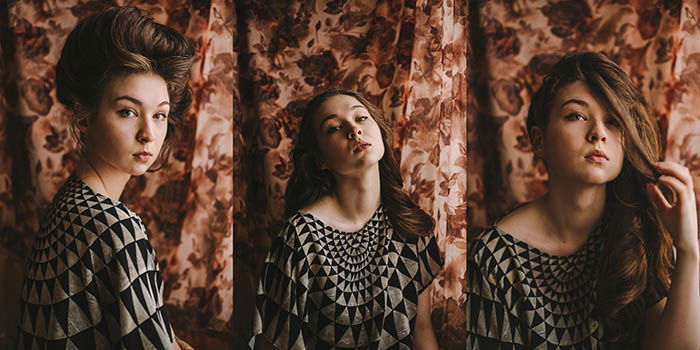
DIY photography is cheap, easy, and accessible to anyone. Make backgrounds out of fabric, bed sheets, curtains, clothes, or anything else that catches your eye. The background in the photos below is a simple curtain that I taped to the wall. Though it’s wrinkled, it gives my self-portraits an exciting texture.
Triptych portraits of a girl using a curtain as a creative DIY background

6. Do Something You Really Enjoy

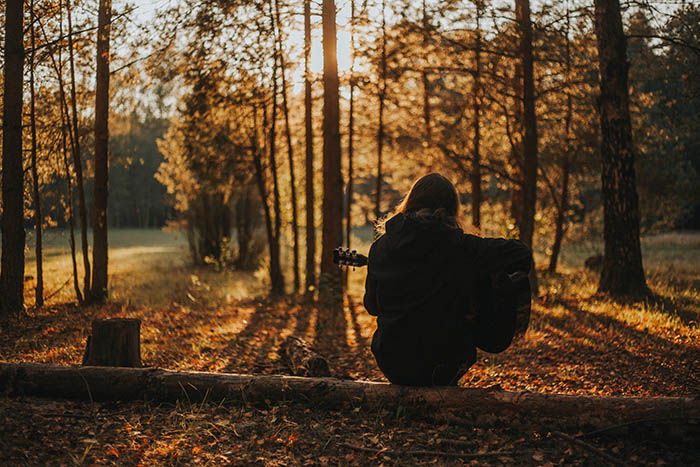
Take a series of self-portraits in your happy place, wherever that is. It will make the shooting process enjoyable and allow you to make the most of several hobbies at once.

I enjoy playing the guitar (as you can see), reading, and exploring. These are all interests that I can combine to show my love for both photography and life. Think about your interests, and then figure out ways to connect them in one photo.
a girl playing guitar sitting on a log in a forest during fall, as a creative self-portrait photography idea

7. Take Photos with Your Pet (Or a Person!)

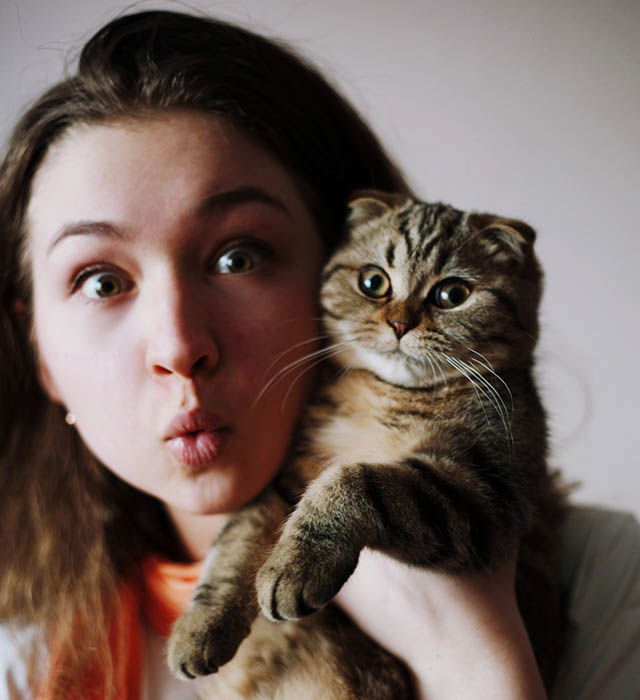
Pets are photogenic, so why not include them in your photos? If you own a pet or live next to someone who means a lot to you, take a photo with them.

Getting support during a self-portrait photography session will give you comfort, warmth, and lots of ideas. It will also strengthen the bond you have with your loved one.

If your pet doesn’t enjoy sitting still, don’t force it. Experiment, be silly and don’t be afraid of making mistakes. Experimental photos end up being the best ones, anyway.Cute self-portrait photo of a girl and cat making silly faces.

8. Transform Yourself Using Wigs and Costumes

Many people avoid self-portrait photography because they don’t feel attractive enough. Instead of feeling bad about your appearance, transform yourself! If you don’t want to take photos of yourself, why don’t you become another person?

Wigs and costumes, regardless of their quality, look great in self-portraits. A cheap brown wig will look stunning in a close-up self-portrait, even if it looks unflattering in real life. Using costumes and wigs is fun and helps you take impressive self-portrait photos.

Close up portrait of a long haired female model

9. Focus on Details

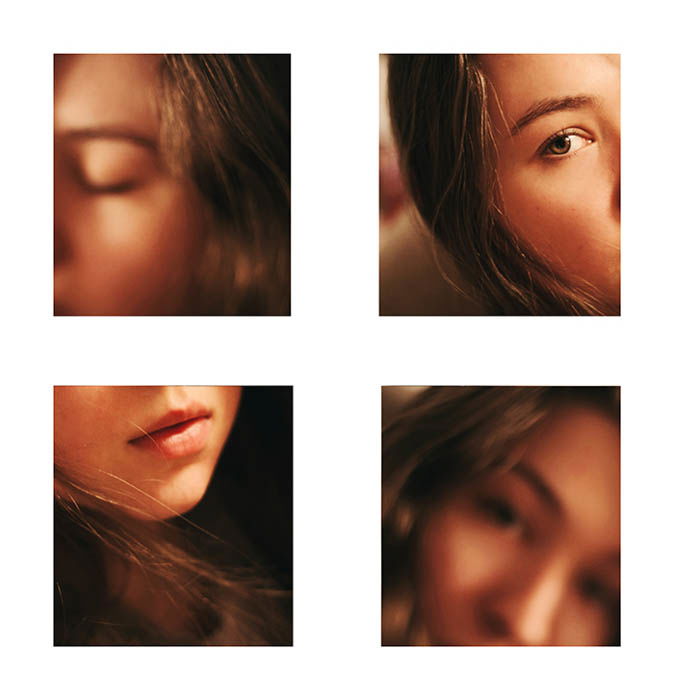
Self-portraits don’t have to be photos of a face. They can be photos of hands holding something beloved, feet splashing in a puddle, or a faceless figure admiring its surroundings in nature. Details like these are as valuable as a photo of your face.

Look around, find a detail that catches your eye, and interact with it while taking photos. Other details you could take photos of are parts of your body like hair, hands, or eyes.four photo grid of facial details- eyes, hands, mouths, nose, for a creative self-portrait idea

10. Get an Interesting Headdress (Or Make Your Own!)

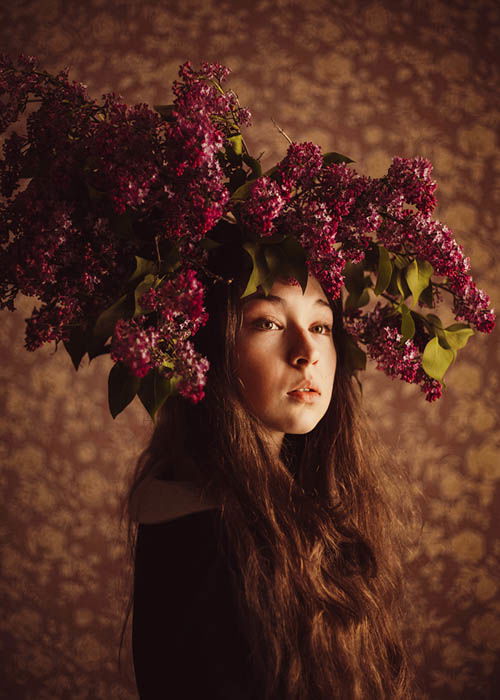
Hats, flower crowns, and other fancy headwear look fantastic in photos. If you’re feeling extra artistic, make your own headdress using flowers (like I did), branches, fabric, or anything else. The world is your oyster when it comes to DIY photography!
flower headdress for creative self portrait photography

11. Be Silly

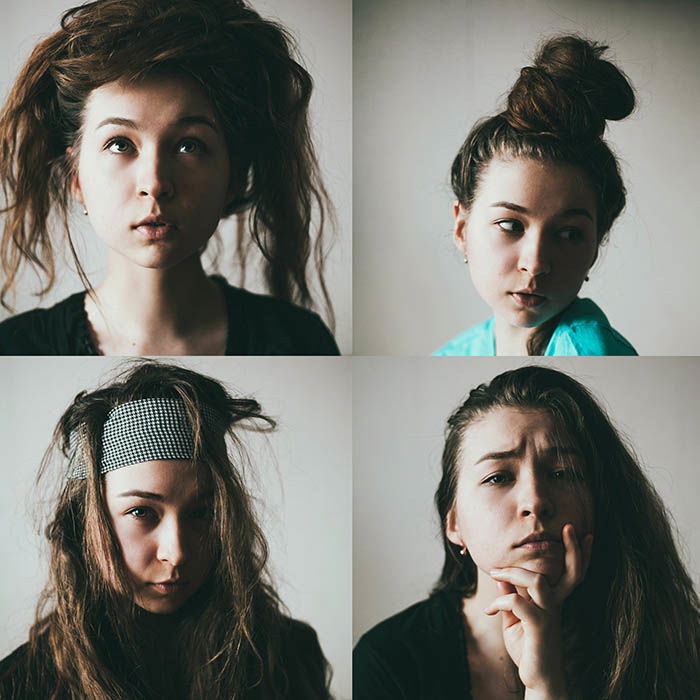
Many people feel awkward at the beginning of a self-portrait session. You get more comfortable if you practice different expressions in the mirror. You can also accept your flaws and become your own parody.

Pull different facial expressions, move around, and make yourself laugh. Though I can’t guarantee that the results will please you, I can promise that they will bring a big smile to your face.

Four photo grid of a female model making silly faces showing how to have fun with self-portraiture

12. Shoot Through Objects

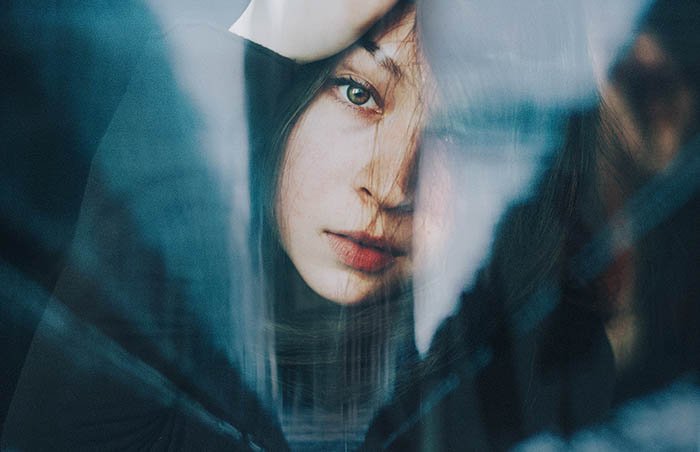
Partly covering your lens will result in experimental and creative self-portraits. Shoot through things like lights, hands, and branches if you want to do so. You can use branches to create a frame around your face or add an interesting element to your photos. Steam can create eye-catching shadows.

If you want a fuller effect, shoot through windows for brilliant reflections, or cellophane for a dreamy effect. Use bokeh filters to transform it into hearts, stars, or other shapes. You can use almost anything in a composition to make creative self-portraits. Use the entire object or only parts of it.

self-portrait of a girl using reflections to add depth

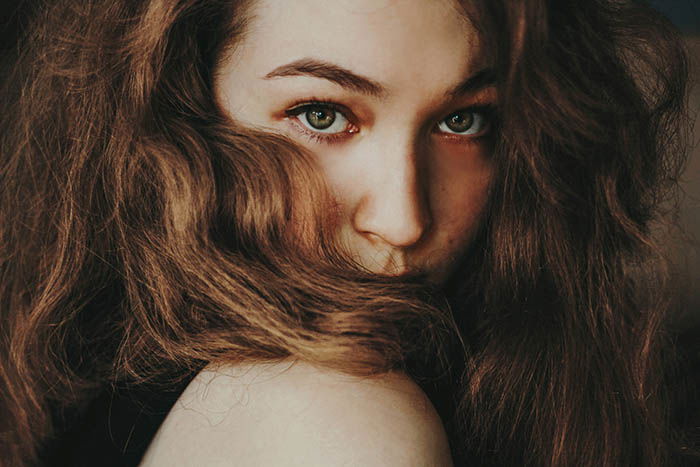
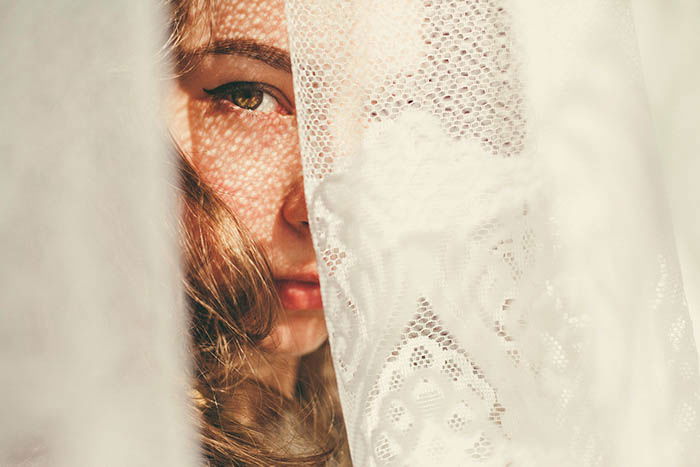
13. Hide Parts of Your Face

Instead of taking photos of your entire face, focus on one area only. I like to cover parts of my face with curtains, hair, and blurred foregrounds. This concealment highlights my eyes and challenges me to make the most of only one feature.

The best thing about “hidden” self-portraits is that you don’t have to go far to take them. It’s possible to take simple yet cool self-portraits right now!
portrait of a girl hiding behind a white doily, only half of her face is visible

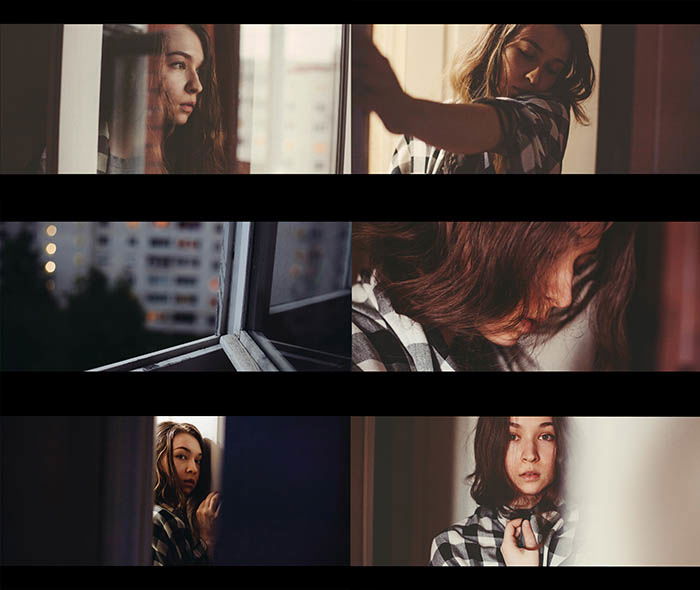
14. Pretend You’re in a Movie

If you are like me and love cinematic portraits, you’ll enjoy acting in front of the camera. Create a story in your mind, visualize the scenes, and recreate them through self-portrait photography.

Your idea doesn’t need a complicated twist or a surprising ending. Add two black lines above and below your photos in the editing process. You can even crop them, so they look more like film stills. Doing this is a great reason to rewatch films to get even more inspiration for future projects.

cinematic self portrait photography recreating scenes from a movie

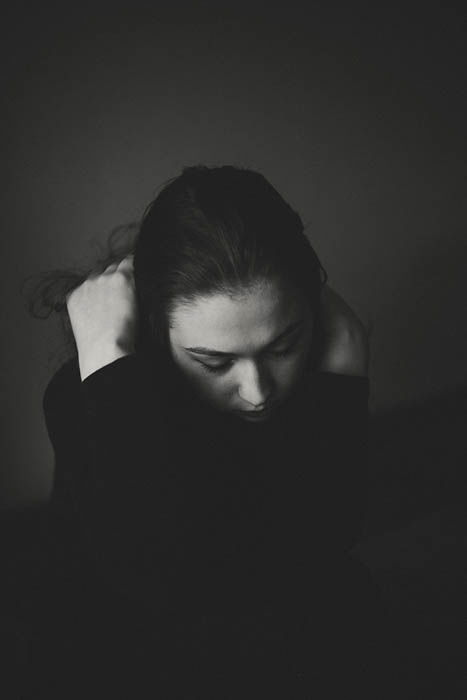
15. Shoot in Black and White

Black and white portraits are a special genre of their own. If there’s an emotion you’d like to emphasize, experiment with B&W photography. It will highlight your feelings and add texture to details you might otherwise ignore. It also gives you more experience in the genre.
Atmospheric black and white portrait of a young woman hiding her head in her hands. Self portrait photography

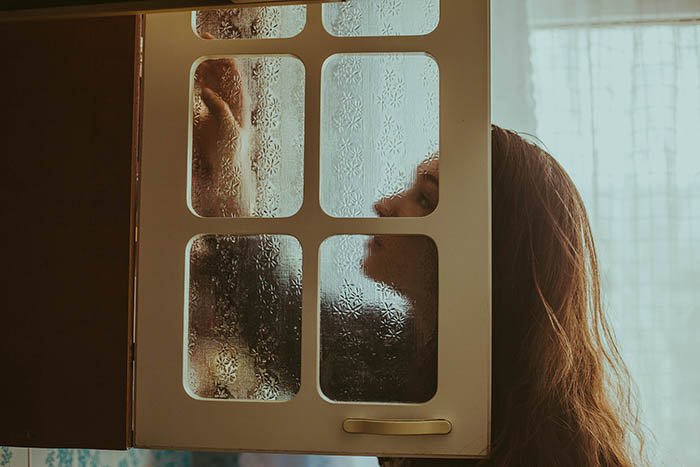
16. Go Limited

Having too many options at once can feel paralyzing. Limiting yourself by shooting at only one location can improve your work.

Do a photoshoot in one room and make the pictures look like you took them in different locations. It will not only give you a fun project to work on but force you to look at your surroundings from a new perspective. This challenge will also make you focus on details that you usually overlook.

It will improve your general creativity and sharpen your ability to notice great things in simple places. What you learn during this process will come in handy in every future shoot.

picture taken through a cabinet door of a young woman. Self portrait photography

17. Make a Diptych

A diptych is a “collage” made of two photos. These images often contain many subjects that tell a detailed story about the photographer. This is particularly handy in self-portraiture.

You can combine a simple photo of yourself with a gorgeous photo of nature. Diptychs come in handy when you have two photos you like a lot. Instead of choosing one, you can use them both at once!
Self-portrait photography of a dark haired girl using two pictures to make a diptych.

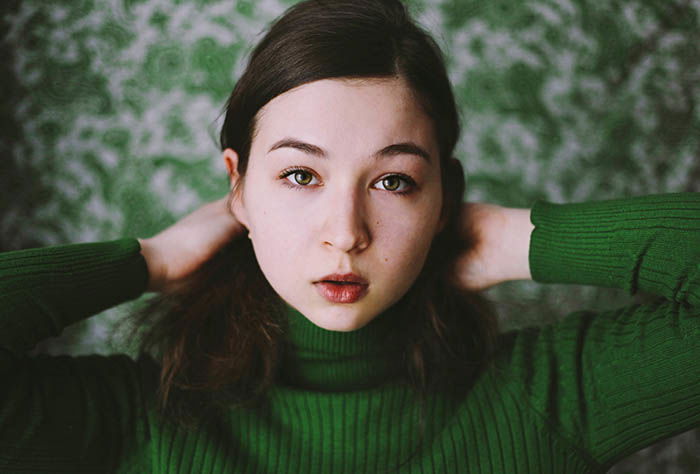
18. Stick to One Color at a Time

Pick a single color and create a self-portrait photo series inspired by it. Though the photos don’t have to feature one color only, they should all have a similar color scheme.

This project will refresh you, challenge your imagination, and give you a chance to unleash your creativity. Plus, you can base the photoshoot on the clothes in your wardrobe.
A girl poses for self portrait photography emphasising the use of only one colour, green

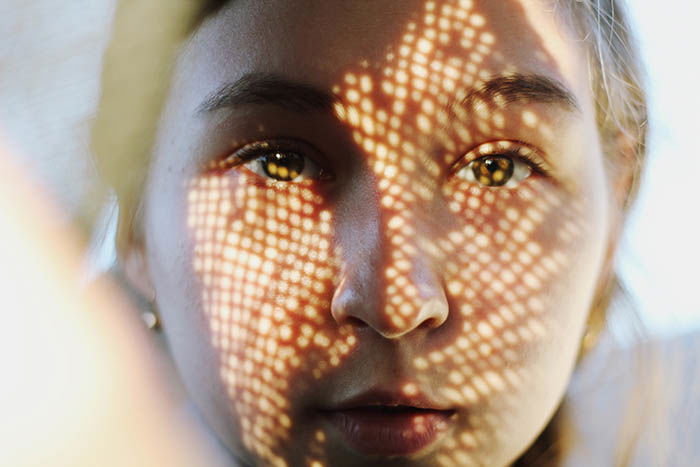
19. Experiment with Shadows and Lighting

My favorite portrait photographers are excellent at shadow-play. You can do so much with the help of a single light source and a pattern.

Give yourself as much freedom as possible when you experiment with light. Use sun hats, curtains, hands, or plants to create incredible, creative self-portrait photography.

Light is a priceless tool that can make the simplest portraits look fantastic. When you become a master of light, you become a master of photography. Take photos both indoors and outdoors, and don’t be afraid to break the rules as you do.

Don’t be scared of working with artificial light. You don’t need to invest in professional lighting equipment. You can use any indoor light you own to take creative self-portraits. I often use a lamp to light my face because it lets me experiment with new angles and styles. I don’t have to worry about time, which isn’t the case when it comes to ever-changing natural light.

Self-portrait photography close up of a woman's face covered by a shadowy pattern

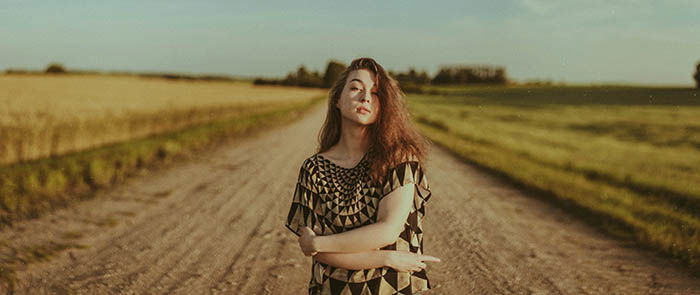
20. Stitch Photos to Make a Panoramic Self Portrait

Panoramas are fun to make and pleasant to look at. This is how I make mine:

  1. I take vertical self-portraits that don’t crop any of my limbs and leave space around me using a tripod.
  2. Then, I go back to my camera and take photos of the areas I’d like to stitch. I make sure that I don’t make any quick movements or position myself to another location.
  3. After that, I import my photos into Lightroom. I select the photos I’d like to stitch and go to Photo > Edit In > Merge to Panorama in Photoshop.
  4. Finally, I color correct the results.

A self portrait picture of a redheaded woman standing on a road.

21. Document the Seasons

Each season has something worth photographing. Take self-portraits every season. This way, you can work on a year-long project. The results will give you pleasant memories, show you every side of nature’s beauty, and impress others.

If a long-term project doesn’t excite you, make the most of the current season. Think of what you like about it. It could be the blooming sunflowers of summer or the colorful fallen leaves of autumn.

Photograph that and include yourself in it.
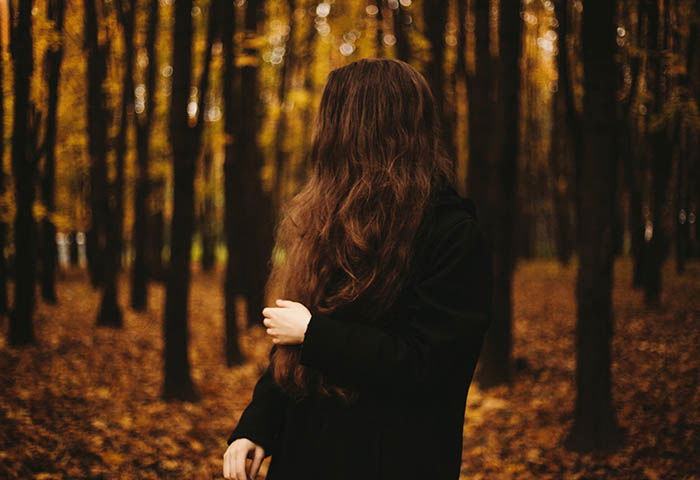
A woman dressed in black looking away from the photo, standing in a forest during autumn. Self portrait photography

Taking photos of yourself will improve your self-confidence and develop your creative eye.

Like any photography genre, self-portraiture needs to be meaningful and touching. Every photographer has a unique creative purpose. If you don’t know your purpose, don’t lose hope. Don’t be afraid of making mistakes. This is how we learn! The more you practice, the easier the challenges will get.

Hopefully, these ideas will encourage you to go out and explore the wonderful world of self-portrait photography. Remember, you and your camera are everything you need to take a great photo of yourself.

------------------------------------------------------------------------------
 

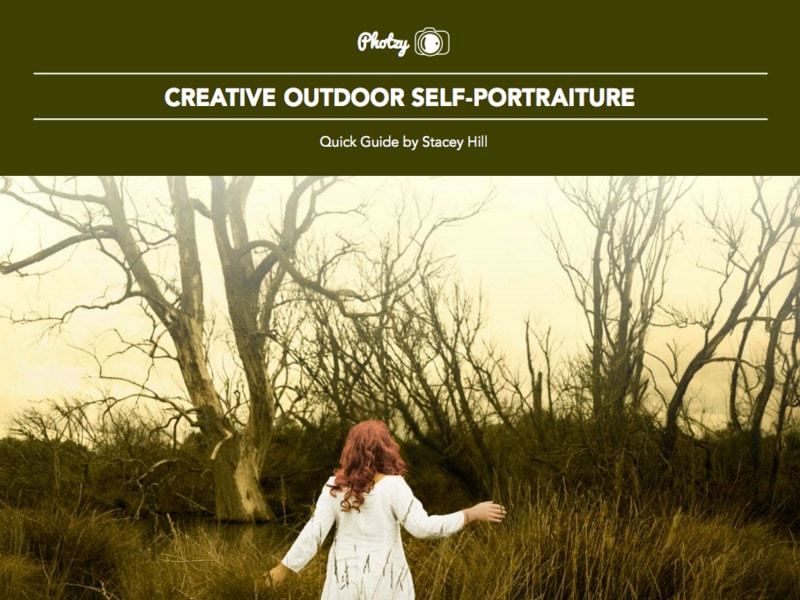
Creative Outdoor Self-Portraiture – Free Quick Guide


If you haven’t tried self-portraits, you should.

They are a lot of fun, especially if you put some time, thought, and creative energy into them.

The “Selfie”, as self-portraiture has come to be known in recent years, has kind of taken a “bad rap” among those of us that consider ourselves to be “real photographers”.

The truth is that expressive self-portraiture is an artform that goes back to the earliest years of photography.

If you’d like some ideas on how to revive this historical artform into your photographic work, check out our free eBook this week.

Check out the guide for some cool examples of creative self-portraiture for inspiration!

If you like post-production, your creative self-portraiture has unlimited potential.

Photo Credit: Stacey Hill

 
--------------------------------------------------------------------------------- 


Thursday, June 30, 2022

# World, Photo

Water Photography Tips: How to Get That Soft Misty Effect


Some photos of water are very sharp, while others look like they were taken straight out of a misty dream.

To achieve the soft, misty water look, you need to improve your long exposure photography. Let’s get started with these water photography tips. 

Figure out Your Favorite Kind of Water Photography to Take Creative Photos

Since water exists in a variety of places, you have a lot of exciting water photography subjects to choose from. A few subject ideas:

You can also combine these subjects with other genres. For example, you can include props or animals in your water photography.

You can also take self-portraits next to silky-looking water. The more photography subjects you experiment with, the more original your photos will look.
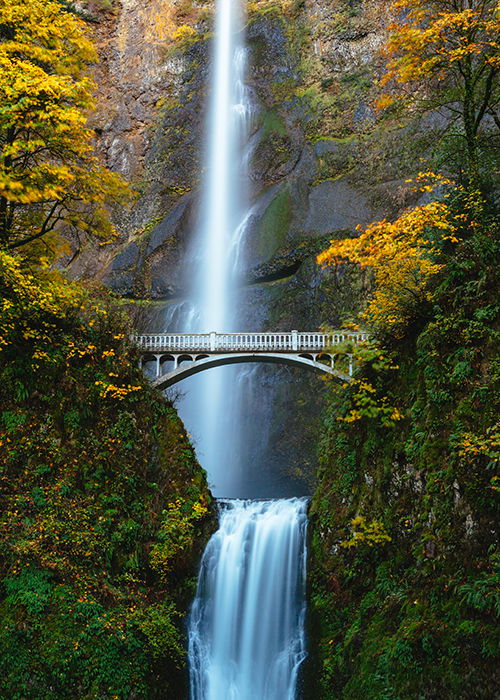
a flowing waterfall behind a small bridge

Find an Appropriate Location to Avoid Damaging Your Equipment or Getting Distracted

When you pick your favourite subject, you can start looking for appropriate locations.

Make sure the location is safe and has plenty of room. The more spacious it is, the more room you’ll have to shoot water photography from creative angles. Be aware of tourists, drones, and anything else that could get in the way.

Also, keep weather changes in mind. Most smooth water images are taken on peaceful days. If you’re taking pictures of a waterfall on a windy day, the water might end up damaging your equipment.

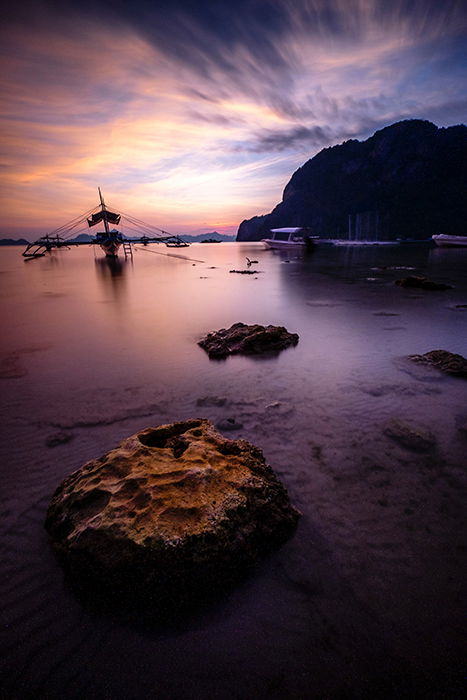
The lighting also has to be decent for you to take professional-looking water photography. Try photographing water during the golden hour or the blue hour.

You can use all of the water pictures in this article as a reference. You’ll notice that most of them have dramatic and vibrant skies. This feature is why they stand out from the photos in the water photography genre.
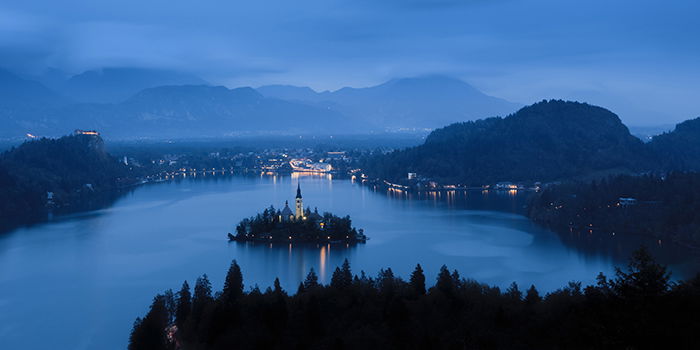
an island in a lake at night

Find a Focal Point That Tells a Story About the Water

This doesn’t need to be a complicated process. Your goal is to find something that complements the water and tells an interesting story.

For example, you can add people or objects to your composition. This will create depth and give viewers more to observe when they look at your pictures.

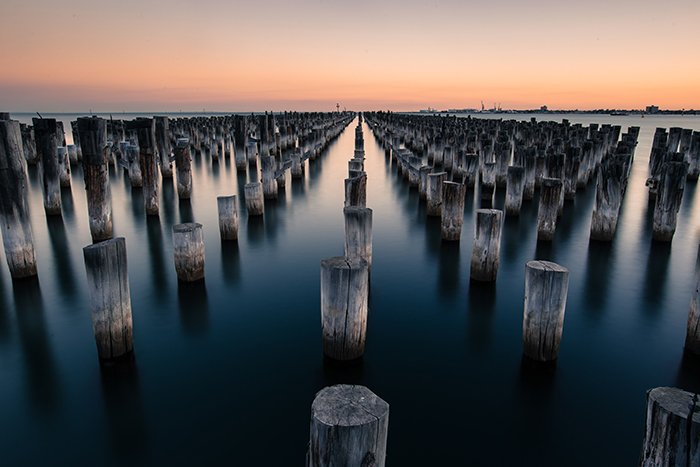
In the photo above, the photographer chose to create symmetry using the wooden poles. The water isn’t the main subject of the image, but it complements the entire landscape.

The focal point is the group of wooden poles, which stand out more when surrounded by smooth water.
wooden poles in water at sunset

Use a Slow Shutter Speed to Create That Soft Misty Effect

When you take soft photos, you need to keep two settings in mind:

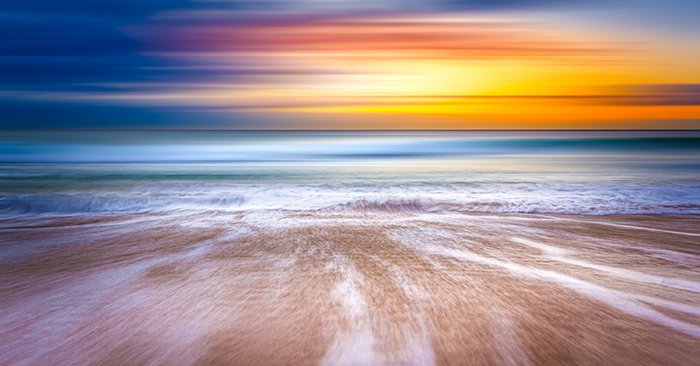
  • Shutter speed: The slower it is, the silkier the water will look. You should experiment with different speeds because every photographer has specific preferences.
  • Aperture: A large aperture (e.g. f/1.2) creates more background and foreground blur. This is great for close-ups. A small aperture (e.g. f/16) captures more details. This is ideal for landscape photos.

a beautiful beach shot at sunset

Use a Neutral Density Filter to Take Professional Water Photos

A neutral density filter (or ND filter) is every landscape photographer’s best friend.

This filter prevents underexposure and overexposure. Even if you’re taking photos on a bright day, your photos will look well-lit and neutral.

ND filters are essential in long exposure water photography. Because of all the movements and reflections, your photos might look overexposed.

The water might look too dull or vibrant compared to its surroundings. ND filters fix this instantly.
a beautiful beach shot at sunset

Always Use a Tripod and a Remote to Avoid Unnecessary Motion Blur

Water photography usually focuses on the movement of water and clouds only.

If your entire image is blurred, it will look abstract. There’s nothing wrong with this, but it’s not ideal if you like traditional landscape photography.

To keep your photos steady, use a tripod and a remote. A remote will let you take pictures without touching your camera. This will prevent any unnecessary movements from happening.

If you don’t want to invest in a remote, you can use a timer instead.

Try Different Angles to Create Captivating Water Images

There are millions, if not billions, of silky water photos out there. If you want to make your photos look original, you need to think outside the box.

This means experimenting with different angles. Take unconventional photos of water. Break the rules. The more unusual ideas you work with, the more eye-catching your photos will be.

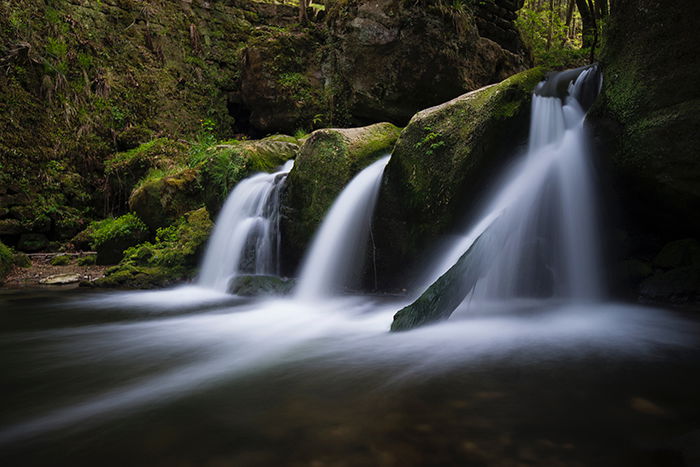
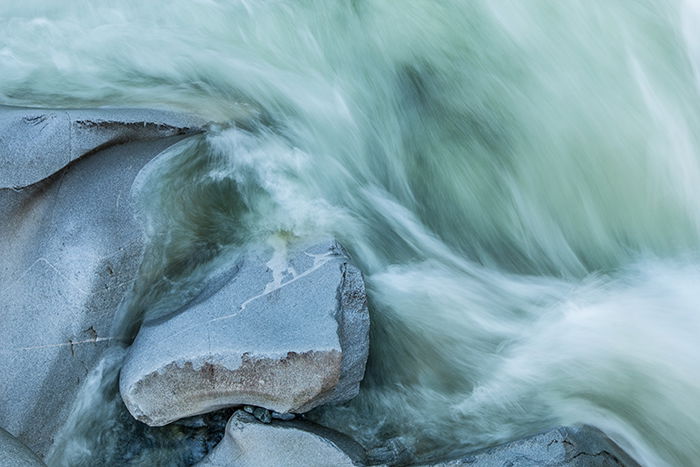
The image above is an excellent example of creative thinking. Most long exposure photographs are vast and atmospheric. Close-ups aren’t as frequent.

The photo above focuses on the movement of the water and the stillness of the rocks. The composition and colours all make it an original example of water photography.
an overhead shot of flowing water beside rocks

Should You Try to Photograph Reflections on Bodies of Water?

It’s challenging to capture proper reflections in long exposure photography. Your reflection will likely get lost in the movements. This will make it look abstract and blurred.

If you want to capture sharper reflections in water, you need to use faster shutter speed. You don’t have to use a tripod, but it could help you take sharper photos.
a beautiful coastal beach scene

Common Water Photography Questions

How Do I Make Water Look Misty in Pictures?

For a slightly misty effect, place your camera on a tripod and use slow shutter speed.

Try photographing water in different locations and shoot from different angles. All of this will bring you closer to shooting beautiful and misty images of water.

How Do You Get the Silky Water Effect?

The silky water effect is a result of long exposure photography.

You can achieve this by using a slow shutter speed. The slower it is, the silkier the water will look.

How Do You Take Pictures of Flowing Water?

You must use a tripod when shooting flowing water. This will help you take pictures that aren’t entirely blurred.

You should also use slow shutter speeds and an ND filter to make everything in your photograph look professional.

What Is the Best Shutter Speed for Waterfalls?

It depends on how silky you want the waterfall to look. The slower the shutter speed, the more abstract the water will look.

Some photographers set their shutter speeds to 4s, 15s, and even 30s. You can experiment with different speeds to find one that complements your style.

Water is an indispensable part of our lives, but it’s also a photogenic subject.

To make it look soft and dreamy, all you need is slow shutter speed, a tripod, and patience. Remember to try shooting from unusual angles to develop your unique photography style.

----------------------------------------------------------------------------------------------
Amazing Abstracts with Oil and Water – Free Quick Guide


Can I interest you in a fun photography project that has little to no cost?

Take a look at the photograph above…

You can create photographs just like this one with a simple close focusing camera setup and a few items found in your kitchen.

Photzy Author and Photographer Leanne Cleavely is going to walk you through the process of shooting abstract images of oil and water step-by-step.

You will soon find yourself capturing beautiful abstract photos that will amaze your friends, family, and fellow photographers!

Photo Credit: Leanne Cleavely

 
------------------------------------------------------------------------------------