Thursday, April 7, 2022

What is Focal Length? (And Why it Matters in Photography!)

If you are new to photography, one of the first terms tossed at you is “focal length.” Are you buying a camera and lens? You have to decide on the focal length you want. If you are looking for a lens that zooms, there are many different focal lengths. How do you decide which focal length is best?

By the end of this article, you will understand what focal length is. We start with the scientific definition. It is for photographers who want to understand the inner workings of their cameras and lenses. But the practical implications of focal length are what matters to most photographers. So we will explore how different focal lengths affect the photos we take.
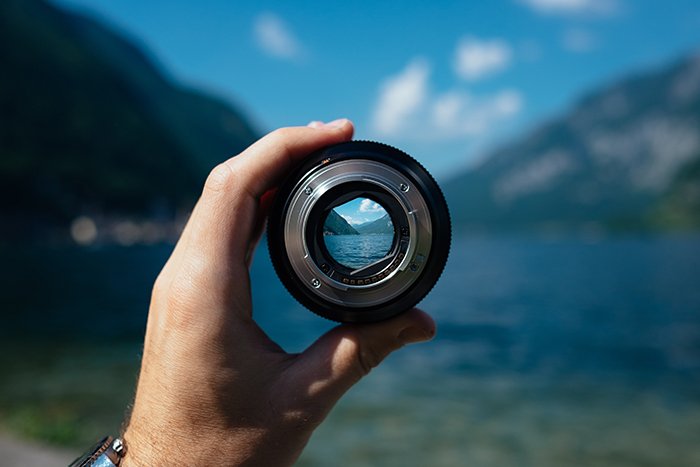
looking through lens mountain scene 

Focal Length Defined and Explained

So what is focal length? Let’s start with an optical definition of focal length. A focal length definition can get very technical. But for this article, let’s keep it as simple as possible.

Focal length is the distance between your camera’s sensor and the lens’s point of sharpest focus when focusing the camera to infinity.

How Focal Length is Measured

Your lens has many different pieces of glass. The elements interact to direct light into your camera. There is a point where light converges, or crosses, on the way to your sensor. That is the point of sharpest focus.

Lens manufacturers have done the testing and the math. They have measured the distance between this point of convergence and the camera’s sensor. That is the focal length of the lens. They label each lens with the focal length in millimeters (mm).
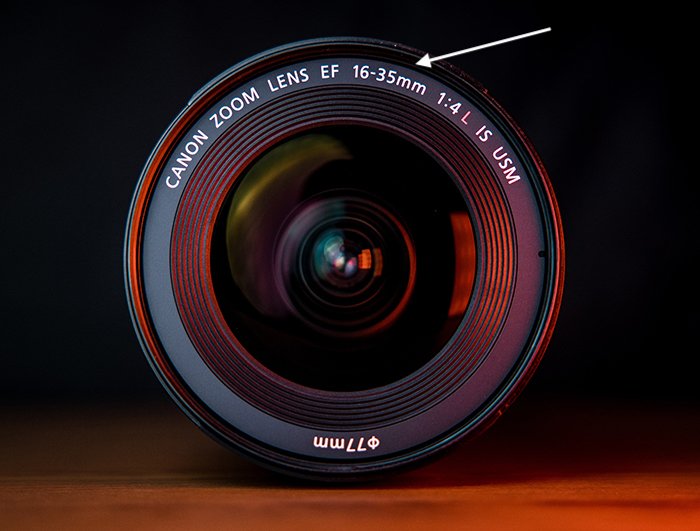
camera lens labeled with focal length

Take a look at this diagram showing the side view of a lens. Light comes into the front of the lens. It passes through many layers of glass with different shapes and curves. And these elements focus light to make a clearer image. In this example, the point of sharpest focus, or point of convergence, happens 28mm from the camera sensor. So this lens has a focal distance of 28mm.
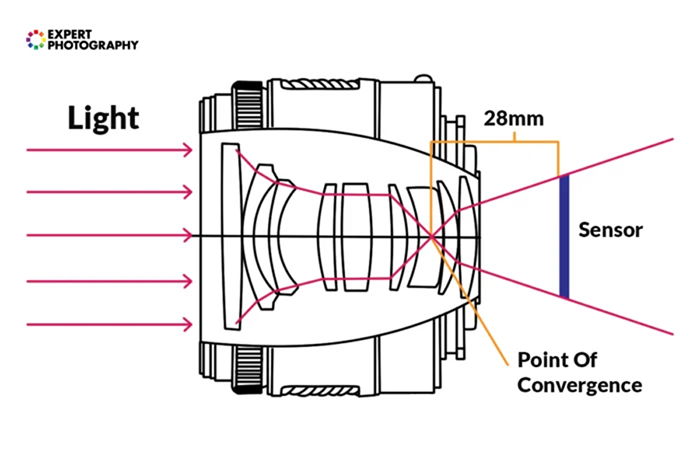
Diagram inside lens point of convergence focal length
Side view of a lens with a focal length of 28mm.

How Focal Length is Standardized

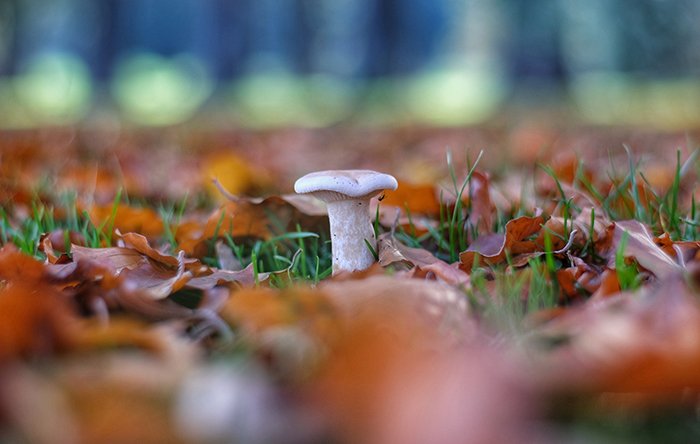
The point of convergence changes as you focus closer or further away. But to standardize the measurement, the lens is tested by focusing it at infinity. When you focus on a point far in the distance, the light rays hit the lens almost parallel, as shown in the diagram. When focusing on a closer subject, light enters the lens at an angle. Your lens deals with this, but it affects how much of your scene is in focus. For more on this, see our article on depth of field in photography.
Mushroom showing shallow depth of field
Close focus changes how light enters the camera and how much is in focus (75mm lens).

Focal Length in Practice

Now you know the official definition of focal length and how manufacturers measure it. But how do different focal lengths affect the way your photos look? Let’s see how focal lengths affect your photography in practice.

Angle of View

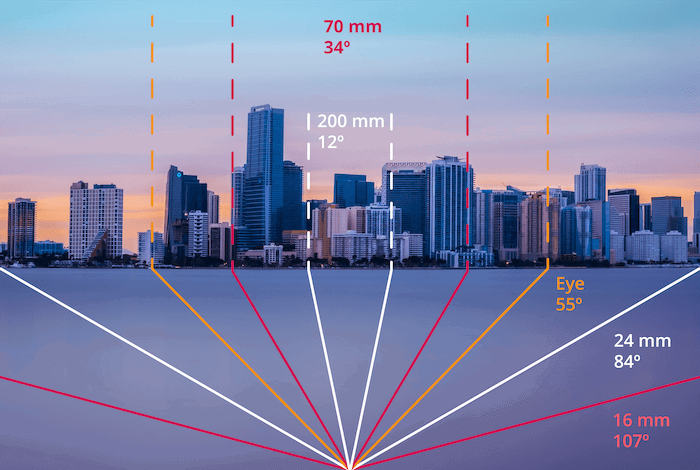
Focal length affects your angle of view. And your angle of view is how much of the world your camera lens can see. A lens with a shorter focal length, like 24mm, can see more of the scene than a lens with a long focal length, like 300mm. Lenses with smaller focal length numbers capture a more expansive view.
focal length examples
Focal length examples and how much your camera can capture.

If you look straight in front of you, the area you can see is about 55°. That is your angle of view. You have a greater field of view with your peripheral vision. But off-center areas are not in focus. To see more of the world, you must turn your head.

A lens with a 43mm focal length captures a similar amount of the scene, about 53°. 50mm lenses are popular because they capture the world very close to how we see it. Photographers sometimes call a 50mm lens a “nifty-fifty.”

This table shows the angle of view for lenses with popular focal lengths.

Magnification

Focal length also affects how close objects seem to be. A lens with a long focal length magnifies objects making the subject appear closer. If you photograph far-away subjects, use a lens with a long focal length like 400mm or 800mm. Your angle of view is smaller, but magnification increases. The focal length of the lens determines how zoomed-in your photos look. The higher the number, the more zoomed your lens will be. Different focal lengths change how visually close the subject is.
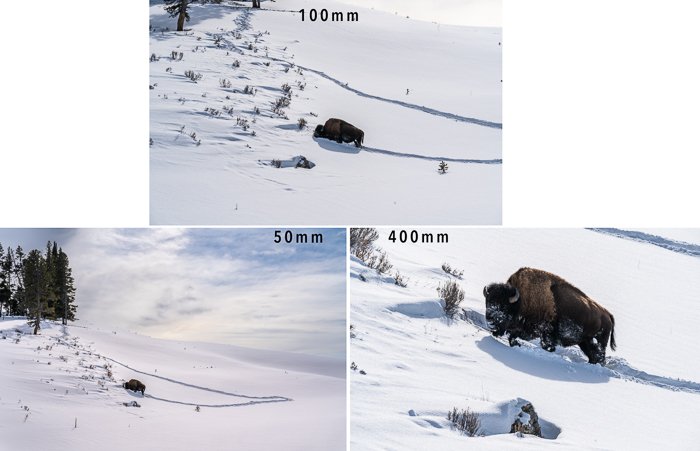
compare three focal lengths magnification bison in snow
Focal length comparison of shots taken from the same position.

Perspective Compression

Focal length also affects how objects look in relation to each other. Lenses with longer focal lengths compress the scene and make elements of the scene look closer together.

Compare these four photos of the same subject at different focal lengths. The three soup cans remained in the same position. They were spaced 10 inches (about 25cm) apart. The camera was moved back to keep the cans framed in the same way.

The cans seem to be spaced further apart at 24mm than 135mm. At 300mm, the cans seem to be almost next to each other. Also, notice the relative size of the cans. At 24mm, the front can is much more prominent than the others. At 300mm, the can in the back looks just as large, if not larger, than the cans in front. Remember, the cans were not moved.

This visual illusion is called “perspective compression.” Lenses with a longer focal length appear to compress objects. Lenses with shorter focal lengths add visual space between objects. You can choose which one is right for your scene.
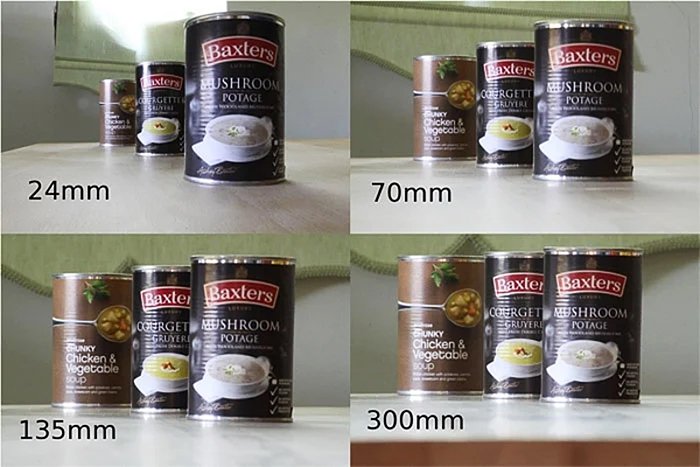
Focal length comparison of four cans showing perspective compression
Perspective and focal length comparison

Focal Length vs. Lens Length

Focal length has to do with the inner workings of a lens. It is not the physical length of a lens from the glass on the front element to the lens mount that attaches to your camera. Lenses can have the same focal length and be very different in physical size.

These two lenses cover the same focal lengths (16-35mm). But they have different internal constructions. For more information about how lenses are constructed, see beginners guide to camera lenses.”
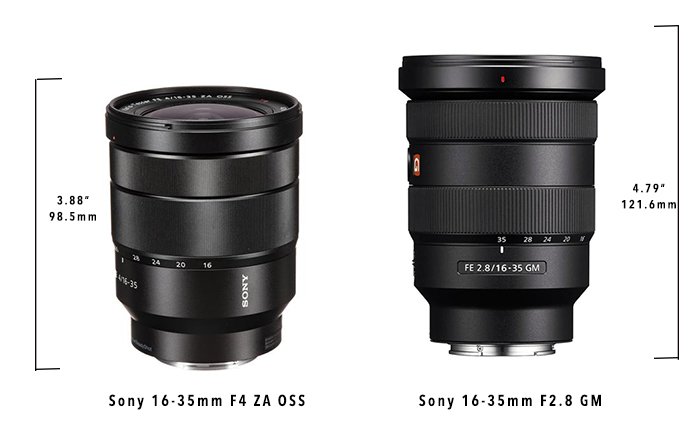
compare length of two lenses with same focal lengths

How the Camera’s Sensor Affects Focal Length

The camera does not directly affect focal length. But the size of your camera’s sensor can impact how zoomed-in your photos appear. The scene of a lens attached to an APS-C (crop) sensor camera will look more zoomed-in than a lens with the same focal length attached to a full-frame camera. That is when a camera’s crop factor comes into play.

When determining their focal length, lenses are tested on cameras with a full-frame sensor. Full-frame cameras are equivalent to the once-popular 35mm film cameras and have become the standard for measuring focal length.

But some cameras have smaller sensors. For instance, many cameras have an APS-C sensor. It is about 1.5x smaller than a full-frame sensor. That is the crop factor of the camera. A lens with a focal length of 28mm looks the same as a 42mm lens when mounted on a camera with a smaller sensor. The perceived focal length is sometimes called the “equivalent’ or “effective” focal length.
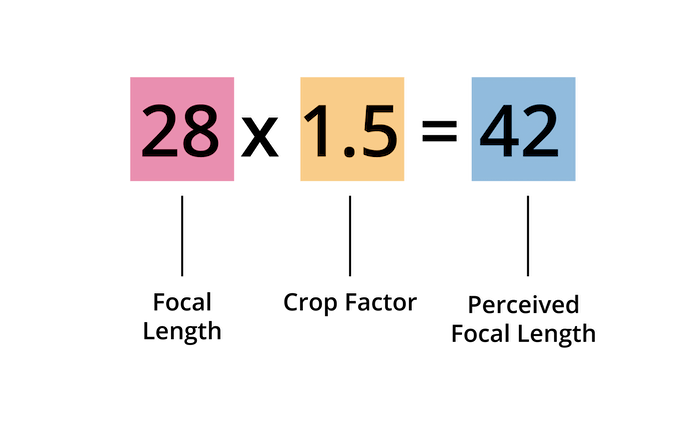
Focal length crop factor formula

All lenses are labeled with a focal length as though they were mounted on a full-frame camera. Even if the lens was designed for a crop sensor camera, that’s the case. It is not a problem if you have a crop sensor. You get used to how the lens looks on your camera. But if someone suggests that you use or buy a 50mm lens, know that it will be cropped on your camera. It will look like a 75mm lens.
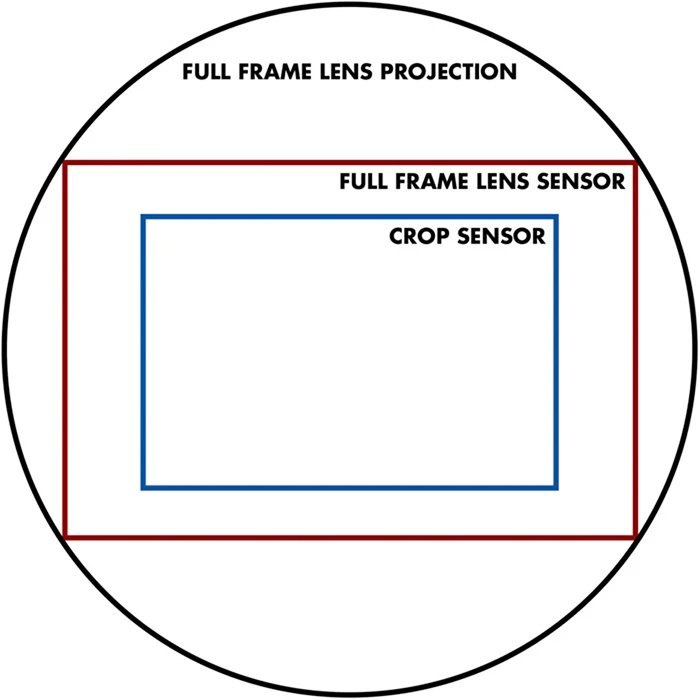
Diagram comparing full frame and crop sensor size

If you want to know more about crop sensors, see our article on camera sensor size. This table shows the equivalent focal length and angle of view for lenses with popular focal lengths.

Zoom vs. Prime Lenses

Lenses are divided into two categories based on if they can change focal length. If a lens has one fixed focal length, it is a prime lens. If a lens can change focal lengths, it is a zoom lens. In general, prime lenses are sharper and often have a wider aperture.

Zoom lenses let you change the angle of view and magnification within a range of focal lengths. For instance, a 16-35mm zoom covers all focal lengths between 16mm and 35mm. You can choose 20mm, 24mm, or 30mm by twisting the lens barrel. That gives you a lot of versatility. Most variable focal length lenses get longer physically as you zoom. And lens manufacturers label zoom lenses by listing the shortest and longest focal lengths.
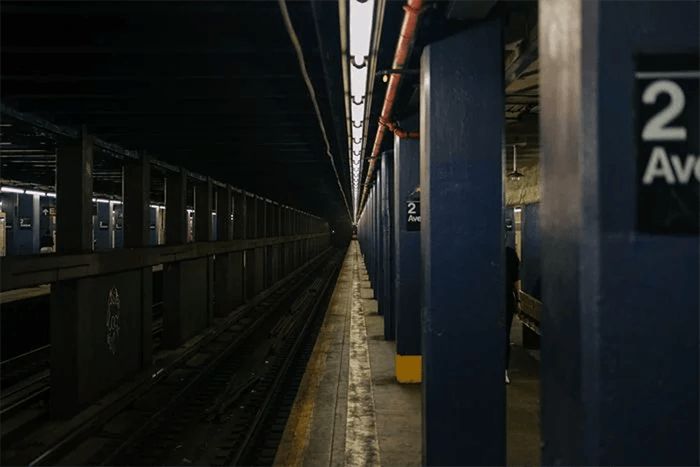
Subway tunnel vanishing point
Taken with a 35mm prime lens.

Grouping Focal Lengths

In photography, we group lenses by their focal length. For instance, lenses are wide-angle if they cover focal lengths of less than 35mm  A telephoto lens is over 70mm.

Wide Angle Lenses (Less Than 35mm)

Lenses are wide-angle if they have a focal length of 35mm or less  Wide-angle lenses capture a broad view of the world. The view is more comprehensive than you can see in one glance. Street photographers and photojournalists use lenses with shorter focal lengths. They can get close to their subjects, work indoors, and put themselves in tight spaces. These lenses capture the subject and the context.

Landscape photographers also love short focal lengths. They can capture large natural scenes like mountains and tall waterfalls. Landscape photographers take advantage of a wide-angle perspective. You can make a flower in the foreground look more prominent than the mountain in the background.

The widest lenses commonly used in movie production also fall into this range of focal lengths. Their field of view is ideal for showing plenty of the environment. And thanks to the wide aspect ratio, subjects can be far enough away not to appear distorted. But photographers rarely use lenses with short focal lengths for portraits. They enhance the perspective so much that facial features can look unnatural.
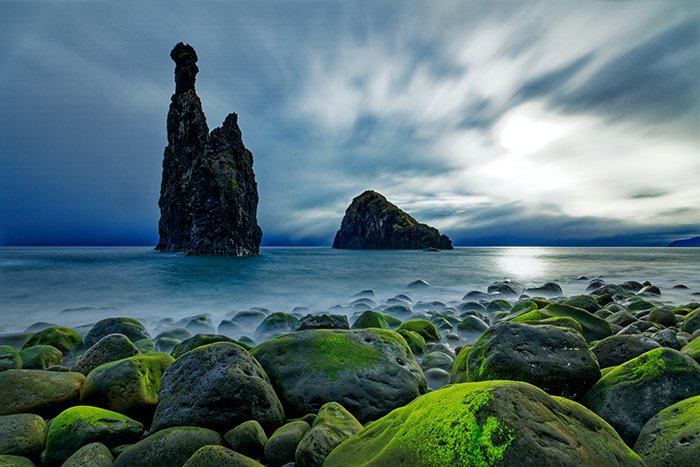
wide angle landscape sea stacks rocks in foreground
Take with a 20mm wide-angle lens.

Ultra-Wide-Angle and Fisheye (Less than 16mm)

Lenses less than 16mm are sometimes referred to as “ultra-wide-angle.” A fisheye lens is an example of an ultra-wide-angle lens. These are often considered specialty lenses. They create such a wide angle of view that they feel unnatural and seem to distort reality.

Ultra-wide lenses are often used in event and architectural photography. They get a lot into a photo when shooting in a confined space. When used for journalistic scenes, ultra-wide-angle lenses can provide a dramatic, exciting angle—especially if you are close to the subject. A 16-35mm or 14-24mm zoom, for example, is a crucial tool in the bag of a press photographer.

A fisheye is an ultra-wide-angle lens that emphasizes wide-angle distortions. Fisheye lenses are usually between 4mm and 16mm and capture up to a 180° field of view.
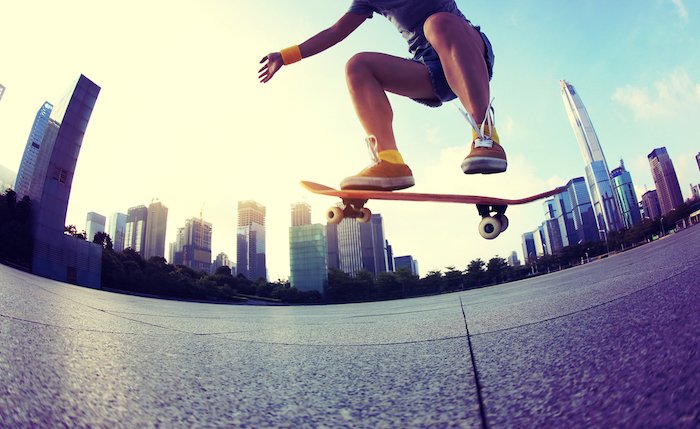
Skateboarder taken with fisheye lens distortion
Taken with a 15mm fisheye lens. DepositPhotos.

Standard Lenses (35-70mm)

A standard lens has a focal length between 35mm and 70mm. These are the most common lenses, both in prime and zoom format. The focal lengths of the first lens that you got with your camera probably cover some, if not all, of this range.

Portrait photographers often use standard lenses  50mm, and 70mm are very popular. Lenses in this range best reproduce what our eyes see. They have minimal distortion. So they are suitable for documentary and street photography.

You can use lenses with standard focal lengths for virtually anything, from nature to action. If you want a good walking-around lens, buy one covering focal lengths between 35mm to 70mm. A popular standard zoom lens is 24-70mm.
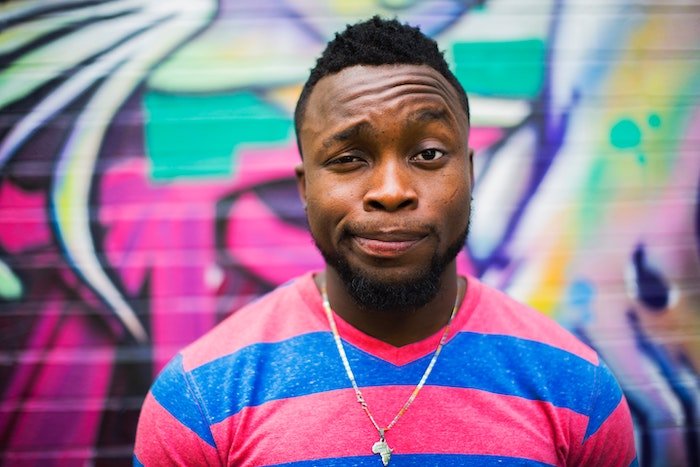
Street portrait take with a 50mm lens
Taken with a standard 50mm lens.

Telephoto (70mm+) and Super-telephoto (200mm+)

Lenses are described as telephoto if they have a focal length of more than 70mm. Lenses longer than 200mm are sometimes referred to as “super-telephoto.” The lens is sometimes called a short telephoto if the focal length is between 70mm and 135mm. Currently, the longest telephoto lens in production is 800mm.

Photographers use telephoto lenses any time they are photographing something from a distance. Wildlife and sports photographers often use telephotos to bring their subjects closer. Landscape photographers use long focal length lenses to capture intimate landscapes. Remember, telephoto lenses compress the scene and make objects look closer together. That is not always what landscape photographers want.

Portrait photographers may also use telephoto lenses, like 85mms, if they take close-up shots. The lens compresses the subject, and they look leaner. It is often a flattering look. Many popular macro lenses also fall into the telephoto category. Photographers use macro lenses to photograph detail in extreme close-ups. A telephoto macro also gives you a little working space.
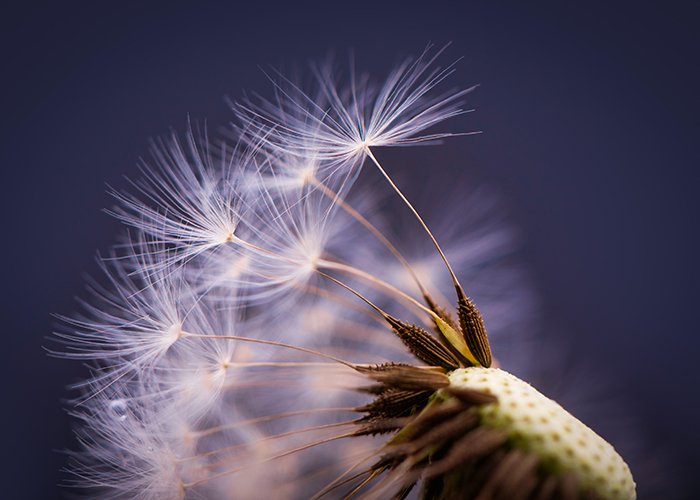
dandelion macro
Taken with a 105mm macro lens.

Best Focal Length for Your Photography

The best focal length for your photography depends on what type of photography you like to shoot. Let’s find the best focal lengths for each genre of photography.

Portrait Photography

The best focal lengths are between 50mm and 135mm if you like to photograph people. You can get standard prime lenses like 50mm with less distortion. Or you can buy a zoom lens covering the lower end of the range, like a 24-70mm or a 24-105mm. A short telephoto would also be a good buy for you. Many portrait photographers use a 70-200mm lens.

Street, Documentary, and Travel Photography

If you like to travel and take photos on the street, a standard lens is your friend. A 24-70mm lens is the go-to lens for many travel and street photographers. But many street and travel photographers like to use wide-angle prime or zoom lenses in the 16-35mm range. That lets them get in close and show a lot of the scene. If you are going into the unknown, you may want to look at a lens that covers a variety of situations, like a 24-105mm lens.

Architecture Photography

Architectural photographers often go with wide-angle focal lengths. They may shoot tall buildings on narrow streets. Or they may be inside an establishment trying to capture a tight corner or the majesty of a cathedral. A wide-angle lens works for it all. Architectural photographers may even pull out an ultra-wide-angle (12-24mm) lens or a fisheye when spaces get tight.

Sports and Wildlife Photography

Sports photographers and wildlife photographers share some common challenges. You may not be able to get close to your subjects, so a telephoto is a must. You need a 70-200mm or a 100-400mm lens. You may even need a super-telephoto lens if you are trying to photograph birds or players on a large field. And 800mm prime lenses are made for these situations.

Landscape Photography

Landscape photographers vary in their preferred lenses. You may like a wide-angle 16-35mm lens for grand landscapes. Or you may pick a telephoto lens like 100-400mm to capture details in the scene. If you like to photograph landscapes, you may need to try out a few different lenses to see what fits with your favorite landscape scenes.
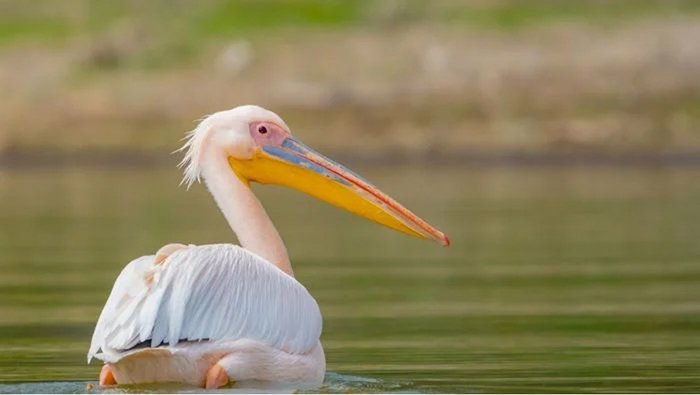
Pelican taken with telephoto lens
Taken with a 600mm super-telephoto lens.


Want more?  Hot Photography Books 
-------------------------------------------------------------------------------------------


Monday, April 4, 2022

8 Ways to Produce a Soft Background in Your Photos

Shutterbug Photography, Rookie Photographer

Wide Aperture for a Soft Background

If you’ve played around with aperture much, you’ll know by now that, the wider the aperture, the shallower the depth of field. This, in turn, determines how blurred the photo is, after all, that’s all a soft background is – an attractive blur.
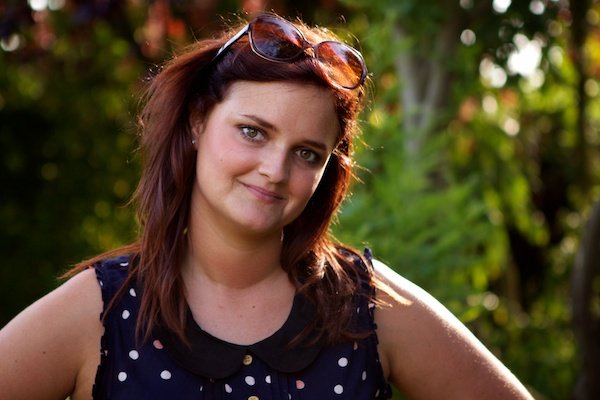
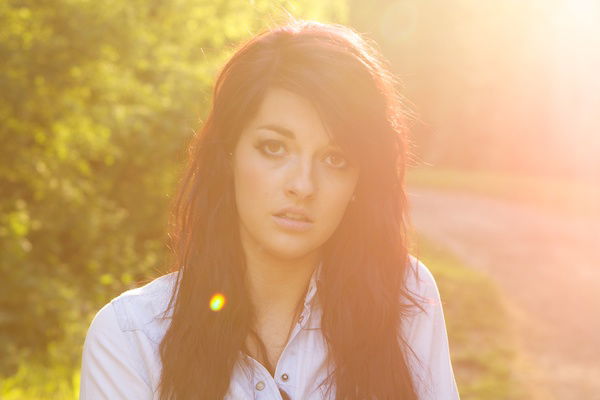
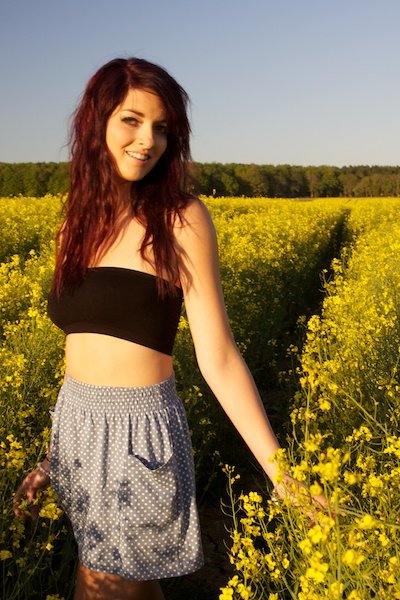
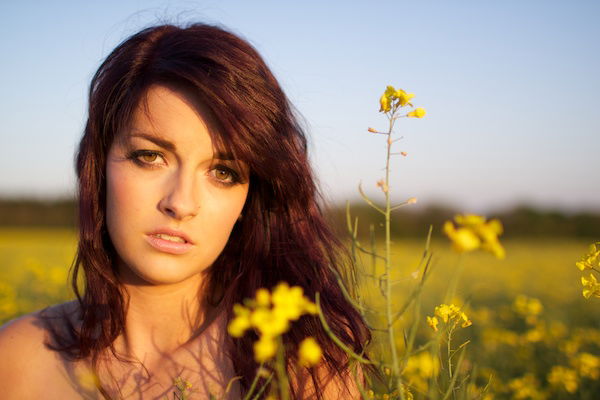
So, the wider you set your aperture, the softer your background will be but you need to be sure that the whole of your subject’s face is in focus, or at the very least their eyes, otherwise the entire photo will appear soft instead of just the background.Portrait of a young woman in the field with flowers, demonstrating soft background technique in photography

Get Close

Here’s an extract from my tutorial on depth of field which sums up exactly what effects can be created by bringing your lens closer to the subject:

The best way to demonstrate this is not with a diagram but with your own hand.
Take your arm and stretch it out in front of your face with your hand as far as you can reach.
Looking at your hand, you’ll notice that you can still work out a lot of the detail behind it, without moving your eyes away. Now, gradually move your hand closer to your face, focusing on it throughout. You’ll notice your peripheral vision becoming more and more out of focus.
The same effect occurs with a camera lens.

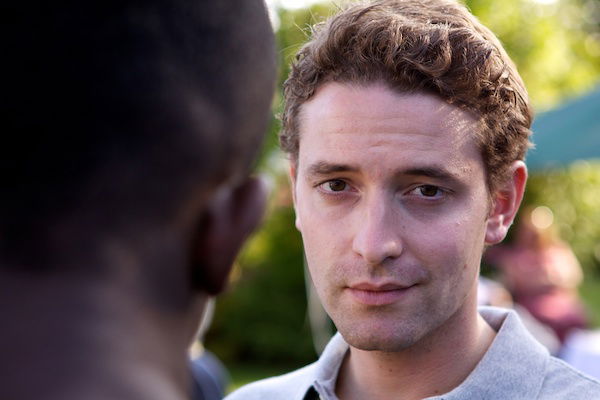
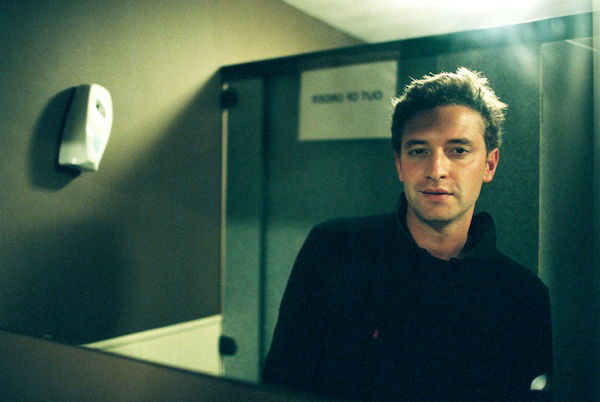
Portrait of a young man in sunglasses and baseball cap, demonstrating soft background technique in photography

Distant Background

The further away your background is, the less in focus it will appear which, as we know, creates a soft background.
You need to consider just how soft you want the background to be; if it’s too far away, it can start to blur into insignificance.
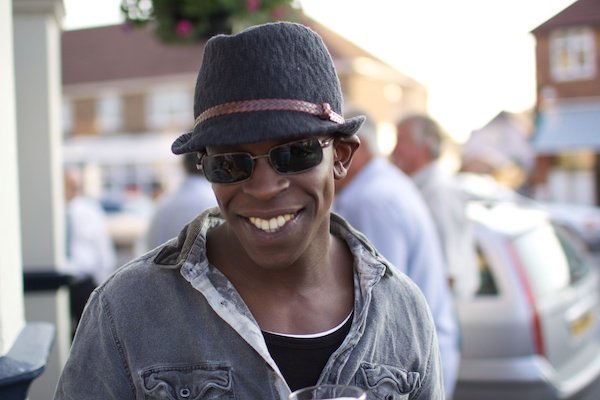
Combining a distant background with a few other techniques on this list will be a lot more effective and aesthetically pleasing – you should be able to make out what’s going on in the background without providing enough information to distract from the subject.Portrait of a young sunglasses, demonstrating soft background technique in photography

Zoom In

If you remember back to my tutorial on focal length, you’ll know that portrait lenses are usually in the mid-telephoto range of 70-105mm. This is because of the way they compress the perspective of a scene, making the background appear closer.
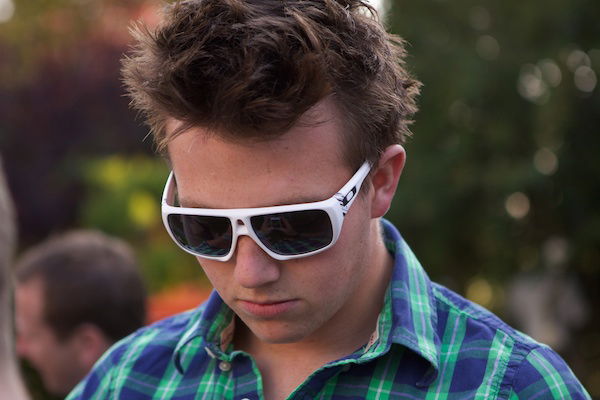
The beauty of this is that you can have your background relatively far away, shoot nice and close to the subject (on a long focal length with a wide aperture) and you’ll still get a soft background without it appearing too distant.Portrait of a young woman against the background of trees, demonstrating soft background technique in photography

Soft Lighting

Whether you’re in a studio or outside in the garden, if you want a soft background, you need soft lighting.
As a general rule, this means no direct light from the sun or from the flash on your camera.
My favourite time to shoot is during the evening as the camera’s sensor isn’t trying to compete with itself to correctly expose a certain part of the photo over another.
This produces a much greater dynamic range with more detail in the background colours. Soft lighting will also flatter your subject’s features and skin tone, resulting in a more even exposure.Portrait of a young man, demonstrating soft background technique in photography

Sharp Contrast

If you really want to emphasise how soft the background is, contrast it with an exceptionally sharp foreground.
Applying this technique makes the background a lot more obvious by comparison as the subject in the foreground seems to sit on top of the background (provided there’s enough distance between the two of them).
The photo below was shot at f/1.4 which provides an incredibly shallow depth of field but, because the contrast between sharp and blurred is so apparent, the entire subject appears to be in much deeper focus.Portrait of a young in sunglasses, demonstrating soft background technique in photography

Bokeh Background

Soft backgrounds are all well and good but, if it’s a blur of concrete, there’s not exactly much to look at.
To make sure your background is equally important in terms of aesthetics, choose a background area in which you’ll have the opportunity to play around with the different colours and lights.
My favourite technique to use involves allowing small pockets of light to pass through the background so that they create a circular bokeh shape when captured by the camera.
This is incredibly easy to do and is a really subtle way of taking something that would usually have been boring and making it much more interesting – check out the photo below.Portrait of a young man in sunglasses, demonstrating soft background technique in photography

Shoot Into The Sun

There are many advantages of shooting into the sun. In fact, I’ve written a whole tutorial on it but, in terms of softening your background, shooting into the sun produces lens flare that can cast a soft light over the whole of your photograph.
Clearly, this doesn’t just soften the background; it softens the foreground too. This can, however, be very effective, especially seeing as these shots are usually taken in the evening when the sun is about head height. 

For more great photo background tips, Hot Photography Books 

-----------------------------------------------------------------------------------


Thursday, March 31, 2022

9 Ways to Create an Interesting Background in Your Photos

Shutterbug Photography,  Rookie Photographer

Why Is It Important to Have an Interesting Background?

You may have noticed by now that there are no photos of models on a white background on this site.
There’s a good reason for this. I find these photos boring and unimaginative. The shooting environment isn’t conducive to interesting photography.
The way I see it, every single pixel in a photo bares equal importance with the next. It’s your job as the photographer to ensure that every part of the photo looks good.
When you start to make your backgrounds more interesting, you’ll find that people spend more time looking at them. More often than not, they do this without even realising.
There are plenty of ways to do this. We’re going to have a little look at a few methods now.

Bokeh

This is a term used quite frequently on this website. I’ve spoken in detail about in this post. Essentially, it’s the aesthetic quality of the out-of-focus areas of a photograph. If you have a close subject, a distant background and a wide aperture, you magnify the bokeh effect.
Check out the photo below.
The soft circular blur in the background is an example of good bokeh. In this photo, the background has as much appeal to the viewer as the subject – the BBQ. I really like using a strong bokeh as the softness is very appealing and easy to look at.
An image of a barbecue and a tire swing as an Interesting Background

Lights

When light shines directly into the camera’s lens and the aperture isn’t too wide, you can end up with some really cool ‘star’ effects on the light source.
As well as lighting up the background and providing interesting detail, the subject is also lit up in a way that don’t typically see.
Use the lighting to illuminate your background and provide a point of interest. Arrange your lights so that they provide details to the most important parts of your background.
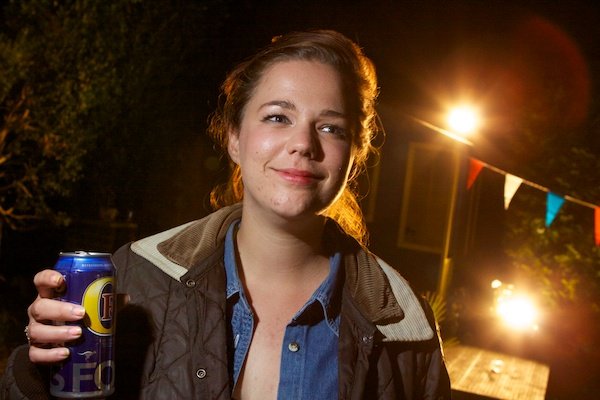
An image of a woman with an Interesting Background

High ISO

If you’re shooting at night, in order to reveal any detail in your background, you’ll need to raise your ISO.
Even in the photo above, I used an ISO of 1200 as it allows us to make out the finer details, attracting the viewer to the photo.
The photo below was shot with an on-camera, external flash unit at ISO 1600 and an aperture of f/2.8. As you can see, this has produced a very shallow DoF but, by providing more detail, has turned a simple photo of a man on a street into much more than that.A shot of a man with a road as an Interesting Background

Rule of Thirds

As you can probably see from the photos I’ve use so far, I like to adhere (roughly) to the rule of thirds when trying to include an interesting background.
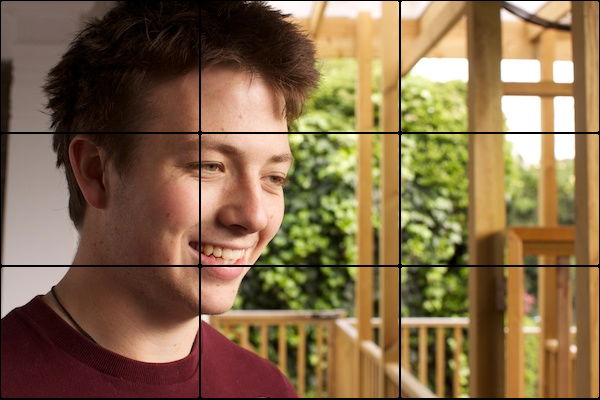
The rule basically dictates that photos should be split into 9 equal parts divided up by two equally-spaced horizontal lines and two equally-spaced vertical lines. The important features within the frame should intersect with these lines at some point.
This allows me to include a background that people can actually see.A shot of a man looking off camera with wood as an Interesting Background

Background Subjects

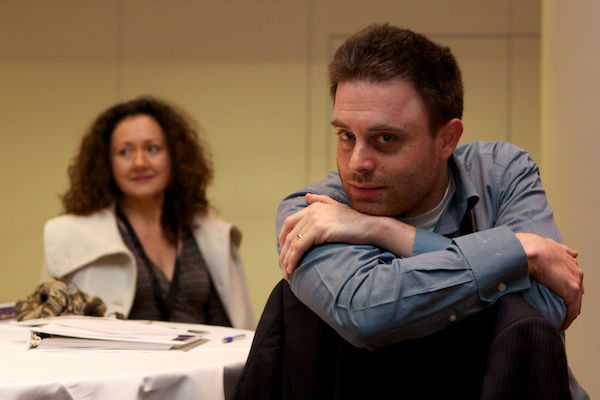
There’s no reason why your background shouldn’t be another subject, like my example below.
This, believe it or not, was a candid photo. The foreground subject was looking in the same direction as the background subject. The moment he looked towards my camera that I took the photo.
This contrast in subjects’ interest makes you wonder where to look – no longer is it a simple photo of a person.
Contrast in background and foreground is key here.A shot of man with a woman in the background

Lines

I’ve written in depth about horizontal, vertical, diagonal and converging lines in photography and the power that they convey, directing the viewer’s eyes in a certain direction. I recommend that you read about that in further detail.
The great thing about using lines in your background is that they’re remarkably subtle – you may like the background in my photo but, without mentioning lines, it’s hard to pinpoint exactly what it is that interests you.
Once again, there’s contrast present in the photography and, this time, it’s also present in the background – the lines are sharp and soft.A shot of a man in a bathroom

Paths

The great thing about paths in photography is that, if you include a subject as well, together, they can provide dynamic tension.
By this I mean that your eyes don’t know whether to go up and down the subject or along the path, which causes a tension in your eyes. This is a superb trick to convince your viewer to look at the photo for longer without them even realizing why. The added sense of wonder keeps the viewer entertained.A shot of a girl in a field as an Interesting Background

Background Focus

Sometimes, I like to use a frame within a frame to focus the attention towards the background.
In the photo below, I’ve used two parts of a banister to act as a sort of tunnel, directing the attention towards the subject.
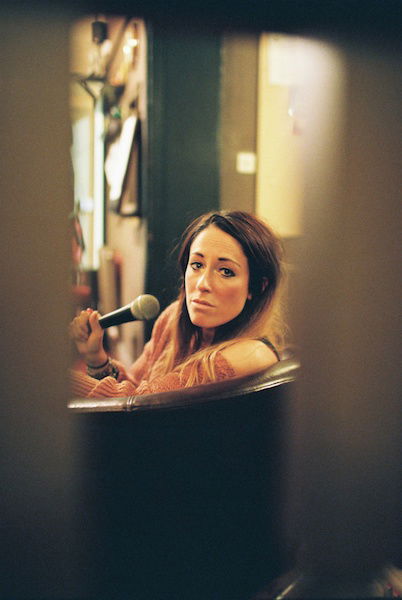
Frames do an excellent job of providing context to a photo while adding a soft border by providing an out-of-focus blur around the edge of the primary subject.A woman holding a microphone with an Interesting Background

Color

This is at the end of the list because it’s probably one the easiest techniques to implement, especially if the colours you’re using in the background contrast with those in the foreground, as mine do below.
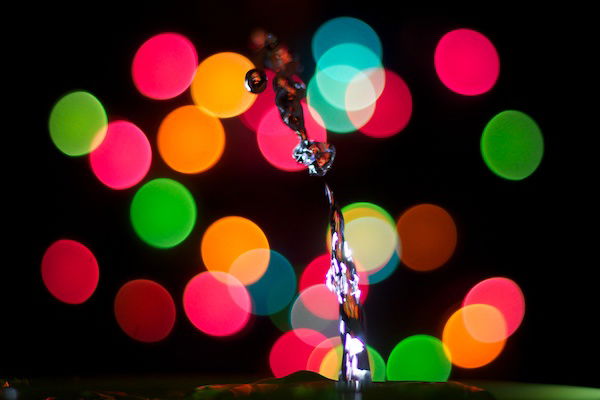
Contrast is the most important point to make here; if your background and foreground are too similar, they merge into one, ceasing to be two effective and different points of interest. I love using color in my photography when possible as it really helps to make the photos stand out from the rest of an album.A shot of a water drop with an interesting bokeh background
 

For more great photo tips; Hot Photography Books

 ----------------------------------------------------------------------------------------

Tuesday, March 29, 2022

depositphotos_54556961-stock-photo-stack-of-money-dollars - International  Products CorporationReaders 

Thank you for over 1,090,000 blog visits this month.  As you know, for the past 2 months we've been giving away $100 to one randomly chosen, lucky blog follower in the hope of increasing the number of visitors who regularly follow our posts.  We know that our posts are being read and the blog is being viewed, and we thank you for visiting us.  However, we are discontinuing the monthly one hundred dollar give away March 31, 2022 due to the small increase in the number of "Followers" we've received.  This Thursday, 3-31-2022 will be the last day we give a lucky blog follower $100.  We are still posting free articles and giving away free photography ebooks.  We will probably resume the $100 give away later in the year (October).  We are giving away $100 two days from now, but that will be the end of this campaign until autumn of this year.  Thanks again for visiting us and please enjoy the free ebooks and articles.  If you want to know how this last $100 give away works please visit here:

https://mrdarrylt.blogspot.com/2021/12/free-100-id-like-to-give-you-one-of.html

                                                                 Update 

Rhonda Jones is our lucky blog follower for the month of March.  Enjoy spending that "Benjamin" Rhonda!

-----------------------------------------------------------------------------------            


Monday, March 28, 2022

How to Make an Infinity Curve for Product Photography

Tags: Shutterbug Photography,  Rookie Photography

When you look at e-commerce images, do you ever wonder why you can’t find where the floor ends and the wall starts in the background? This is because product photography often uses a photographic term called the infinity curve.

In this article, We will show you how to create an infinity curve (or infinity cove) you can use for product photography at home or in the studio.

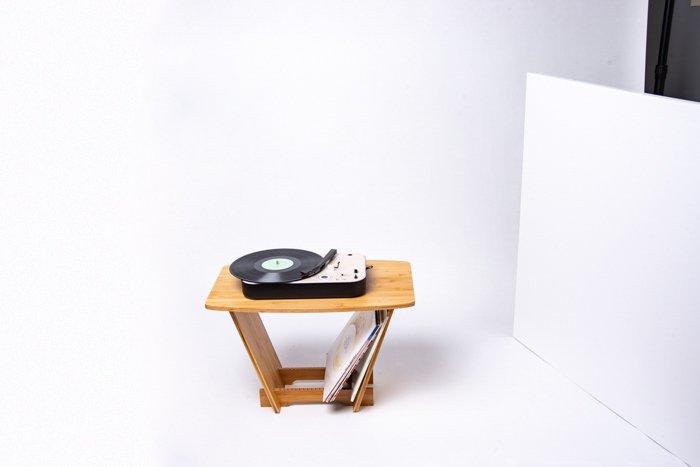
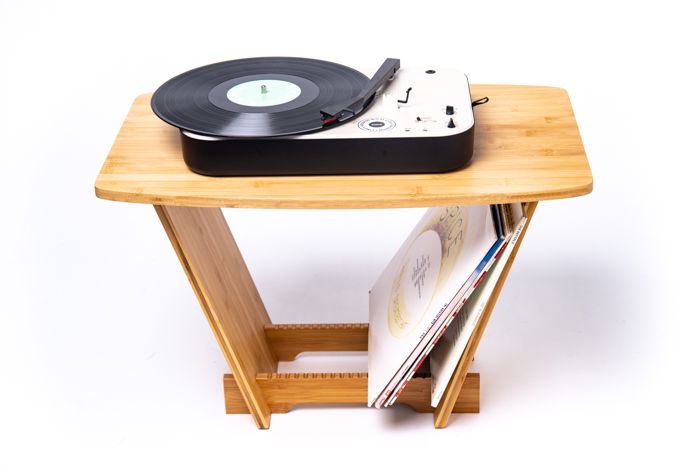
A record player on top of a table against a white background

What is the Infinity Curve?

In simple terms, infinity curves are seamless backgrounds that do not have lines or corners. The main use of an infinity curve is to create a clean photo background with no corners. That way, your main subject is the only element in the image where your audience’s eyes can gravitate.

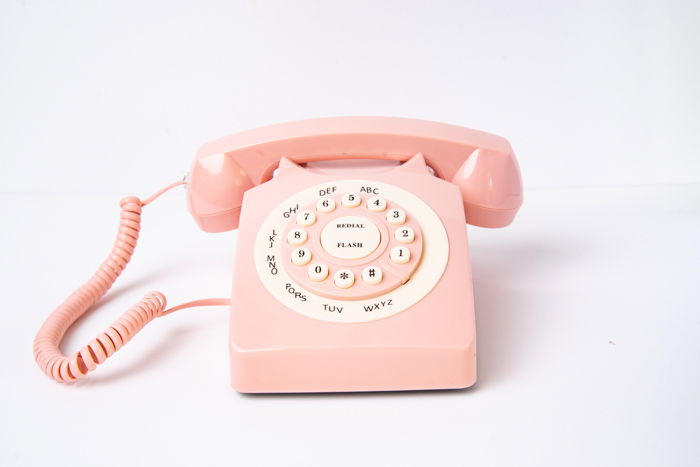
To help you envision what they do, we’ll compare it with an example of a regular background containing a wall and a floor.

An analogue phone against a background with seams

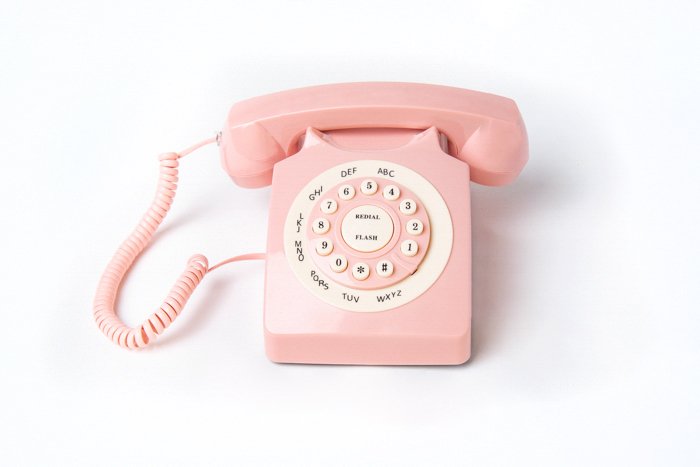
And now, here’s an image with an infinity curve. As you can see, it has a smooth transition that you can’t see where the floor ends and the wall starts.

An analogue phone against a white background with infinty curve background

How Do You Make an Infinity Curve for Product Photography?

It’s common for a photography studio to have what’s called a cyclorama or an infinity cove. It’s usually made of wood, drywall, concrete, or similar construction materials.

Unfortunately, an infinity cove can be difficult to build, even for seasoned DIYers. The entire construction process needs a lot of equipment, not to mention various skills that will most likely require a team of people.

Infinity coves are also notoriously difficult to maintain. Since people step on them all the time, they often get dirty. Consequently, they often need to be repainted to retain their clean appearance.

Thankfully, there are other ways to build infinity coves apart from concrete, drywall, or wood. The best option is to use seamless paper as your background.

When people talk about the infinity curve, they often think about large cycloramas in studios. But product photographers use smaller options that are only as big as a table when taking pictures of small products.

Normally, photographers would often use a still-life table which you see below.

Flower vase sitting on top of a still life table

For Small Products

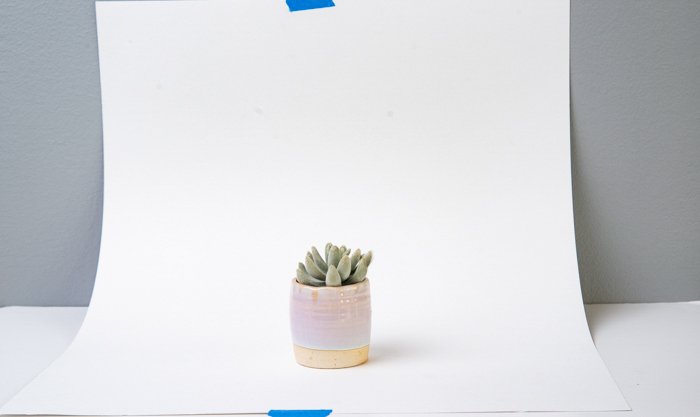
But you don’t have to buy one to create an infinity curve for product photography. All you have to do is set up a small table against the wall. Tape the upper part of the poster board to the wall, let the lower half rest on the table, and tape it so it doesn’t move around.

A succulent plant against a white background

For Medium Products

The poster board background is perfect for small products, but how about medium-sized ones? This time, the best option is to use a seamless paper background.

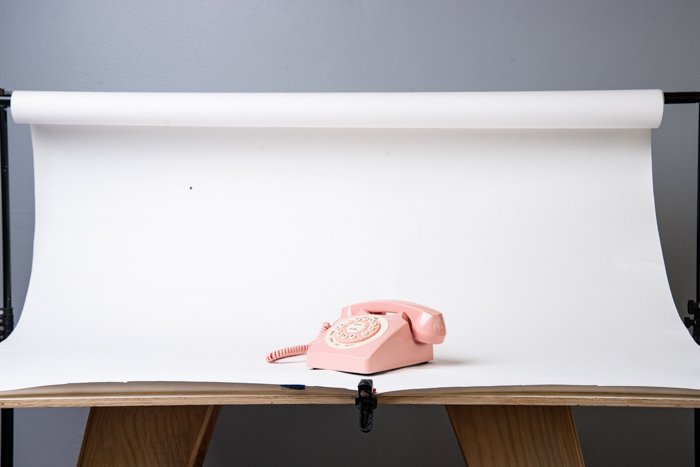
Seamless paper backgrounds come in various sizes. For tabletop product photography, the most appropriate size is 4 ft  (1.22 m) because it fits most tables.

White seamless paper covering a table with a pink telephone on it

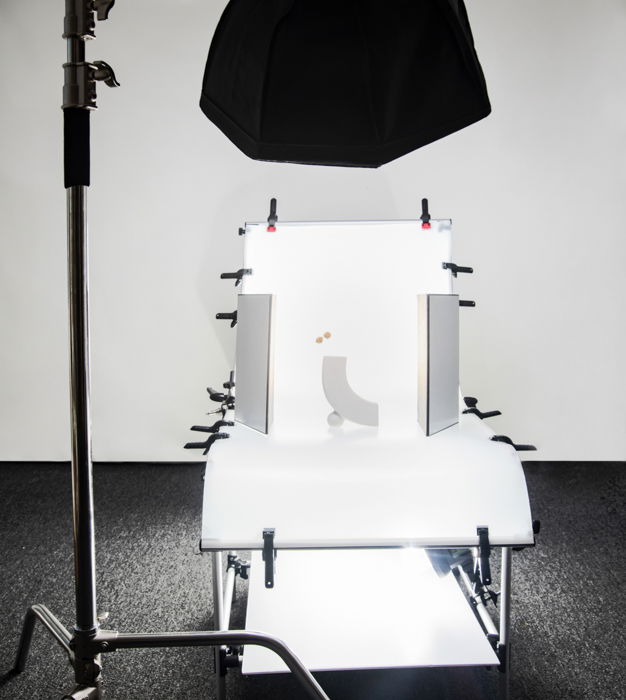
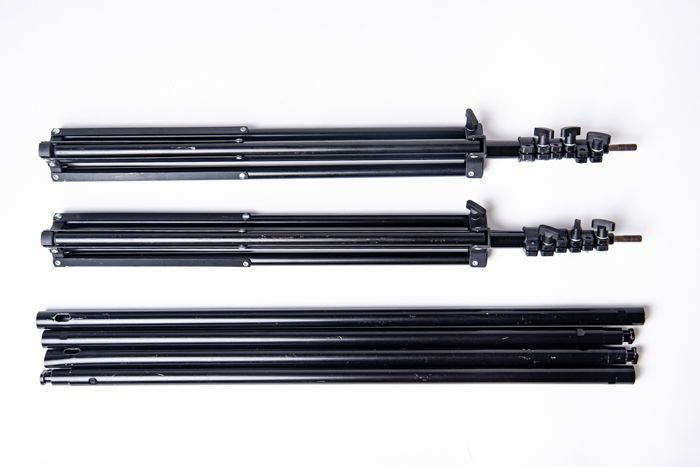
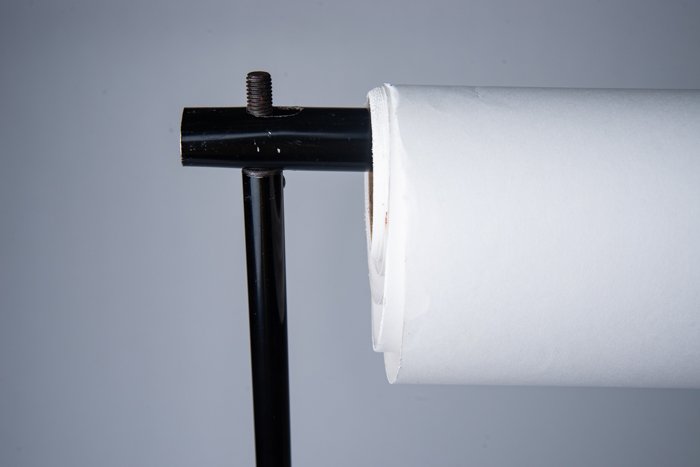
To set up your seamless background for medium-size products, you will need a background stand. The kit often comes with two stands and horizontal rods you can connect depending on the length of your seamless paper.

background stand kit against a white background

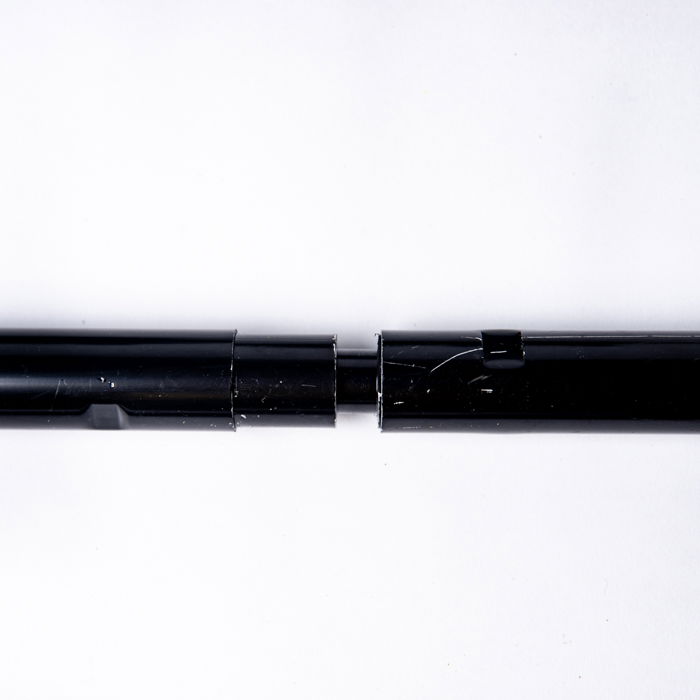
If you have an eight-foot seamless paper, you will need to attach all the rods. But since you are only using a 4 ft option, you only need to connect two to three—just enough to run the length of your background. Once you attach all the rods, insert them into the background tube.

Closeup of horizontal rods being connected

Now, open up your two stands and set them about 4 ft apart. Grab the background and align the holes at the tips of the horizontal rods with the tips of the stands. Once the seamless paper is in position, screw the butterfly nuts to the stands to secure the background.

A closeup of the background stand setup

For Large Products

For large products, you will need longer, seamless paper. The best option for you would be an 8 ft (2.4 m) background.

Setting up an 8 ft seamless paper is technically the same as what you would do with a 4 ft version. The only difference is you will need to connect all the rods in your background stand kit to create an 8 ft pole.

You also do not need to use a table for your large backdrop anymore. Instead, you can let it drape down to the floor. Lay down at least 4 ft length of the seamless paper on the floor. That way, you have enough space to position your product to take photos.

Record player against a white background

Using a large white seamless paper creates a heavenly space appearance because it bounces a lot of light around. The clean background also ensures that your product stands out.

When using a large seamless paper, consider taking off your shoes and walk on the floor with your socks on. That way, you do not end up with messy shoe prints all over your background.

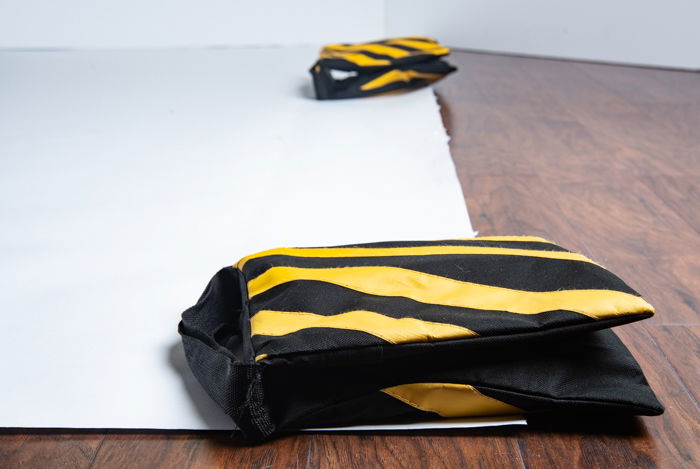
The corners of the seamless paper also tend to curl. To avoid this issue, you can use sandbags to weigh down the corners and the middle of the background. Alternatively, you can use tape. But we do not recommend it because there is a good chance you might end up tearing the paper.

Sandbags on top of seamless paper

Care and Storage

Using seamless paper for infinity coves is an affordable option. But since your background is made of paper, you need to be careful with it all the time.

We already mentioned earlier to not step on the background with your shoes on if possible. But you also need to make sure you do not place your products too close to the background curve. Otherwise, there is a good chance you might rip it.

If you need to store your background, make sure to do so vertically. That way, you don’t have to worry about the paper ending up with creases that are difficult to remove in Photoshop.

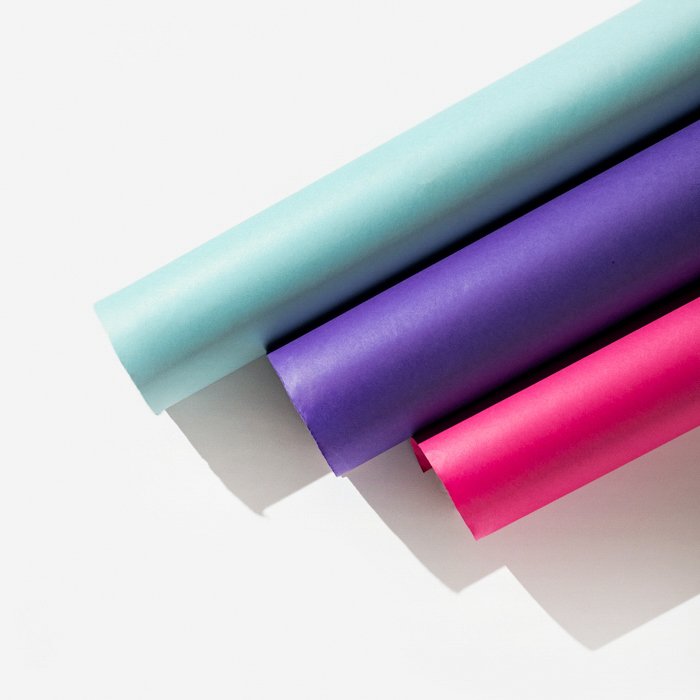
A row of colorful seamless paper

If you do not need to use infinity coves all the time, then seamless paper backgrounds are your best option. They are not only cheap but also easy to set up, even in a small room.

The best reason to use seamless paper is that it does not limit you to single color background. All you have to do is swap out the background, and that’s it! Apart from using white, you can use just about any other colour from yellow to black without repainting.

Of course, the seamless paper does have its limitations. But as long as you take care of it, it can last you a long time. And most of all, you do not have to pay a lot of money to use it.

------------------------------------------------------------------------------------


Thursday, March 24, 2022

How to Choose the Right Camera Settings for Portraits

Tags: Shutterbug Photography, Rookie Photographer


Choosing camera settings for portrait photography can be difficult. And knowing which lens is best is even more so.
Let’s take a look at each basic setting to know and lens options so that we can clear up some confusion for you.
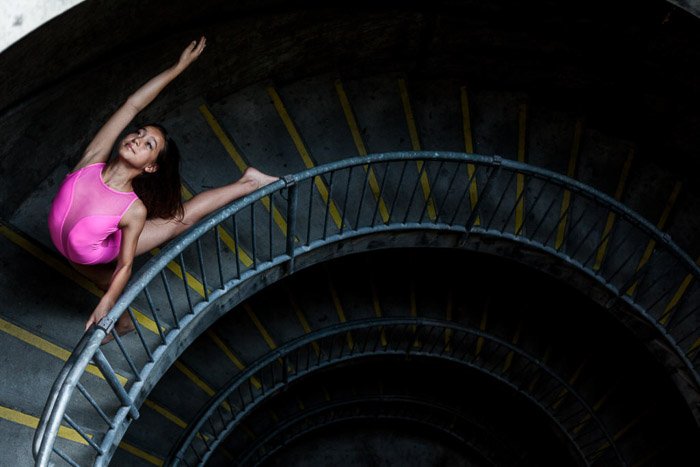
A young girl in pink ballet dress dancing on a dark stairwell - best settings for portraits 

Which Lens?

Before we even talk about camera settings for portraits, let’s discuss the lens. Many focus on the camera brand and model.
But the piece of gear that has a major effect on the final look of a photo is the lens.
It’s hard to know whether you want a telephoto lens, a mid-range prime lens, or a wide angle. To be honest, it often comes down to personal preference and what you have envisioned for the final look.
If you want a classic portrait look with a very soft bokeh, use a telephoto. The 70-200mm/f2.8 is a great example of a solid lens for this look.
If you’re tight on space or want to have the background play a bigger role in the photo, try a 50mm or 85mm lens.
If you’re looking for a more dynamic and off-beat effect, try a wide lens for portraits! You do need to keep in mind subject placement in the frame, though.
The lens distortion will be much stronger with a wide angle. It will become more noticeable on the edges of the frame.
I also encourage renting lenses before purchasing. A lens can cost just as much as, if not more than, your camera body.
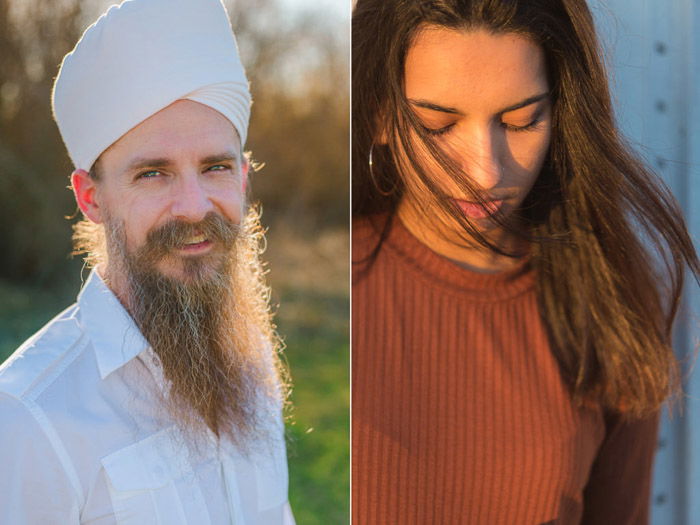
A diptych photo of a bearded man in white and a dark haired girl in maroon jumper - camera settings for portraits

Shooting Mode

You know what I’m going to say here. First, you need to get out of Auto mode!
You want to be shooting in full Manual mode. It gives you the most control and consistency. This can be tough at first, though. If you’re not quite ready to take the leap to Manual mode, try switching to Aperture Priority mode.
This will give you control over aperture. And it will let the camera choose the shutter speed. The ISO is set to what best fits your shooting conditions.
By controlling the aperture, you’re ensuring that you have a nice shallow depth of field. You’re most likely going to be doing outdoor portraits with a good amount of light. The shutter speed won’t be as much of a priority.
If you’re in conditions with low light, you’ll want to either be on a tripod or use Shutter Speed Priority. Keep in mind that you’ll need to check your focus to make sure that it’s on your subject. The aperture will be determined automatically by your camera.

Aperture

You’ll find that an f-stop of 2.8 or lower is the best aperture for portraits. The reason for this is that it creates a shallow depth of field.
Using a shallower depth of field directs the viewer’s eye. It blurs everything except the focal point. In portraits this should always be the eye closest to the camera.
By having everything else in the image off-focus, even if subtle, it also creates a flattering look. The skin in the rest of the face is a bit softer.
By having the rest of the face a tiny bit softer, it also makes the eyes pop a bit more. This helps create a connection between subject and viewer.
If you want both eyes in focus, you can position your subject’s face so that it’s looking straight at the camera. Both eyes are about the same distance from the lens.
If you’re doing a couple or group, use a bigger f-stop – somewhere around 5.6 or so. That way, you’ll get each person in focus.

A diptych photo of a dark haired woman posing in a kitchen and a grey haired smiling woman - camera settings for portraits

Shutter Speed

If you’re in full sunlight, shutter speed won’t be a big factor. Typically, you want to be using a speed faster than 1/100th to avoid hand shake.
If you’re using a flash, you’ll most likely need shoot no faster than 1/200th of a second so that the flash unit syncs in the correct way.
Of course, if you’re not using a flash then you can use faster shutter speeds and be fine!
If you want to capture some motion, the ideal speed will depend on how fast the action being photographed is. To capture some motion blur, you’ll want to shoot as slow as you can to avoid hand shake.
This can be as low as 1/50th of a second for those with a steadier hand. A bit of experimentation will help find your ideal speed.

Metering Mode

Spot metering is usually the best for portraits. It gives you control over exactly what area is exposed properly. Spot metering will read the light in the center spot of the frame, and use that to evaluate your exposure.
If you’re not using a flash, then this point will most likely be your subject’s face. If you are using a flash, then you’ll want to expose for the background. Then the flash will illuminate your subject’s face.
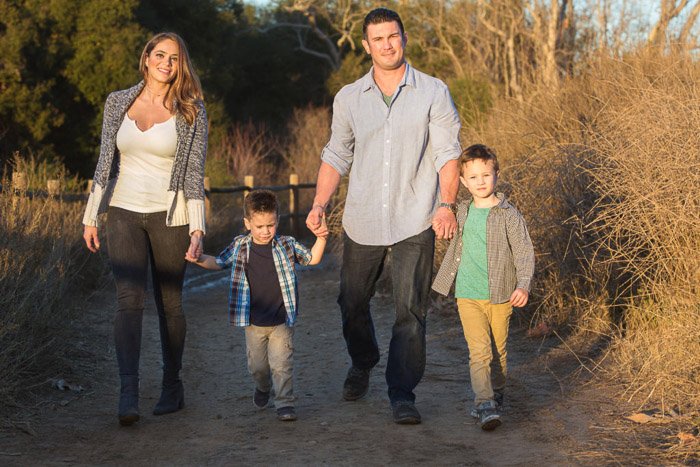
A portrait of a family of 4 smiling and holding hands while walking in the countryside

ISO

Higher ISO is more light-sensitive and lower ISO is less so.
Higher ISOs always increase the appearance of grain, so keep that in mind. To avoid grain, you always want to use as low of an ISO as possible. I like to stay at either 100 or 200, but you can push the ISO higher if the light is low.
Different cameras will handle grain differently. An ISO of 800 in one camera may look clear, while another camera may be very grainy at ISO 800.
You’ll want to test out your camera in different light conditions. Try different ISOs before you’re at a shoot with a client.

Portrait photography can be incredibly varied and experimental. There are many options for gear and camera settings for portraits. These can be overwhelming!
Playfulness and experimentation are key in finding your groove.
But the basic settings and guidelines above will get your portrait photos started off on the right foot. 

-------------------------------------------------------------------------------------

The Photographer's Guide to Posing: Techniques to Flatter Everyone

The Photographer's Guide to Posing: Techniques to Flatter Everyone 
 Click Here ----> Hot Photography Books
--------------------------------------------------------------------------------------