10 Tips for the Solo Adventure Photographer
Many photographers choose to go on a solo adventure photography trip. This comes with its own set of challenges, from the type of photos you can take to the equipment you have to carry.
Here are 10 tips to make your solo adventuring a trip to remember.
10. Where Are You Going and How Are You Getting There
What is your solo adventure photography plan? Are you heading to a remote area? Are you photographing activities like climbing, canoeing, backpacking, or backcountry skiing?
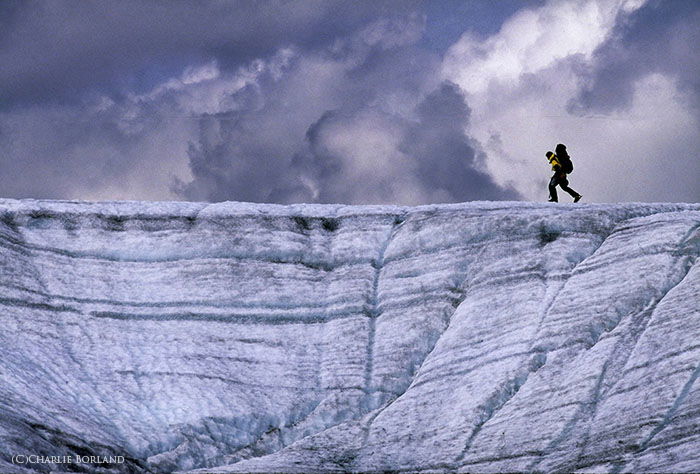
When planning a solo adventure photography trip, make a list of
EVERYTHING you need. Include equipment, food supplies, camera gear, and
safety equipment.
Then balance space and weight limitations to take only what you need. And what you can carry.
9. How to Plan Your Solo Adventure Photography Trip
Researching your adventure is often a necessity to creating a solid
plan. It’s important to establish where your destination is and your
route. This will determine any potential obstacles along the way.
As an example, if you are taking a canoe trip, will there be a cascade or waterfall that requires a portage?
Topographic maps provide the fine details of your route. You can also
use Google Earth to add a visual view of the route and terrain along the
way.
The app Photo Pills is excellent for planning night sky photography. And
it has many other features as well. You can use the app to determine
the direction of sunrise and moonrise.
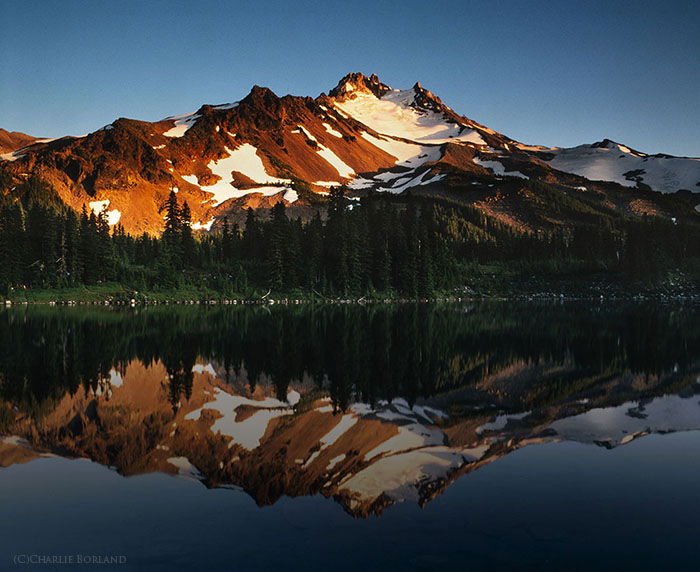
Let’s say you want to photograph a mountain
deep in the wilderness, at sunrise and reflecting in a lake. The app
will tell you what day the sun is at a specific angle to light the
mountain the way you want.
Search online for any other photos that may be of the same area as your destination.
Also, check the weather to ensure you get the right conditions for the photos you plan to capture.
Research and planning are crucial to successful adventures. Not only for photography but safety as well.
8. What Camera Equipment Will You Need
The photography gear you take is related to the type of adventure. In some cases, you won’t be able to take much. For example, if you are going climbing or on a bicycle adventure through the Alps. There is only so much you can carry.
Other adventures allow more room for gear like the aforementioned canoe
trip. A Pelican waterproof case will hold plenty of camera equipment.
Photographer, Utah
This list is a good starting point for most adventures. Depending on
your particular trip, you might have to add or remove items.
- At least one camera, and a second camera if space allows;
- Lenses: from wide to telephoto;
- Camera pack, bag, or hard case;
- A wireless flash;
- Tripod;
- Gorilla Pod (optional);
- Intervalometer or wireless shutter trigger;
- Filters: polarising, graduated, ND;
- Extra SD cards and batteries;
- A solar battery charger (for longer trips);
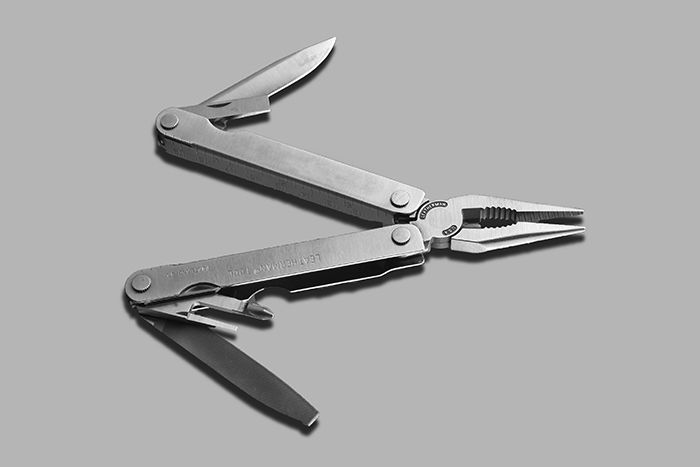
- A multi-tool, small roll of duct tape, and a knife;
- A GoPro or any adventure camera.
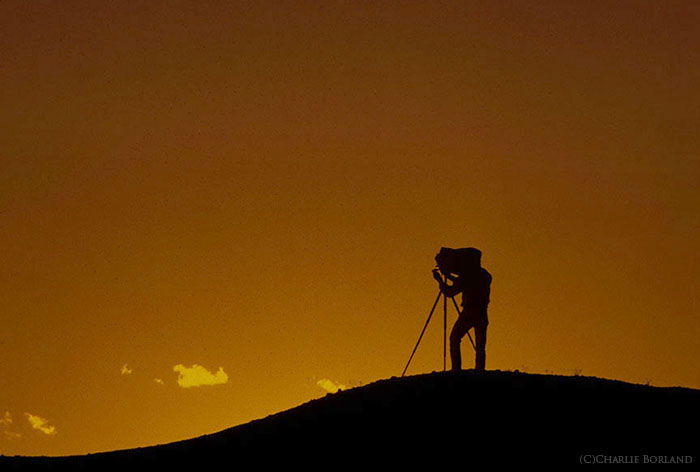
Two cameras are always better than one. Your camera can always break when you are in the middle of nowhere.
Your lens choice will be based on what your adventure entails. For
example, it might not be practical to take a 600mm f/4 on the canoe
trip. But it will be appropriate during a fly-in arctic base camp to
photograph Caribou migration.
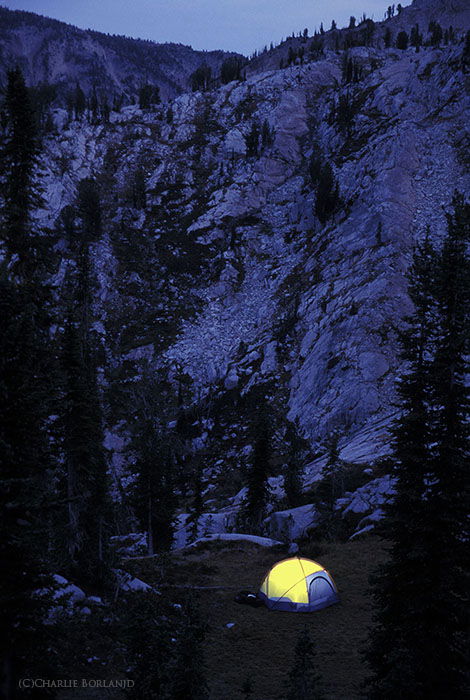
A flash will come in handy on your adventure trip. From fill flash while photographing yourself, to illuminating your tent at night.
Besides a tripod, the Gorilla Pod allows you to place your camera in all sorts of locations a tripod might not fit. Like mounting your camera to the front of the canoe.
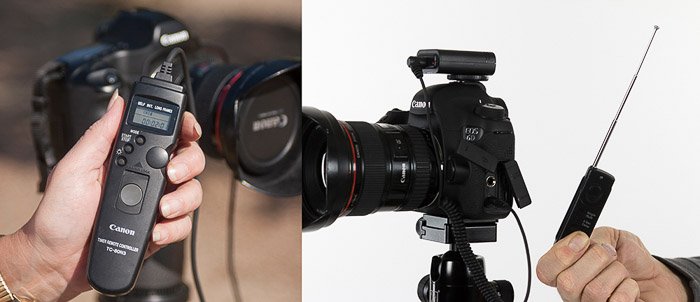
Since you will likely be photographing yourself,
you need to trigger the camera. You can program an intervalometer to
take a photo as often as you wish. For example, if you’re hiking away
from the camera.
A radio remote trigger also works great. You can get far from the camera and then trigger the shutter when ready.
Sometimes your solo adventure will take you to a remote location for
more than a couple days. You will need to charge your batteries.
A solar charger, like those from Goal Zero, will ensure you don’t run out of power.
7. How to Always Have Your Camera Ready
No photographer likes to miss that perfect shot. One way to ensure that does not happen is to have the camera ready for easy access.
If you are backpacking, there are devices that attach to the pack
itself, or to a belt. You’ll have the camera ready at a moment’s notice,
like those from Peak Designs.
For water-related adventures, a Pelican case within easy reach will
protect your camera gear from water while allowing quick access to the
camera.
6. What Safety Precautions Should You Take
Safety items
are just as important as food or camera gear. Pack a small first aid
kit, foul weather gear, and safety items like a knife and multi-tool.
Sometimes the simplest things go wrong. Like the sole separating from a
hiking boot. Or the shoulder strap on your backpack breaking loose.
A small roll of duct tape can often solve these problems.
Route finding is also essential if you are heading straight into the
wilderness. A GPS device can replace the map and compass and will track
your route.
Units like the Garmin inReach, are small and easy to carry. They come in
handy should you get lost, injured, or need to contact a family member.
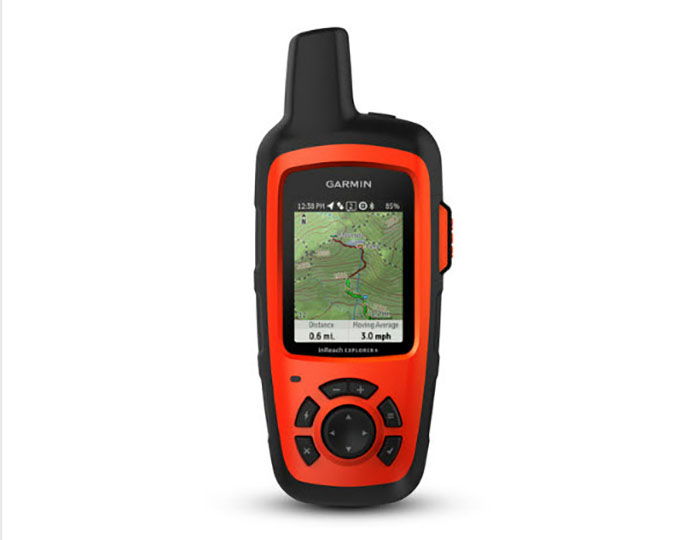
The inReach uses its satellite service to always know where you are. It
provides up-to-date weather forecasts. And it has a feature to contact
family and friends with your location through text messaging.
It also has an SOS emergency feature. When triggered, it sends an SOS
message to GEOS 24/7 global monitoring center. You can then communicate
your situation with them.
5. Take Photos With Yourself as the Subject
Now that we’ve got the safety and packing tips out of the way, let’s look at what you can photograph.
We all know what the Solo Selfie is. And they are important to all kinds of travels and adventures.
But simply holding your smartphone or pocket camera at arm’s length, is not enough.

Instead, position your camera to capture you in various locations. This will give viewers a better idea of where you are.
Don’t just look at the camera and smile. Use your tripod or Gorilla Pod
along with the wireless shutter release. Photograph yourself moving past
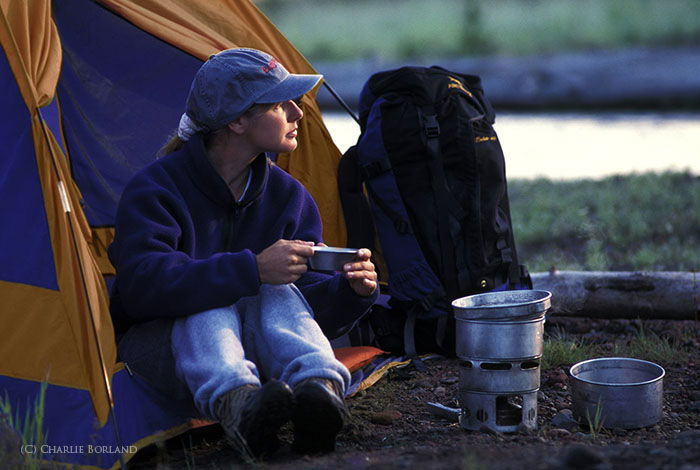
the camera heading to the horizon. Or building a fire, watching the sunset, or cooking a meal.
Anything that shows you active in the adventure creates a stronger storytelling image.
4. Composition and Lighting
Many of the composition and lighting techniques used for creating great adventure photography are usually the same as any outdoor photography.
You can set up everything the way you want to, and you’re only posing
yourself. So plan ahead when you find a good location, so that you also
have the best light.
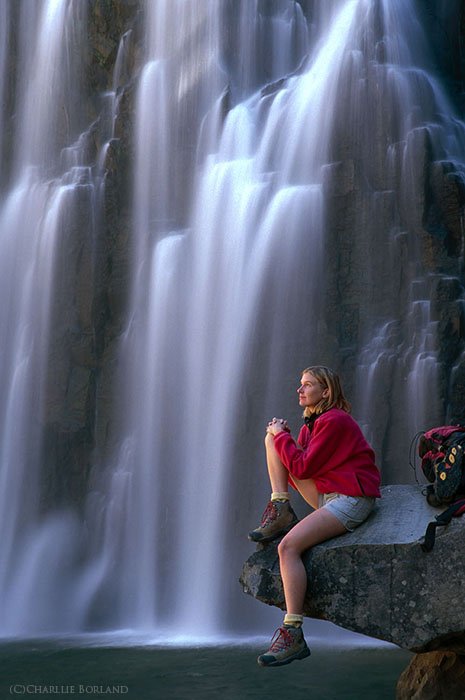
In this photo, the sun peaks over the crest of the Sierra Nevada and creates rim-lighting right before sunset.
This quality of lighting really makes her stand out.
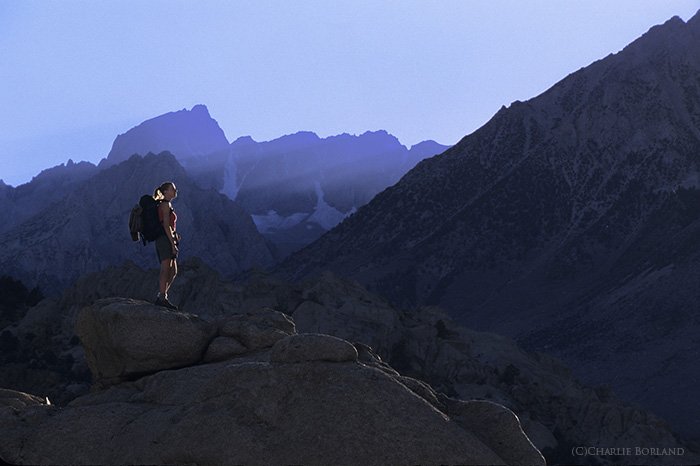
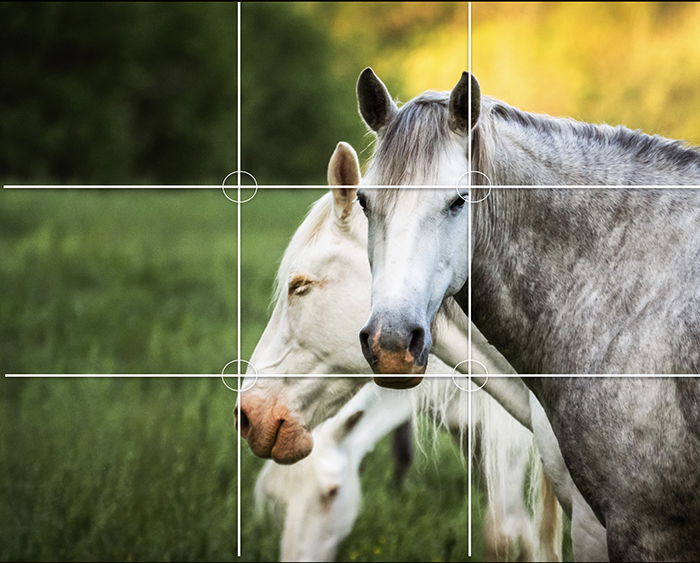
The composition is just as important in solo photos as it is in any photo. Guidelines like the Rule of Thirds or Forced Perspective work well for creating photos with impact.
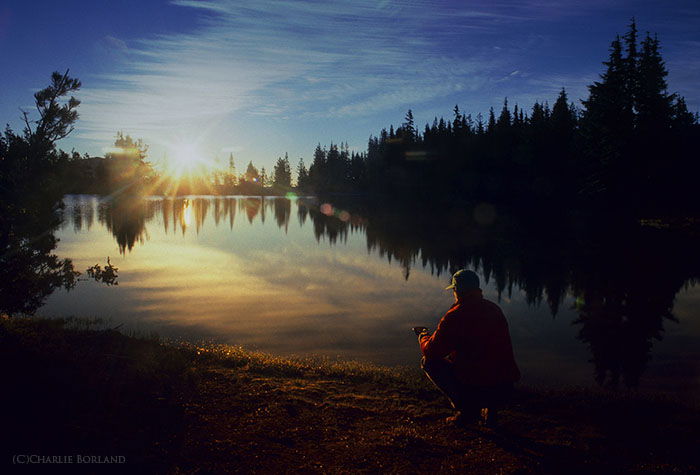
In this image from a wilderness backpacking trip, the composition uses
the 1/3 Hot Spot, where the horizontal and vertical 1/3 lines cross. It
is a great place to position yourself.
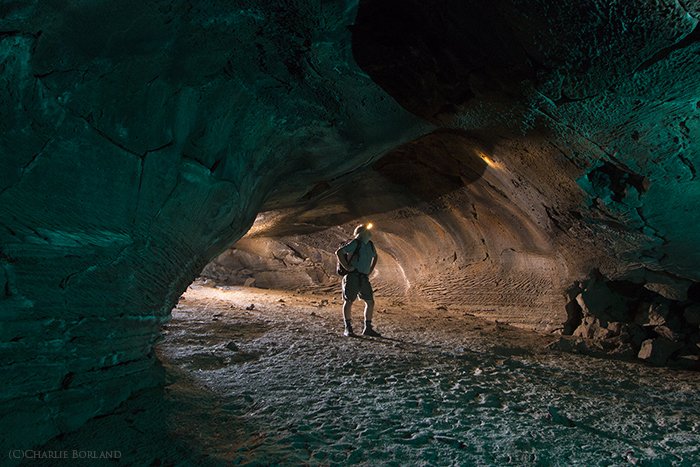
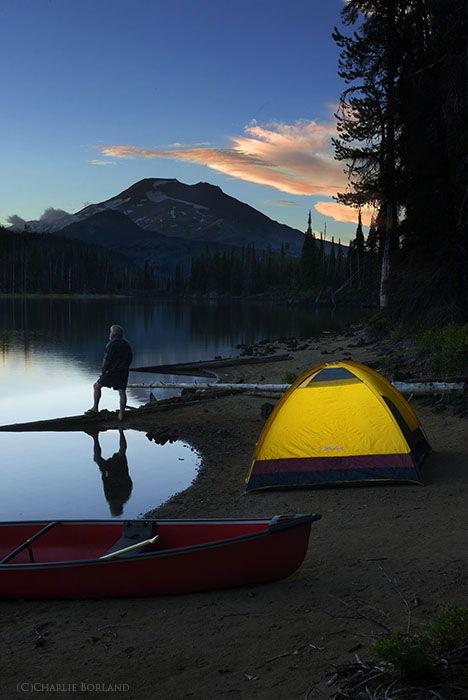
This photo below uses central composition to draw attention to the subject.
3. Why You Should Photograph With a Story in Mind
When I teach other photographers about strategies for telling an adventure story, I often say: “Plan your photos like you are on-assignment for National Geographic.”
Some of the greatest story-telling photographers shoot for National
Geographic. Researching their work will give you an idea of how they
tell a story from beginning to end.
As you plan your adventure, lay out the story in advance. Visualize what
types of photos you’ll need. You can even make a shot list.
You want to create images that will make the viewer care about the story.
With each photo you plan, consider the light. What time of day should you photograph at?
Before snapping the shutter, explore all compositional options for the scene. Ask yourself with each photo, ‘will this photo make my audience care?’
2. Focus on Your Intentions
It takes longer to capture photographs on a solo photography adventure.
When there are others around, you can move around, walk ahead or stay behind. You can photograph as your group pass by.
But when you are solo, you’re both photographer and model. And it takes
time to set up your camera, and also figure out your posing.
Once you find a stunning or significant location, you should determine your pose before setting up the camera.
This will result in better planned and more striking photos.
Check if your camera is Bluetooth enabled. Then you can connect it with a
smartphone using your camera’s app (like Canon’s Camera Connect).
This will let you view the picture you are posing for without walking back to the camera.
1. Your Adventure Is Over. Now What?
Once you have completed your adventure, what do you plan to do with your photos?
I assume you you want to tell the world about your trip. Start by editing the images and selecting the best shots.
You want the best pose, best lighting, and best composition that accurately tells your story.

We already know RAW files need work to bring out the drama when processing. Like everything, a little goes a long way so be careful not to over-process.
Next, you want to get your images seen. There are many platforms that
provide the opportunity to share your work with the world. From Facebook to Google Plus, where you can post anything you want. To National Geographic’s Your Shot competition.
Using slideshow software, you can also create a video documentary of your adventure. Narrate it and host it on YouTube.
Adobe Spark is another platform for creating visual stories to share with the world.
There are many things to consider when planning a solo adventure, from
gear and equipment to safety and photography. Careful planning will help
to ensure a successful solo photo adventure.
Finally, one thing is certain: ‘You will never know if you never go!’
------------------------------------------------------------------------------------------------------------------
Here's another Photography Freebie I want you to have as a "thank you" for taking the time to
visit my blog.
A Free Guide for The Best Night Sky Photography
