Sunday, February 3, 2019

Nature Photography Tips From The Pros


#photographyhobbyist  #photographybestoftheday #photographyforever


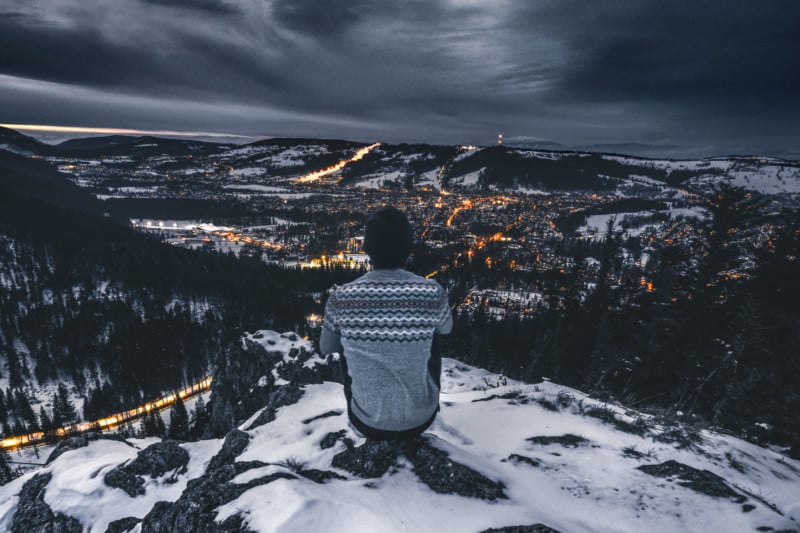
Daniel Taipale, aka @dansmoe, is a Finnish photographer who’s been a friend of Fjällräven for around two years now. “His photos always tell a story. They make you want to get out and explore,” says Fjällräven online manager, Joel Nyrén.
“My first tip is actually about gear. First of all, choose the right camera. Good quality cameras can be heavy, so find a camera that you will happily carry around. Lower quality photos are always better than no photos at all. Giving up on some quality of the images due to a smaller and not so technical camera can sometimes be a good decision. And make sure to protect your gear from the conditions while being outdoors. Rain covers and photo inserts are a good way to do so.”
Dutch photographer, Pie Aerts, @pie_aerts, has a different focus to Daniel. He is drawn more to animals. He’s also been a friend of ours for nearly two years and over that time he’s honed his skills he’s recalibrated a little from landscape to wildlife images. “His wildlife images, in particular, are really powerful, and his style is really consistent,” says Joel.
He echoes and expands on Daniel’s comment about gear (which Daniel expands on later). “My number 1 piece of advice for becoming a better photographer is to stop talking about gear and start taking photos. No matter which camera you own, the truth is that sharper lenses and more megapixels don’t necessarily enhance your ability to tell a story or compose an image. Real improvement only exists through practice and learning from failure, not through buying an expensive camera.”
Daniel’s images are dramatic, quite cool in tone and place nature at the centre. All his images have a clear focus: there is a story being told. They have a certain photojournalism style to them. If you like the sound of this, check out Daniel’s Instagram feed and read his tips:
  1. Draw the attention of the viewer into the subject. There are many ways to get your subject to stand out. One of the best ways is to use leading lines to guide the eyes of the viewer to the subject. It can be a road, river or even railroad tracks.
  2. Shoot during the golden and blue hours. The light before and after the sunset and sunrise usually gives the most pleasing look for the photos. During the summer season in the Nordic countries the amount of “good light” is almost the whole evening and night. Be ready to stay up late!
  3. Use the rule of thirds. This is a good guideline for placing the subject in your photos and making it look balanced. Place the horizon on either of the lines and the important elements at the inter-sections of the lines.
  4. Get down low and find a nice foreground. This will immediately make the scene a little more photogenic. Also, start playing around with the focal length and the depth of field.
  5. Practice makes perfect and when you know your camera and have some tricks up your (G-1000) sleeve, it’s easy to implement them when the conditions are perfect and it’s time to shoot with no time to play around.
Pie likes to play with light and he uses it creatively to his advantage. His images are dark and full of contrasts. If you like the sound of this, check out Pie’s Instagram feed and read his tips:
  1. Many people think good photography requires travel. They’re wrong. You’re better visiting that one interesting place close to home a hundred times instead of visiting a hundred different places further away only once. In doing so you’ll end up finding the conditions you’ve been dreaming about. Patience and persistence are key for distinctive image making. Trust me, in the end, you don’t have to go somewhere new for wonder, just look at that same old spot with new eyes. Try it. I’m sure you’ll be surprised.
  2. Even if you think you get up early enough, get up earlier! Don’t be one of the people that sleep through the good things. The hour before the sun rises is the most magical hour of the day with often every minute a different lighting situation. Plus, the ‘sunset crowds’ are still in a deep sleep which gives you more space to do your own thing.

  3. Ditch the zoom lens and learn to love the constraints of dealing with a fixed focal length, simply because the most important lens you own, is your own legs. Moving ‘them’ instead of a zoom ring will instantly make you a better photographer. It increases the weight of your bag, but deal with it, it’s worth the pain. So, stop zooming, start seeing.
  4. Try playing around with monochrome I promise you, the entire game changes. When colours are absent you learn to look at light and composition in a different way, which teaches you so much about image making.
  5. Some people argue that you need a human connection in order to feel emotionally connected to an image. But nothing is further from the truth. I believe a still image can convey an even stronger emotion than any facial expression or human interaction ever could. Find that and try to convey it in your visual story telling.
  6. Make photographs for yourself, not for your audience. Learn to trust your instincts and don’t always consider what others might like or not. I know this isn’t easy in times of heavy social pressure but YOU are the one that’s supposed to be enjoying the process, not everyone around you. And if you radiate the right energy, your images will start looking better and better, which attracts the likes of those around you eventually too.
  7. Over the years I’ve learned that many times in photography, it’s not the grand scale or epic nature that grabs me the most, but rather the small details that would normally go overlooked. Find that spark of life in a place that feels like death, or highlight details in a scene that feels like infinity. It’s too easy to always opt for the vastness of a landscape.
  8. Trust your camera. Your camera equipment is tougher than you think. Run towards the rain, not away from it and with the right luck, you’ll catch the electric colours and mist from a clearing storm. The same goes for blazing sun or freezing cold. No matter how heavy the snowstorm or how freezing the temperature, get out there, get dirty, get wet! Create! You gotta risk it.
One final note, something that both Pie and Daniel agree on, is that photography is a personal journey. Use these tips, ask for help from others, but always find your own style.

Text: Sarah Benton, Daniel Taipale & Pie Aerts
Lioness Steals Photographer’s Canon DSLR and Gives It to Her Cubs


#photographyhobbyist  #photographybestoftheday #photographyforever


Wildlife photographer Barbara Jensen Vorster was photographing a pride of lions in Botswana in July when she had her camera stolen by a lioness. She luckily had another camera ready and captured a series of photos showing what happened next.

Vorster was shooting at the Mashatu Game Reserve with her Canon 7D and Canon 100-400mm lens — a camera kit worth over $2,000 — when she accidentally dropped the kit on the ground. Upon hearing the thud, the protective lioness mother growled and then approached the group to investigate, causing Vorster and her party to retreat in their 4×4.
“The camera fell with the lens looking up, she gently flipped the camera on its side and picked it up by the barrel of the lens,” Vorster says.
The lioness then picked up the camera and telephoto lens in her mouth and carried it a distance before dropping it onto the ground. Her cubs then pounced on their new toy and began playing with it.


“They dragged it through the dirt, chewed on the lens hood and then fortunately, like most kids, soon grew tired with their new toy,” the photographer says.
After retrieving her abandoned camera, she found that it was still functioning perfectly aside from teeth marks across the surfaces.
The camera was “very dirty but appears to still work,” Vorster says. “There are two huge teeth marks on the rubber focus rings of the lens and small teeth marks on the plastic lens hood, both of which I decided not to replace.”
She spent roughly £200 having the equipment fixed, but it was a small price to pay for the unique set of photos she left with that day — Vorster says it was a “priceless experience,” adding, “What photographer can boast that their lens had been in a lion’s mouth?”

Lioness snatches photographer's camera


3 Lessons in Photographing People I Learned from My Favorite Shooters


#photographyhobbyist  #photographybestoftheday #photographyforever


I like to be very aware of my influencers and the effect they have on my work. When I find that I particularly like an image from another photographer, I will give it a lot of thought before I try and apply any of my analysis to my own images.

Photographing people is one of the trickiest things I deal with, especially when making an image with “soul” that features character and energy rather than a simple candid portrait snapshot, as many of my earliest attempts were.
This year, I’m going to hopefully be working more on expressive portraiture as well as improving my candid photography of people, so I spent some time making notes on some of the approaches and methodologies I admire from a few of my favorite contemporary street photographers. I did this so that I can work on incorporating those into my own approach.

Walter Rothwell: Anticipate Behavior

Walter’s photographs of people (and cats) almost always feature fantastic energy of movement and emotion. But despite the often fast pace of the motion, you can tell that these images would not be possible if he relied simply on “luck of the draw.” Instead, by studying the way that subjects interact both with each other and light, Walter is able to intuit to a certain extent the possibilities for a photograph before a frame even starts to take form.
In order to apply this to my work, I’m going to be looking a lot into sociology and also at researching new places before I go and shoot. For example, I wouldn’t go to a protest expecting to shoot the same images I would at a beach, and I wouldn’t go to a museum expecting for people to behave as they would in a crowded marketplace.

Benjamin Gordon: The Soul is in the Eyes

Benji’s portraits, candid or otherwise, are built around the eyes of the subject. When interacting with a subject for a portrait, there are a few methods to engage them while waiting for them to drop their guard and reveal themselves through their eyes. For a long time, I didn’t quite understand what it meant to have expression in the eyes in a portrait, and any example I have of it so far is a happy accident rather than something I worked towards.
By engaging his subjects as a person first, and then introducing the agenda of street-portraiture Benji is able to generate trust, which really shows in his images. His subjects are all relaxed but engaging with his lens.

David Babaian: Don’t Just Photograph Out of Convenience

Although I will wait a while for a strong street composition when it comes to photographing street portraiture, I will usually work on a classic approach to approaching a more contextual portrait. This can mean waiting for specific moments to happen, or finding a scene, which works as a good background for an atmospheric portrait featuring a specific character.
This is something I think David does really well in a lot of his photography, really paying a lot of attention on what specifically fits a character and which character fits a scene, and then leveraging those factors for an emotive image. Rather than waiting for characters to come to him, he actively seeks out people with specific stories and points of interest about them in order to really make the most of every frame.

About the author: Simon King is a London based photographer and photojournalist, currently working on a number of long-term documentary and street photography projects. The opinions expressed in this article are solely those of the author. You can follow his work on Instagram and you can read more of his thoughts on photography day-to-day over on his personal blog. Simon also teaches a short course in Street Photography at UAL, which can be read about here.


Saturday, February 2, 2019

Girl's Adorable Photoshoot with 2 Dads Goes Viral (Hint: They Aren't Same-Sex)


father daughter pictures image
It's always refreshing to see lighthearted stories in the news, especially when it comes to this precious girl and her 2 dads.
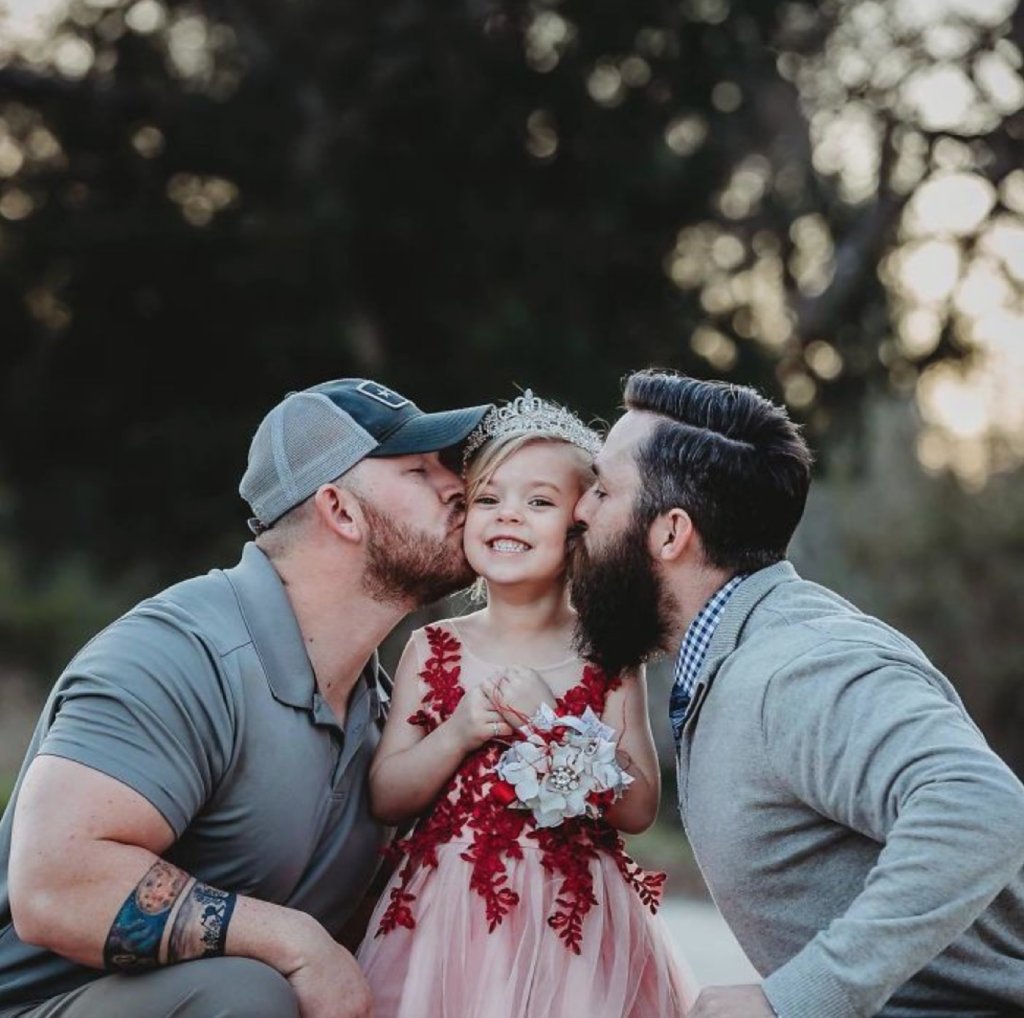
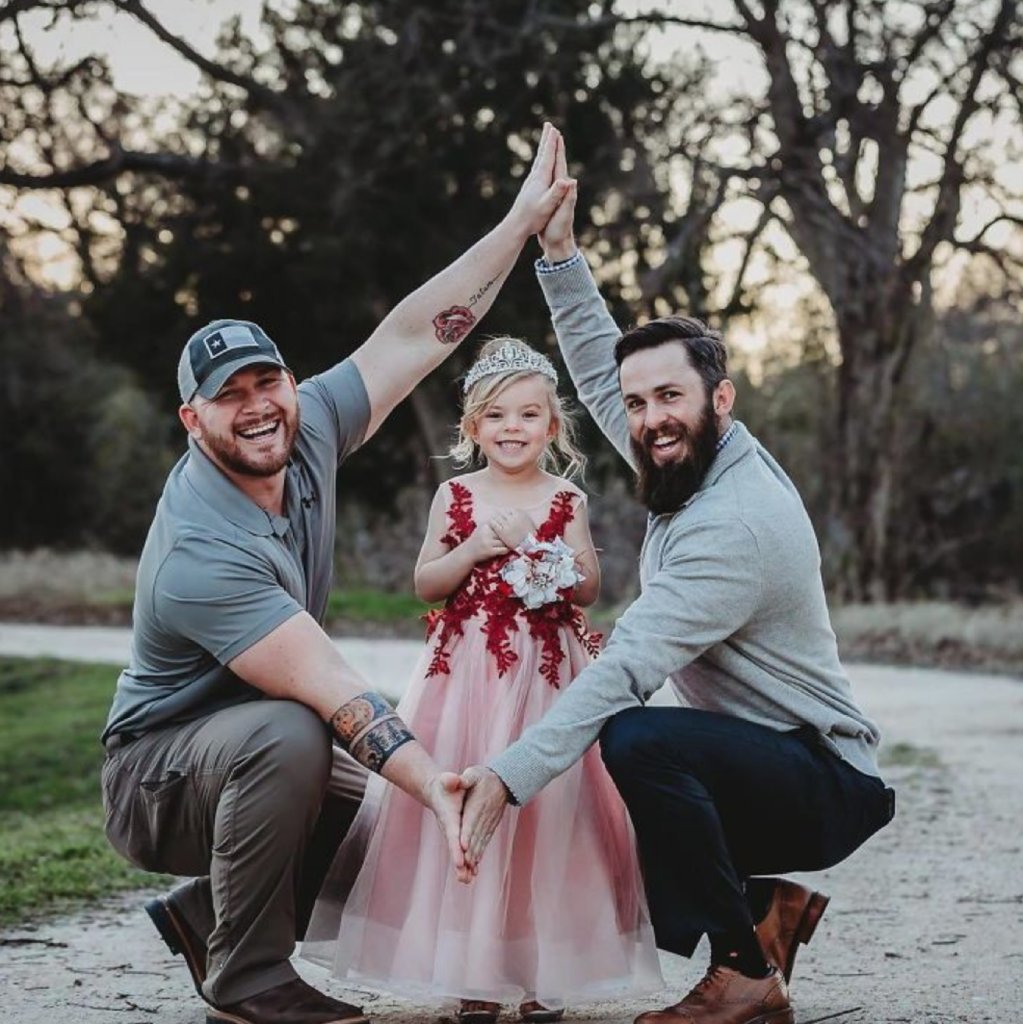
Although it may seem like these 2 dads are a same-sex couple, the photographs taken by Willie + Rose Photography in Texas actually feature a young girl, her biological father, and her stepfather.

same sex couple image
Blended families are becoming more and more common nowadays, but that doesn't mean it always works out easily.

"Bonus dad," the man with the tattoos and trucker hat who also goes by Dylan, posted on Facebook a few weeks ago describing the impromptu photo opportunity (making it evident that these photos were not staged just for a camera).

Dylan Lenox
about 2 weeks ago
Our daughter Willow. You may never know how your love has changed us all. The guy to the left is myself (Daddy, Daddy Dylan or Bonus Dad), in the middle is of course our Princess Willow and the guy to the right is David (Daddy, Daddy David or biological Dad). No we are not a same sex couple, but we do share a daughter. David is Sarah’s ex husband and I am the Fiancé. We have molded ourselves into one unique family, of only for the sake of our children to know the power of lov...
See More
Image may contain: 3 people, people smiling, people standing, outdoor and nature

In the post (which has been shared nearly 150,000 times), Dylan says that the two gentlemen are not a same-sex couple, but they do share a daughter.
"Not only did I gain a daughter, I gained a brother and a best friend," the post reads.
Dylan also seems like a pretty good wingman because at the bottom of the post he says that David, the biological father, is SINGLE (in all caps).
The photos were taken on the way to a daddy-daughter dance, not just for the benefit of the likes on Facebook. It seems the dads switch off every year because Dylan also mentions that David took their daughter this time around.
Do you have this type of a relationship with your partner's exes?

Courtesy of: Photography Talk

Friday, February 1, 2019

10 Rules to Follow When Composing a Photo


iStock-154003777.jpg image

#photographyhobbyist  #photographybestoftheday #photographyforever


You can have the most stunning subject to photograph in the most gorgeous lighting, but if you don't take care to compose the shot well, no amount of good light and inherent beauty will prevent the image from being a dud.
There are plenty of photography composition tips to help you create a better photo. That's the good news.
The bad news - if you can call it that - is that it just takes a bit of practice to become adept at using a compositional technique.
What's more, it can get a bit overwhelming trying to decide which compositional techniques to learn, let alone which ones to implement.
Again, a little bit of practicing a handful of compositional techniques will help you determine what you like to do to give your photos a boost.
Let's take a look at 10 compositional rules that will help you create a more impactful photo.

Shoot Both Vertical and Horizontal

iStock-666693484.jpg image
When I first started in photography, I noticed something about my photos when I reviewed them...
Virtually all my landscape photos were in horizontal format and virtually all of my portraits were in vertical format.
There's nothing wrong with that approach; it's just expected. In photography, you want to give viewers something unexpected!
When I started forcing myself to change the aspect ratio I used to take photos, I noticed that it required me to think harder about the shot.
For example, when photographing a landscape in vertical format I had to take the foreground and background into more account, given that in vertical format both areas have more real estate in the frame.
What I found to be most helpful is to take both a horizontal and a vertical shot of the same subject, and then compare how they look and feel afterward. It really helped me to develop my eye for framing and composition and it will do the same for you.

Use Leading Lines

iStock-607891848.jpg image
One of the most powerful compositional tools you can use, especially in landscape photography, is leading lines.
Leading lines are great because they help your viewers understand where they need to look in the photo.
Rather than their eyes wandering around the shot, a leading line will immediately grab their attention, allowing you to direct them towards the primary subject.
There are all sorts of lines you can use in a shot, from a roadway to a simple path to a fence or a wall.
But leading lines don't have to be so overt.
In the image above, the fallen tree on the left side of the shot points directly at the man. That kind of subtle leading line is highly effective, and viewers often won't even realize that their gaze has been influenced by something so nondescript.

Don't Get Stuck Using Vertical and Horizontal Lines

iStock-526705622.jpg image
When thinking about your leading lines, it's natural to go right to using vertical and horizontal lines.
However, this can be a little predictable, and in the case of horizontal lines, in particular, it can be a little boring too.
For something unexpected and dramatic, diagonal lines should be used.
In the image above, there's two sets of diagonal lines - the river and the beams of sunlight.
Note how both sets of lines add drama to the shot that wouldn't be possible if they were simply horizontal or vertical lines.
Instead, the horizontal nature of these lines helps widen and deepen the shot, as well as accentuate the mountain peaks through which they meander.

Keep It Simple

iStock-619670672.jpg image
Very rarely in life is "more is better" a good idea. The same applies to photography.
Not only does simplifying the scene mean that there are fewer moving parts for you to get right, but it also gives the viewer a break too.
Rather than being distracted by a bunch of different elements, a simplified composition allows the viewer to engage more easily with the primary subject.
The question is, how do you simplify the scene?
As was done in the image above, select a strong subject - something that stands out in the scene because of its size, shape color, texture, and so forth.
Then frame the subject in a way that ensures viewers can't miss it. If need be, crop out other elements of the scene.
In this case, the woman is obviously the subject, but the colors and textures of the surrounding landscape contribute to a stronger composition but without distracting attention from the woman.

Fill the Frame

iStock-599468622.jpg image
An easy way to create a more impactful composition (while keeping it simple as well) is to fill the frame with your subject.
Filling the frame gives a photo more impact because it eliminates all the clutter around it that might distract the viewer's eye.
What's more, filling the frame brings the subject to life, making it look and feel bigger in the shot, like the zebra in the image above.
There are several ways to fill the frame, including zooming in with your lens, getting closer to the subject by changing your shooting position, and cropping the image in post-processing.
In any case, filling the frame is a more unique way to compose a shot, and as a result, it will be immediately more interesting to view.

Think About the Background

iStock-580100378.jpg image
When you fill the frame as was discussed in the previous section, you rely less on what's going on in the background and concentrate more on the subject.
But sometimes, what's going on in the background can be highly visually interesting and help tie the entire image together.
Now, as we learned earlier, that doesn't mean you should overcomplicate the shot. Instead, simply think about how the background might add a bit of interest without distracting from the subject.
The image above is an ideal example of this.
Clearly, the boy is the primary subject, but by giving a hint of the background, we have a more interesting shot.
The forested landscape - even though it's blurry - gives context to where this photo was taken and what the boy was doing at the time.
In other words, the background helped to tell a more complete story about the boy, and that makes for a more powerful shot.

Offset the Subject

iStock-629127586.jpg image
No list of photography composition rules is complete without mentioning the Rule of Thirds.
As you likely already know, the Rule of Thirds states that you should avoid putting your subject in the middle of the frame.
The reasoning is that having a subject in the middle creates photos that just aren't all that interesting with a static look and feel to them.
Instead, by dividing the image into nine equal quadrants and placing the subject to the left or right of center (or above or below center), you'll get a more impactful image, not unlike the one above.
But it's not just shifting the subject away from the center that makes this rule work. You still need to think about how it impacts the composition.
In this example, the texture created by the waves on the left side of the shot balance out the presence of the man on the right side of the shot. What's more, his positioning on the right helps give the sense that he can continue to walk toward our left, creating a more dynamic shot (more on that below).

Give the Subject Space to Move

iStock-537687684.jpg image
Even though photographs are static and two-dimensional, there are compositional tricks that help you convey a sense of motion.
One of the most impactful is to give your subject room to move into, such that the image has an implied sense of motion.
This trick is often used when photographing things like a running animal or a moving car - the subject is placed on one side of the frame with empty space in front of them.
This concept is illustrated in the image above as well.
Note how the man is clearly casting his net to our right. By shifting his position to the left, that movement has more impact and we're better able to imagine him throwing the net and reeling it back in.
Just imagine this shot had the man been in the middle or even on the right side of the frame. It wouldn't be nearly as dynamic or visually impactful, would it?

Watch Your Colors

iStock 519369542 image
A difficulty that some beginning photographers struggle with is oversaturating the colors of their shots.
This is often done in post-processing and gives the image colors that punch you in the face and, quite simple, look fake.
However, this isn't to say that you can't use very bright colors effectively.
In fact, color is one of the tools you can use to draw a viewer's attention to the shot, and within the shot, to the subject.
In the image above, note how the pops of color of beach towels and umbrellas draw your eyes to the crowd.
This works well because the colors, though intense, are small enough that it doesn't become overwhelming to view.
If you're closer to the subject, fill the frame to limit the range of colors in the shot, again, to prevent it from becoming overwhelming.
Also look for ways to use complementary colors - orange and blue or red and green - as they go well together to create a more dynamic shot.

Get Comfortable Breaking All the Rules

iStock-117146711.jpg image
Though it's important to learn these and other compositional rules, it's perhaps even more important to learn when to break them.
Photography is often about feel, and sometimes the best feeling you can convey in your images is to set the rules aside and go with your gut.
That means that sometimes you'll break the Rule of Thirds. Sometimes you'll use a ton of very bright colors. Still other times you won't include any leading lines in your landscapes.
And that's okay!
The key to your success is to learn and practice the rules outlined above, that way you can create more compelling photos.
The next step after that is to learn to recognize when the rules just aren't working, that way you can break them in a purposeful manner and still get a gorgeous shot.

Courtesy of: Photography Talk


Can You Guess the World's Most Popular Selfie Spots?


eiffel tower  image

#photographyhobbyist  #photographybestoftheday #photographyforever


Photo by Atikh Bana on Unsplash
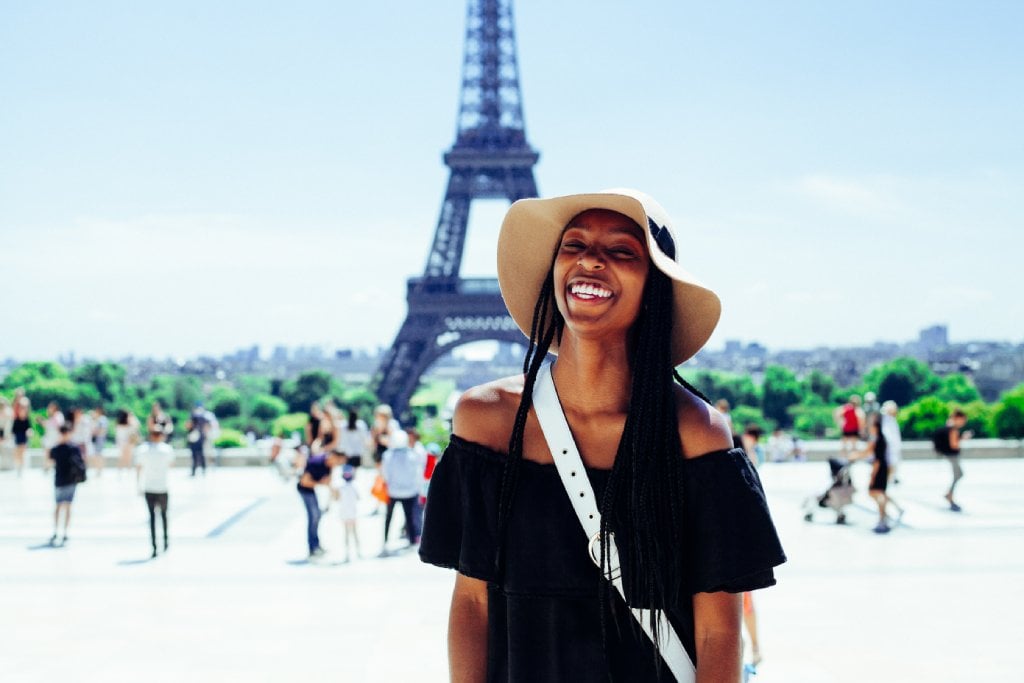
Do you think you can guess where the most amount of selfies are taken per year? Would it surprise you to find out that the Eiffel Tower is definitely one of them?
Not only is the Eiffel Tower one of the most visited tourist attractions in the world (more than 7 million people see it each year), but it allows selfie seekers multiple chances to snap the perfect shot.
The Eiffel Tower features two restaurants, a sightseeing deck with a clear glass floor, a champagne bar, and it even offers crazy events like the summer you could zipline off the tower.
biggest statue image
Photo by ckturistando on Unsplash
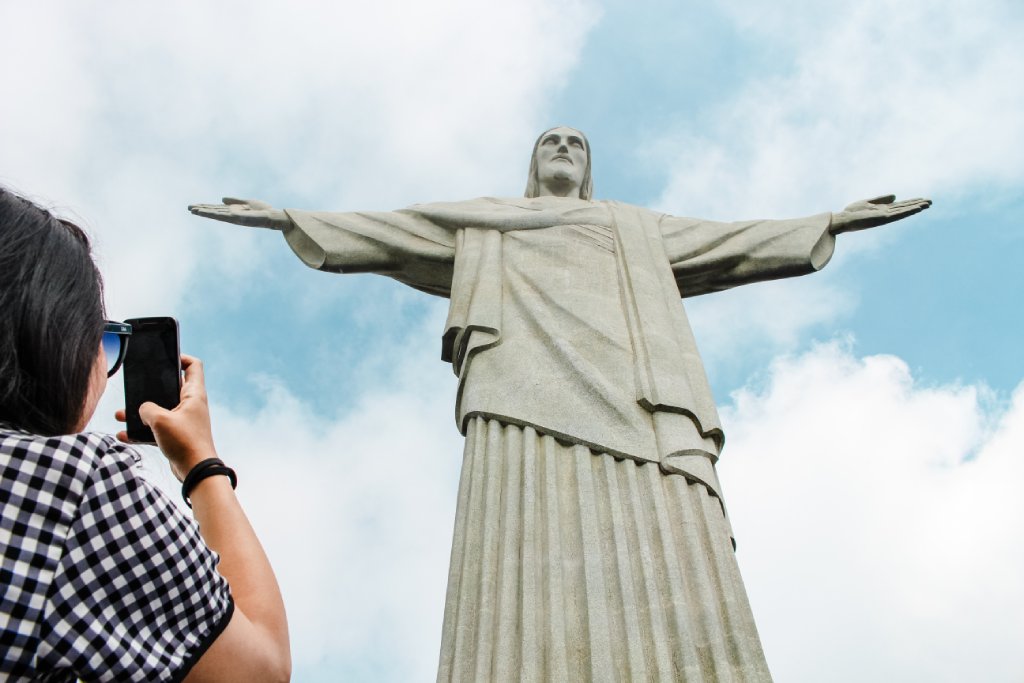
Turns out the Christ the Redeemer statue doesn't only draw devout Catholics, but devout Millennials seeking the perfect snapshot of their summer in Brazil.
The Christ the Redeemer statue has been watching over Rio de Janeiro since the 1930s, and stands at almost 100 feet tall. Although it isn't the tallest statue of Jesus in the world (there's one in Poland that is 113-feet tall), it is the most photographed.
As it turns out, people are catching on to the tourist draw of giant-Jesus statues, because another one was just put up in South Africa.
what time of year should i go to the great wall of china image
Photo by Joshua Earle on Unsplash
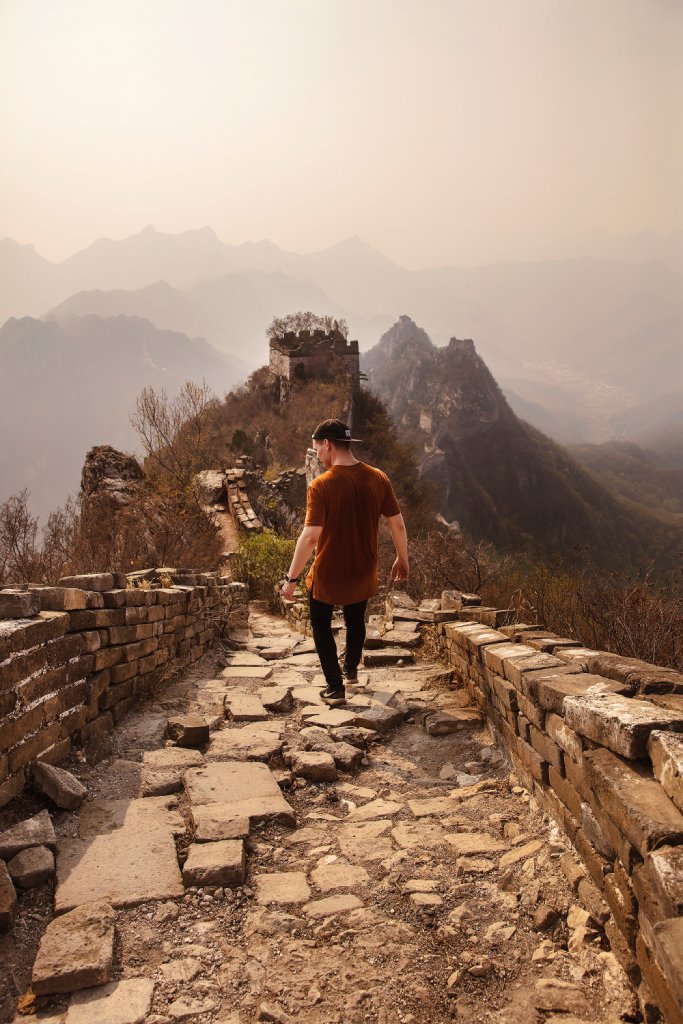
The Great Wall of China is arguably the most famous, ancient architectural site in the world. So much so that a huge number of tourists will have a one-day layover in Huairou just to say they saw it, and grabbed a quick pic.
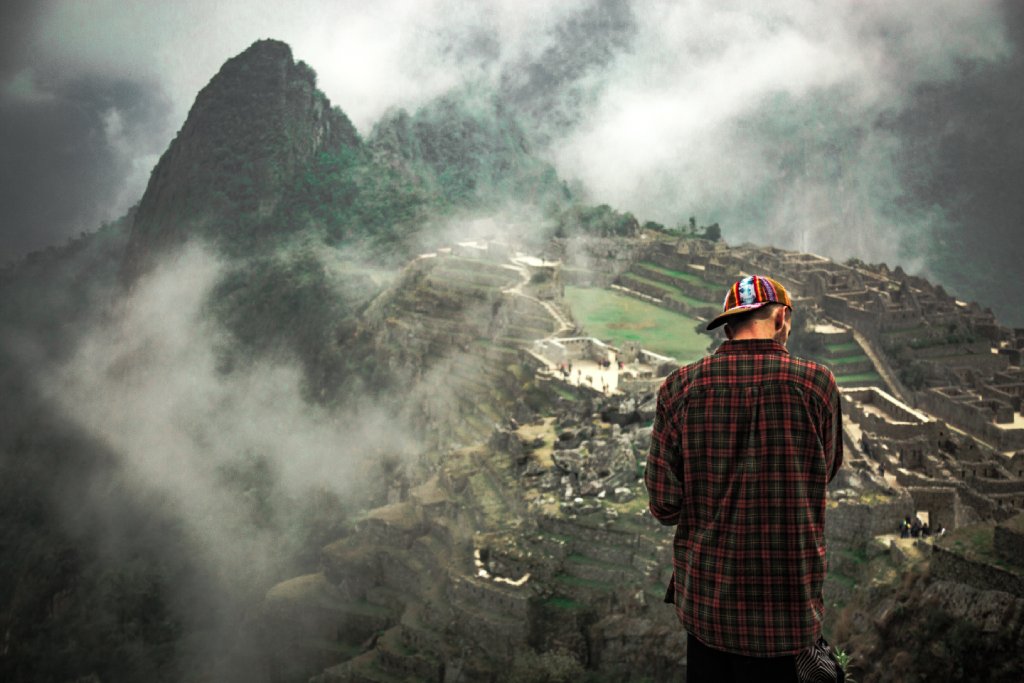
how to get to machu picchu image
Photo by Jamie Davies on Unsplash
Machu Picchu, much like the Great Wall, is mystical. There are a variety of ways to do both UNESCO sites. You can hike for days from the nearest city in order to reach Machu Picchu, hike for a day from the nearest dilapidated town, or do what I did and take a train up.
If you're ever on Facebook, you no doubt have come across Machu Picchu selfies from college students on Spring Break trips, or your cousin who's going through a mid-life crisis.
Selfies in the distant mountains in Peru, for some reason, remind us of our humanity.
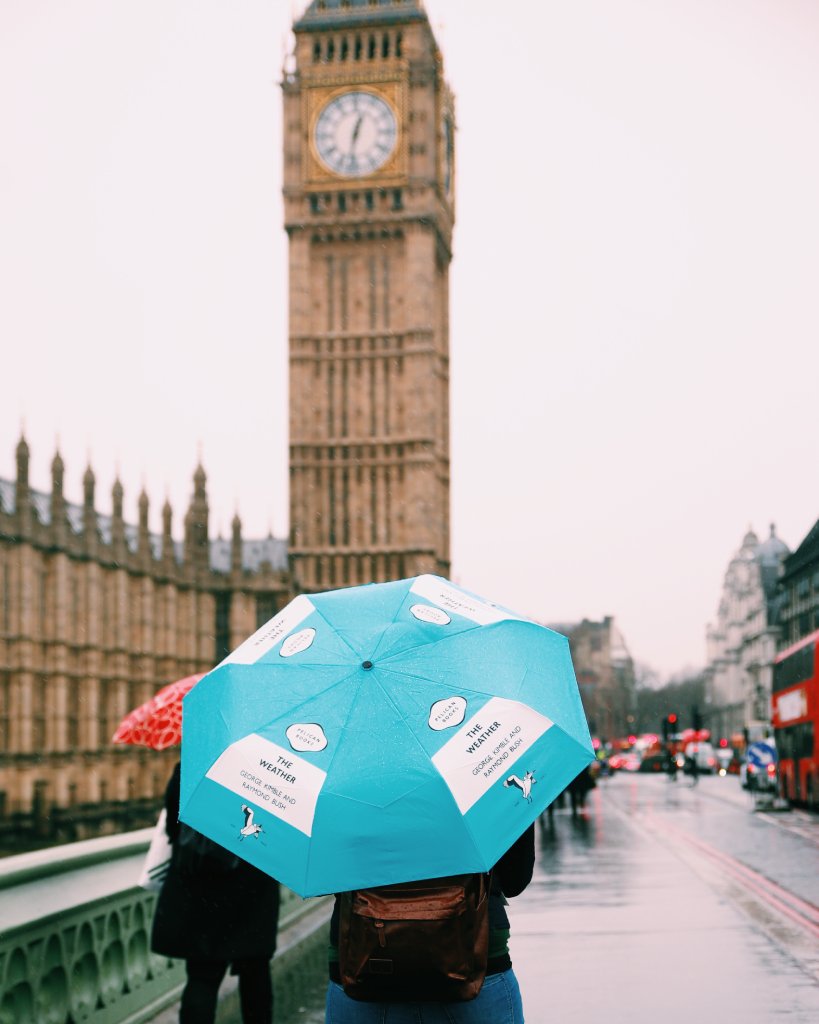
things to see london image
Photo by Heidi Sandstrom. on Unsplash
Big Ben, which is not its proper name as anybody who has done a walking trip of London would love to tell you, is so intricate in nature it automatically makes for a beautiful Instagram shot.
Big Ben is so popular amongst teenagers and 20-somethings that it has a Twitter account with almost half a million followers. It tweets out "bong, bong, bong" each hour, on the hour, like the real deal.
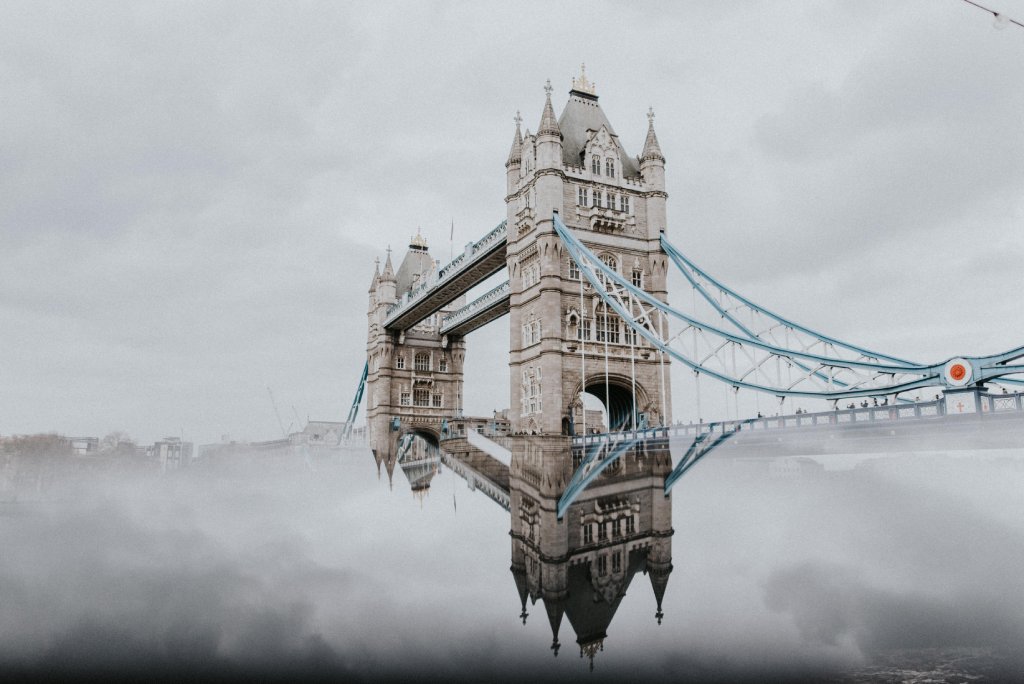
tower bridge image
Photo by Lea Fabienne on Unsplash
It's no surprise that London is featured more than once in this list. The Tower Bridge, while not as popular as its big sister the London Bridge, is apparently more photographed.
If you have the extra money to spend on an already expensive London trip, you can go through the exhibit at Tower Bridge which features a glass floor all the way down to the River Thames.
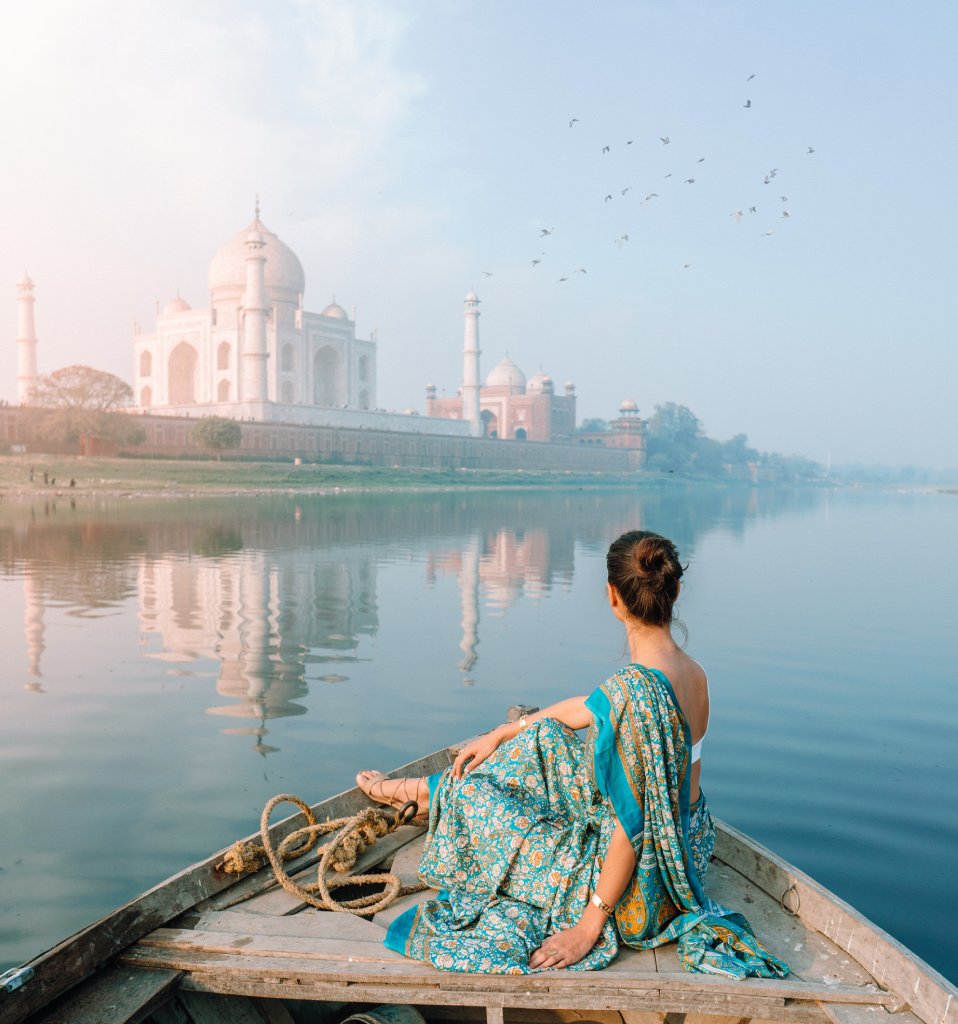
whats the taj mahal image
Photo by Drew Colins on Unsplash
The Taj Mahal is older than the United States by over 100 years, and is also a UNESCO World Heritage Site.
Accounting for inflation, the building cost nearly $1 billion in today's terms and has unbelievably held up for hundreds of years. Paired with the pristine gardens the palace sits on, it's no shock that the Taj Mahal made our list.
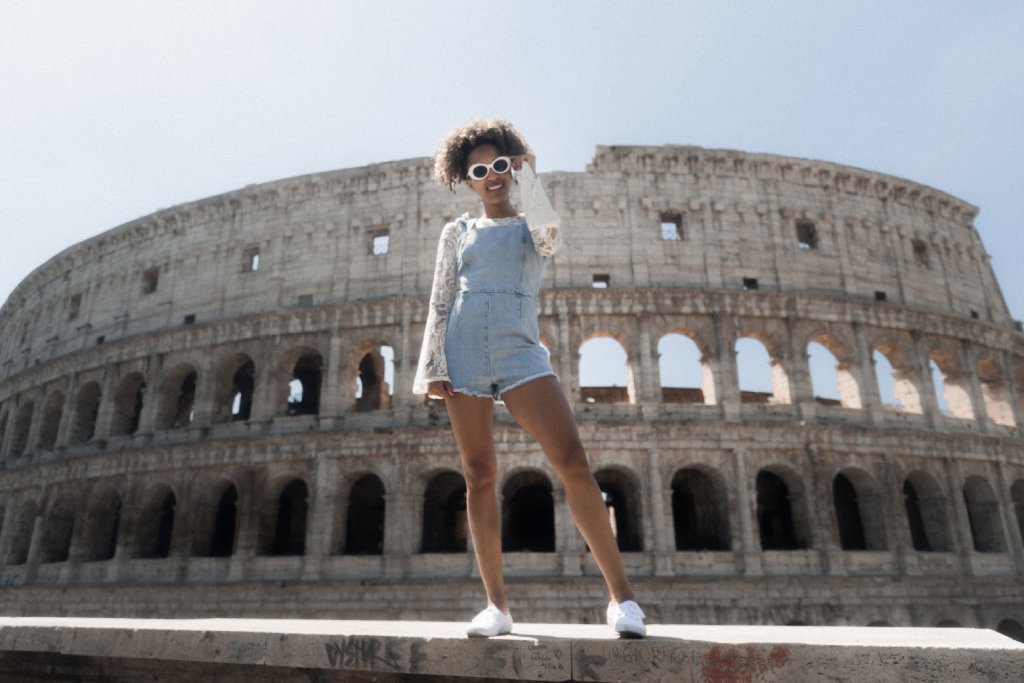
what happened in the colosseum image
Photo by Jakob Owens on Unsplash
Why people have an unending fascination with death and gore we may never know, but it sure makes for a popular selfie.
The Colosseum, a main attraction in Rome, began as a place for gladiator and wild animal fights (in the days before social media, and therefore the selfie, existed). They had to do something with all that time.
Behind the Vatican Museums, the Colosseum is the second most visited tourist attraction in Rome and draws over 4 million people every year.
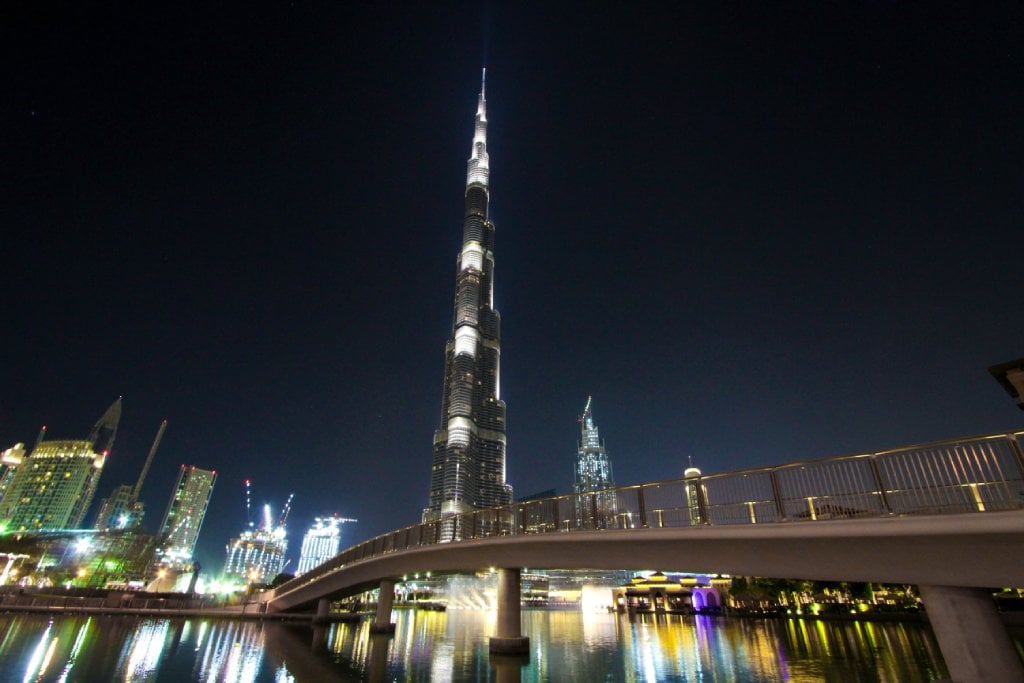
where is the burj khalifa image
Photo by Jeremy Bishop on Unsplash
I'd never heard of the Burj Khalifa before writing this article, but then again I'm not an uber-rich Instagram influencer who can fly to Dubai on a whim.
The Burj Khalifa, coloquially known as "the biggest skyscraper in Dubai and the world," holds a ridiculous amount of world records. The building has the highest occupied floor in the world, the most stories of any building in the world and more.
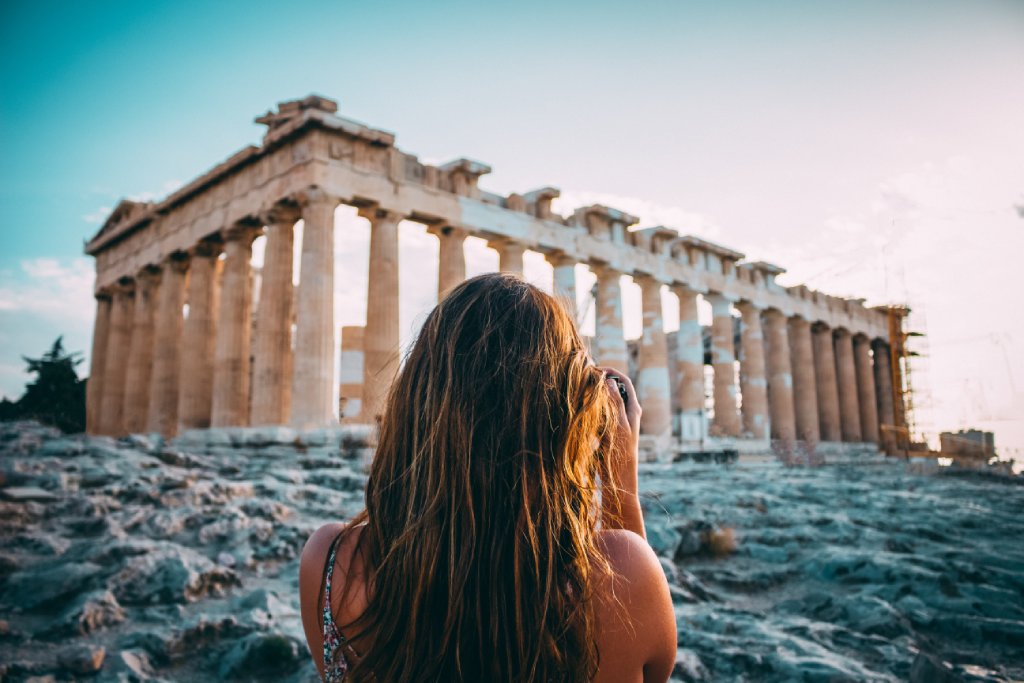
where is the parthenon image
Photo by Arthur Yeti on Unsplash

Editor's Tip: Do you have beautiful photos but aren't sure how to display them? Turn them into large format prints! See what your photos look like as fine art.

The Parthenon, an ancient Greek temple in Athens, is an ode to the goddess Athena. Considering we could use a goddess of justice in the world, I'm all in favor of selfies being taken as an ode to Athena.
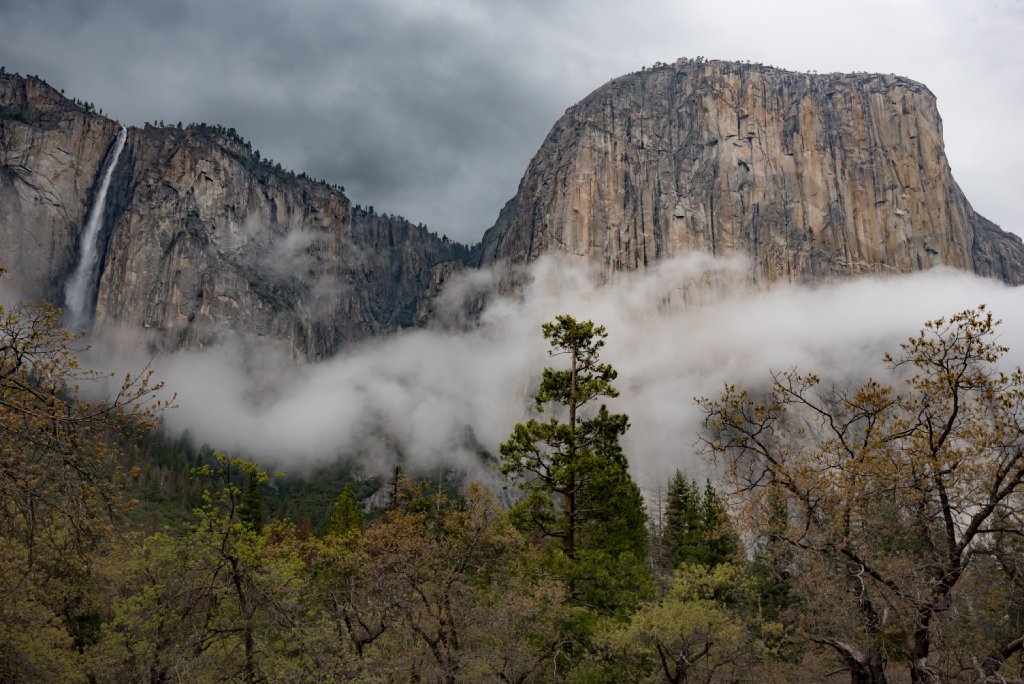
 horsetail falls image
Photo by Michael Manns on Unsplash
Horsetail Fall in Yosemite is the world famous site of the rainbow waterfall. Once every year, when the sun sets perfectly over the valley, the water running down Horsetail looks like it's on fire.
Even if you aren't in Yosemite for this event, Horsetail Fall is incredibly large and spectacular, creating the perfect background for your face.
things to do seoul image
Photo by Brady Bellini on Unsplash
 Gyeongbok Palace, which sits in central Seoul, features gardens, temples and lakes. While you're here capturing a selfie you may as well try your hand at creating Hanbok, which is traditional Korean clothing.

Learn More:

Thursday, January 31, 2019

Irix Launches Light Pollution Filters to Clear Up Your Night Sky Photos


#photographyhobbyist  #photographybestoftheday #photographyforever


Irix has launched its new line of EDGE Light Pollution lens filters. The filters are designed to help photographers obtain better results when shooting photos of the night sky.

Irix says the new filters provide more accurate colors, improved contrast, and better overall sharpness and clarity. They do this by removing the yellowish haze emitted by sodium lamps that are commonly used in urban street lights.


Photo by photographer Kuba Witos
The filters are part of Irix’s Super Endurance (SE) line, which means the optical glass in each filter has undergone a special thermal treatment to increase its durability and both sides have received special coatings that further increase the strength.

Other features of the new Light Pollution filters include high-quality optical glass, anti-reflective coatings, NANO coatings that repel water/oil/dirt, a lightweight and durable aluminum filter frame, and a black coating on the frame that reduces flare.

The Irix Edge Light Pollution (SE) filter is now available through select retailers as a 67mm filter for €95 (~$109), 72mm for €107, 77mm for €125 (~$123), 82mm for €135 (~$155), and 95mm for €149 (~$171). You can find a dealer of Irix equipment near you here.