Friday, January 25, 2019

Dynamic Black and White Photos Capture Dramatic Light in NYC


photographyhobbyist  #photographybestoftheday #photographyforever

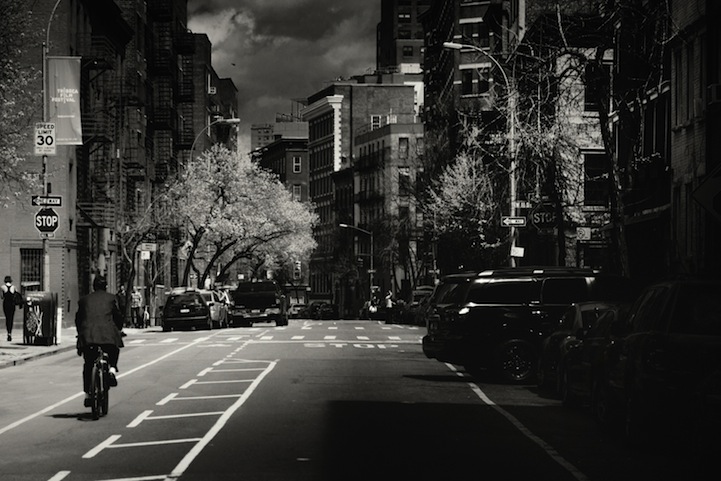
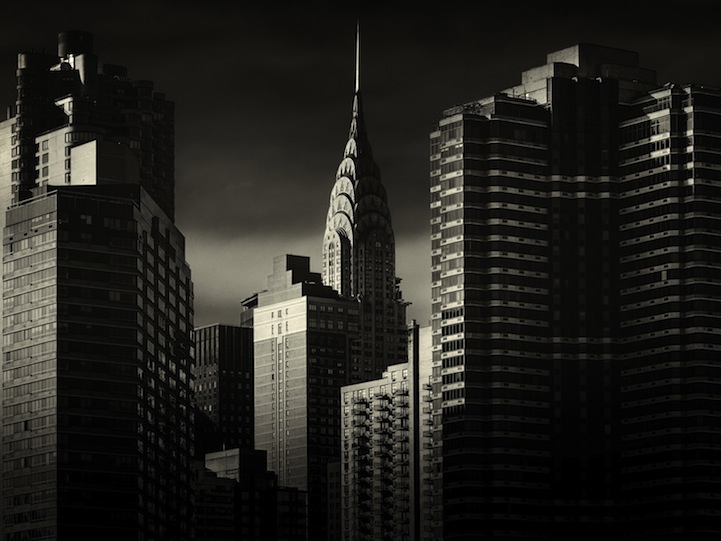
While visiting New York City, Geneva-based self-taught photographer Alex Teuscher wanted to capture the day-to-day life and fantastic architecture throughout the popular tourist destination. He explored for ten days and documented iconic locations like Times Square, Rockefeller Center, and Central Park.Afterwards, using a wide variety of post-processing techniques, Teuscher transformed his photographs into a dynamic black and white collection. By eliminating color, he created dramatic lights and shadows that produce an unusually eerie quality and change the traditionally bright, lively, and energetic way that viewers perceive the frequently visited spots.
“All these shots were taken pretty much following the usual tourist trail in Manhattan… the locations along that trail are iconic for a reason,” he explained. “I wanted to present them differently however, like the Chrysler and Empire state buildings in different compositions than they are usually seen in. I also wanted black and white, to really simplify and make it about light, contrast, and strength of composition in the street scenes below and in the architecture above.”
Alex Teuscher’s website

Photographer Visualizes Hearing Loss as Artistically Blurred Street Photography

Creative Street Photography by Eduardo Asenjo Matus

photographyhobbyist  #photographybestoftheday #photographyforever

  
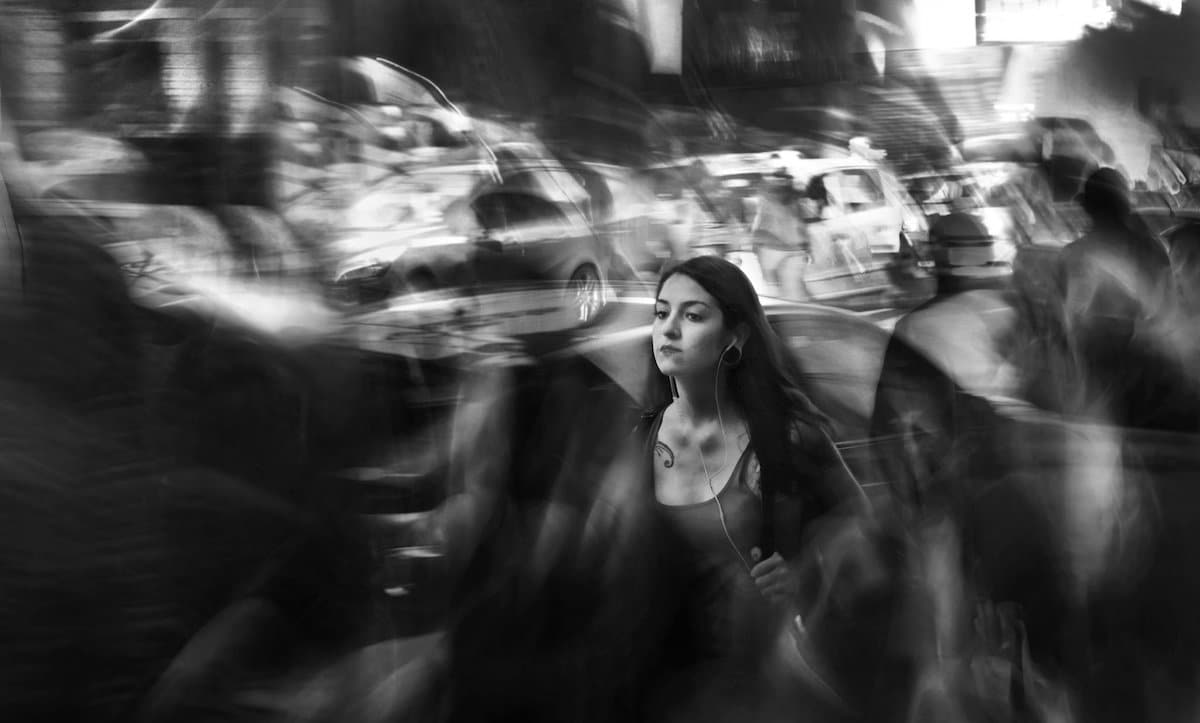
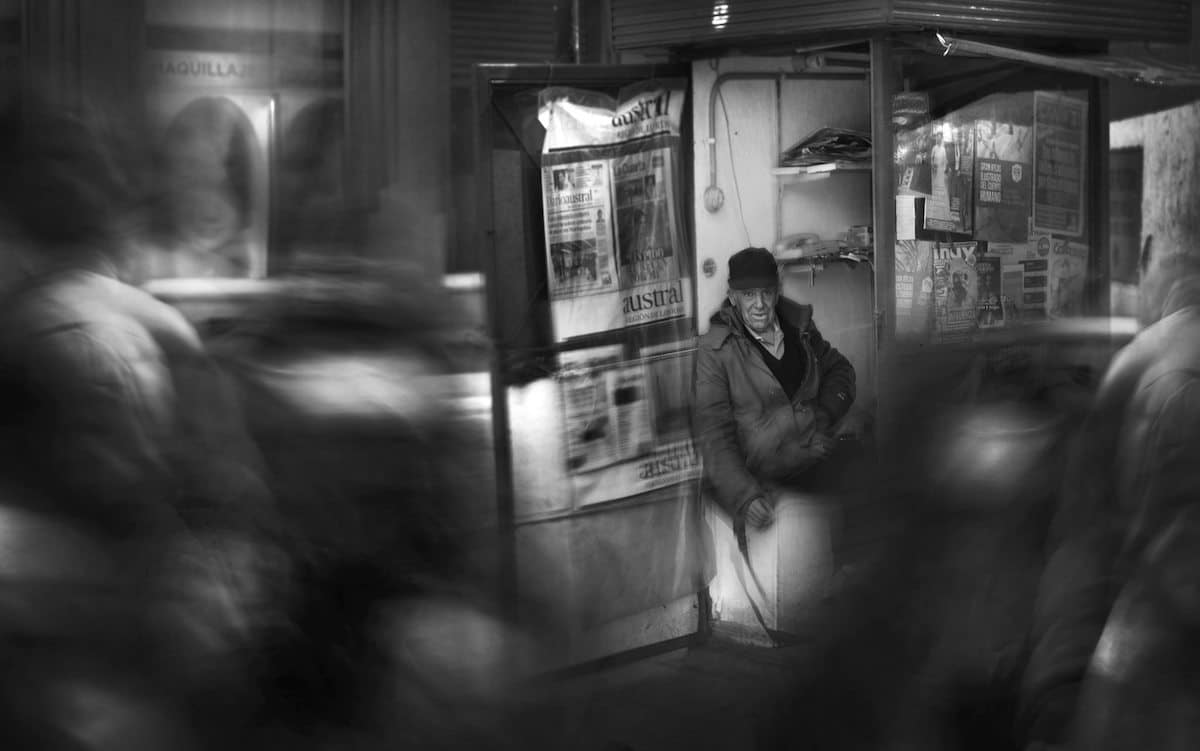
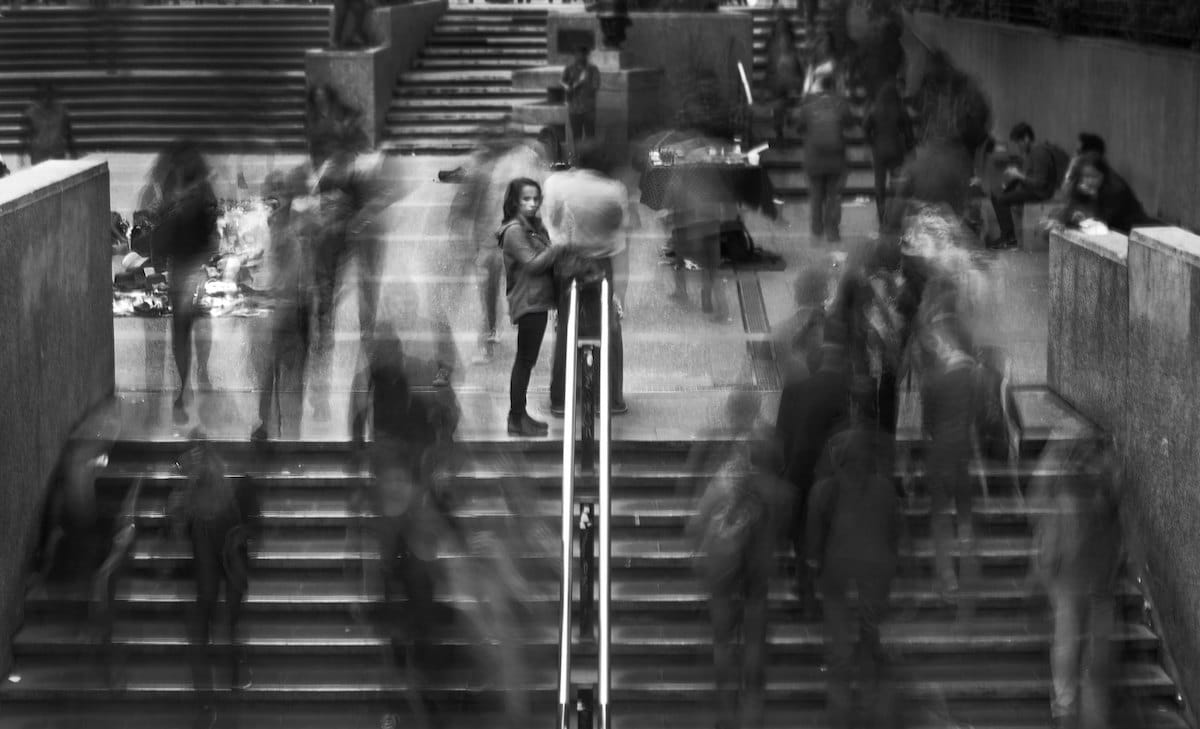
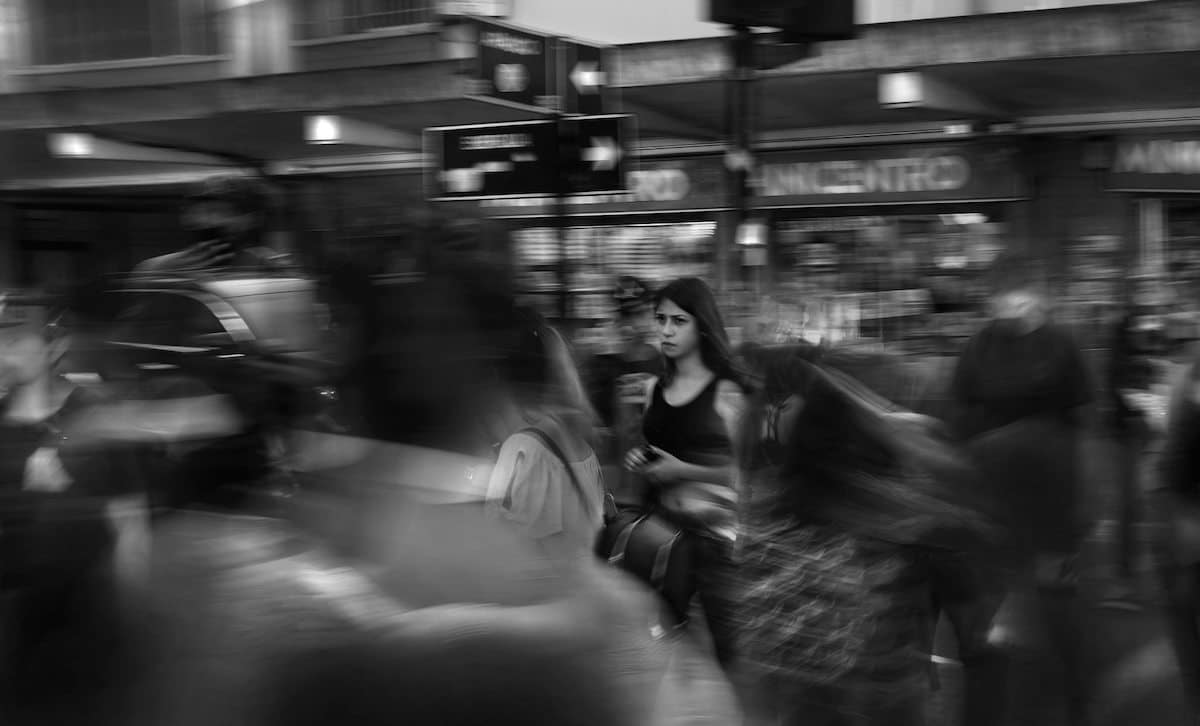
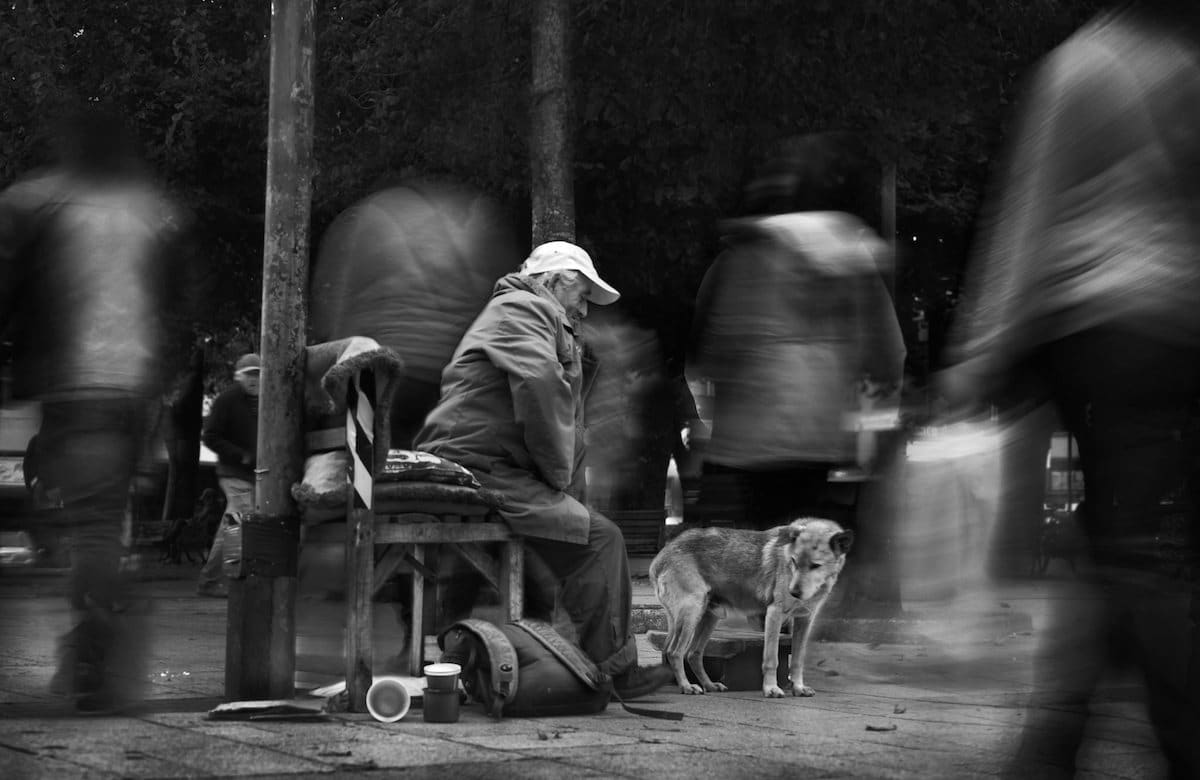
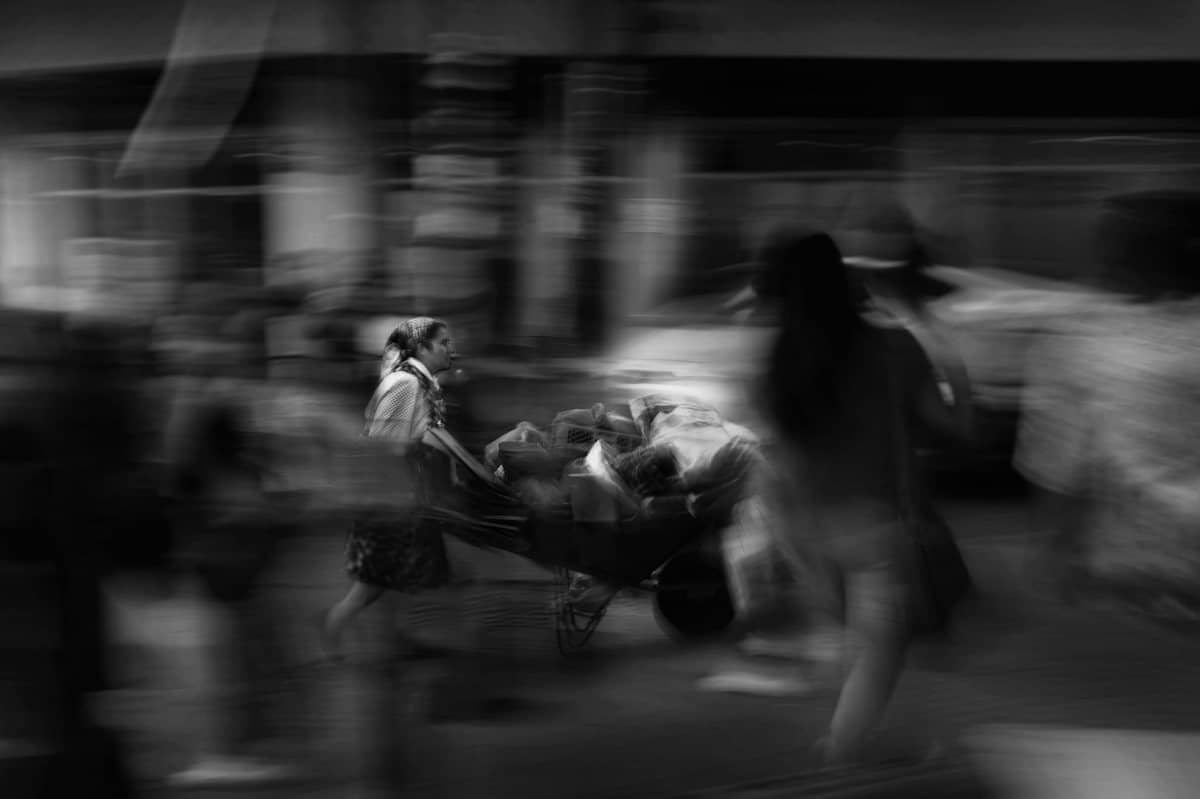
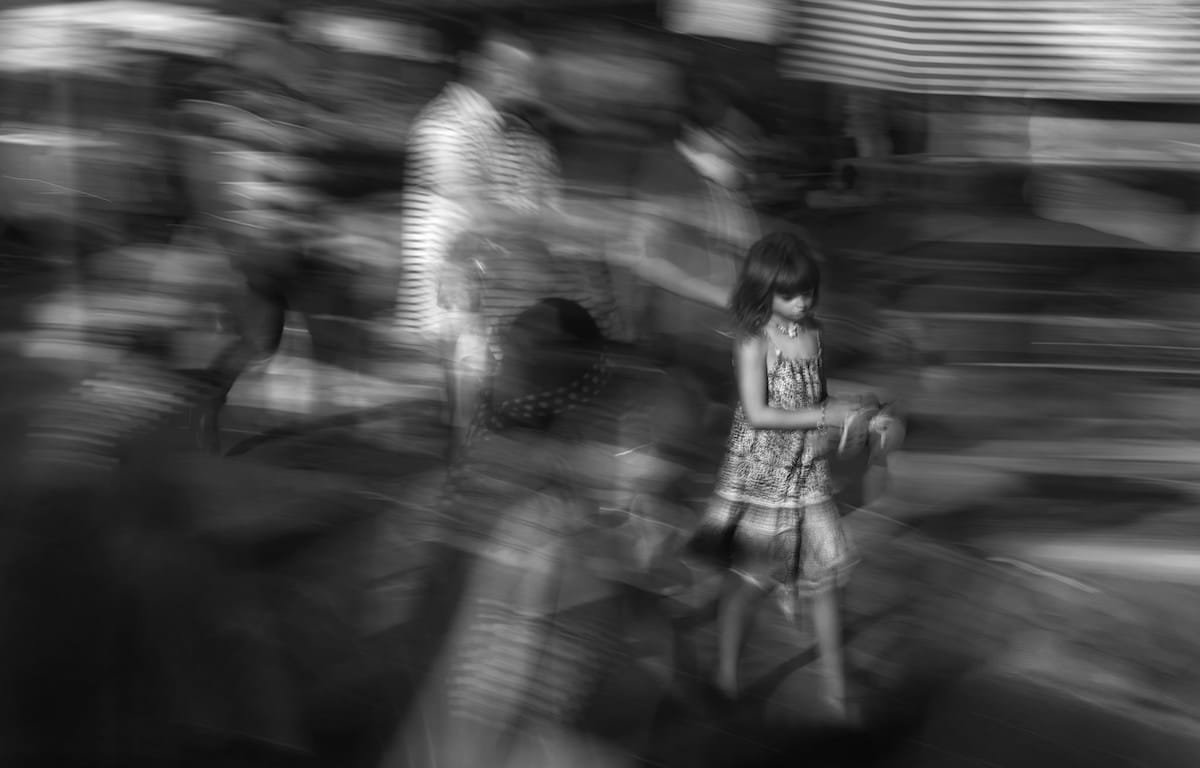
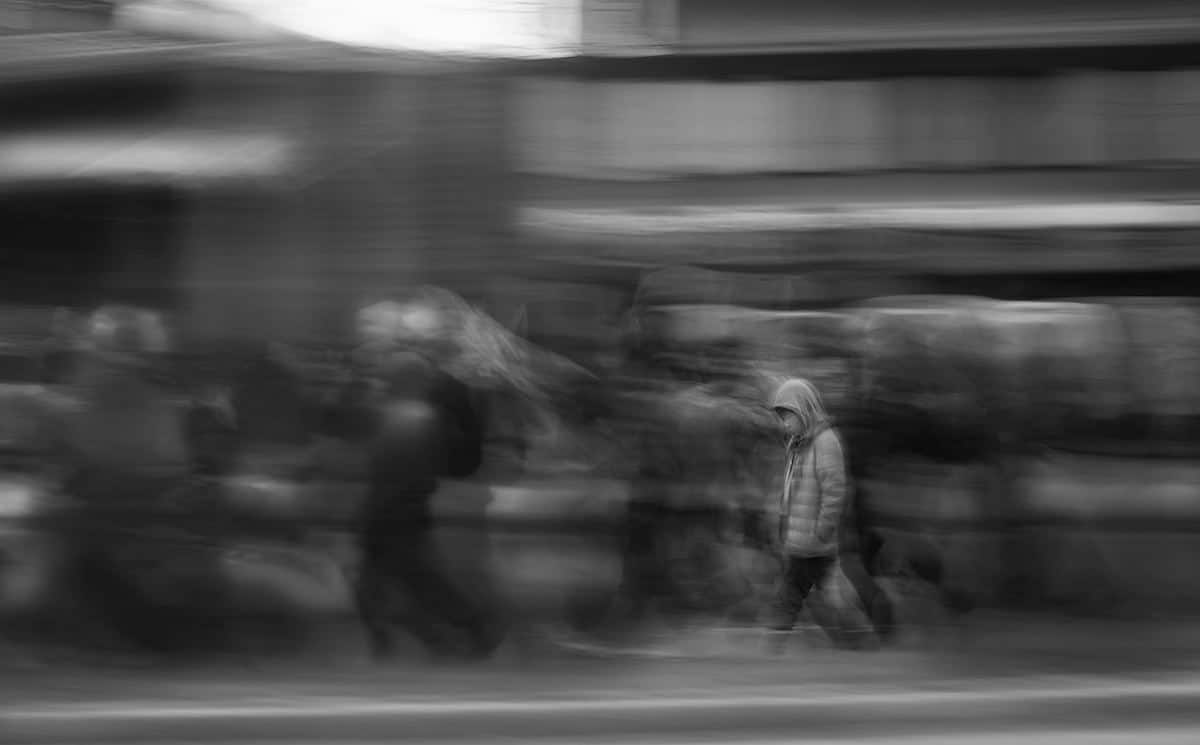
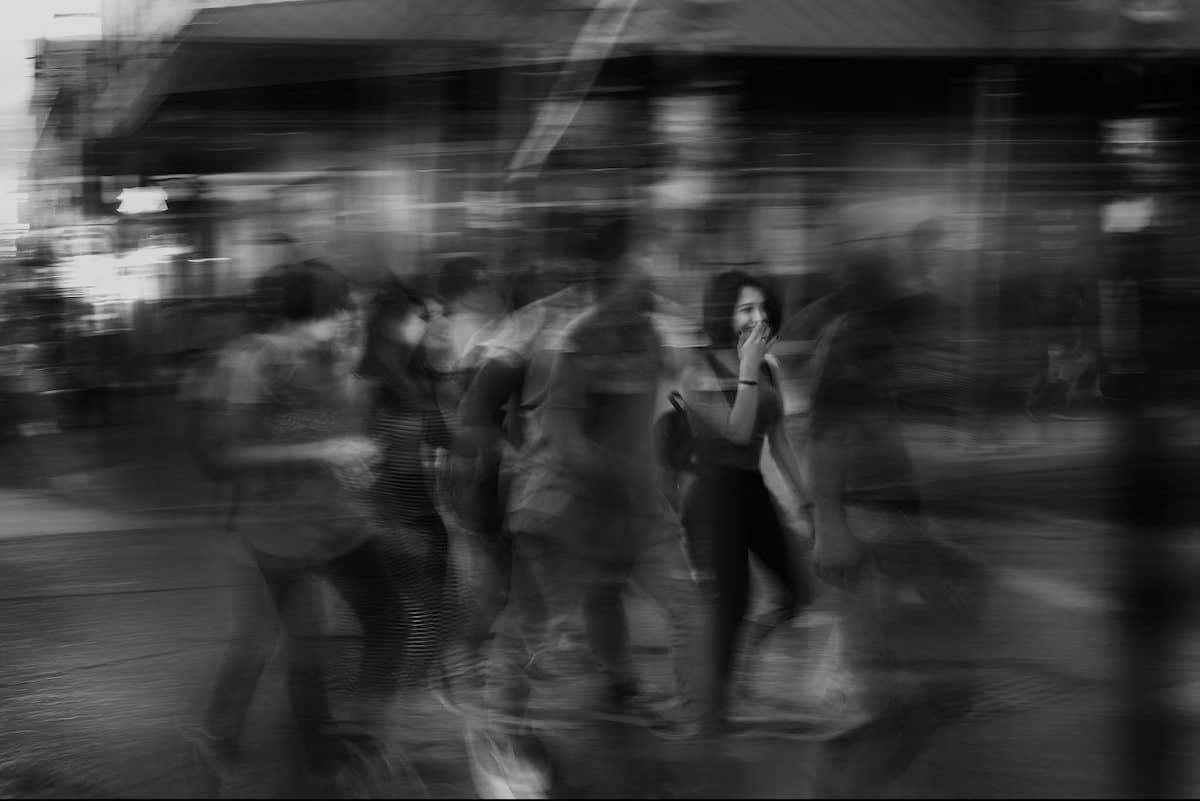
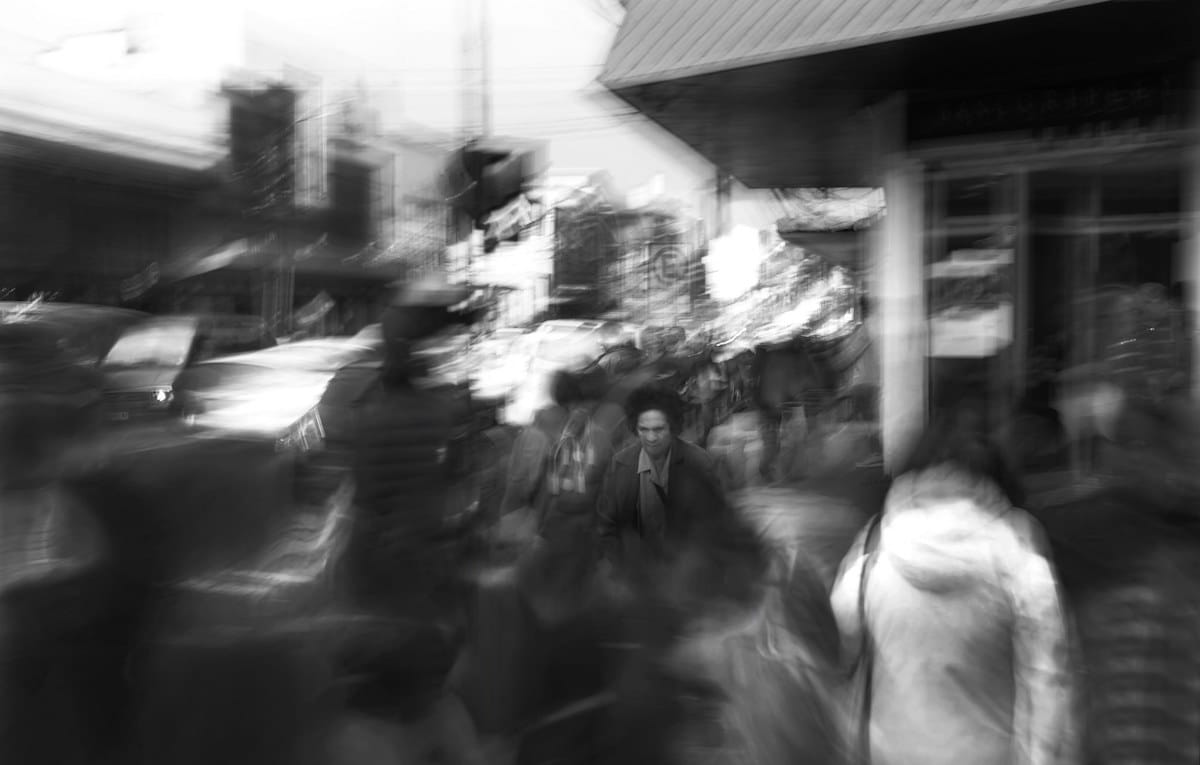
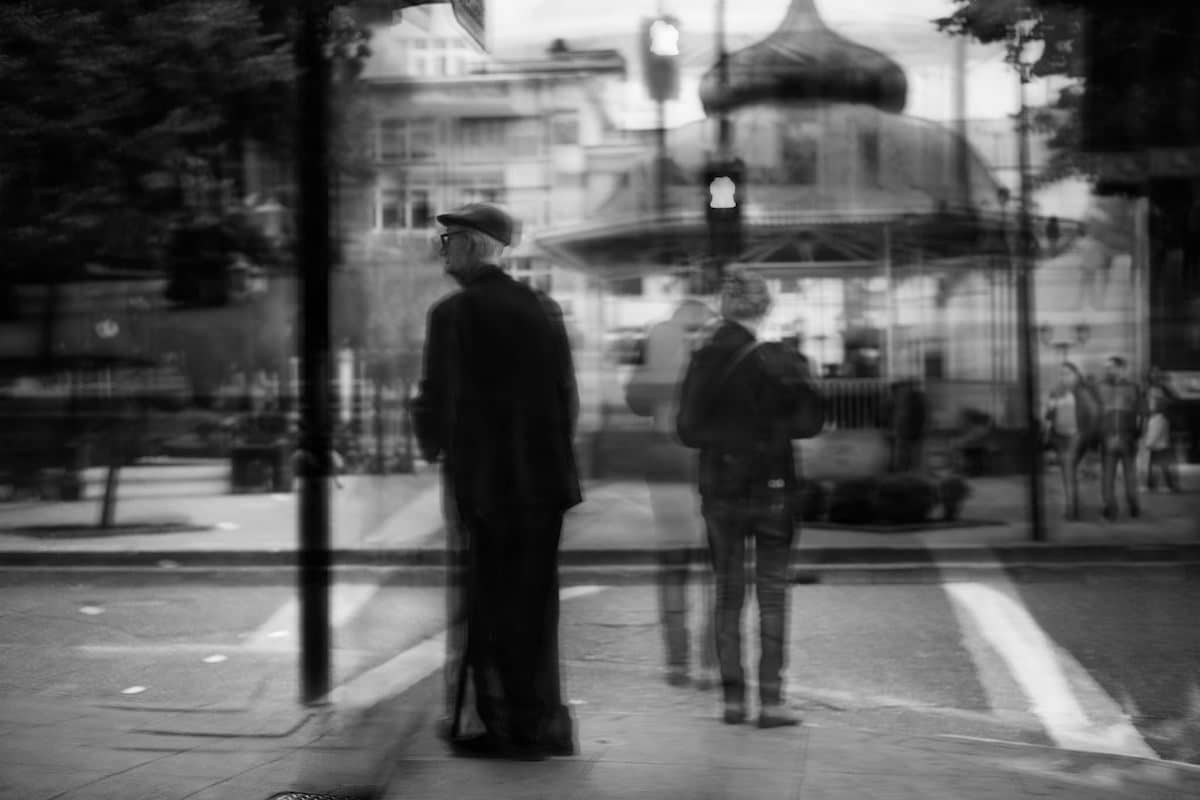
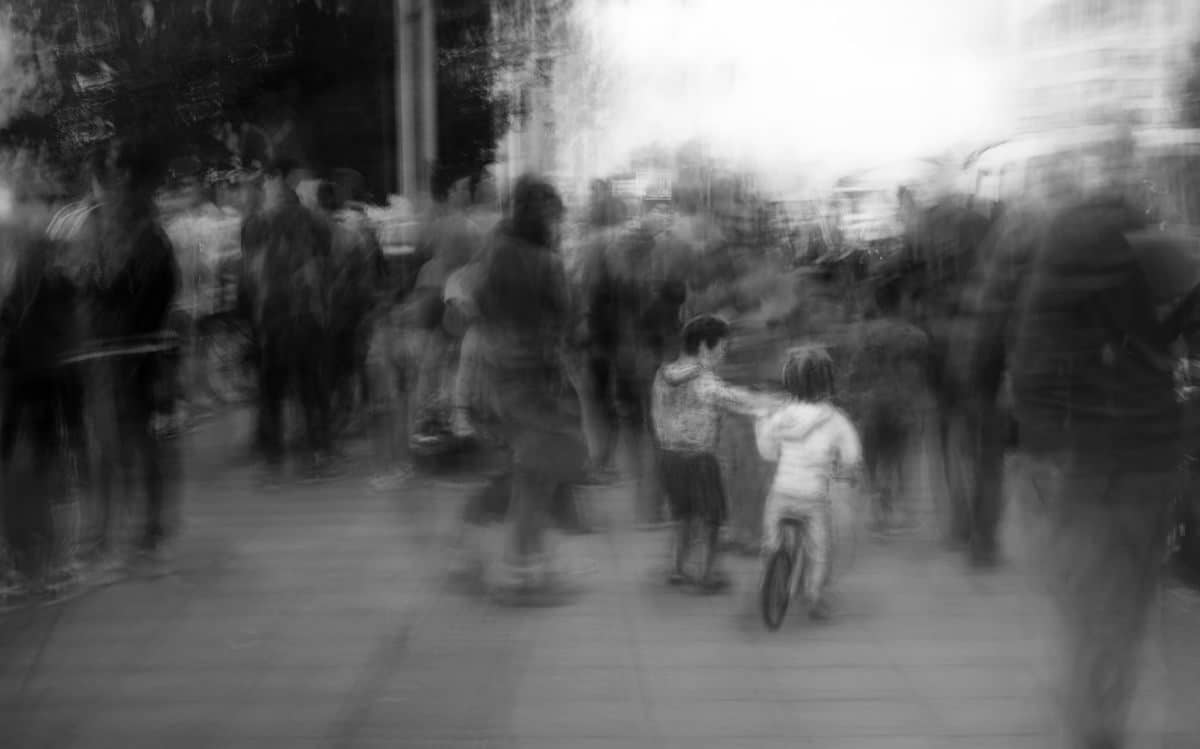
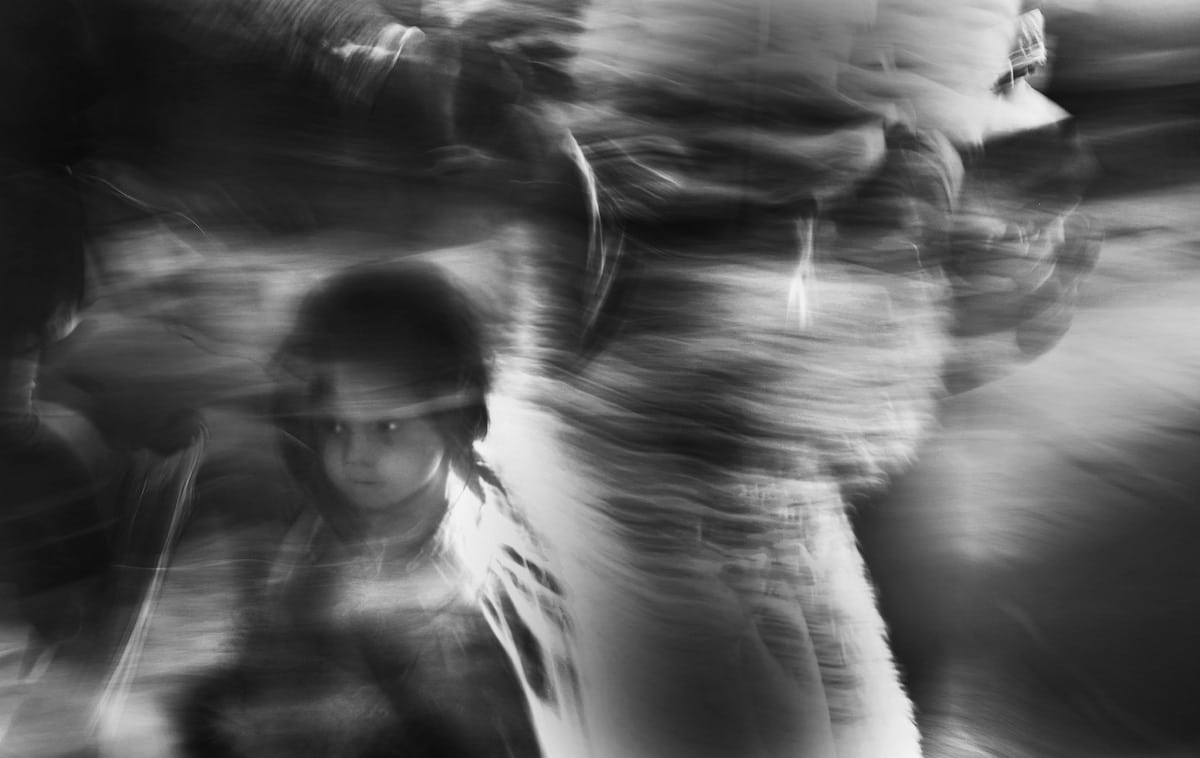
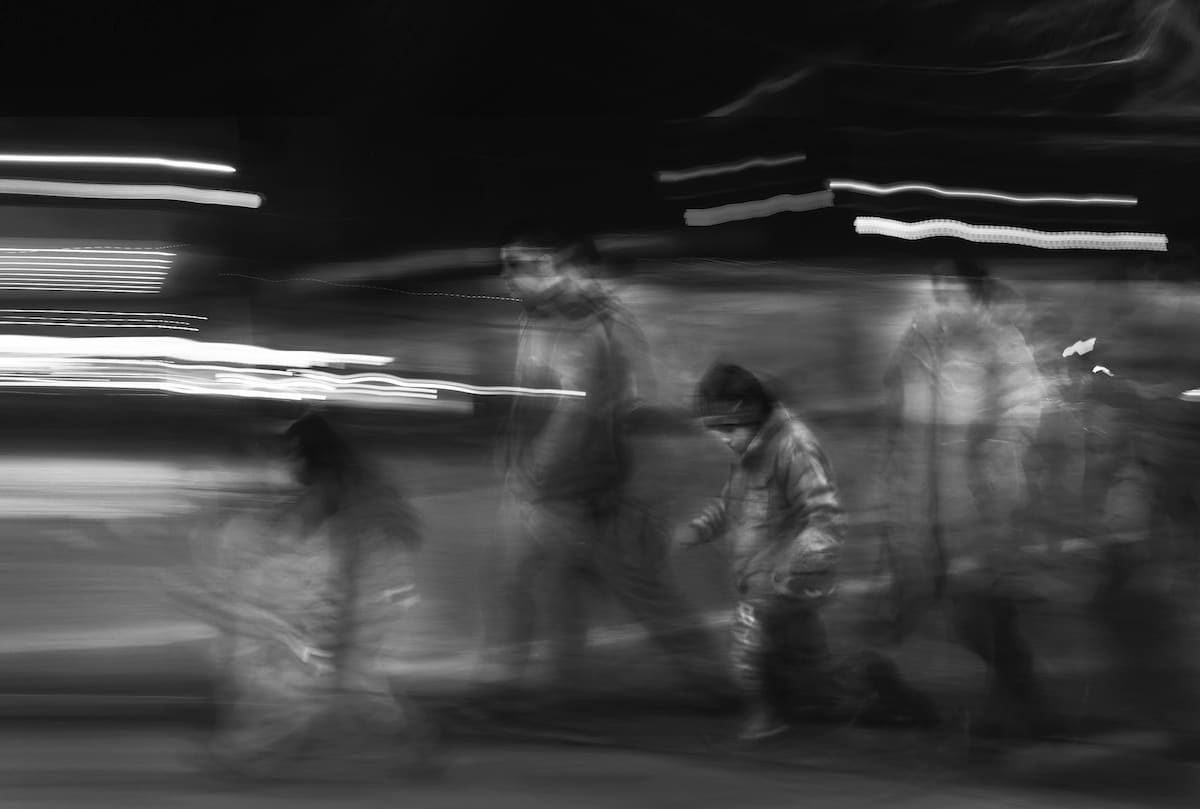
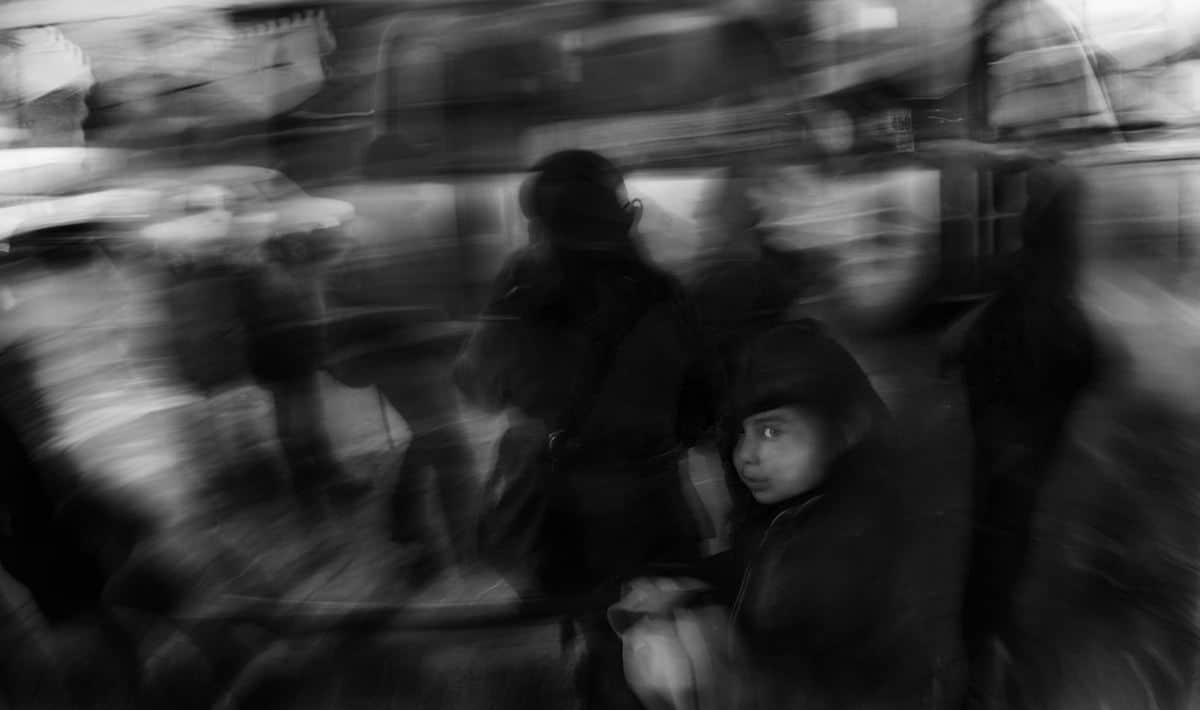
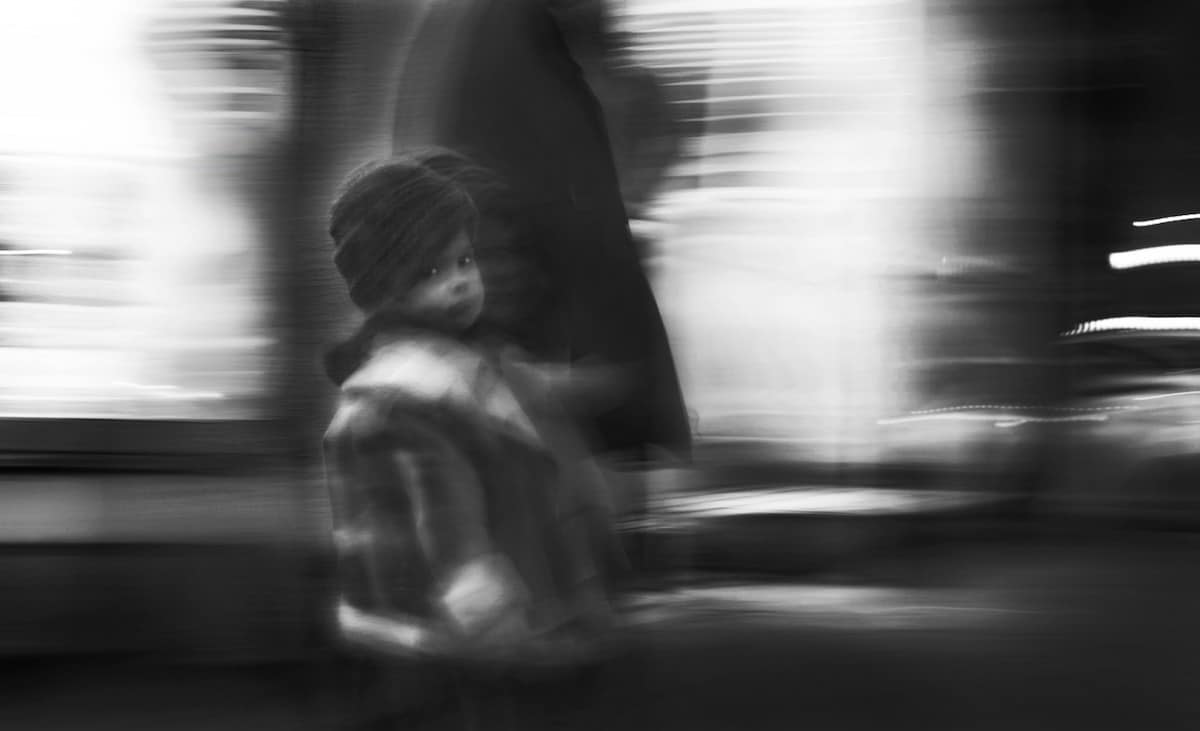
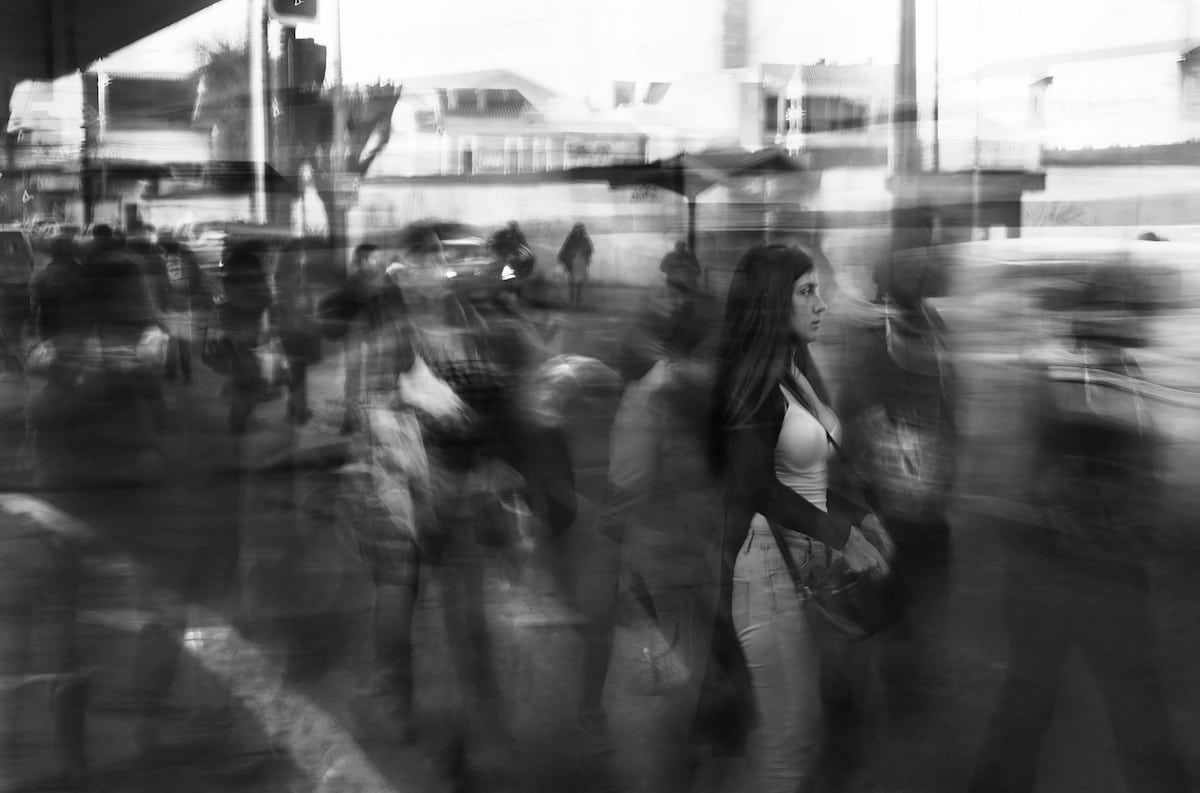
Viewing his photos as paintings, Chilean photographer Eduardo Asenjo Matus has a unique technique for capturing the spirit of his environment. Using a neutral density filter, he employs long exposures to focus in on his primary subject, leaving the rest in an artistic blur. The former graphic design and architecture student started this series, The Sound of Silence, in 2015 as a way to reflect his own emotions.
“With this technique, I wanted to show how I listen to the city. Before starting I painted with acrylics but for reasons of time and materials I stopped doing it,” Asenjo Matus tells My Modern Met. “A few years ago I started having hearing problems. Having a conversation in the street was very complicated. I had to concentrate on one voice and eliminate the rest of the sounds, this was like listening in slow motion something blurred and imperfect. For this, I use a neutral density filter, a slower exposure, and the intentional movement of the camera.”
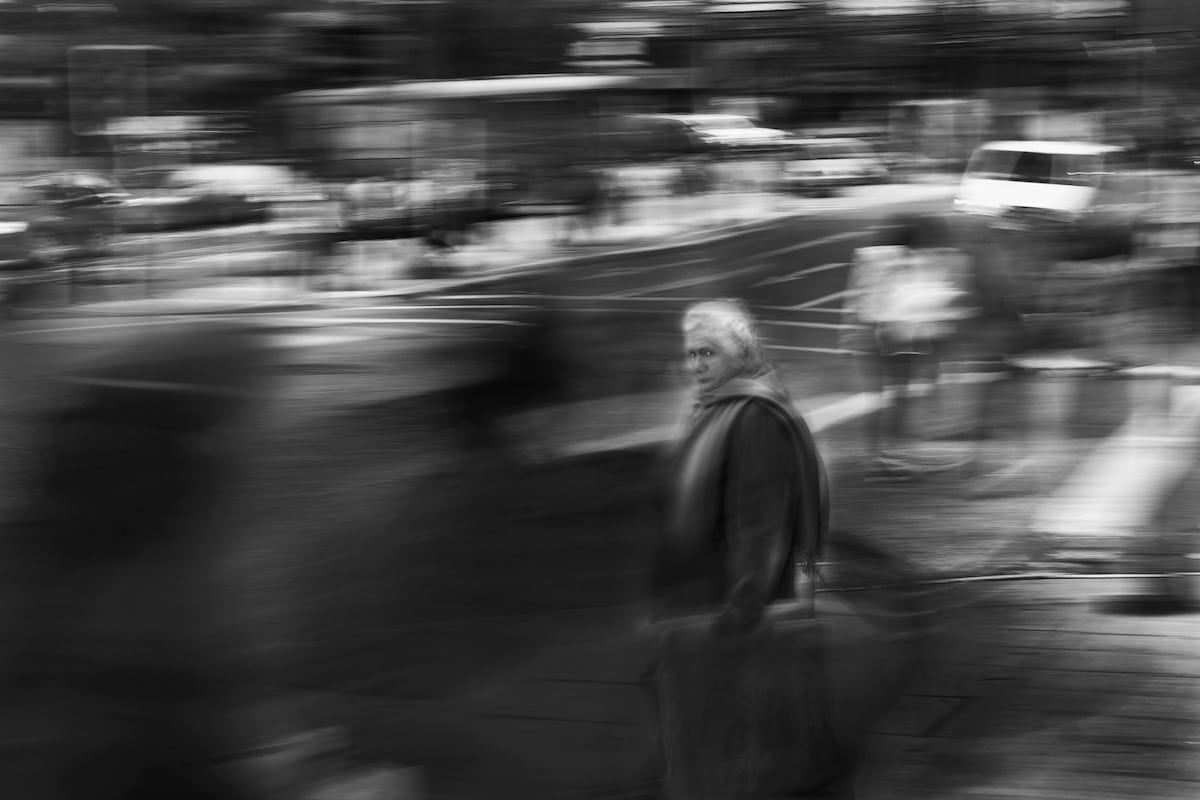
Asenjo Matus’s street photography is inspired by the perfection of imperfection that he finds in Valdivia, Chile. The cold and gray city—one of the rainiest in Chile—is the stage for the photographer to sit quietly and observe the world as it goes by. And through his innovative technique, he’s able to capture the streets in a way that is uniquely his. Each photo centers on a singular person, frozen among the crowd. In this way, he creates a connection between subject and viewer that is powerful, elevating his artistic street photography to another level.
“Not all photographs have to be perfect, sometimes you have to skip rules, and not listen to bad comments until you reach your goal,” he shares. “For me, more than pictures, they are watercolor paintings.”

Chilean photographer Eduardo Asenjo Matus uses a neutral density filter and long exposure times to create his unique street photography.

Creative Street Photography by Eduardo Asenjo MatusStreet Photography in Chile by Eduardo Asenjo MatusCreative Street Photography by Eduardo Asenjo MatusCreative Street Photography by Eduardo Asenjo Matus

The isolation of his subjects mirrors the photographer’s feelings in the streets, as a hearing issue makes it difficult for him to focus on more than one conversation at a time.

Creative Street Photography by Eduardo Asenjo MatusStreet Photography in Chile by Eduardo Asenjo MatusArtistic Street Photography by Eduardo Asenjo MatusEduardo Asenjo Matus - Street PhotographyEduardo Asenjo Matus - Street Photography

“I hope that people can understand my vision of the world, see how I hear it, that it’s not only perfect photography.”

Artistic Street Photography by Eduardo Asenjo MatusCreative Street Photography by Eduardo Asenjo MatusArtistic Street Photography by Eduardo Asenjo MatusCreative Street Photography by Eduardo Asenjo Matus

“Movement and blurring are some of the most beautiful parts in this art.”

Artistic Street Photography by Eduardo Asenjo MatusEduardo Asenjo Matus - Street PhotographyEduardo Asenjo Matus - Street PhotographyEduardo Asenjo Matus - Street PhotographyEduardo Asenjo Matus: Website | Facebook | Instagram | Flickr

How to Photograph a Solar Eclipse


photographyhobbyist  #photographybestoftheday #photographyforever


by Andrea Minoia

A total solar eclipse is a rare event. Even when it happens, you can only see it from certain locations and for a short period of time. Knowing how to capture eclipse images well in advance is key.
This article will help you bring home great images of this rare phenomenon.

What Is a Solar Eclipse?

A solar eclipse occurs when the Sun, the Moon and the Earth (specifically your location on Earth) all line up. The Moon passes between us and the Sun.
A diagram explaining the process of a full solar eclipse - how to photograph the solar eclipse
The origin of solar ecplises. Image Credit: Wikipedia.
If this celestial alignment is perfect, and if you are in the right location, the Moon will cover the solar disk in the sky. This plunges you into darkness (no wonder people in ancient times saw a solar eclipse as a bad sign).
A total solar eclipse is possible because the apparent size of the Moon in the sky is pretty much matching that of the Sun.
Here’s a fun fact. The moon is getting away from Earth at about 3mm/year, so in the distant future total eclipses will not be possible anymore. Better take those pictures while you still can.
If the alignment is less than perfect, we’re talking about partial solar eclipse.

The Gear: Safety First

Because this is a rare event, you will get news of the incoming eclipse weeks in advance, even if you are not into astronomy. Use this time to ensure you have the right gear and that you know how to use it.

Solar Filter

This is by far the most important piece of equipment when it comes to photographing the Sun. This filter is not there to create nice photographic effects. It’s there to prevent irreparable damage to your camera (and, more importantly, your eyes when you look down your optical viewfinder).
The lens, a telescope or a binocular, in fact, will concentrate sunlight. Failing to observe or photograph the Sun with the proper filter will result in a hole in your cornea or your sensor. Especially if it’s a midday sun. That’s why you were told to protect your eyes using eclipse glasses when you were young.


A proper solar filter (technically called white light solar filters) can be purchased online (better on astro-related websites, such astroshop.eu). They start at $50 or so and will cut down not only the visible light, but also the IR and UV radiations.
This is not the time to play cheap testing improbable DIY solutions such as stacking classic neutral density filter or ND filters.
Classic and rather inexpensive white light filters for taking eclipse photos
Classic and rather inexpensive white light filters. They are available in different sizes.
Before using the filter, inspect it for deep scratches, cuts or holes. Change it if you are not sure about its integrity. Having a damaged filter is like looking at the sun with your naked eye.
Once you’re sure it’s okay, slide it on the lens and tighten the thumbscrews to lock it in position. Check the filter is stable and be careful not to knock it off the lens.
Solar filter mount on a Skywatcher Skymax 90/1250 telescope (left) and on the Sony RX10 (right).
Here’s the filter mount on my Skywatcher Skymax 90/1250 telescope (left) and on the Sony RX10 (right).
White light solar filters can be used all year long to observe and photograph Sun Spots. These are regions of the solar surface that are colder than the rest.
With white light filters you can easily image Sun Spots. Olympus OM-D EM-5 Mk ii with Zuiko OM 200 f/4 and Zuiko OM 2X-A teleconverter. Stack of 20 images.
It is VERY IMPORTANT that your filter is properly mounted before you point the camera at the Sun. Also, don’t allow children to manipulate your equipment to observe or photograph the Sun on their own.

Tripod

A tripod is a must-have. It will allow you to set up your DSLR camera before the beginning of the phenomenon.
You might have to compete for your photography spot. Particularly if you want to photograph the eclipse and the landscape using a wide angle lens, so plan to be at your location well in advance.
A solar eclipse over a landscape captured with a wide angle lens
Wide-angle lenses can be used to capture a solar eclipse over a landscape. Image credit: BrianChorsky @bianxplores.
The Sun moves in the sky at about 15ยบ/hr. So if you want to use a long telephoto lens, you will need a tracking device like the Skywatcher Star Adventurer to follow it. That’s if you don’t want to re-frame very often.
If you don’t have a tracker, a 3-way pan head may be an easier option than a ball head. That way you can re-centre the Sun in the frame easily.

Remote Shutter

A remote shutter/intervalometer will allow you to easily create a time lapse of the event. Remote shutter release will also prevent camera shaking.

What Lens Should You Use?

As mentioned before, the sun appears in the sky as big as the full moon. This means that you can use the same lenses or telescope you would use in moon photography to get the full moon in the frame.
If you are interested in isolating the sun, a telephoto lens or zoom lens of about 300mm is a good starting point.
The sun will still be small in the frame, but there’s not a lot of detail to capture anyway. A wide aperture is not required for this kind of photography.
The effect of focal length in filling the frame (35mm) with the solar disc. how to photograph the solar eclipse
The effect of focal length in filling the frame (35mm) with the solar disc.
If you don’t have a super telephoto lens, you can opt for old, manual lenses from the film era. For my lunar and solar images, I use an old Olympus Zuiko OM 200 f/4 with its 2X teleconverter on my Olympus OMD camera.
If you want to photograph the landscape too, you’ll need a wide angle lens.

What Camera Should You Use

Any camera will do, as long as you can use a long focal length lens. Low light, high ISO performance, and camera lens performance are not an issue here. So cameras with smaller sensors have the advantage here. They fill the frame better at any given focal length than full frame cameras.
For example, 1-inch type cameras or point-and-shoot digital cameras, such as the Nikon P900 or Sony RX10/RX100 give great reach in a smaller package. If you have a telescope, you could even use your camera phone.
The sun photographed with a white light filter on a 1"-type Sony RX10 camera at 200mm (crop).
The sun photographed with a white light filter on my 1″-type Sony RX10 camera at 200mm (crop).

Composition Tips for Solar Eclipse Photography

An eclipse happens in 5 major steps. Each one lasts for a short amount of time and has interesting characteristics you can photograph.
Check out the graphic below for more details.
The five steps of a solar eclipse. Eclipse photos
The five steps of a solar eclipse.
Here’s a brief description of what happens during each phase.
  1. Partial eclipse begins (1st contact): The moon starts to appear over the sun’s disk.
  2. Total eclipse begins (2nd contact): The entire disk of the sun is covered by the moon. Observers in the path of the moon’s umbra may be able to see Baily’s beads and the diamond ring effect, just before totality. The chromosphere can be visible.
  3. Totality and maximum eclipse: The Moon completely covers the disk of the Sun. Only the Sun’s corona is visible. This is the most dramatic stage of a total solar eclipse. At this point, the sky goes dark, temperatures can fall, and birds and animals often go quiet. Observers in the path of the Moon’s umbra may be able to see Baily’s beads and the diamond ring effect, just after totality ends.
  4. Total eclipse ends (3rd contact): The Moon starts moving away, and the Sun reappears.
  5. Partial eclipse ends (4th contact): The Moon stops overlapping the Sun’s disk. The eclipse is ending at this stage in this location.

Partial Eclipse

The Moon is only partially blocking the Sun.  This is the phase that precedes or follow totality, when the entire Sun is blocked by the Moon.
Solar eclipse photos - The Moon is only partially blocking the Sun.
The Moon is only partially blocking the Sun. Image Credit: Marco Bruno.

Diamond Ring

A bit before totality, when the Moon has almost fully blocked the Sun, you can witness the so called Baily’s beads and diamond ring effects. They are the result of the Sun shining through the uneven Moon’s Limb (the edge of the lunar disk) forming a series of bright “beads”.
In this phase you can have a hint of the Solar Chromosphere too. This is a reddish line around the still visible solar edge.
Solar eclipse photos - Baily's bead right before totality.
Baily’s bead right before totality. The chromosphere is also partially visible, as well as a solar prominence. Image credit: Marco Bruno.
When totality is almost reached, only a single bead will shine, mimicking a shiny diamond on a ring (hence, its name)

Solar Corona

The Corona is very faint and can be seen only during totality. When the Moon covers the Sun entirely, the Corona is the only visible part of the Sun, often appearing as a halo.
eclipse photos - the Solar Corona appears as a halo around the blocked Sun.
At totality, the Solar Corona appears as a halo around the blocked Sun. Image credit: Marco Bruno.
On Earth, the Solar Corona can only be seen during totality. It doesn’t matter how good, large or expensive your equipment is. With less than totality, the remaining sunlight will overpower the much fainter halo of the corona.

Solar Prominence

A prominence is a large, bright, gaseous feature extending outward from the Sun’s surface, often in a loop shape.
Usually, prominences can be seen and photographed all year by using special narrow band telescopes. These allow you to see only a particular kind of light.
During a solar eclipse, though, you might be lucky enough to photograph a prominence even with the classic white light filter.
how to photograph the solar eclipse - two prominences are visible near totality in this image.
Two prominences are visible near totality in this image. Image credit: Marco Bruno.

Camera Settings

First of all, set your camera to shoot in RAW and use the lowest possible ISO (typically ISO 100 or ISO 200). If you are on a tripod, remember to disable any image stabilisation. As per aperture, I rarely go wider than f/5.6.
White balance should be, obviously, set to sunlight.
Because the Sun is bright even with solar filter installed, your auto-focus should work well. For consistency though, I prefer to focus manually.
The amount of Sun blocked by the Moon varies during the eclipse. This means that you will have to adjust your shutter speed or your solar eclipse exposure.
Here are some shutter speeds you should consider during the partial phases or the different steps in the solar eclipse. This is assuming you are using a white light solar filter, ISO 200 and f/5.6.
  1. Full Sun: 1/1000th of a second or faster;
  2. Partial Solar Eclipse: 1/500 – 1/250th of a second;
  3. Diamond Ring: 1/250th of a second;
Please note that those settings are more of a solar eclipse exposure guide or a starting point. You may tune your exposure settings considering your gear and weather conditions (haze, fog, clouds, etc.).

Conclusion

In this article you have learnt the basic of solar eclipse photography. Before you go, the last thing to consider is to make a composite of all your photos to show the progression of this rare and breathtaking event.
A composite image of a full solar eclipse
Image Credit: Michael Dimaculangan.
A note from Josh, ExpertPhotography's Photographer-In-Chief: Thank you for reading... CLICK HERE if you want to capture breathtaking images, without the frustration of a complicated camera. It's my training video that will walk you how to use your camera's functions in just 10 minutes - for free! I also offer video courses and ebooks covering the following subjects: You could be just a few days away from finally understanding how to use your camera to take great photos! Thanks again for reading our articles!

Andrea Minoia

Andrea Minoia is an enthusiast photographer based in Brussels, Belgium. He is mainly active in portraiture and table top photography, but he does enjoy to get busy with astrophotography and infrared photography. You can follow his work on his regularly updated photo stream on 500px and follow him on google+.You can also get in touch with him via his personal website .
How to MELT your camera shooting the eclipse!

Thursday, January 24, 2019


Stephanie & Michael | Northeast Ohio Wedding Photography


Stephanie & Michael Northeast Ohio Wedding Photography | couple love wadsworth indoor decor inspiration
Stephanie and Michael’s love story spans over 9 years. It was so great to witness their journey into the next stage of their relationship: MARRIAGE! 
I’ve known Steph since my early days at Kent State University. When she told me about her nuptials I jumped at the opportunity to capture such a special occasion.
I met up with Stephanie and Michael for their wedding consultation at Tree City in Kent, Ohio. There we went over the details of the wedding. My favorite non-traditional aspect of their beautiful wedding was how they weren’t pressured into feeling they had to have an equal number of men and women in the bridal party. Stephanie had a solid maid-of-honor and 2 wonderful bridesmaids by her side while Michael opted to have a best man, his twin brother, and no other groomsmen.
A message to all couples out there planning your wedding: DO WHAT MAKES YOU HAPPY!
The wedding took place at The Tasting Room in Wadsworth, Ohio. The Tasting Room also handles the catering which included delicious food and a taco bar. Stephanie and Michael’s friends and family did the floral arrangements and decorating all the way down to the beautifully lighted square arch they were married under.
The day of the wedding started out sunny but turned to rainy really quick. Since I had my eye on the forecast all week, I prepared for my first 100% indoor photography session. I used a Canon Mark III 5D and external flash to help illuminate the happy couple and wedding guests as I shot the night away.
My favorite part of the entire night was the cake cutting. The personality of the Bride and Groom shone as bright as the sun as they were cutting the cake. Don’t believe me? Check out some of the highlights from this beautiful wedding below.
Stephanie & Michael Northeast Ohio Wedding Photography | couple love wadsworth indoor decor inspiration Stephanie & Michael Northeast Ohio Wedding Photography | couple love wadsworth indoor decor inspiration Stephanie & Michael Northeast Ohio Wedding Photography | couple love wadsworth indoor decor inspiration Stephanie & Michael Northeast Ohio Wedding Photography | couple love wadsworth indoor decor inspiration Stephanie & Michael Northeast Ohio Wedding Photography | couple love wadsworth indoor decor inspiration Stephanie & Michael Northeast Ohio Wedding Photography | couple love wadsworth indoor decor inspiration Stephanie & Michael Northeast Ohio Wedding Photography | couple love wadsworth indoor decor inspiration

 Here's another great Photography site I found.  Lots of good info. Enjoy! 


Aly Dawn Photography

helping photographers with blogging, editing, + photography tips

#photographyforlife  #PhotographyEnthusiast

A Beginner’s Guide to Low Light

This post may contain affiliate links. We may earn money or products from companies mentioned in this post. Thank you in advance for supporting Aly Dawn Photography!
Low light is one of my favorite type of light to photograph. I recently decided that low light might be my favorite type of light to work with for a few reasons: it can be challenging, get your creative juices flowing, and push you to think about how to incorporate it in your art. I also just really love how it looks in images. When looking through images, the low light ones always spark an interest and put a smile on my face. They also make me stop and say ‘wow, what gorgeous light!’.
You might be wondering how to go about dipping your toes in low light…well, I’m here to help. This guide will help you get started in your low light journey and also help you understand what type of settings and equipment you need. If that sounds like something you’re interested in, read on!

new to my site? start here


equipment for low light

Well, first of all, I know that there are better cameras out there that handle low light better than what I have. That being said, mine handles it pretty well. I do see some grain sometimes, but I think that’s just part of the low light fun (trust me when I say it’s taken me a long time to embrace grain – still working on it). Here’s the equipment I use for low light (all the time, actually!):
In this article I will give you tips on how to get images in low light. But before we get into that, I want to say that in low light images, grain is inevitable. Lightroom can help reduce the grain, but you need to be careful about how much grain you reduce. If you reduce too much grain, your image can come away looking fuzzy and too smooth. It will look totally noticeable that you reduced grain. Be weary of that. Let’s dive right on in to how to shoot in low light!

a beginner’s guide to low light

I hope you come away excited to try it out and loving the images you produce. As with anything in photography, practice will only make this better. You shouldn’t get discouraged if the first couple (hundred) images don’t come out the way you had hoped. Keep practicing, it will click for you eventually.


1. don’t be afraid to push your iso

First things first, we’re getting into the technical of shooting in low light. A lot of the time, photographers fear the high ISOs. Well…I’m here to tell you…don’t. You will not get the images you want if you are trying to shoot low light images in an ISO of 100…why? Because, your image will not be exposed properly with an ISO of that and will actually result in even more grain.
That’s the reason why people fear high ISOs. Grain. It might not make any sense to you right now, but trust me when I say if you have a high ISO but your image is properly exposed, you will have less grain than if you had a low ISO with an under exposed image. Push your ISO. Even if your camera doesn’t handle low light well, you will still want to push the ISO.


I

2. use artificial light

Using artificial light to achieve low light images is really fun and can help you be more creative. I recently started using my iPad’s light. You can also use a flashlight, cell phone, computer screen, refrigerator light, oven light, bathroom light, etc. There is an awesome app on the iPad called Soft Box Color that can help if you need some additional light! Using a light source other than the sun can bring a whole new outcome to your images. I actually like them better, to be honest, than sunny outdoor images.
One way I like to use artificial lighting is using my bathroom light – nothing special about it normally, until I turn off all other lights to create shadows outside the bathroom!


Using artificial light is also a great way to get through the winter months. You don’t have to worry about going out when it’s nice and sunny out to get AMAZING images. You can even take images at night (to add to the awesome low light). Artificial light sources can provide more leeway!

3. utilize manual focus

Your camera might have a hard time focusing when there’s not a lot of light or contrast. To combat this, I recommend manual focusing. It can also give you a creative outlet.
That being said, if you really can’t seem to grasp the manual focus tip, here’s an even better tip. Use a flashlight to light your subject and grab focus. Then turn the flashlight off to take your image. Low light doesn’t have to mean ‘hard to take a picture’ light!


4. choose a wide open aperture

Choose a wide open aperture to help more light come into your camera’s sensor. Of course, choosing a wide open aperture will mean that it will be a little harder to grab focus. If you feel like it is absolutely necessary to have the image crisp, then by all means, shoot at a wider aperture and make sure your ISO is up high as well as your shutter speed is nice and slow (it might be handy to have a tripod – I just got this one and it is awesome!). But if you’re totally ok with out of focus/soft focus images…then definitely choose a wide open aperture.


5. embrace shadows

Shadows aren’t bad. They’re not! Shadows can definitely enhance and add to an image. Don’t be afraid of the shadows in your images. Silhouettes and subjects surrounded by shadows can definitely add to your photo and give the image a feeling of mysterious. I also will dare say it: clip those shadows! If the shadows that you clip aren’t on skin (unless you’re doing a silhouette) then clip them. If they aren’t on anything important, it’s ok to clip them. I have come to love and appreciate the shadows in my work. They make my heart happy. Whenever the shadows are present in an image, I look at it and say, ‘Yes! This speaks to me’. So embrace those shadows! Don’t be afraid to include them in your art.


6. nail your white balance in camera

Nailing white balance in camera is always important, but even more so when it’s a low light image. This is because most low light images take place after the sun goes down (not always the case, but can be) and therefore you’re probably using an artificial light source (see tip #2!) and odds are your color temperature is around 3000k. Set your white balance accordingly before you take an image.
Pro Tip: When setting white balance, switch to live view to change it. You will be able to see what it looks like as you change the kelvin and won’t have to take a test shot. I love using this little tip all the time in my normal, day time shooting as well.


7. don’t over-do noise reduction

When noise reduction is skillfully done, it can add a lot to the image. But over-doing noise reduction can result in an image that looks…fake. For lack of better vocabulary! I really don’t like my images looking fake…so I tend to be a little laid back when it comes to noise reduction, especially in my low light images.
In Lightroom, I like to go to the detail panel and have my sharpening at 40, then I like to use my ALT key (on PC) and move the masking slider to the right until the most important details are shown. Then for noise reduction, I like to slide luminance to no more than 20 (depending on the image it might be a little less than 20) and then color to 30 (again, depending on the image it might be a little less than 30). See screenshot below.


I literally do this to every image because I feel it gives my images a nice finishing touch. I recommend playing around with the detail panel and see what it does to your images. But remember, don’t over-do noise reduction or your images will look fake. And we don’t like fake images haha!


8. expose to the right

I definitely recommend getting your images exposed correctly, or even exposed to the right (without blowing any highlights) in camera for everyday shooting. Then you can deepen your exposure in post processing to get the moody image your after. By doing this, it will actually help lessen your overall noise. If you’re not familiar with ETTR, then I recommend starting with this tutorial – it does a good job explaining and also has some awesome examples on how it affects the noise in images.


Aly Dawn Photography | Photography TutorialsHi! I'm Aly. Thank you for stopping by. I'm a photographer who loves to help other photographers learn new things. I believe there is always something new to learn. I'm a Momma to one, I love Instagram (you should follow me!), and I love helping fellow photographers. I'm a die hard Nikon fan, a lover of natural light, macro, lifestyle, and dark and moody images. If you need a little help with your camera and photography, you've come to the right place!

How To Brighten And Whiten Teeth in Photoshop