Sunday, December 23, 2018

Photog Shocked After His $1.88 Stock Photo Shows Up On Walmart Goods


Heads up: if you sell your photos as microstock, companies can use your work in big ways for a very, very small payment. A photographer just found that out the hard way after he found one of his photos featured on a number of products in Walmart.

Globalnews.ca reports that Fredericton, New Brunswick-based photographer Michael Stemm was made aware of his photos in Walmart after his friends stumbled across the products.
Upon visiting a local Walmart himself, Stemm found his photo on greeting cards, calendars, and even large throw blankets.
Still frames of footage recorded by Stemm during his Walmart trip.
Stemm had captured the photograph back in December 2017 while walking across a snowy bridge in the city. He shared it widely across social media and has been selling cards and prints of it.
Then in February 2018, he learned of using microstock photography to generate extra income, so he “randomly uploaded one picture” to the stock photo service Shutterstock.
The photographer never read Shutterstock’s terms and agreement and never checked his account again after uploading the photo, according to Globalnews.ca.
Stemm says he was then shocked to find his photo being “exploited by big companies.”
It turns out a Newfoundland-based company called Islandwide Distributors (IWD) had licensed Stemm’s photo royalty-free from Shutterstock for just $1.88.
The $1.88 Stemm earned from the sale.
The company then turned around and made at least 500,000 units of products with it — Stemm learned this number after reaching out to the company.
So while Stemm’s experience may seem unfair, it was likely entirely lawful and within Islandwide’s rights.
Stemm posted a video to his Facebook page to tell his story and warn others about it:
“Walmart is selling my picture without my permission throughout all New Brunswick,” Stemm writes in the description. “I feel like I am being taken advantage of in this situation.”
The video has since been viewed over 60,000 times, and it attracted the attention of Walmart Canada, which apologized in the comments and reached out.

Unfortunately for Stemm, he isn’t even able to withdraw the $1.88 he earned, as his account needs to reach a balance of $50 before he can see the funds.
“I just don’t think it’s fair that they bought the picture on Shutterstock for $1.88 and they’re able to exploit it that much and get that much profit,” Stemm says. “The lesson that’ll be learned here is: don’t use Shutterstock if this is actually how it’s going to be. I didn’t expect it to get exploited this way.”
Lesson learned indeed.

Courtesy Of: Pita Pixel 
Saturday, December 22, 2018

How to shoot a panorama in photography | Tutorial, definition, equipment...


#photographyhobbyist  #photographybestoftheday #photographyforever

I think you'll really enjoy todays' post from an interesting blog I found called "ClickinMoms.com".  Enjoy!

 #photographyhobbyist  #photographybestoftheday #photographyforever


5 Ways to add a touch of magic to your indoor holiday photos


272 Shares
The holiday season is such a special time of year. Thousands of glimmering bulbs light up the streets, there’s cheerful music everywhere, kids are excited about presents from Santa and parents are filled with joy (assuming Christmas shopping is done and out of the way). It’s almost as if there’s magic in the air, making everything a bit brighter and happier. But how can we capture that feeling — the spirit of the holidays — in our photos?
I’m going to share a few tips to instill a touch of magic into your indoor holiday photos. These simple tricks can transform your at-home holiday pictures from ordinary to extraordinary.

1. Create flare for a more dramatic look.

Lens flare or sun flare can add drama to an otherwise ordinary scene, like a child sleeping or playing near a window. This helps create emotion in your image, giving it a nostalgic or hopeful look.
To achieve great lens flare, find a window with direct light coming in and shoot right at the sun. Start out by turning on your camera’s live view and pointing the lens toward the sun. Move the camera around until you see the desired flare effect. Even the slightest of movements will lead to a change in the appearance of the flare. This technique can take a lot of experimentation and practice, so patience and observation are key.

Pro Tip:

Play with your aperture to create more diverse flares. In general, a wider aperture (like f/2) will create a softer looking flare, while a more narrow aperture (like f/22) will define the sun’s rays.

2. Add a dream-like feeling by freelensing.

You don’t need a special lens to create a completely magical look. Simply detach your lens from the camera body and try freelensing to turn any ordinary scene into a magical fairyland. Here’s a tutorial. I find it easiest to use my camera’s live view and zoom in to find the narrow slice of focus. As with many experimental techniques, there will be a lot of missed shots, but that one that you do get right will be worth all the labor!

Pro Tip:

To further soften your background, use sheer curtains to filter the light. By including a curtain-draped window in your frame, you can add an ethereal, dreamy feel to the photograph.

3. Focus on what’s important with a wider aperture.

Use a wide aperture lens (like one with a max aperture of f/1.2 or f/1.4) and shoot at the lowest possible f-stop. By narrowly focusing on small details and allowing other elements in the foreground or background to blur, you’re showing the viewer exactly what’s important in the image and allowing him or her to fill in the rest of the story. Creamy bokeh also adds a dreamy quality to the photos, which can feel ethereal and magical. As a result, the image better represents what the moment felt like, rather than how it looked.

10 magical holiday props to try

1. Gingerbread house with powdered sugar and a sifter
2. Classic holiday-themed toys
3. Handmade decorations and tree ornaments
4. Holiday books, such as The Night Before Christmas
5. Steaming mug of hot cocoa
6. Extra Christmas tree lights
8. Sheer curtains
9. Presents
10. Gold or silver glitter or confetti

4. Set the mood with sunbeams.

Sunbeams add a little extra something to an image. Maybe it’s a nostalgic feeling, or a little touch of magic. Maybe it’s those leading lines hitting your subject like a spotlight. Either way, capturing sunbeams in an image can add another layer of mood and emotion to your indoor holiday photos.
To capture sunbeams, you’ll need smoke, dust or fog and a clear day with bright direct sunlight coming into a room. Try frying bacon (my preferred method) or sugar to fill the room with aromatic smoke. This will make visible the slanted sunbeams falling through the window, skylight or door and add a totally different atmosphere to your images.

Pro Tip:

Shooting against a darker background is key to really bringing sunbeams to life.

5. Capture holiday cheer by adding some sparkle.

Nothing says Christmas like the twinkling of lights! You can capture the unmistakable holiday atmosphere by creatively photographing through, around and in front of lights. Use a wide aperture and position the lights in the foreground or background of your frame to create gorgeous bokeh. Find angles where you can capture your subject and keep the lights out of focus.
It’s a good idea to add even more lights to your home or Christmas tree than you think you need to give your photos extra sparkle. I like to add a new strand of Christmas lights to our tree every year, because what feels just right for the tree in person is far from enough for magical photos with twinkling lights. Right now, I have about 500 bulbs for my modest tree and I still don’t feel like it’s enough!

Pro Tip:

To properly expose my kids’ faces next to the glistening tree lights, I often shoot while it’s still light outside.

More tips for magical indoor holiday photos.

  • Move around: Don’t be afraid to move your favorite holiday activity near the window, Christmas tree or other areas where you think you have the best chance to add magic to your photographs.
  • Try a double exposure: If you’re unable to have both the twinkle lights and your subject in the same frame, consider in-camera double exposure. Here’s a detailed tutorial.
  • Glitter it up: Add gold confetti or glitter to any scene to transform an ordinary scene into something magical.
5 Tips for creating magical holiday photos indoors

About the Author:

Sopo is a self-taught photographer, originally from the small, yet gorgeous country of Georgia, now living on Long Island, NY. She seeks to document her two daughters’ everyday through authentic, story-telling photographs. She is constantly exploring new mediums to feed her need for creativity, be it designing intricate jewelry, drafting and sewing children’s garments or learning to paint with watercolors. Visit Sopo Titvinidze online.
 

Friday, December 21, 2018

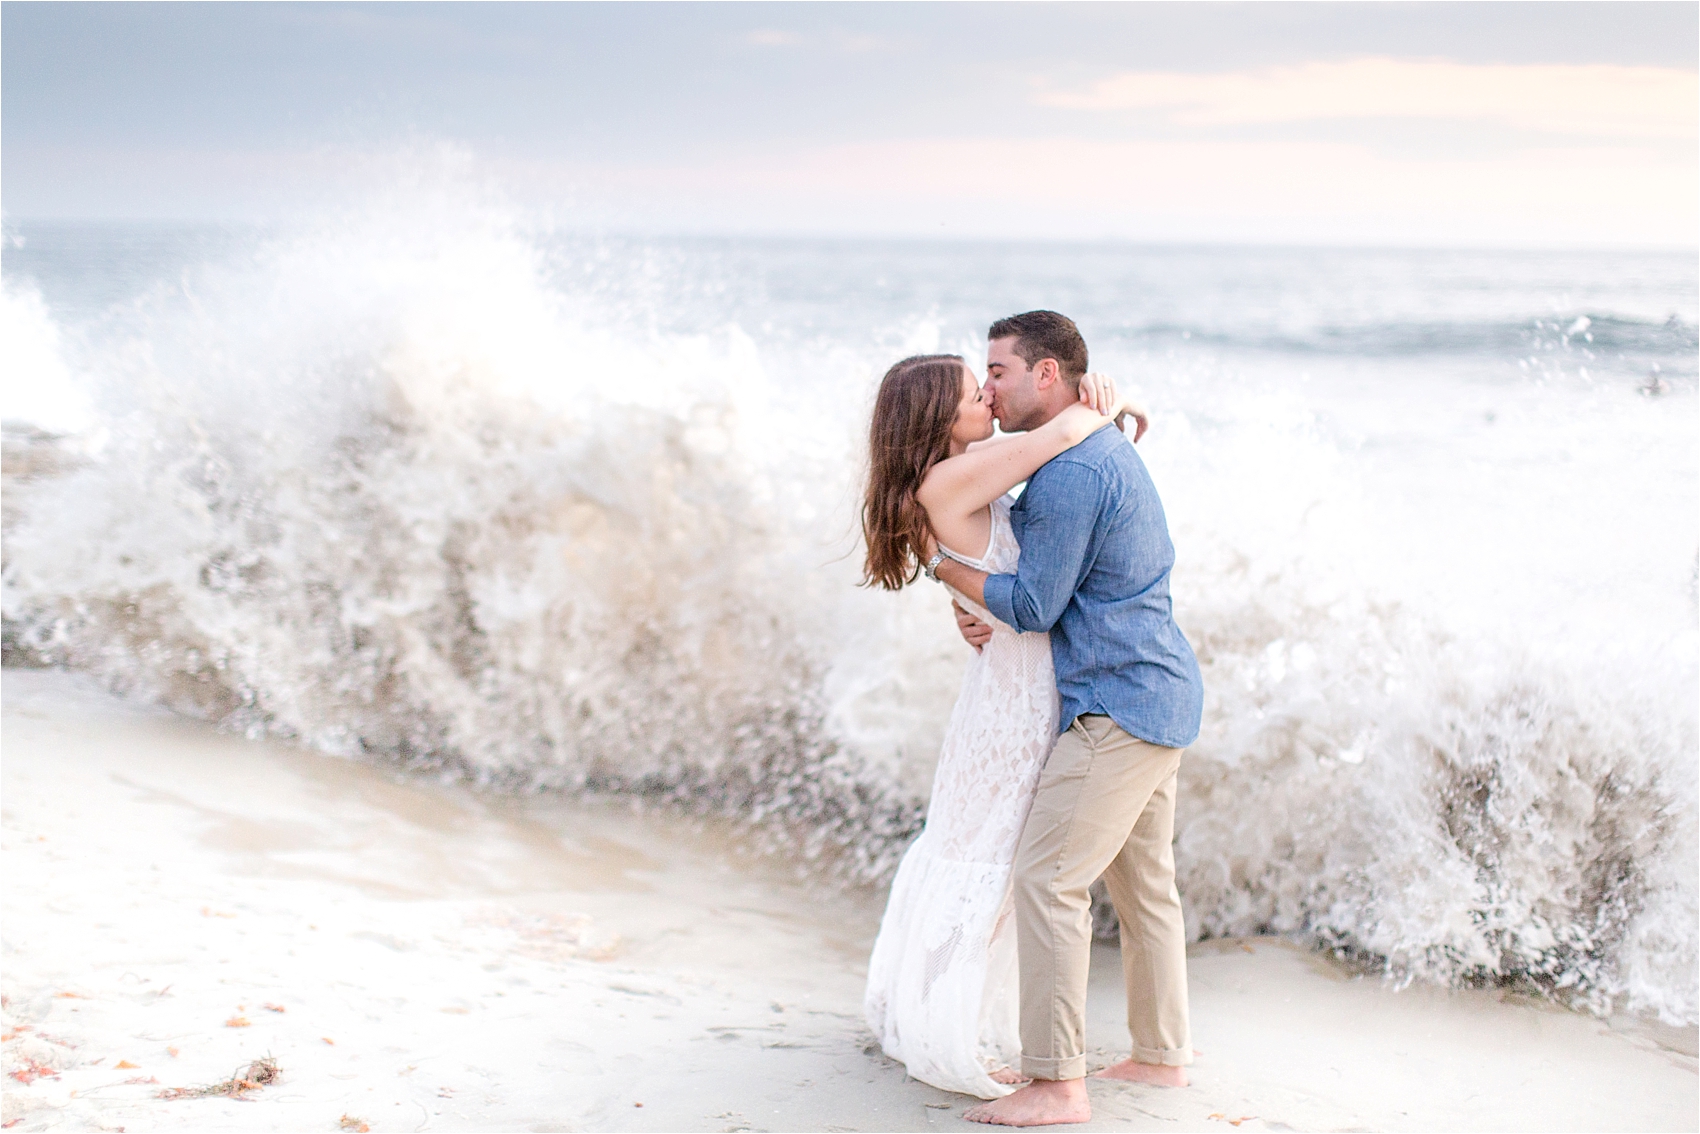
San Diego Engagement Session

These days, it’s pretty rare, and such a gift, to be able to call childhood friends lifelong friends. Like the
 ones you do middle school with. The ones you do acne, braces, glitter eye shadow and overalls with.
The ones you go to Destiny’s Child concerts with (when Destiny’s Child was still a thing). The ones
 you pass notebooks back-and-forth between classes with, and link arms and walk through the halls
with. The ones you do Friday night football games, late-night homework sessions and weekend-long
 sleepovers with. The ones you record silly videos with — and then, as an adult, thank God they’re on
 VHS in your parents’ attic somewhere and not on social media, because Facebook and Instagram
 didn’t exist yet. The ones you got to T9 text with… and TI-89 calculator with. The ones whom you
room in college with, walk down the aisle at your wedding and are first on your list when the stick
turns pink and you FaceTime to say, “We’re pregnant!”
Traci is that rare friend to Amy… to us.
She’s lived in San Diego for the past few years, where she’s one of the best elementary school teachers
 in her district. Our words, not hers. But we can’t say we’re surprised. Thus, we haven’t seen as much
 in the past ten years as we did in the ten years prior, but every time we talk, it’s like we’re back in
 glitter eye shadow and overalls again — with slightly more sophisticated conversation. But only
slightly. As a friend, if we could describe Traci in just a few words, we’d say this: she’s a soft place to
 land. She has this rare gift of natural interest and empathy. She really, truly, deeply cares about us and
 our life, when we were high school sweethearts, elementary school teachers and all that’s come since.
 She’s always believed in us and supported our dreams — like leaving our stable day jobs and
becoming full-time photographers — even when it didn’t make sense to many others.
That’s what made this session so special for us. It was a chance to celebrate almost two decades of
friendship and say “thank you” to a friend who always gave (and always gives) without ever asking for
 anything in return.
Traci, you are our lockbox. Our secret keeper. Our most quiet supporter yet one of our loyal allies.
 From the moment we met Jared a few years ago, we thanked God for bringing you someone who’s a
 reflection of you; which, is, perhaps the highest compliment we could pay him. We love you both
more than you’ll ever know, and we can’t wait to do this next phase of life with you. Our goal is to be
 friends for so long, that we live to see the day when glitter eyeshadow and overalls make the
comeback they deserve.

 #photographyhobbyist  #photographybestoftheday #photographyforever

Hey, We're Amy & Jordan!

We help people take better photos and build successful photography businesses.
 Get our free photography and business coaching delivered straight to your inbox every week.

https://oq305.infusionsoft.com/app/form/monday-minute-sign-up


Wednesday, December 19, 2018

Posing for Headshots: How to Pose Subjects for Flattering Close-Up Portraits

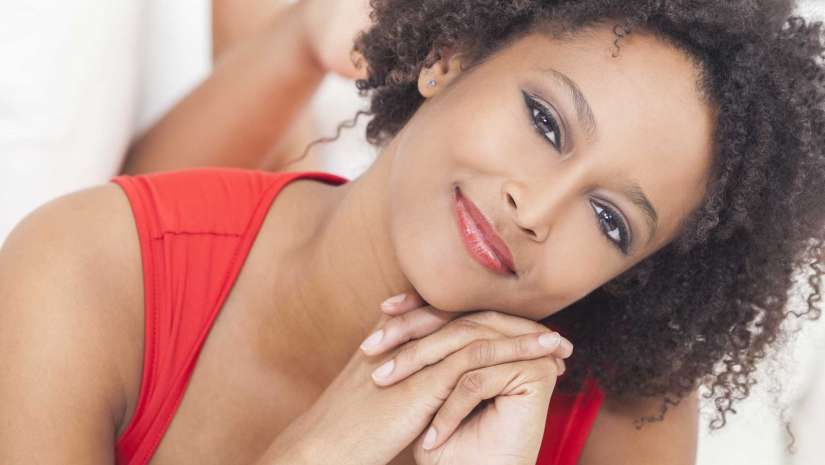
Close-up shot of model with head tilted to the side 
#photographyhobbyist  #photographybestoftheday #photographyforever
 
Portrait photography is a widely practiced form of art that requires a photographer to focus mainly on a person. When shooting close-up portraits, however, the photographer moves in closer or zooms in to achieve a much tighter shot of the model until only the face is visible. This means there is less focus on details like the subject’s clothes, hair, and background, and more on their facial features and expressions.
Despite the simplicity of the concept, this doesn’t mean that close-up portraiture is any easier than regular portrait photography. In fact, it puts significant pressure on how the photographer will compose and capture a cohesive, visually and emotionally compelling image. As you may have guessed, it involves much more than just getting a close-up shot of your model. While some of the usual portrait photography tips still apply to close-up portrait work, there are other unique factors to consider in ensuring that you get the exact results that you want.

How do poses improve close-up portraits?

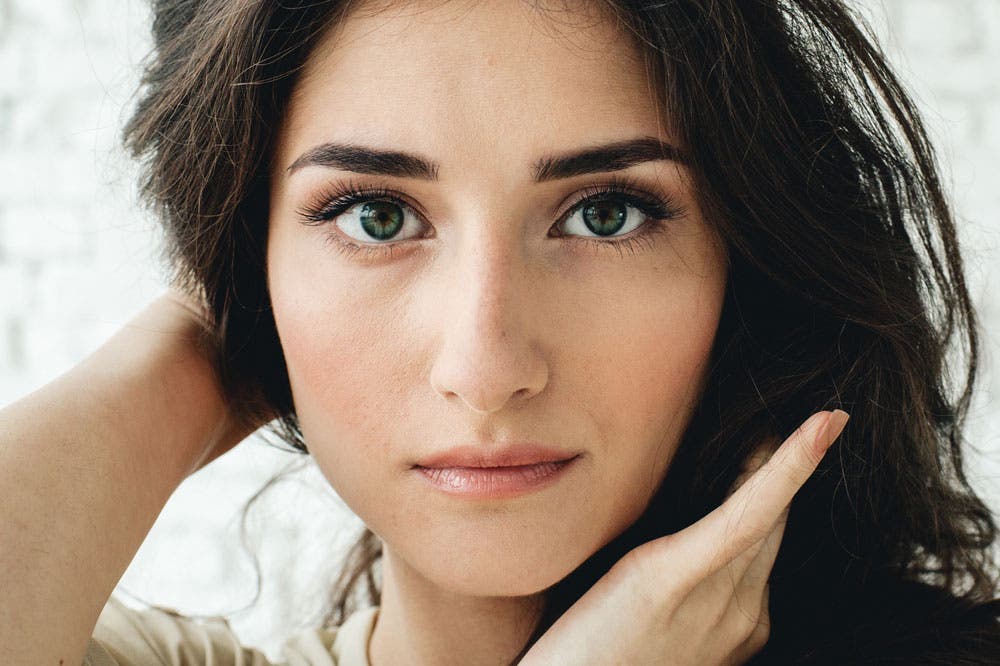
Close-up shot of woman with hands in hair and looking straight at the camera
A good close-up portrait not only showcases and enhances the physical beauty of a person, but also expresses a particular emotion to the viewer. While your subject lighting, composition, camera quality, and even post-processing talents can greatly improve your photos, how a subject poses plays a big part in the overall impact of your portrait.
Let’s say a model wishes to have her portrait taken—one where she looks pretty and happy. A complementary pose should make her look more alluring and would also support the mood or emotion that the portrait wishes to convey. Simply put, proper posing makes portraits naturally beautiful and expressive, as opposed to boring and disconnected.
In this article, we’ve put together a list of of simple tips to help you improve your subject’s poses and achieve more compelling close-up shots:

Posing Tips for Flattering Close-Up Portraits

Profile shot and close-up portrait of woman looking up at the sky and smiling
  1. Focus on expressive eyes
  2. Emphasize your model’s best features
  3. Play down unattractive features
  4. Use the hands
  5. Do the two-thirds turn
Instead of asking your subjects to try out random poses when capturing close-up portraits, you may need to use your artistic eye in figuring out which specific changes in their positioning will improve both their appearance and the entire portrait itself. It may take some practice, but with the following tips, you’ll be able to understand how a certain pose affects how your model looks and will be able to take flattering, beautifully inspired close-up portraits of anyone, at any time.

Focus on expressive eyes

The strongest and most striking feature in any portrait is usually the subject’s eyes. They’re said to be the “windows to the soul,” and it couldn’t be more true when it comes to close-up photos.
Your model can look directly at your camera or stare into space with their head slightly turned to the side. Whatever the pose, remember to keep your camera’s focus on the eyes. It may also help to talk to your model about the emotion they would like to express with their eyes so you can guide their facial expression accordingly for the shot..
Bonus tip: You can use a slightly wide aperture to give the subject softer and younger-looking skin while keeping the eyes sharp.

Emphasize the best features

A quick observation of your subject’s face can help you determine their most appealing physical attributes. It can be their striking eyes, prominent cheekbones, white teeth, full lips, dimples, cleft chin, or even their multiple ear piercings.
Your model can turn their head slightly to the side to emphasize their nose, face the camera directly to show off their ears or earrings, or tilt the head up to put more focus on their mouth and lips. The key is to position the facial feature slightly nearer to the camera for it to catch the eye of the viewer. Take advantage of different lighting techniques to further highlight certain features, but make sure to direct the position of your subject’s head properly to ensure that the light accentuates the best parts of the face.

Play down unattractive features

As you emphasize your model’s best features with the help of your camera’s focus and a couple of flattering poses, you must also take note of any details and characteristics that your model may be self-conscious about.
To slim down the face, play around with angles or ask your model to push their head (specifically, the forehead) forward and then tilt it slightly down to accentuate the jawline while hiding an unsightly double chin. To minimize reflections from eyeglasses, the model can lower their chin or you can shoot from a slightly higher angle. They can make their ears look smaller by facing the camera in a slightly different direction and angle. Those with prominent noses may also want to avoid facing the camera straight on.

Use hands

Posing with hands and arms can definitely help make a person’s figure look more flattering in a typical half or full body portrait. But when it comes to close-up headshots, it still helps to include hand poses into tighter frames.
Instruct your model to lightly place their idle hand and pads of their fingers on one side of the face for a more feminine look. They can also put their chin on top of their fingers or palms to give them a sense of wonder. Both male and female subjects can also try to brush their hands through their hair.
Play around with different hand poses to complement your subject’s face. Just make sure to have them keep the hand slightly bent with the fingers close together. Straight and stiff “jazz” hands can make the shot look awkward and draw unnecessary attention to the size of the hand compared to the face.

Do the two-thirds turn

Sometimes, facing the camera directly can make your model feel stiff and show an unnatural facial expression. What you can do is instruct them do the two-thirds turn, where the model’s upper body does a two-thirds turn away from the camera . It’s a commonly used pose for wider portraits but can also be helpful for taking close-up headshots as it helps your model relax and gives them a slightly slimmer profile.

7 BEGINNER Photography MISTAKES to AVOID!