Saturday, December 15, 2018

4 Tips to Help You Love Using Manual Mode


In this article, I’d like to share with you a few tips on how to utilize some of your camera’s functions to help you come to grips with shooting in Manual Mode.
Sometimes stripping back to the basics and only using minimal, older equipment with none of the modern features new cameras possess, can help you grow as a photographer. Sometimes making good use of selective technology on your digital camera can also help you learn and create more accurate exposures more easily than is ever possible with older cameras.
Asian woman holding an old 35mm film camera - 4 Tips to Help You Love Using Manual Mode
I started learning on a camera which had no auto anything. There were no options other than to learn Manual Mode. I still use shoot manual 99% of the time.
During the photography workshops we run, I love to encourage people to switch to manual and commit to it for a period of time. If you try Manual Mode once or twice for a short time it’s likely you will not “get” it. You need to commit and using only Manual for most of what you photograph for long enough until you feel you are making progress.
man taking a photo - 4 Tips to Help You Love Using Manual Mode

1. Live View/Electronic View Finder

Many cameras now have LCD screens/electronic viewfinders which display how the exposure will look when you take a photo in Manual Mode. If your camera has this function it pretty much eliminates the need to look at the exposure meter or change your metering mode to obtain well-exposed photographs.
By focusing your attention on the exposure of the image on your LCD screen or in your electronic viewfinder while you are adjusting your aperture, shutter speed, and ISO settings you can easily see when your photo will look good.
Asian woman photographer 4 Tips to Help You Love Using Manual Mode
You need have your screen or viewfinder set so it’s neutral, not too bright and not too dark. To check this you can take a few test photos and then review them (on the computer). If they are over or underexposed adjust the brightness value of your camera’s LCD screen and/or viewfinder until your photos have the same exposure value you are seeing in the viewfinder or on your monitor in Live View mode.

2. Use Your Spot Meter

If you prefer not to use Live View or do not have an electronic viewfinder which displays the changes to the exposure value as you adjust your controls, using the spot meter can help you achieve more accurate reading and set your exposures more precisely.
Woman selling mangoes - 4 Tips to Help You Love Using Manual Mode
Modern cameras have a selection of metering modes which include a spot meter. Most often using the averaging mode, which takes a reading from multiple segments of the image area and gives an exposure value the camera calculates, is sufficient.
However, in some situations, particularly if your subject is back-lit or contrast in the scene you are photographing is high, using the spot meter setting will allow you to make a reading off the area of the image which is most vital to you.
For example, making a portrait where your background is significantly lighter or darker than your subject it is best to take a spot meter reading from their face as this is usually the most important part of your image. Using the averaged setting your camera’s meter will also read from the background and calculate that into the result it returns, potentially giving you a less than satisfactory exposure.
Karen woman smoking a pipe - 4 Tips to Help You Love Using Manual Mode
Learning to use your spot meter will assist you in creating more accurate exposures. I have one of the function buttons on my cameras set to switch to spot metering, allowing me to quickly and easily take a reading from any particular part of my composition.

3. Review Your Photos

It’s not a healthy practice to always be checking your camera’s monitor after every photo you take, as this can interrupt your attention from your subject. But it can be helpful to review your first few images after making adjustments to your exposure settings.
Taking a look at the results after changing your aperture, shutter speed, or ISO will give you a clear idea as to whether your settings are suitable for the photos you want to create. If you see a photo that’s too bright or too dark overall or in a part of the composition you prefer to see well exposed, then you will need to make some adjustment to your settings.
Asian woman reviewing a photo on a DSLR camera monitor - 4 Tips to Help You Love Using Manual Mode
As you practice this technique you may start to find you can estimate how much you need to alter your exposure settings rather than consulting your exposure meter again. This does take some practice, but if you form a habit of doing this, you will find this is a quick and easy way to achieve a better exposure.

4. Check Your Metadata

Our digital cameras record an incredible amount of metadata, associated information about each photograph you take. Learning to read and understand even a small amount of this information can assist you in producing more consistently pleasing exposures.
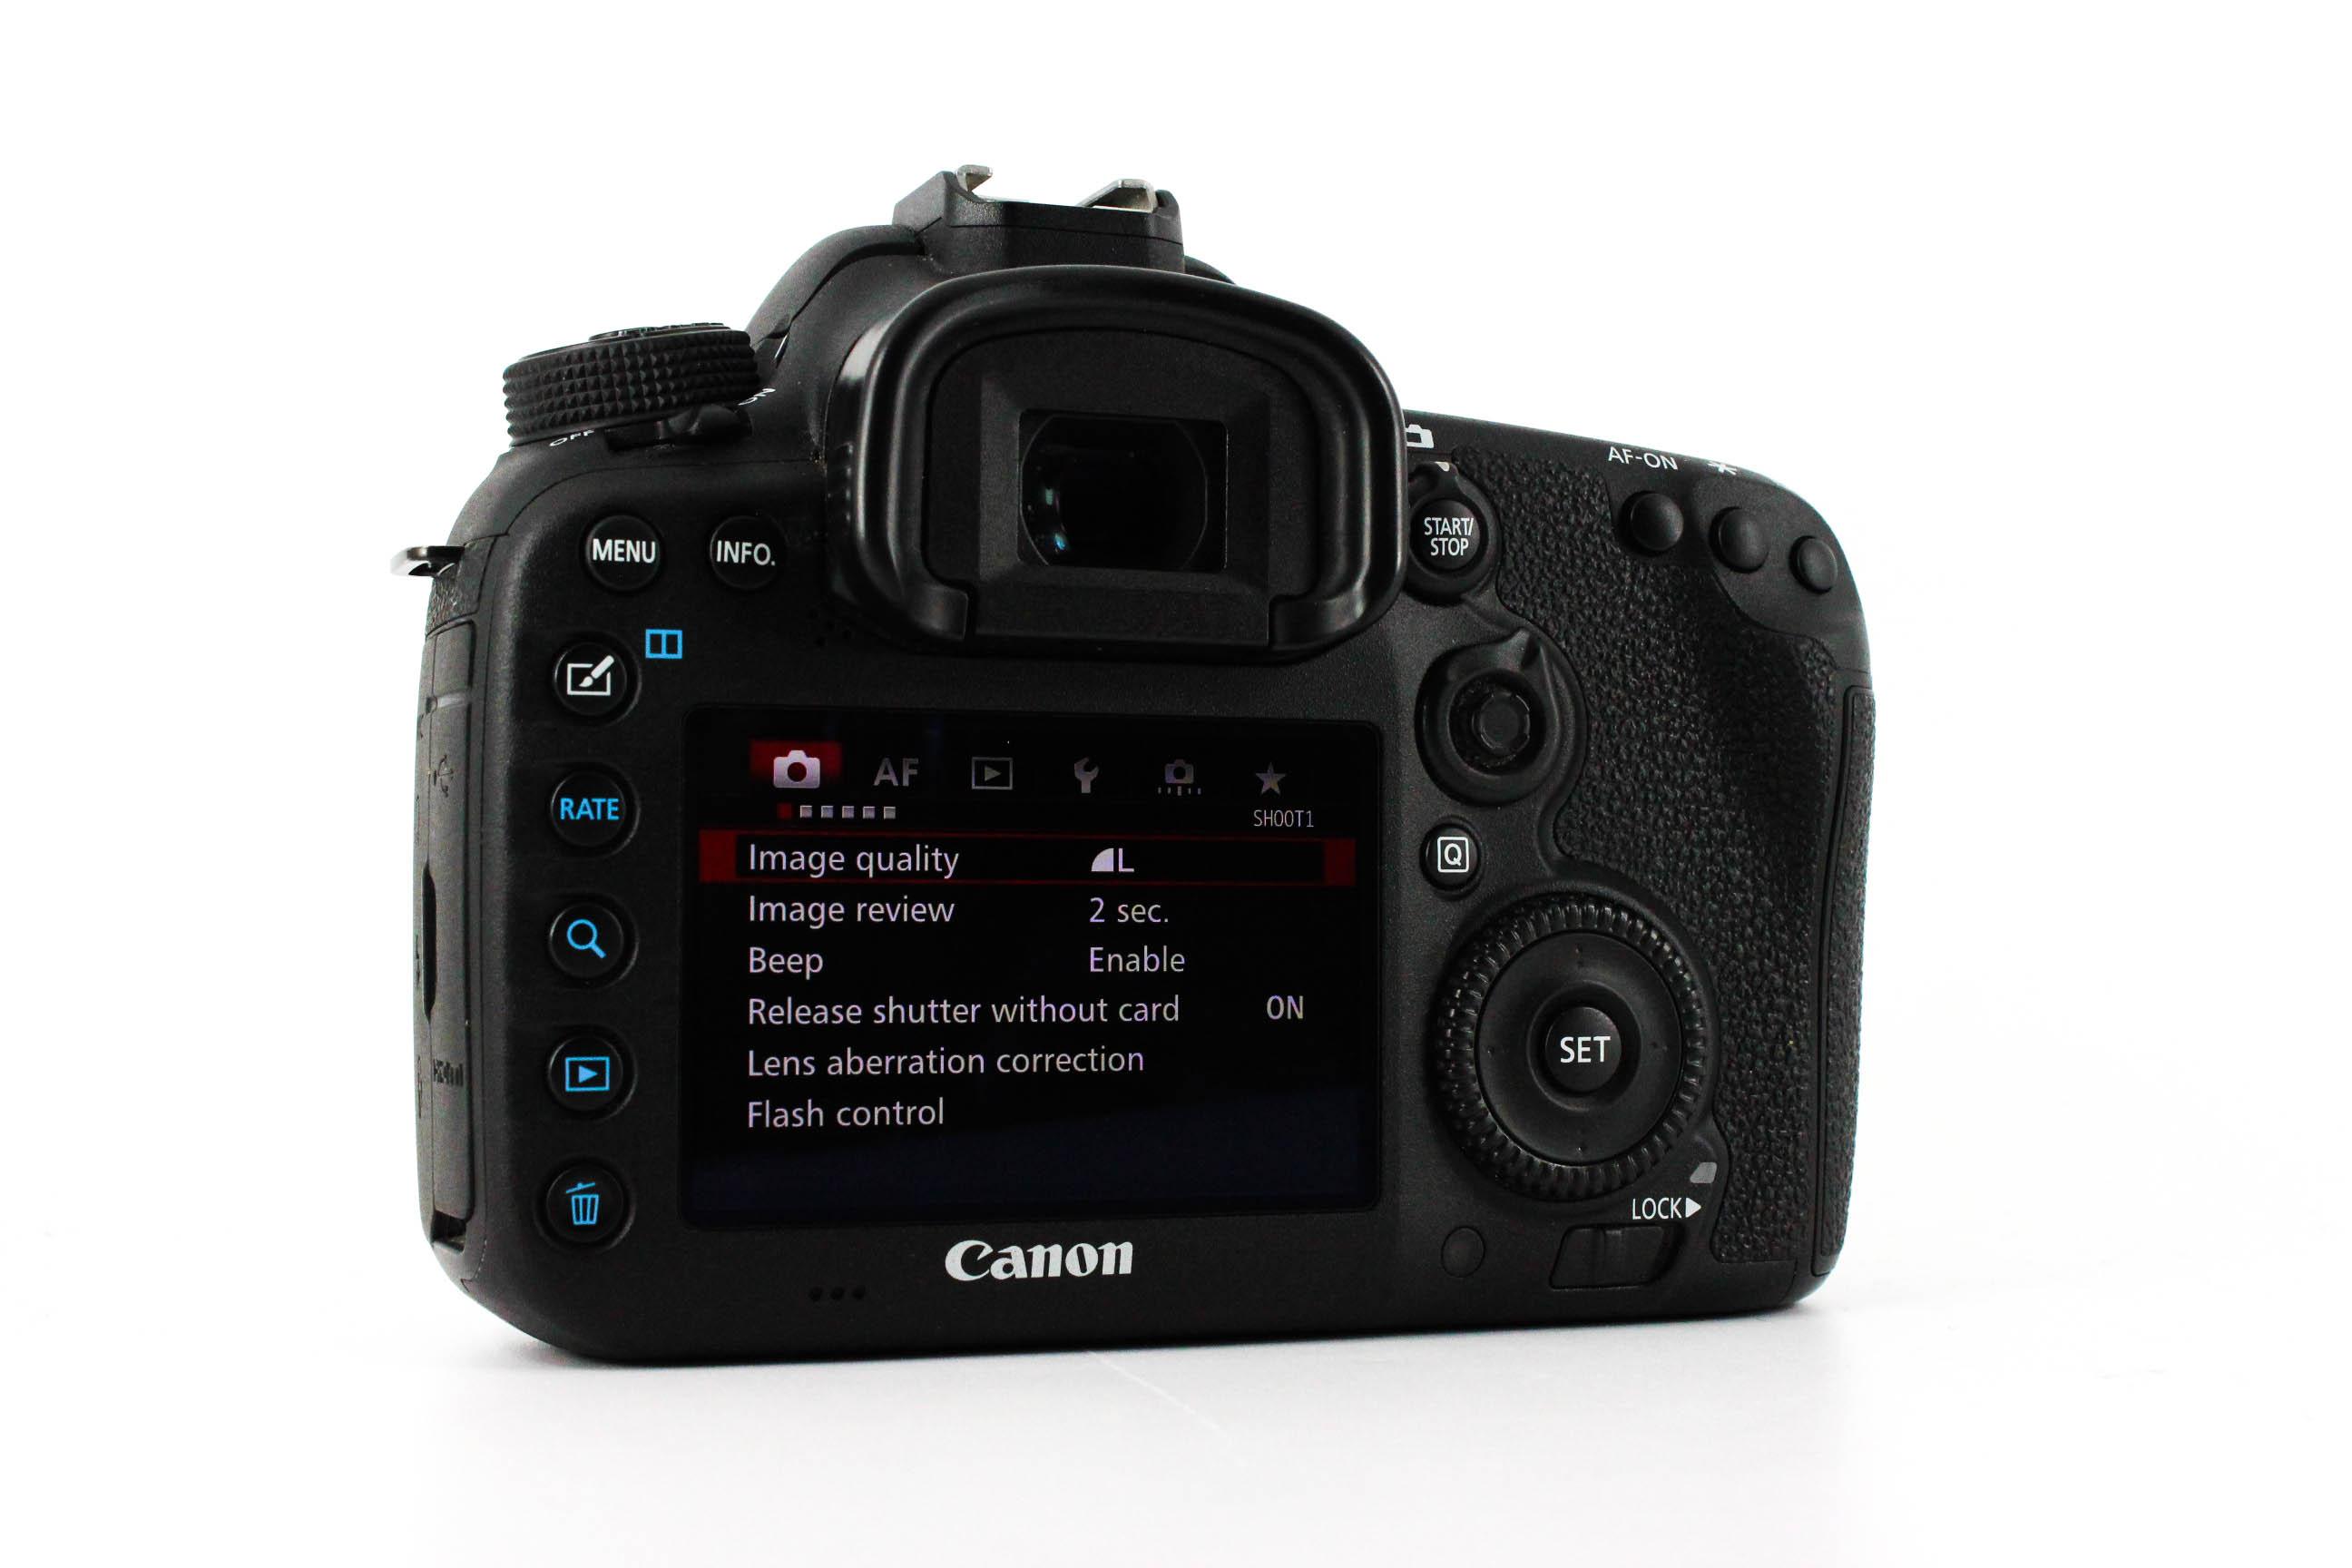
Back of a DSLR camera at dusk - 4 Tips to Help You Love Using Manual Mode
Being able to freely review the exposure value for any photo you have taken can help you understand why it’s good or maybe why it needs improving. I find this information most handy when I am sitting at my computer reviewing my images from a photography session.
Comparing photos made with different exposure values and looking at the metadata can help you have a better understanding of what settings you can use next time.

In Conclusion

Evening photo with bold colors taken during a Chaing Mai Photo Workshop
Autofocus, Facial Recognition, Auto White Balance, and ISO flexibility are all modern advancements in camera technology which make using Manual Mode easier. Because you don’t have to pay so much attention to these things and can better concentrate on setting your exposure well.
Exposure is one of the key elements of every photograph. Learning to understand how you can use the various features of your camera to assist you in making better exposures will help you become a more creative photographer.
<span data-mce-type="bookmark" style="display: inline-block; width: 0px; overflow: hidden; line-height: 0;" class="mce_SELRES_start">?</span>

Read more from our Tips & Tutorials category

Kevin Landwer-Johan is a professional photographer, photography teacher, and filmmaker with over 30 years experience. Kevin is offering DPS readers his FREE course for beginner photographers which will build your confidence in photography. You will learn how to make sense of camera settings and gain a better understanding of the importance of light in photography. Check out Kevin's Blog for articles with a more personal approach to photography.

10 Outstanding Nikon DSLR Cameras For Amateurs and Professionals Serious About Digital Photography


nikon-d3x image #photographyhobbyist  #photographybestoftheday #photographyforever
  

1. The Nikon D3Xis one of only two DSLRs that professional photographers prefer to shoot the best fashion, portraits and/or products in a studio and on-location for spectacular landscapes. The D3X features a full-frame 36 x 23.9mm CMOS sensor, with a resolution of 24.5 megapixels; full 1:1 magnified view in Live View; 51-point AF (auto-focus) with a wide range of selection/grouping options and intelligent tracking; and probably the best metering system (1005 pixel RGB sensor).
For approximately, $8,000, the Nikon D3X is a very serious DSLR camera, but for those that need its high-end features and capabilities, it is the camera to buy.
2. The Nikon D3S isn’t as revolutionary as the legendary D3, but includes many attractive refinements for serious amateurs and pros who are ready to spend $5200 for a DSLR. The 12.1-megapixel, full-frame (36 x 24 mm) sensor produces exceptional image quality from Nikon’s RAW file format, 14-bit uncompressed NEFs (Nikon Electronic Format). Its larger buffer allows for very acceptable images in lower light and more than 30 RAW frames in one burst. This makes the D3S an excellent tool in the hands of sports and action photographers.
3. The Nikon D700 is often considered the company’s first “compact” professional DSLR; and, at approximately $2,700, competes successfully with the Canon EOS 5D Mark II and Sony DSLR-A900.
The core of the D700 includes the same 12.1-megapixel, full-frame (FX) sensor and processor that so many photographers like about the D3. They are also attracted to the D700’s ISO range of 200–6,400 (with boost to ISO 25,600); Multi-CAM3500FX Auto-Focus sensor (51-point, 15 cross-type, and more vertical coverage); 5 frames per second continuous shooting mode, with auto-focus tracking; and exclusive Scene Recognition System.
4. The Nikon D300s had big shoes to fill since the original D300 was hailed as the “best semi-professional digital SLR.” The newer D300s maintains that reputation with the quality construction of its magnesium-alloy parts; a 13.1-megapixel, DX-format, 3:2-aspect ratio CMOS sensor; and 7 frames per second continuous shooting.
The D300s also features Nikon’s first contrast-detection auto-focus that works in movie mode as well as live view. The advanced auto-focus system includes 3D tracking, which designates the active points and tracks a subject within all three dimensions, delivering a sequence of in-focus images. Add the Nikon D300s’ 720p video and it’s an excellent value at approximately $1,700.
5. The Nikon D7000 is the obvious and best upgrade choice for photographers with older Nikon model, such as the D70 or D90. Virtually everyone in the digital photography world agrees that the Nikon D7000 is the best DSLR that Nikon has ever made.

The Nikon D7000 features a 16.2MP CMOS sensor, which provides the second highest resolution of any Nikon DSLR other than the 24MP sensor in the D3X. With its 1080p full-HD movie mode and more manual control in live view and video modes, the D7000 produces higher quality images than any other Nikon priced less than $7,500. At $1,200, that comparison makes buying the D7000 an easy decision.
6. The Nikon D90 is targeted at all enthusiasts and hobbyists, from “beginner” DSLR users to those with DSLR experience that don’t want to spend the bucks for semi-pro or pro cameras.
At the time of its release, Nikon gave the D90 a better CMOS sensor (12.3 megapixels); the 3.0-inch VGA screen and 3D tracking auto-focus (AF) from the D3/D300; Live View, contrast-detect AF; and the world’s first DSLR movie mode (720p HDTV quality) and HDMI output.
The Nikon D90 still gives DSLR beginners plenty of capacity to take all the digital photos and video they’ll ever want, as they develop their DSLR skills; and, at approximately $900 (body only), it is a value purchase.
7. The Nikon D5100 DSLR camera ($850) is a middle-of-the-road choice between the more expensive D7000 and the basic D3100. If you’re a member of the broad market of non-professional DSLRs buyers, then the D5100 will give you an excellent balance of value and capabilities and picture sharpness that tend toward professional-grade.
What has many digital photography enthusiasts’ attention is the side-hinged LCD screen; a definite step forward from the D5000’s unwieldy bottom-hinged LCD. The D5100 has many of the features found in the D7000, such as a 16.2-MP CMOS sensor, ISO settings to an equivalent of 25,600 and 14-bit RAW shooting function, which, in the past, Nikon reserved for its more expensive cameras.
8. With the D5000, Nikon has created a niche between the D60 and the D90 that designates the D5000, as a high-end, entry-level DSLR. The D5000 has a 12.3MP CMOS sensor compared to the D60’s 10.2 MP CCD sensor. Where the D60 only as a three-point auto-focus (AF) system, the D5000 has graduated to an 11-point AF system.
The video capabilities of the Nikon D5000 are quite impressive. It was one of the first DSLRs, with a sensor of its size, to record video. Again, the D5000’s video specs are the same, or similar, as the D90.
With so many of the features of the D90 packed inside the D5000’s body, its innards have proven their quality and capabilities and that alone makes the Nikon D5000 an excellent choice at approximately $630.
9. The Nikon D3100 DSLR camera signifies a realization on the part of the company that it needed to update its competitive position in the DSLR entry-level market. The D3100’s 14.2 megapixel CMOS sensor makes it the first Nikon entry-level model with live view and full-HD video and capable of recording 1920x1080 movies.
At approximately $650, the Nikon D3100 is in the same price range as the Canon EOS 1100D ($600), the Sony NEX-C3 ($550–$650), the NEX-5 ($650) and Panasonic GF2 (less than $600). When entry-level buyers compare all these cameras’ features, they’ll find the Nikon D3100 a good, if not better, choice than its competitors.
10. The Nikon D3000 is one of a number of cameras on the market for digital photographers who are ready to advance to their first DSLR. It has many powerful features, especially in its set-up and shooting menus, that makes it very comparable to the Nikon D5000 and D90 cameras. Of particularly note is the D3000’s guide mode that explains key shooting criteria, instead of just displaying them, which was first seen in the Nikon D40. The other major improvement is the 11-point AF system compared to the D60’s 3-point system.
Despite some drawbacks, the Nikon D3000 DSLR camera (at approximately $500) is an excellent first choice for digital photographers who want to advance their skills and results beyond what can be done with a compact, or point-and-shoot, camera.

Courtesy of: Photography Talk

Thursday, December 13, 2018


How to Nail Exposure in Your Photos Using Manual Mode


If you’ve been wanting to learn more about using your camera in manual mode and have 26 minutes to spare, here’s a helpful educational video by photographer Sean Tucker that’s just for you. He teaches how to nail exposure using manual mode.

Tucker walks through the fundamental concepts you’ll need to know, from how cameras work to the exposure triangle.

After teaching the head knowledge, Tucker also goes out into the street (at 15 minutes in) to provide some examples and tips on shooting manual in the real world.
“A lot of my street photography is made up of contrasty images where the majority of the frame falls to deep shadow,” Tucker says. “The question I get asked most is ‘how do you expose for this sort of shot’? The short answer is ‘Manual Mode’… and the long answer is this video.
“I try and break down exactly how to expose correctly for any scene using aperture, shutter speed and ISO to balance your exposure triangle. This is probably a good video for any amateurs out there who are looking to take more control of their photography.”

DSLRs are Still in the Game: Top 5 DSLR Cameras of 2018

top dslrs of 2018 image #photographyhobbyist  #photographybestoftheday #photographyforever
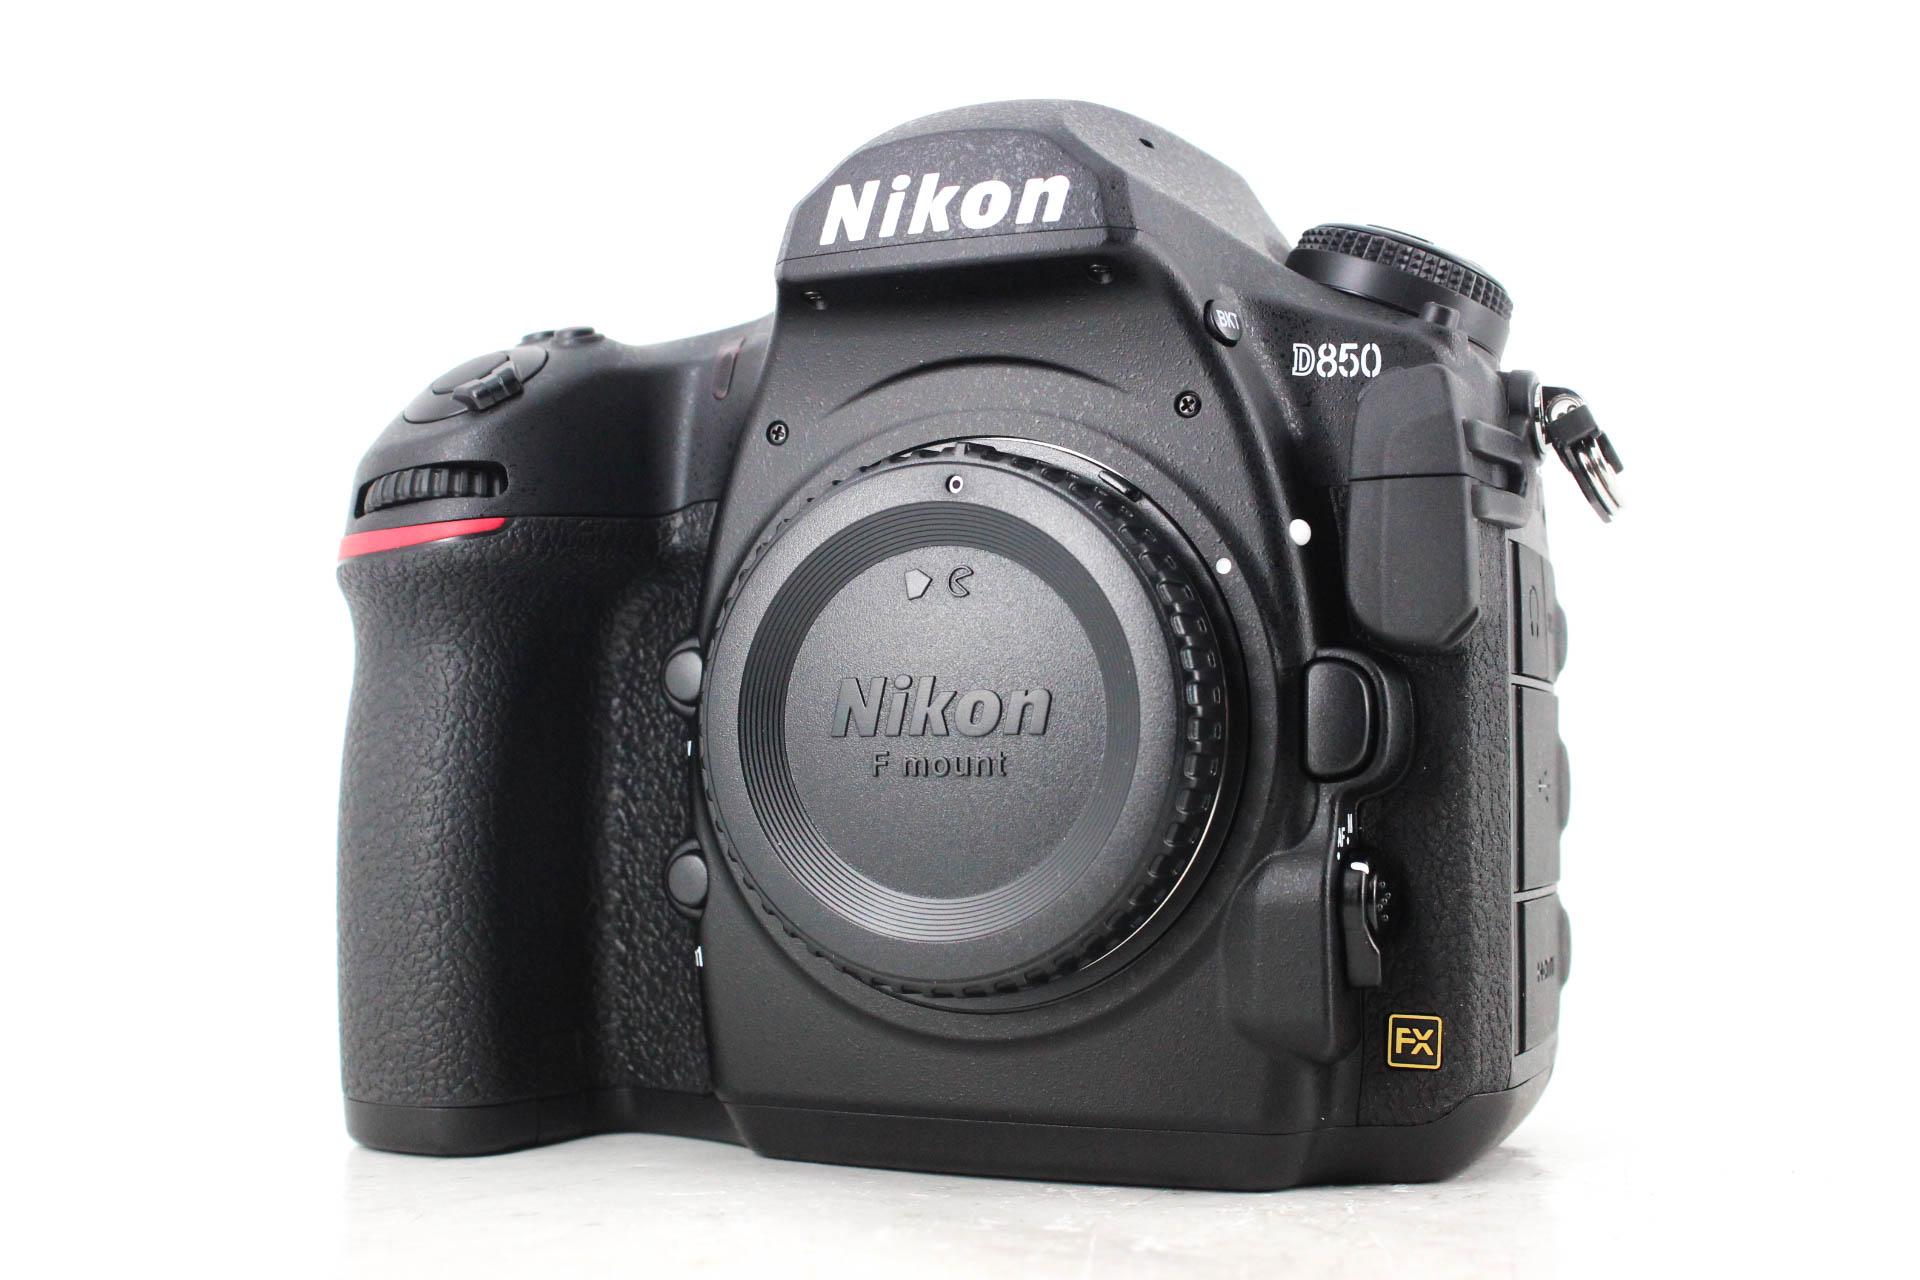
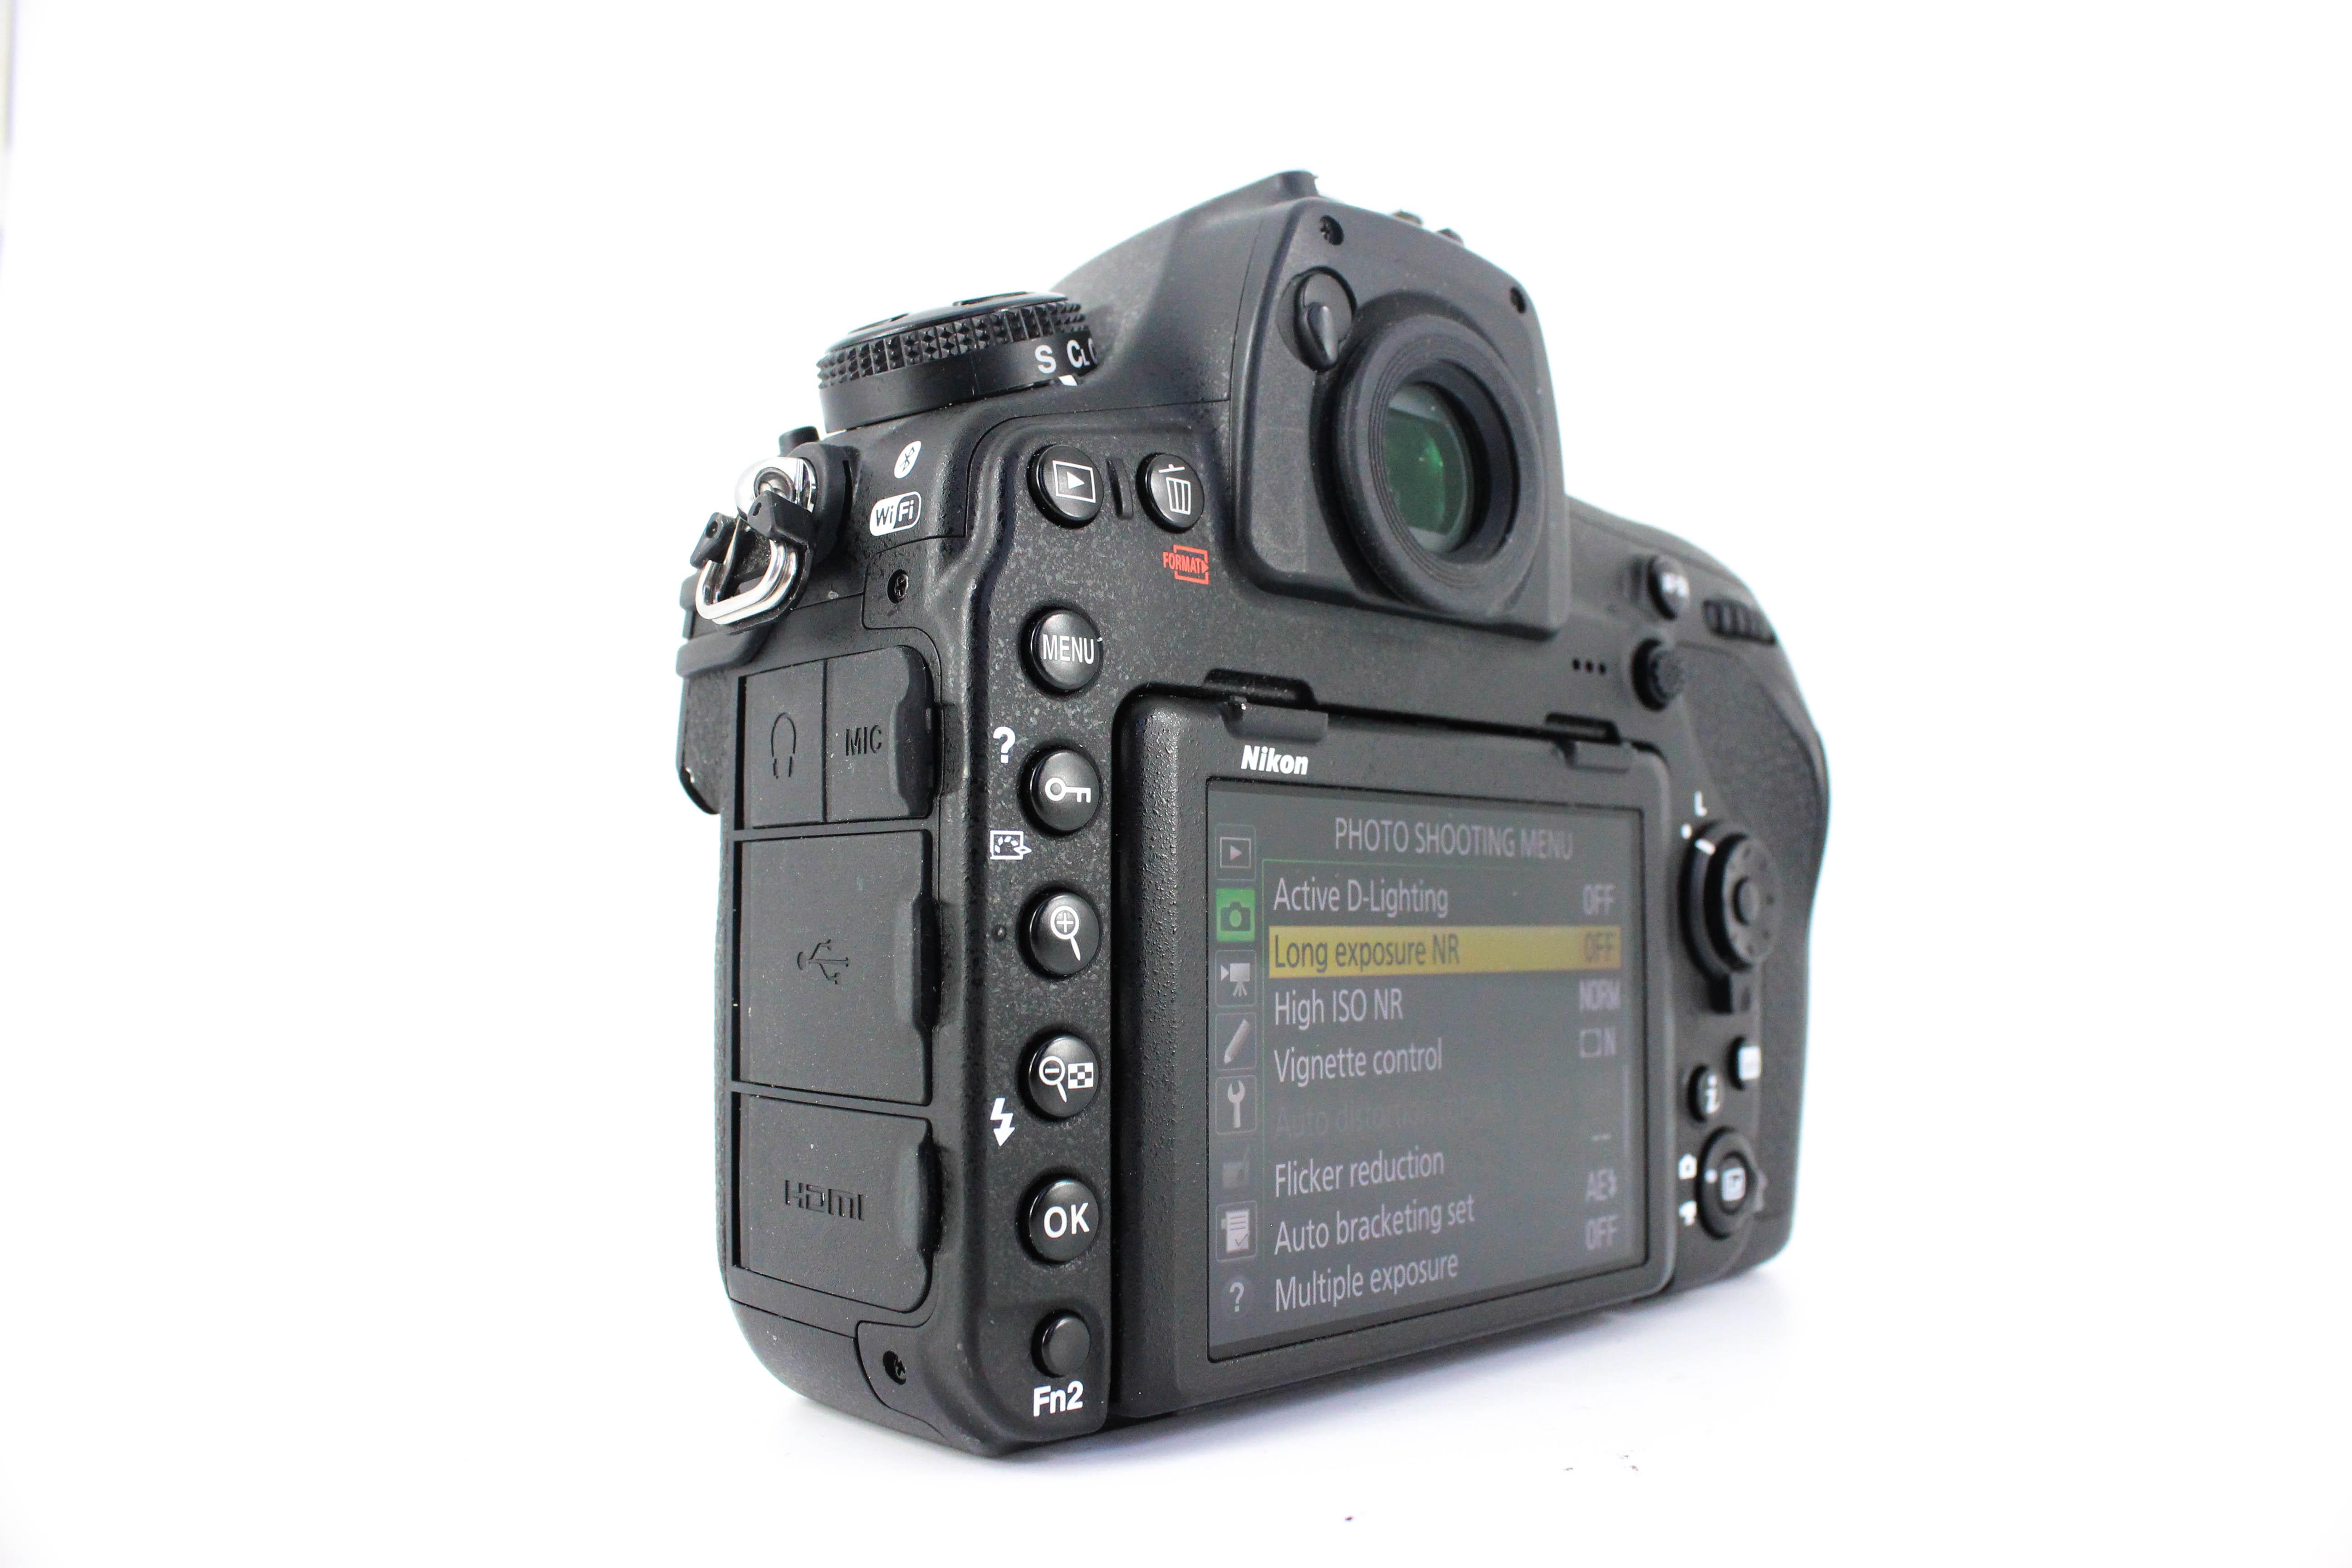
 
Photo by Suganth on Unsplash 
For decades, DSLR cameras have been the top choice for both amateur and professional photographers. Although mirrorless cameras are becoming increasingly popular, DSLRs still have a lot to offer. They are constantly improving and getting cheaper, allowing everyone to find the best camera that will suit their needs.
DSLR (digital single-lens reflex) cameras have seen dramatic improvements over the years. They have ruled the market for many years because of their convenient features such as having interchangeable lenses, a reflex mirror, a digital sensor, an optical viewfinder, good image quality, and manual controls.
There is no doubt that mirrorless cameras are threatening to replace the DSLR's dominant position in the market. They have ditched the basic characteristic of DSLR cameras - an internal mirror, which makes them smaller and more practical to use.
At this moment, DSLR sales are losing to mirrorless cameras, but it does not mean they are outdated or irrelevant. Many professional photographers prefer to keep using DSLR models. Also, lower prices have made them affordable to a wider group of consumers over the last few years.
DSLRs still have an advantage over mirrorless camera because of their longer battery life and the option to choose between a wider choice of lenses. For many photographers, this makes DSLRs a more practical choice.
The rise of mirrorless cameras has forced companies like Nikon and Canon to find ways to make DSLR cameras more competitive. This is the reason why there were many outstanding models released in 2018. The following list rounds up some of the top DSLRs of 2018.

Best DSLR: Nikon D850

 image
The Nikon D850 is probably the best DSLR camera you can buy at this moment.
This full-frame beast has everything you need to make stunning pictures of high resolution at high speed, and there are few that would oppose this statement.
The D850 incorporates all good features from the previous Nikon series and adds a few things to spice it up and make it a perfect tool for versatile purposes.
It has back-side illuminated full-frame sensor with 45.7 megapixels and no optical low-pass filter. This means that it performs well both at low and high ISOs.
 image
Other useful features of the D850 are high-speed continuous shooting up to 9 fps, excellent battery life, 180K-pixel RGB sensor, ISO sensitivity from 64 – 25.600, 153-point AF system, and 4K video, to name but a few.
It comes in a durable magnesium alloy body and looks pretty fancy. One of the best features of this camera is that it can work in silent mode which is useful if you want to photograph wild animals or events that demand a quiet atmosphere.
Although it is not very cheap, - just a shade under $3,300.00 - there are less expensive options, such as buying a used model.

Either way, the D850 is the best DSLR camera you can have in your hands at this moment. See this rig in action in the video above by Tim Shields Photography.
Have Nikon questions? Ask them in the Nikon Camera Forum.

Learn More:

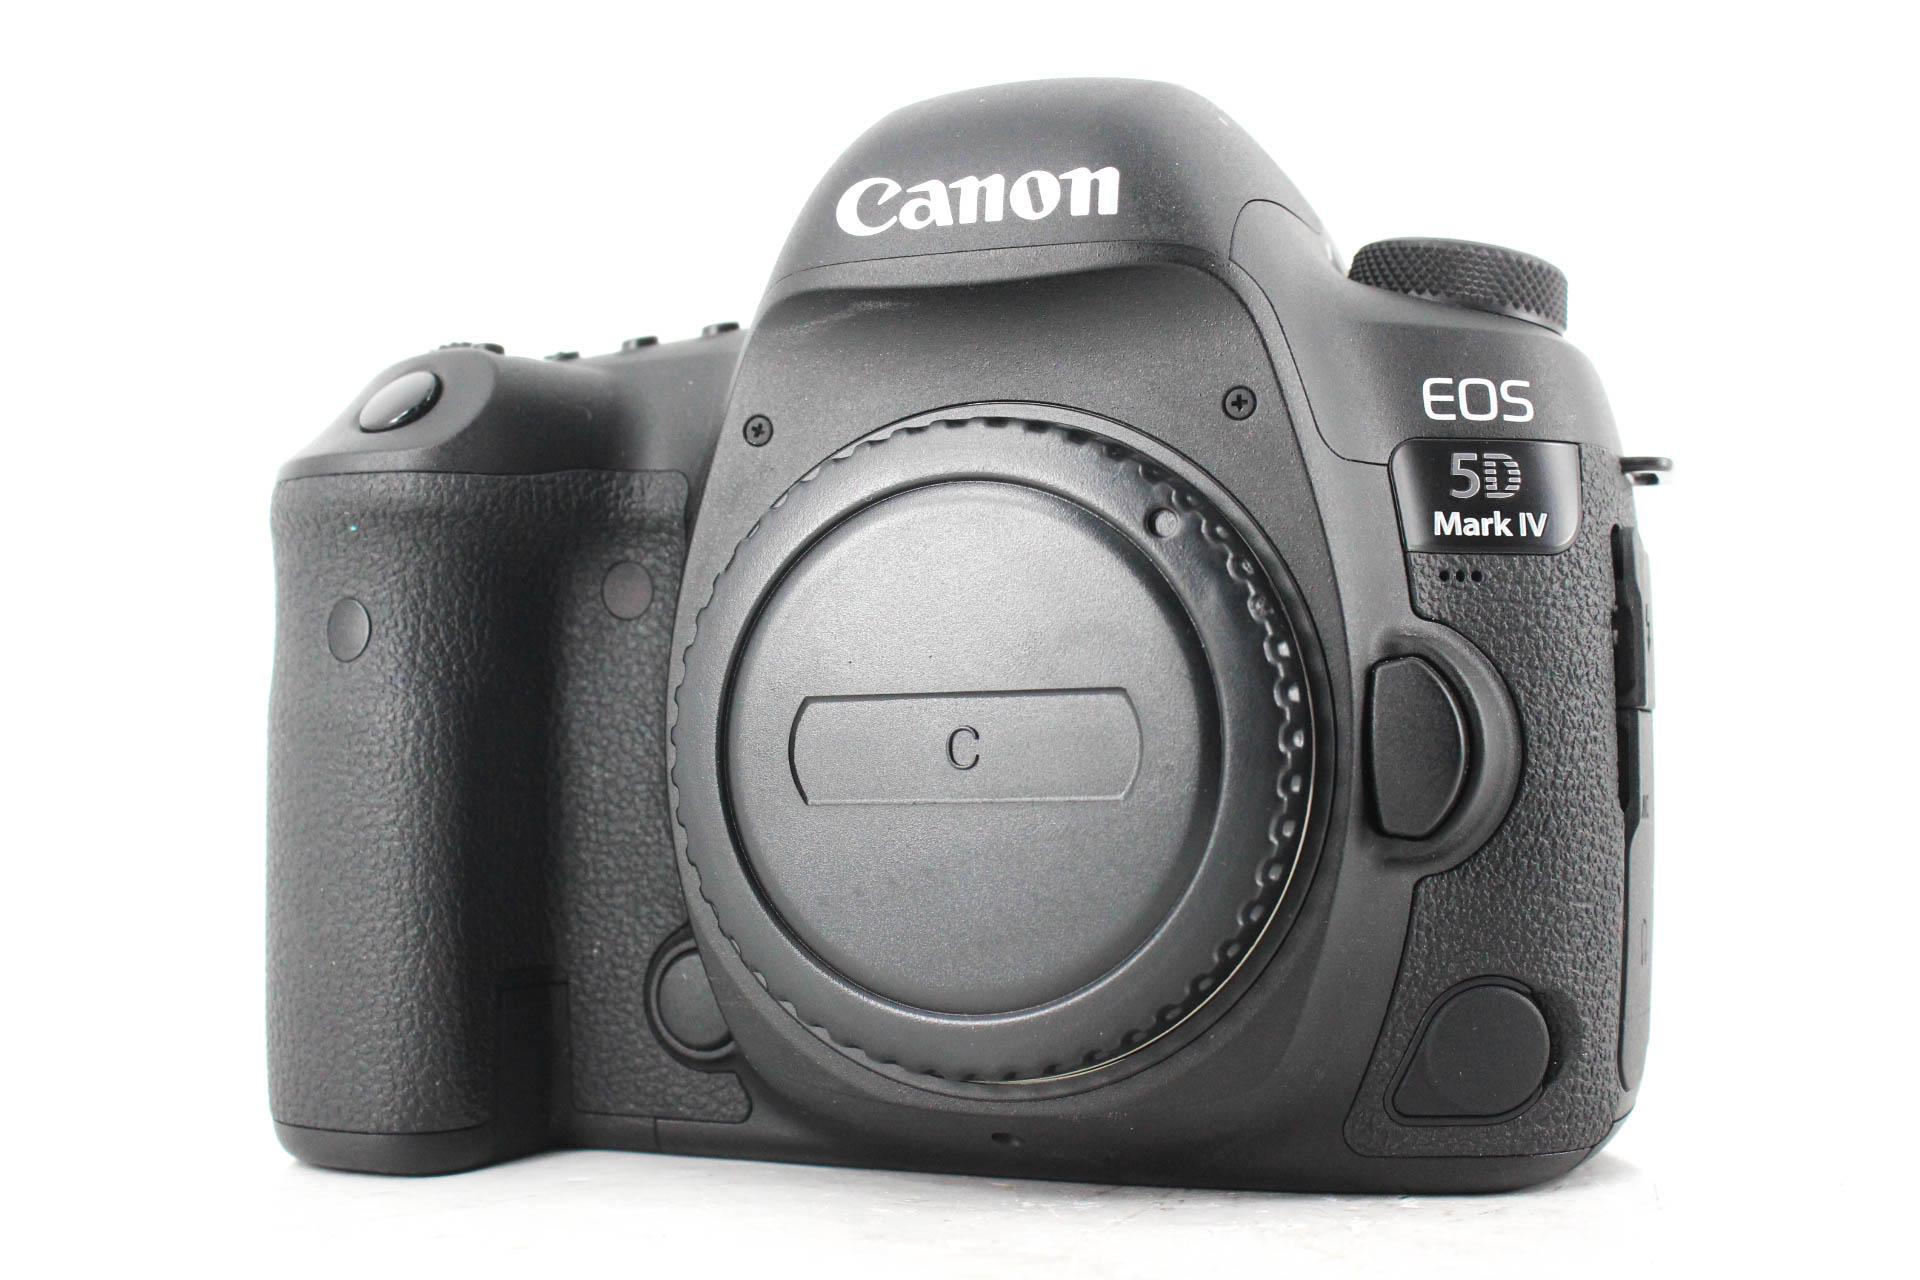
Top Canon DSLR: EOS 5D Mark IV

canon 5d mark iv image
Canon EOS 5D Mark IV will absorb every detail as soon as the light comes through its objective.
Although it can’t compete with the Nikon D850, this camera has stunning performance and an advanced AF system that will make outstanding photographs when put in the right hands.
With its full-frame CMOS sensor of 30.4MP, the Canon EOS 5D Mark IV offers much more than its predecessor.
 image
It has maximum ISO sensitivity of 32,000, 7fps burst shooting, an advanced AF system, 4K video, and a 3.2-inch touchscreen.
It is also equipped with WiFi and GPS technology which allows you to communicate and synchronize with other devices.
This camera is intended for professionals or hobbyists who will need to pay around $2,700 for this piece of equipment brand-new (and starting at around $2,250 used). Still, those who decide to buy it will probably not regret as this camera was made to impress.
Have Canon Questions? Ask them in the Canon Camera Forum

Best Value Nikon DSLR: D3500

nikon d3500 image
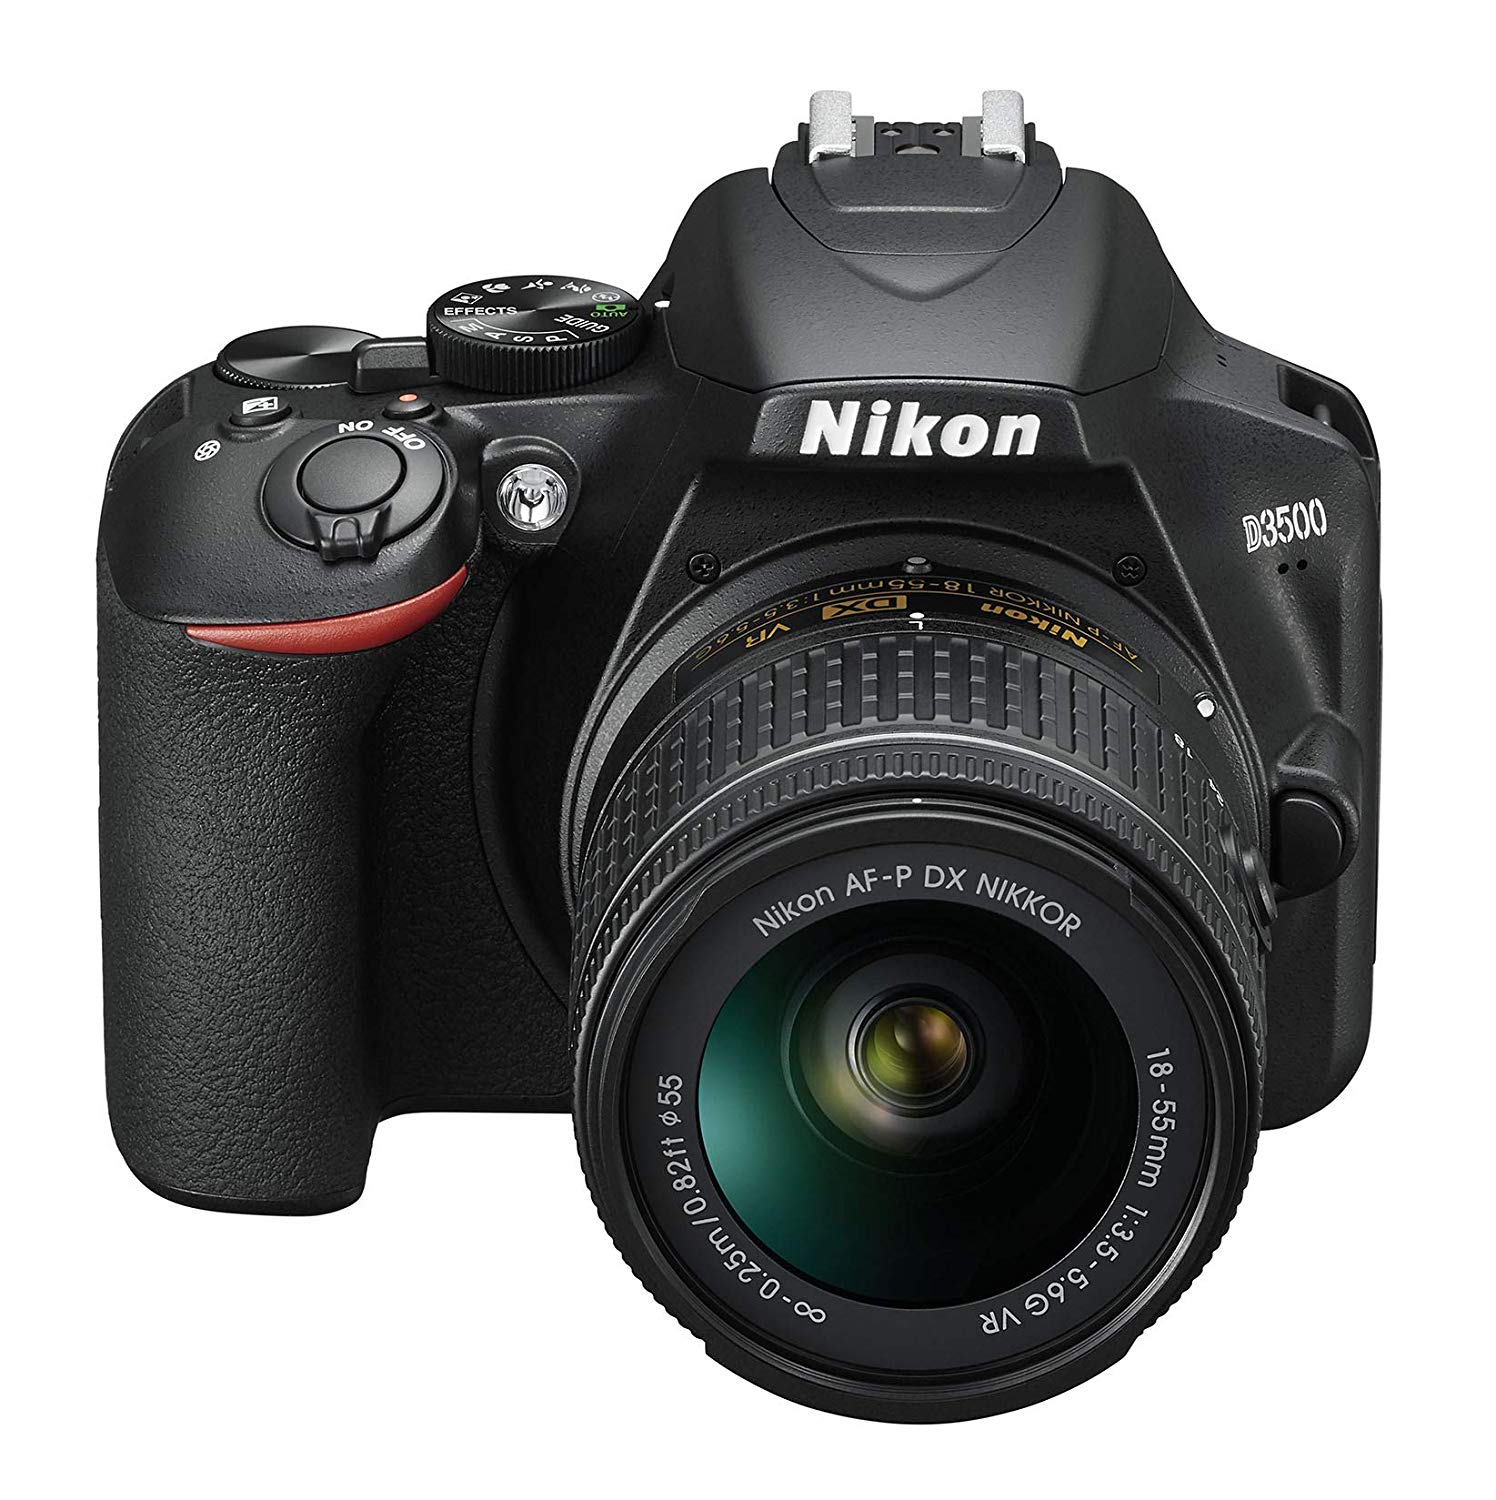
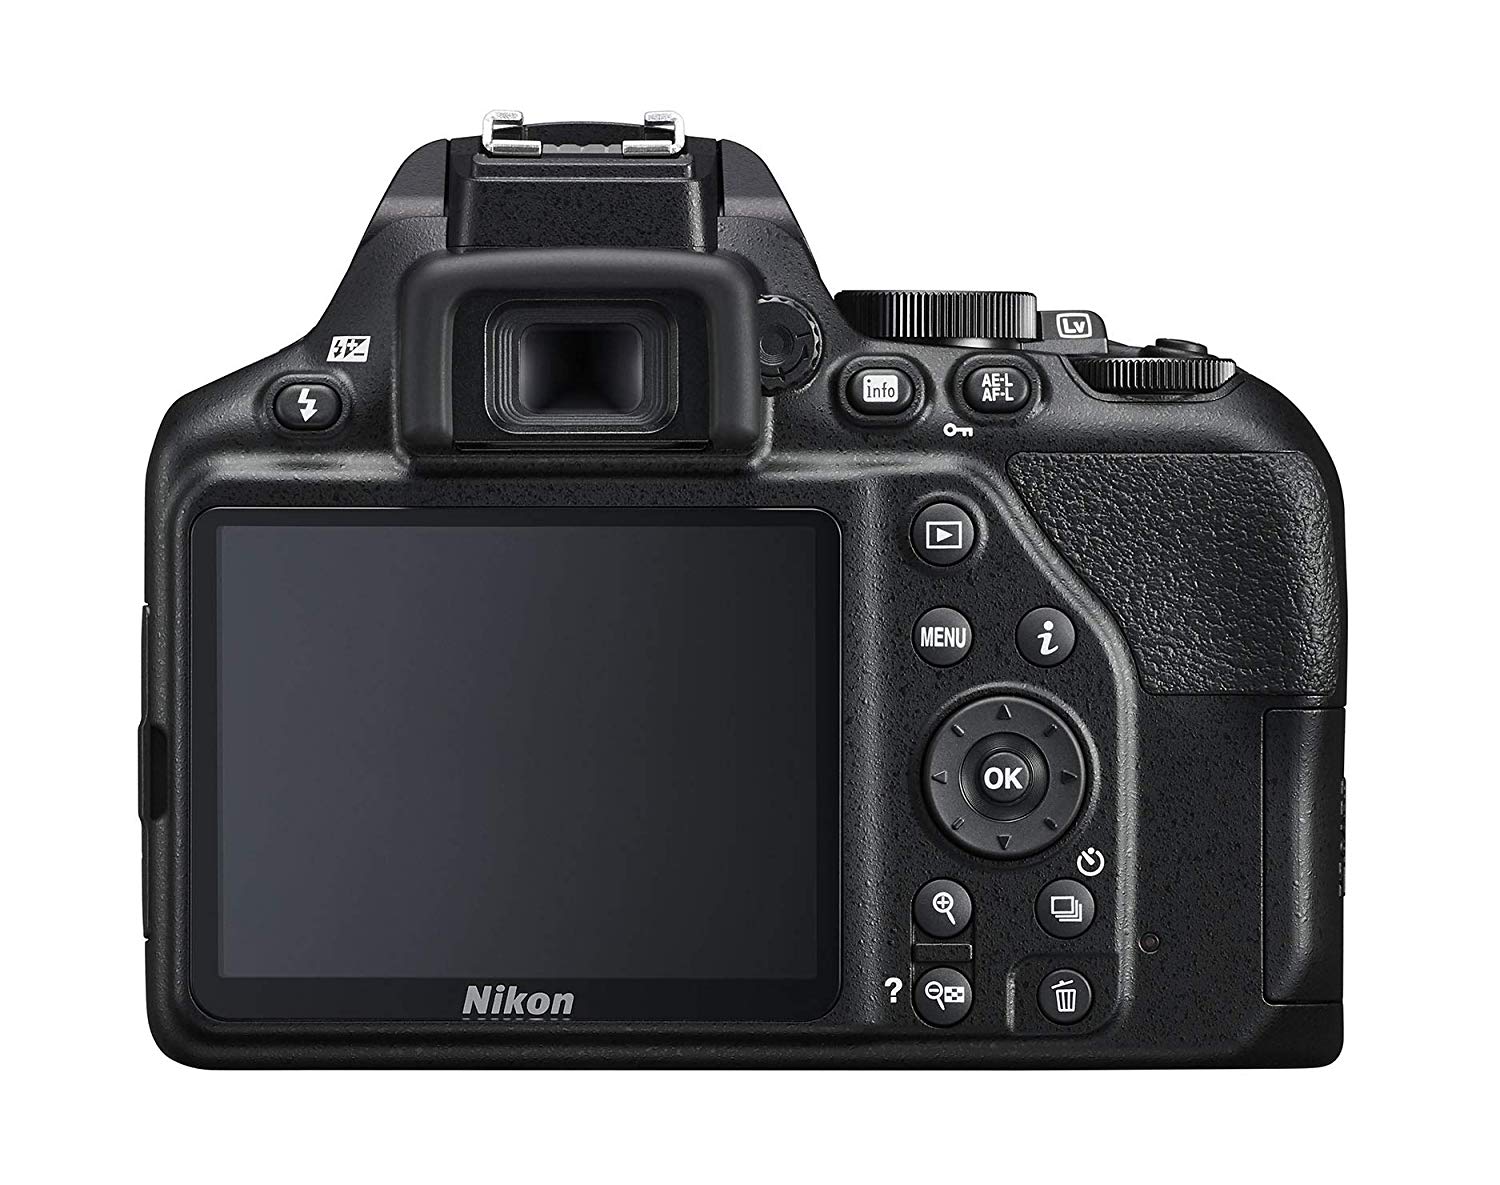
The Nikon D3500 is one of the top choices for those who want a great DSLR camera for a relatively small amount of money.
With a price around $400 brand-new (and with a kit lens), the Nikon D3500 allows just about anyone to enter the world of photography.
Its controls were design to be handy for beginners, but it does not mean that this camera can’t produce high-quality photos that can compete with those made on more expensive models.
nikon d3500 2 image
The camera has a built-in Guide Mode to speed up the learning process for new users. It also has a 24.7-megapixel APS-C sensor, 5fps continuous shooting speed, full HD 1920 x 1080 video at up to 60/50fps, Bluetooth, and EXPEED image processing system.
While this camera can't compete with the Nikon D850, it's not designed to - instead, it's an ideal camera for beginner and enthusiast photographers that want a small, yet capable DSLR.

Learn More:

Best Professional Nikon DSLR: Nikon D5

nikon d50 image
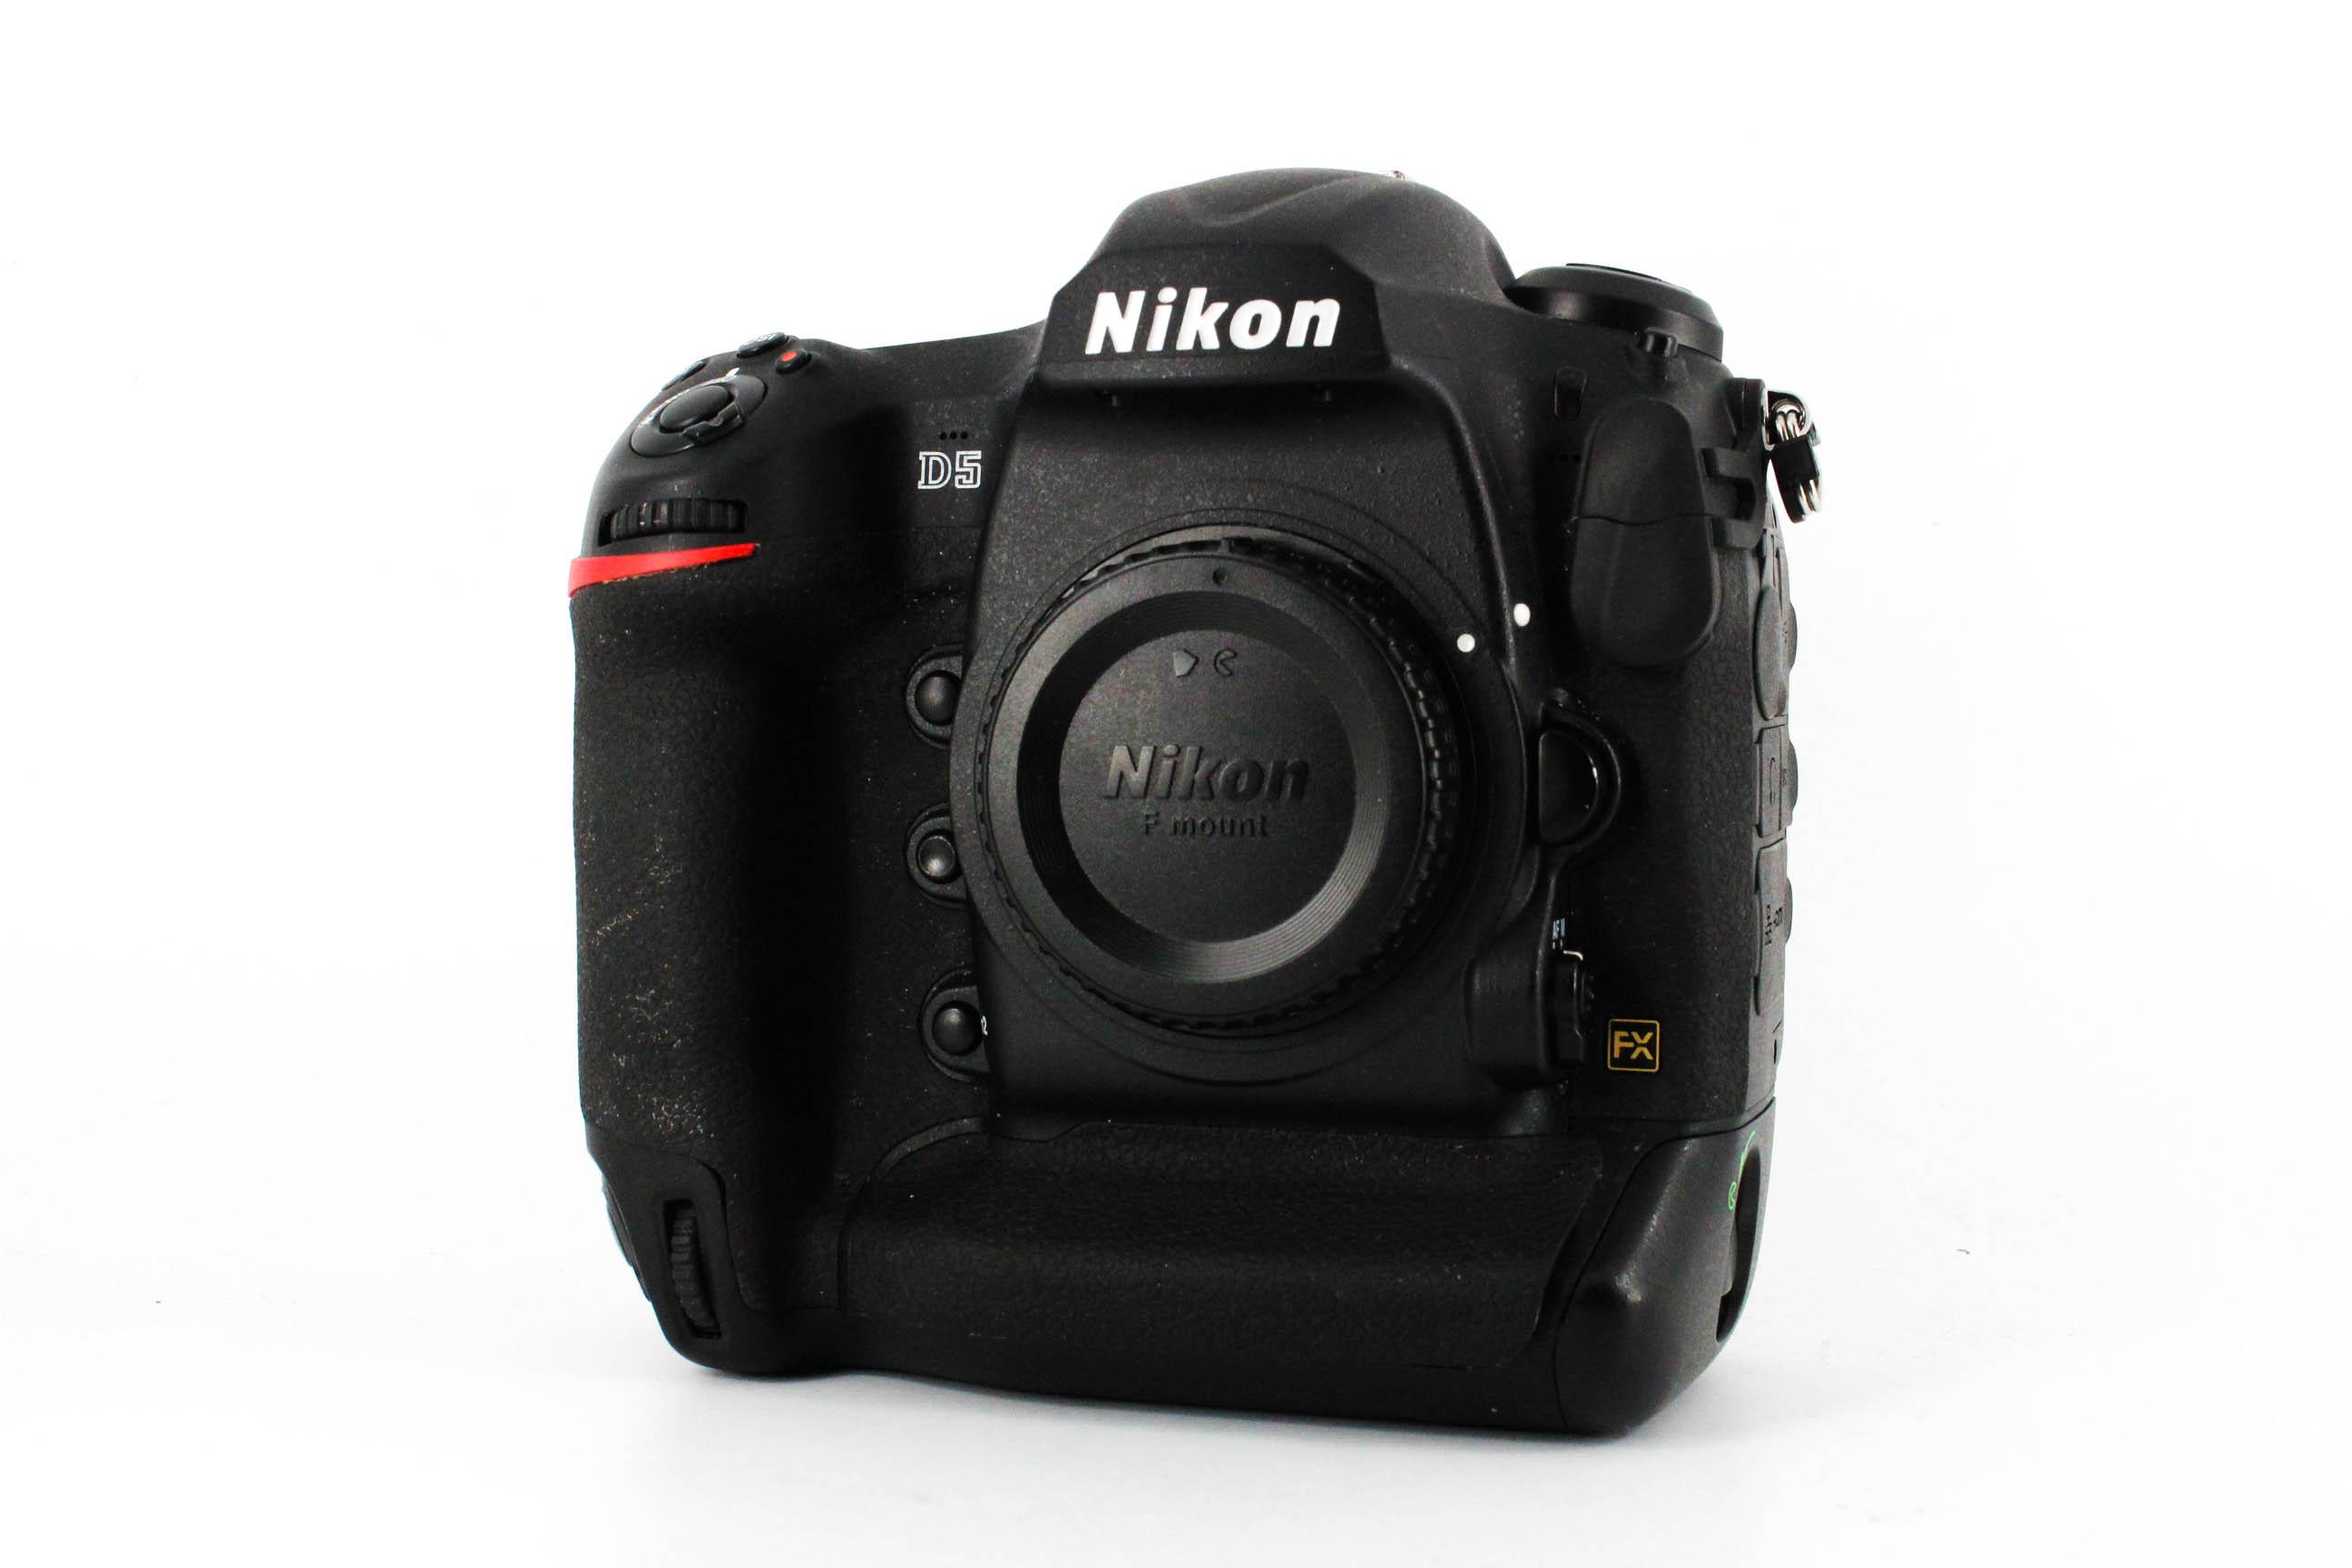
The Nikon D5 is a camera made for those who want only the best. Not everyone can afford it, though, since its price is around $6,500 brand-new (or about $4,750 used).
But for that kind of money, you will get a camera made to do magic.
Whether you want to photograph a rally race or red carpet, sunlight or stars, the Nikon D5 was made to answer all challenges.
So what is so special about this camera?
The D5 is a full-frame DSLR that has amazing features such as 20.8-megapixel CMOS sensor, a 153-point AF system, 4K UHD video capture, and an ISO range from 100 to 102,400.
The main thing that makes D5 exceptional is its superior autofocus system that can identify and track fast-moving subjects at 12FPS. Also, it was made to be durable and to survive extreme conditions.
In other words, if you're looking for a highly capable, durable camera, the Nikon D5 should be at the top of your list! Get more details about this highly capable camera in the video above by DigitalRev TV.

Fast Canon DSLR: EOS 7D Mark II

canon 7d mark ii image
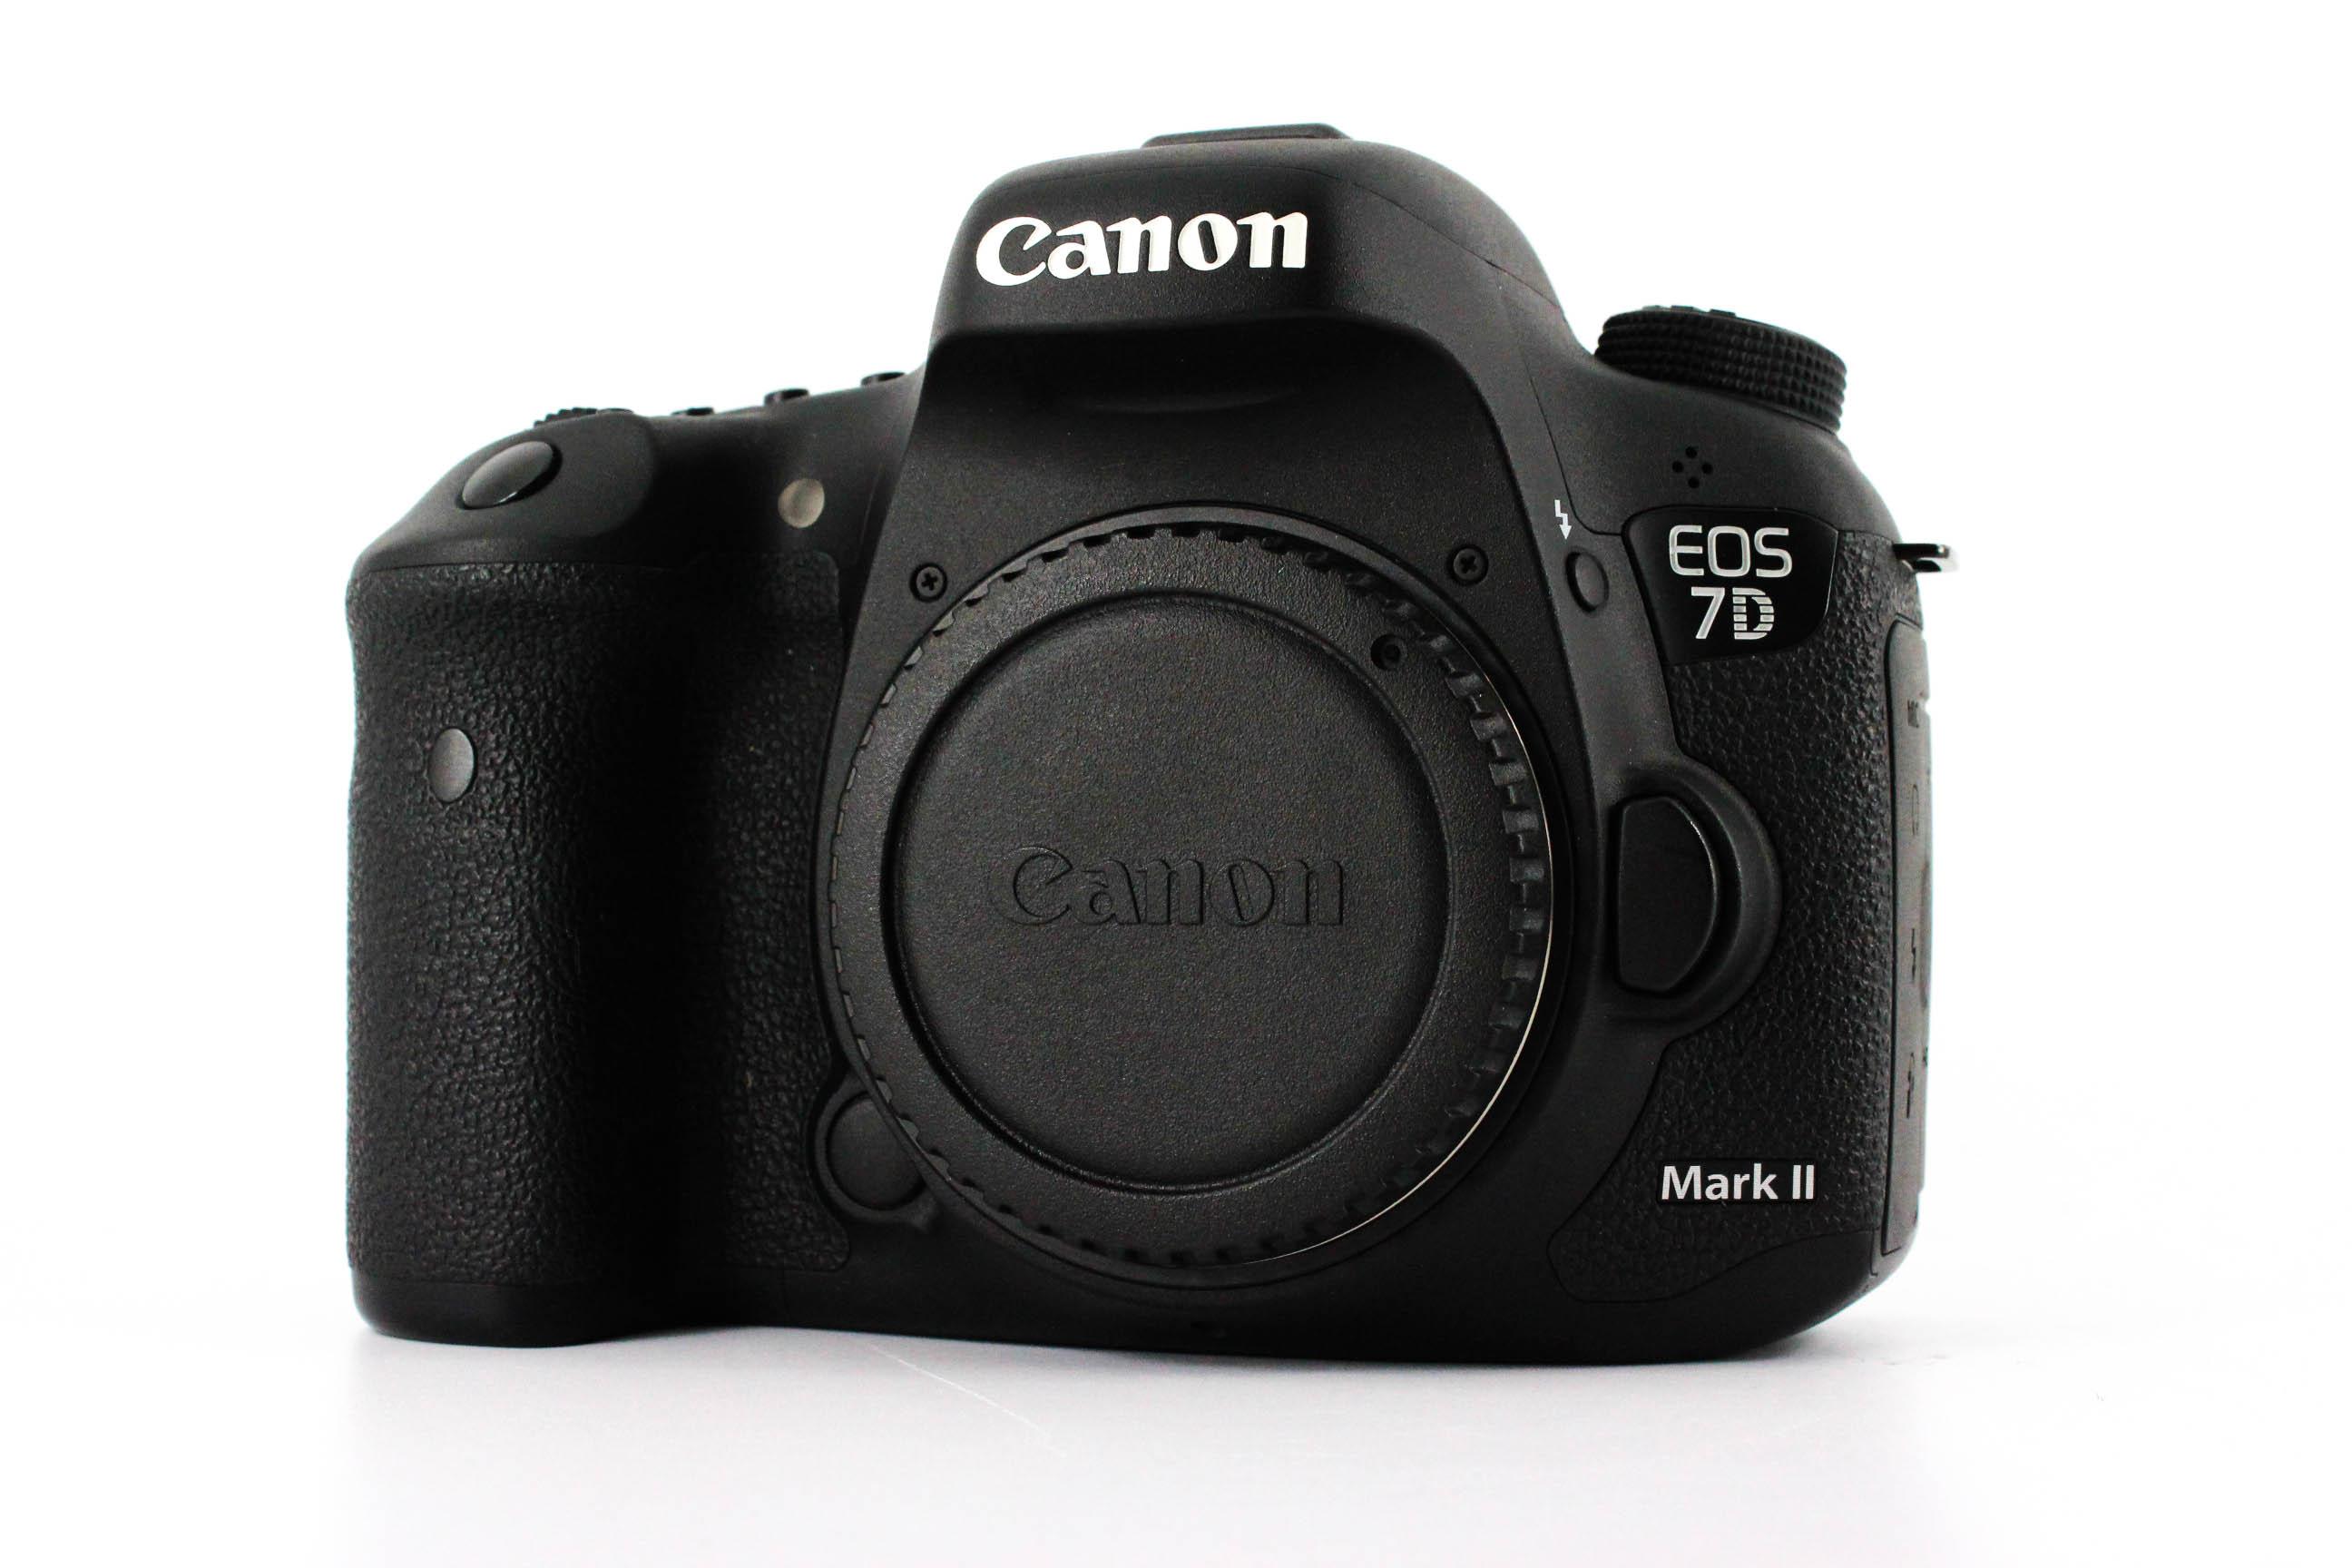
The Canon EOS 7D Mark II is a camera made for speed-lovers. The Mark II brings 10fps shooting and a professional autofocus system, features that allow capturing movement every bit as good as static subjects.
The Canon EOS 7D Mark II is an affordable camera for those who want professional features for less money - $1,799 for a new model or as little as $859 used.
canon 7d mark ii back image
In addition to its blazing-fast continuous shooting speed, it offers a shutter speed up to 1/8000th seconds. Together with 10fps shooting and 65 all cross-type autofocus sensor, this allows you to capture moments that are hard to notice with a naked eye.
Other notable characteristics of this camera are its 150,000 RGB + IR pixel metering sensor, Dual Digic 6 processors, excellent ergonomics, and the abundance of customization options.
If you like to photograph action and you need affordable equipment, you should consider buying this model.

Courtesy of:

Wednesday, December 12, 2018


Downtown Camera in Toronto has benefited from a recent resurgence in film photography and plans to expand into a larger space nearby before the end of the year. Here, employees Alex Arslanyan and Becca Patterson work quickly in tight quarters to fill film orders. The Globe and Mail photographed them with a film camera, a Pentax 645, using Kodak Portra 800 120 film.
Melissa Tait/The Globe and Mail

More below • Video: Film processing 101 • Quiz: Can you tell film from digital?
At Toronto’s Downtown Camera, on any given day, there’s a lineup of young adults and teens clutching decades-old cameras and disposable point-and-shoots. Rather than take photos on smartphones or internet-connected cameras, these photographers are choosing to shoot on traditional film cameras and have their film developed at the store’s lab. For Downtown Camera, which opened in the 1970s and operates in Toronto’s financial district, the interest is so strong that the business will soon be moving to a new location to accommodate a bigger darkroom.
It’s part of a bigger resurgence of interest in film photography that is boosting business for specialty camera stores across Canada. The trend is driven predominantly by young people who have picked up interest shooting photos on film because of the different shooting experience and a look that is distinct from digital. It’s an analog comeback similar to that of vinyl records, which have been touted for the listening experience and rich sound and led to a whole new market for turntables and records.
“I think when people practice film photography, it’s a different experience for shooting,” says Claudia Mac, who handles film marketing at Downtown Camera. She says the fact that you can’t immediately see the outcome of your photo and the limited number of exposures on a roll make people more thoughtful about how they shoot.


Claudia and Harry Mac stand in the film lab's tight quarters. At left, lab technician Becca Patterson works on film coming out of the C-41 colour processing machine. At right, Ronen Khazin cleans up the darkroom. This picture was shot on film.
Melissa Tait/The Globe and Mail

Ms. Mac says that the store has a fast turnaround time in its colour film processing, but is slow to develop black-and-white film because of a lack of space for a specialized processing machine. “We do black and white by hand; when someone drops off black-and-white film right now, we have to say that it takes a week for us to process it,” explained Ms. Mac, adding that “you can’t ask someone to be in a darkroom smelling chemicals for eight hours a day.”
When the shop heard a space was available a few doors down with more room for a larger darkroom, Ms. Mac says the company jumped at the opportunity. Beyond the costs of moving to the new location, their investment into film services carries a large price tag. The cost of buying and shipping a black-and-white processing machine was well over $100,000, and more staff will have to be hired to operate the machine.
According to Ms. Mac, film photography started to steadily rise in popularity around five years ago. Back then, their film lab only had a couple of employees. Today, the current space, which is about the size of a bedroom large enough for a double bed, crams in as many as seven staff on a busy day.
Film processing requires specialized skills. Ms. Mac says that the staff need to master the extremely delicate developing process, and to cultivate relationships with the many professional film photographers who come to Downtown Camera.


Ronen Khazin rinses a roll of black-and-white film in the darkroom. Here, and in the following photo, The Globe's photographer captured the scene with a digital camera.
Melissa Tait/The Globe and Mail
Black-and-white film hangs on a drying rack.
Melissa Tait/The Globe and Mail

Kevin Unger is one of many professional photographers who have rediscovered shooting on film. Mr. Unger, a wedding and corporate photographer based in Ontario’s Niagara region, says he has started dabbling with a film camera when he shoots weddings. “I think film is timeless,” said Mr. Unger. “People think it sounds really cool, and they end up loving the look of the photos.”
He was first turned onto the idea after noticing other professional photographers shooting weddings on film. But the costs of purchasing and processing film are much higher than shooting digitally. Taking hundreds of photos on a medium-format camera for an entire wedding would lead to costs well into the five-figure range, and Mr. Unger says he is building up a portfolio of film shots before he starts offering film services to all his customers.
Story continues below advertisement


Claudia Mac, middle, helps customers at Downtown Camera's sales desk. This photo was shot on film.
Melissa Tait/The Globe and Mail

It’s not the big-box stores grabbing all the business. Smaller camera shops across the country are noticing the uptick in interest in the medium. Melanie Allard, store manager of Vancouver’s Lens and Shutter, says many camera stores in the city have shifted their focus to film services.
“Everybody goes to their local camera shops,” said Ms. Allard, who said that the company has ramped up resources toward processing film in-house over the past five years.
At Downtown Camera’s new location, Ms. Mac hopes to build on the community aspect of film photography, where photographers chat to staff when dropping off film, and excitedly look at each other’s pictures after picking them up. She plans to incorporate a lounge area and a cafe where people can sit, chat, and enjoy the experience of seeing their photos for the first time.
“If you go to a place like Best Buy, they don’t have a place where you can just chill out,” says Ms. Mac. “If we do things that are different, maybe we can do things that will be vibrant for the community.”


Downtown Camera has expanded its wall of film and cameras from just a few shelves to an entire wall behind the sales desk. This photo was taken on a digital camera.
Melissa Tait/The Globe and Mail


Quiz: Which of these pictures were shot on film?

Young Canadians are increasingly putting away their smartphones and Instagram filters to give their pictures the analog feel of real film. But can you see the difference between darkroom science and Photoshop magic?
Story continues below advertisement
Some of the photos shown below were shot on a Pentax film camera; others were shot digitally on a Sony a7 III and a Canon 5D III, then adjusted afterward with film-like grain and colour in Adobe Lightroom. Try the quiz below to guess which is which. You can click on any image to open it in a new window and take a closer look.

Film
Digital

Film
Digital

Film
Digital

Film
Digital

Film
Digital

Film
Digital

Film
Digital

Could you spot all the film photos?


http://www.alexa.com/siteinfo/mrdarrylt.blogspot.com

Thanks for stopping by


#photographyhobbyist  #photographybestoftheday #photographyforever
   I hope you're enjoying the articles I'm posting, and that you'll continue visiting my blog.  I want to invite you to the free tutorials and lessons about photography on my Pinterest page.  Just click on the "Pinterest" tab (To your right) that says Follow me on Pinterest.  Then click on the "Photography Freebies" pin and enjoy.  Have a great day!

Want Ultra-Sharp Photos? Try These Lenses

sharpest camera lenses image #photographyhobbyist  #photographybestoftheday #photographyforever
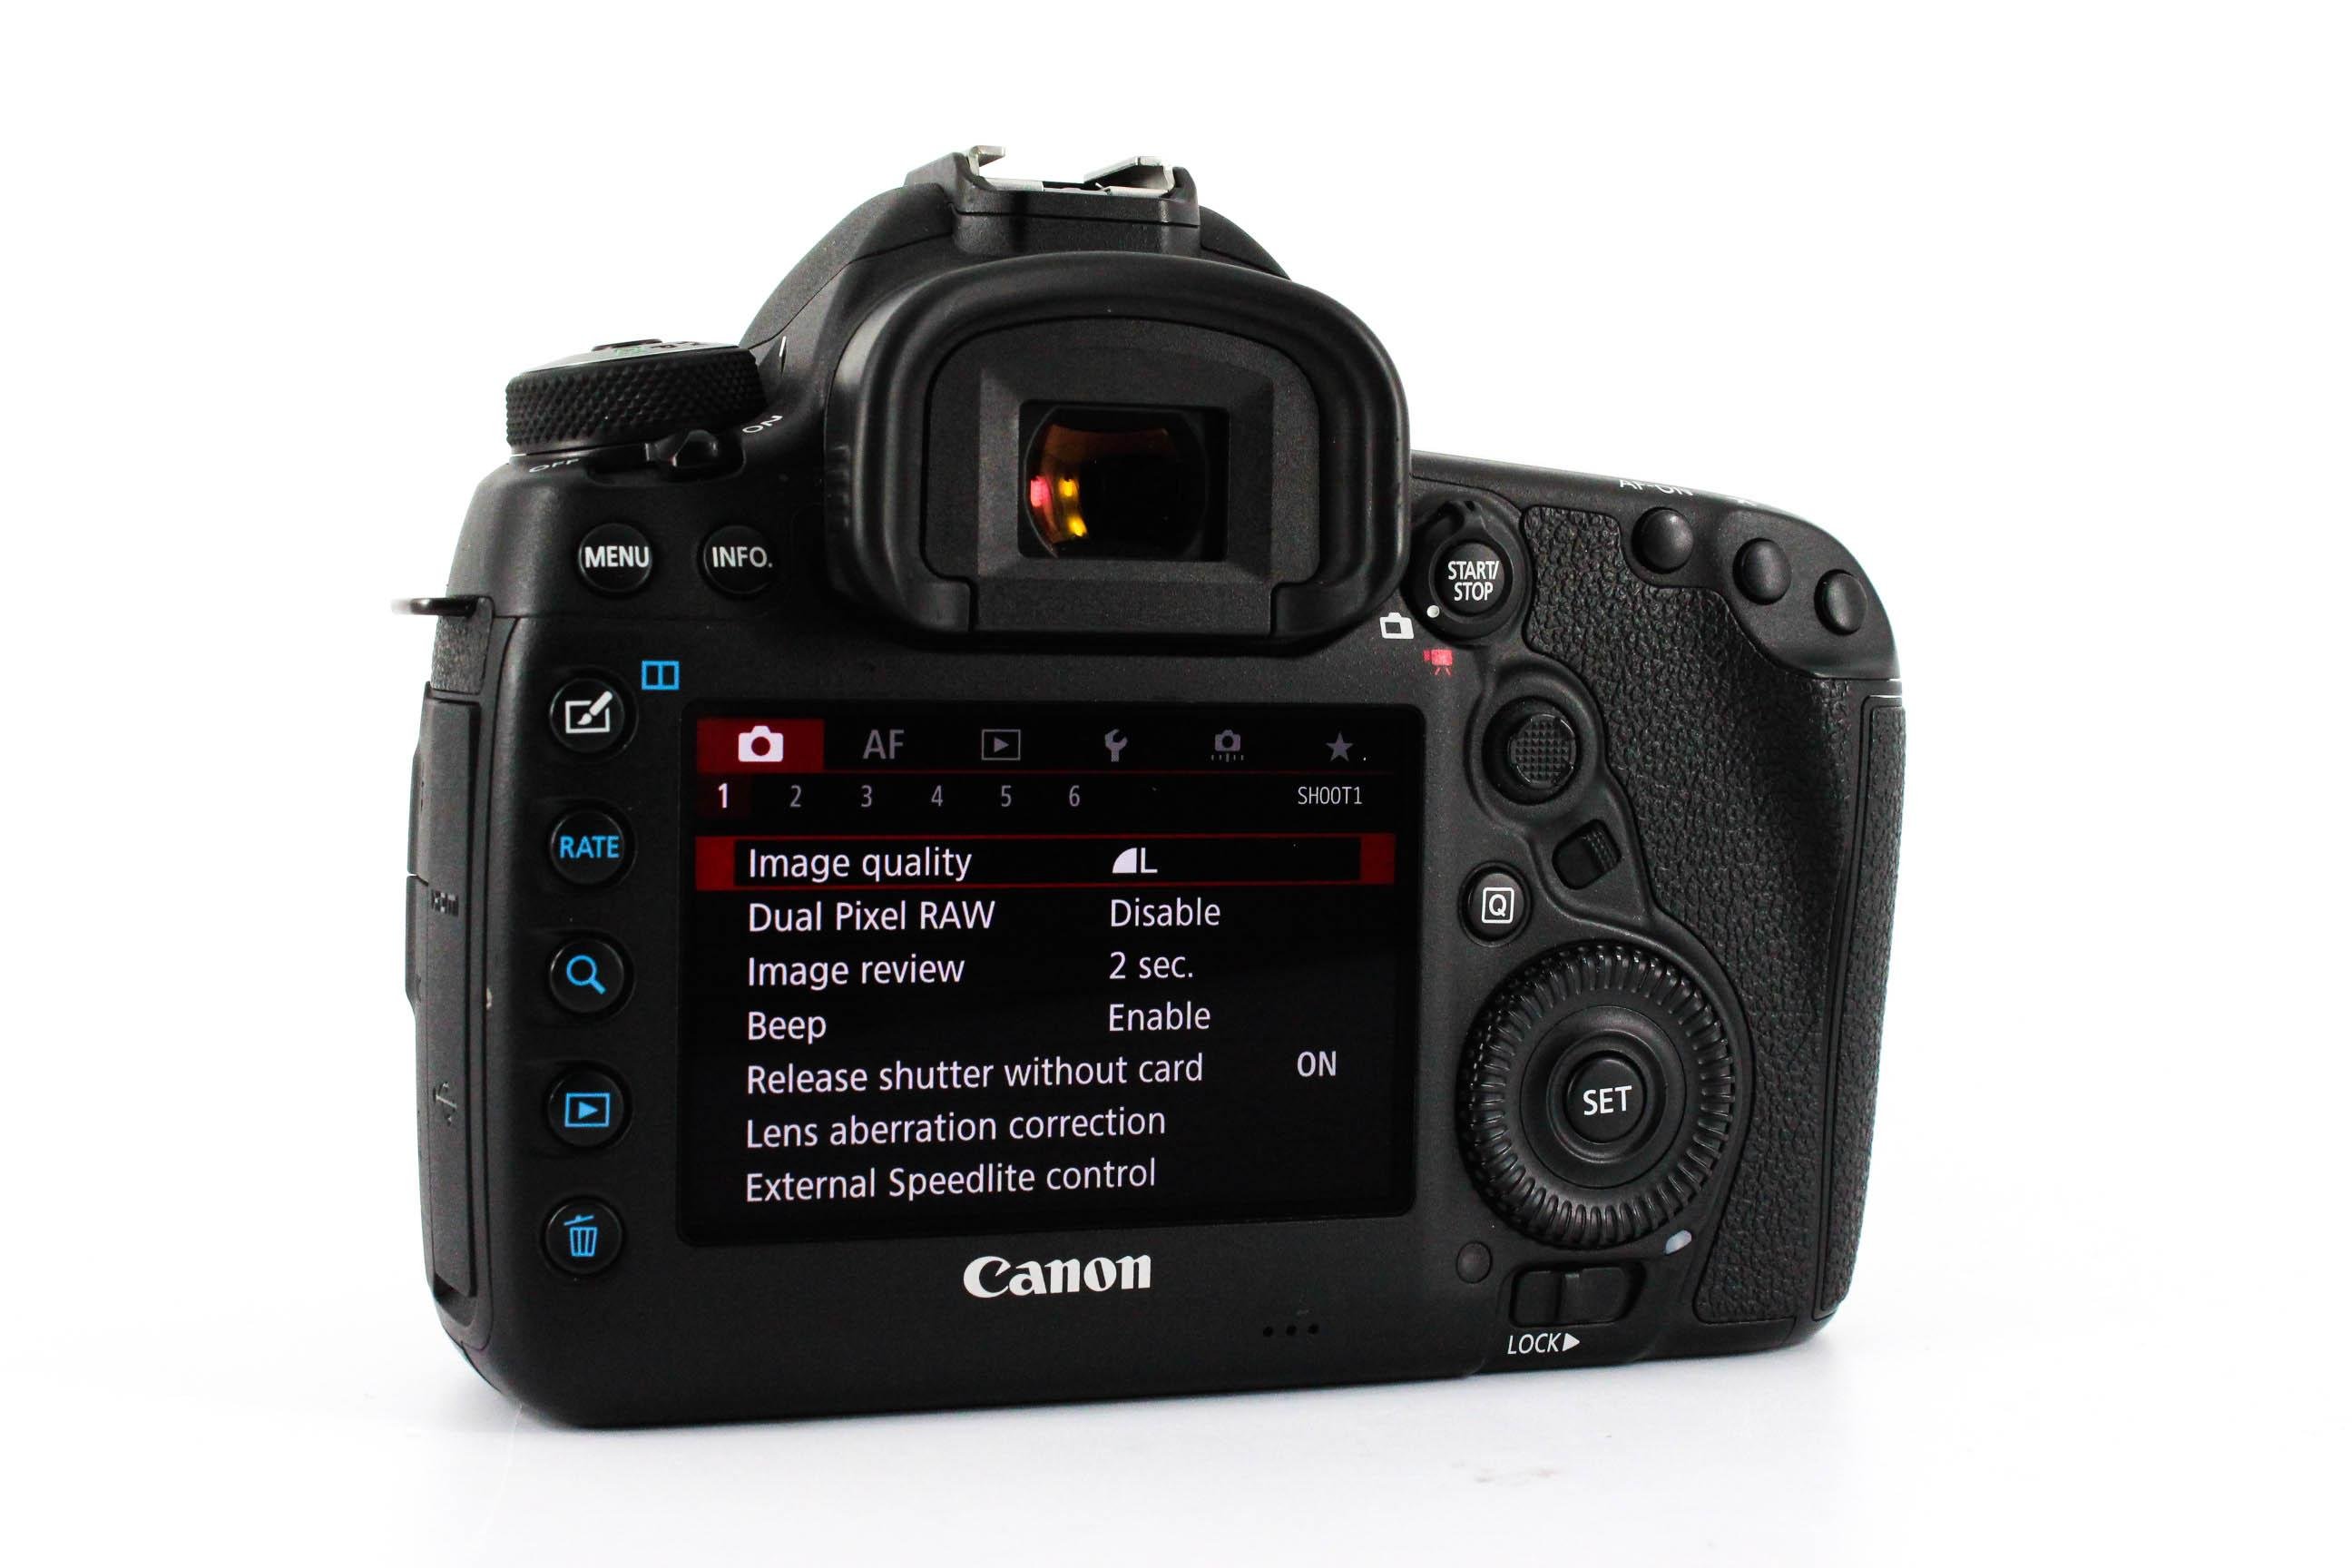
 
Photo by Trevor Brown on Unsplash
When shopping for photography gear, the old adage is that you should spend as much as you can on a really good lens.
In fact, if you wish to upgrade your camera and lens, forget upgrading the camera and put all your money toward quality glass. That's because the lens has a greater impact on how your photos look than the camera.
And while some really good lenses cost well over $1,500.00, there are a variety of excellent options for less than $1,400.
That might sound like a steep price, but when you consider that a lens is essentially a lifetime investment - as opposed to a camera which you'll likely replace over and over again over your lifetime - it's actually not a bad price at all.
That being the case, here's a few of the sharpest camera lenses to consider.

Editor's Tip: Ready to upgrade your lens but don't know what focal length to get? Consider why you should have a 35mm lens in your camera bag.

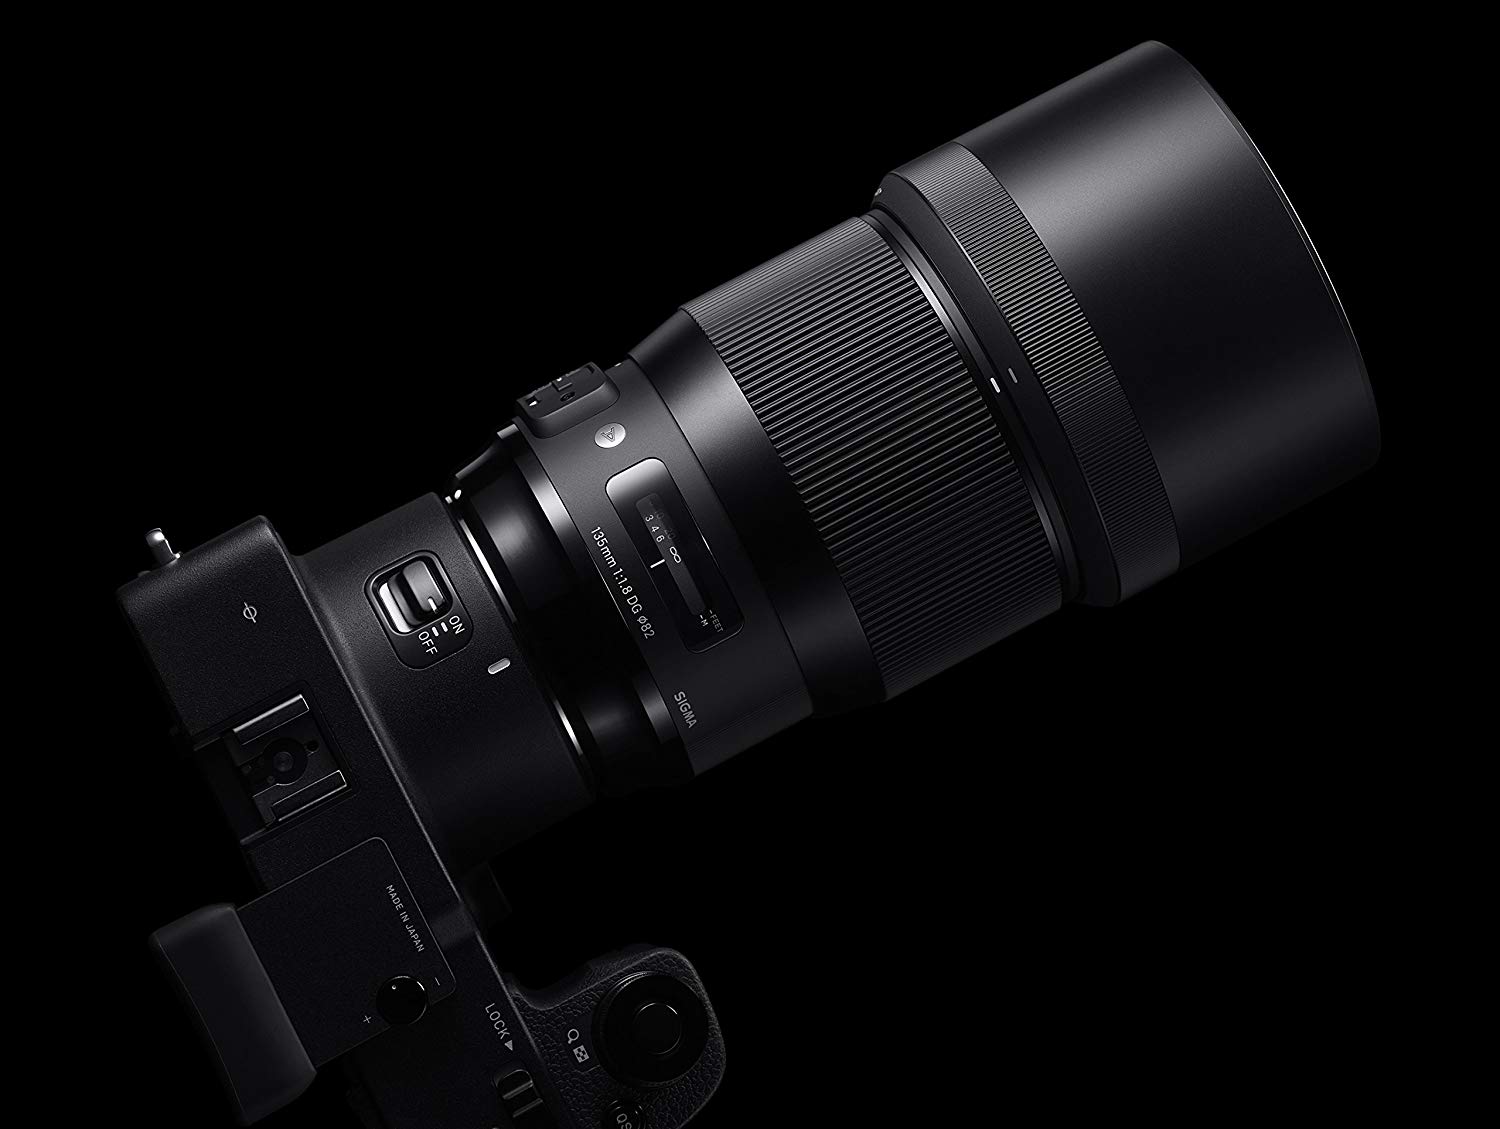
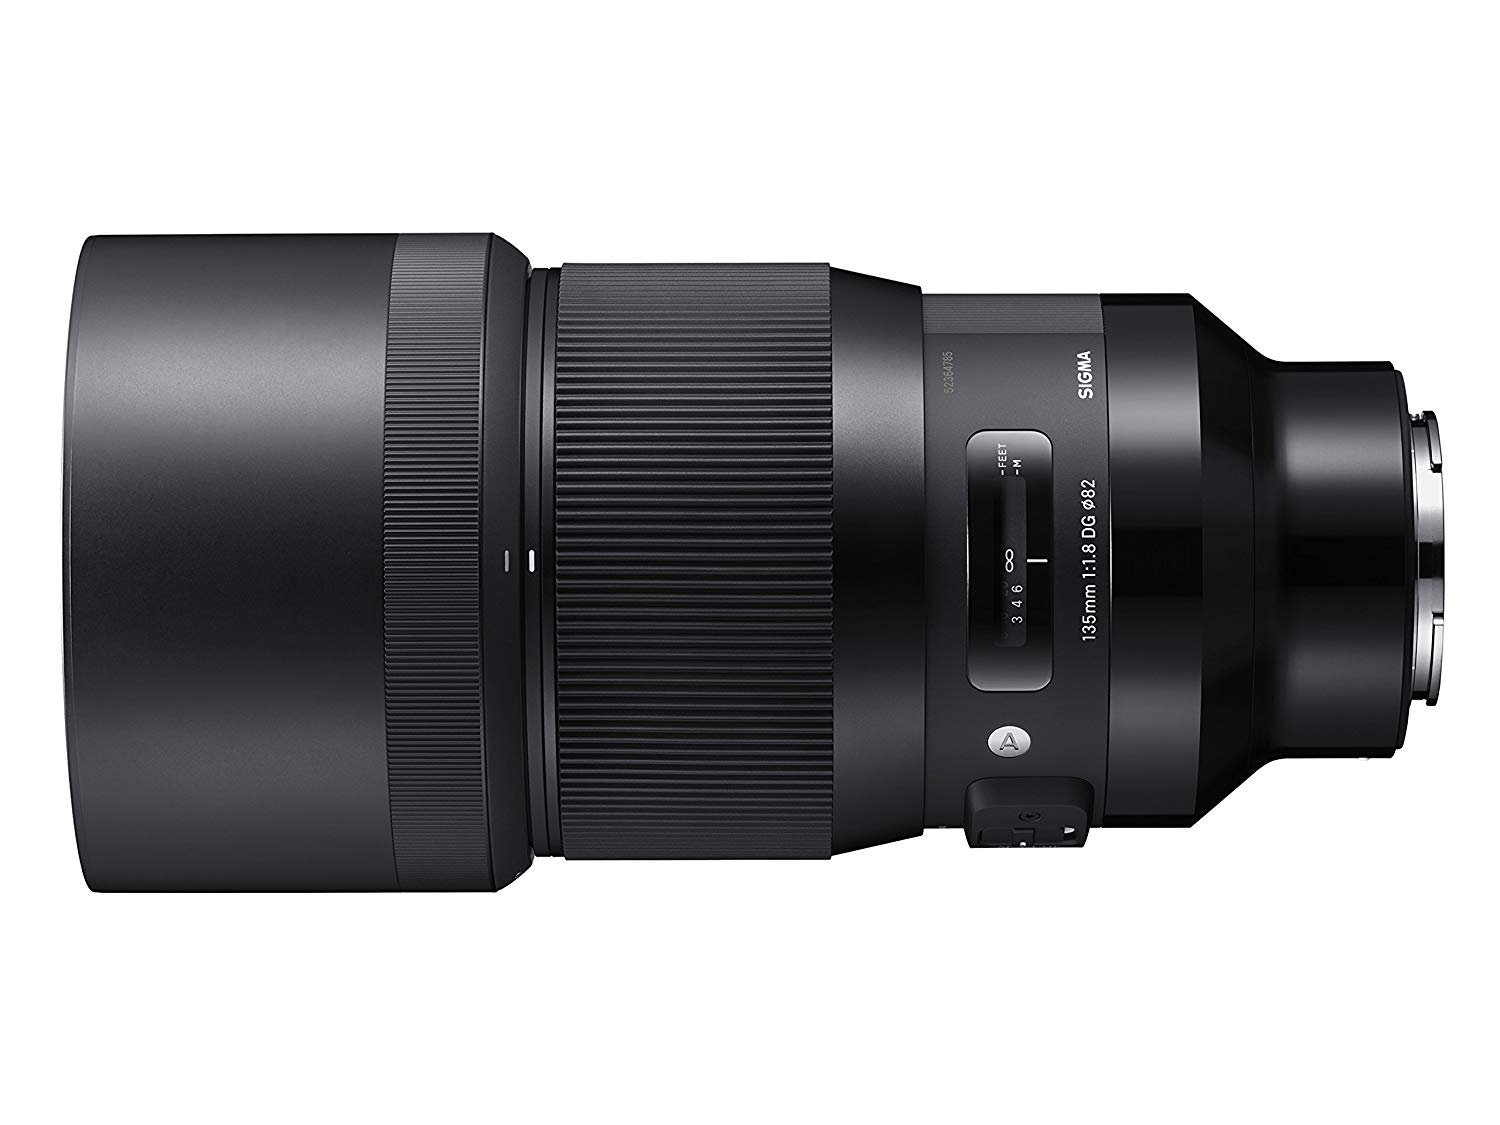
What is the Sharpest Camera Lens? The Sigma 135mm f/1.8 DG HSM Art is It...

sigma 135mm f1.8 nikon image
Not only is this lens incredibly sharp, but there's versions of it for Sony, Nikon, and Canon full frame cameras, which run from $1,149.00 to $1,399.00.
Sigma knocks it out of the park with a beautiful design and sophisticated optics that make it one of the very best lenses on the market right now.
It has both FLD and SLD glass to keep chromatic aberrations and color fringing to a minimum. Likewise, there's a Super Multi-Layer Coating that suppresses lens flare and ghosting while boosting color fidelity and contrast.
The huge f/1.8 aperture makes it an excellent portrait lens as well given the quality of the bokeh it creates.
sigma 135mm f1.8 sony image
The lens also sports a Hyper Sonic Motor that produces fast, quiet, and smooth autofocusing action. For those occasions when you want to focus manually, there's full-time manual focus override.
The build of the lens is off the charts, too, with Thermally Stable Composite materials that make the lens durable and useful in a range of environmental conditions.
The brass bayonet mount also ensures precise mounting to your camera and durable performance for years to come.

Learn More:

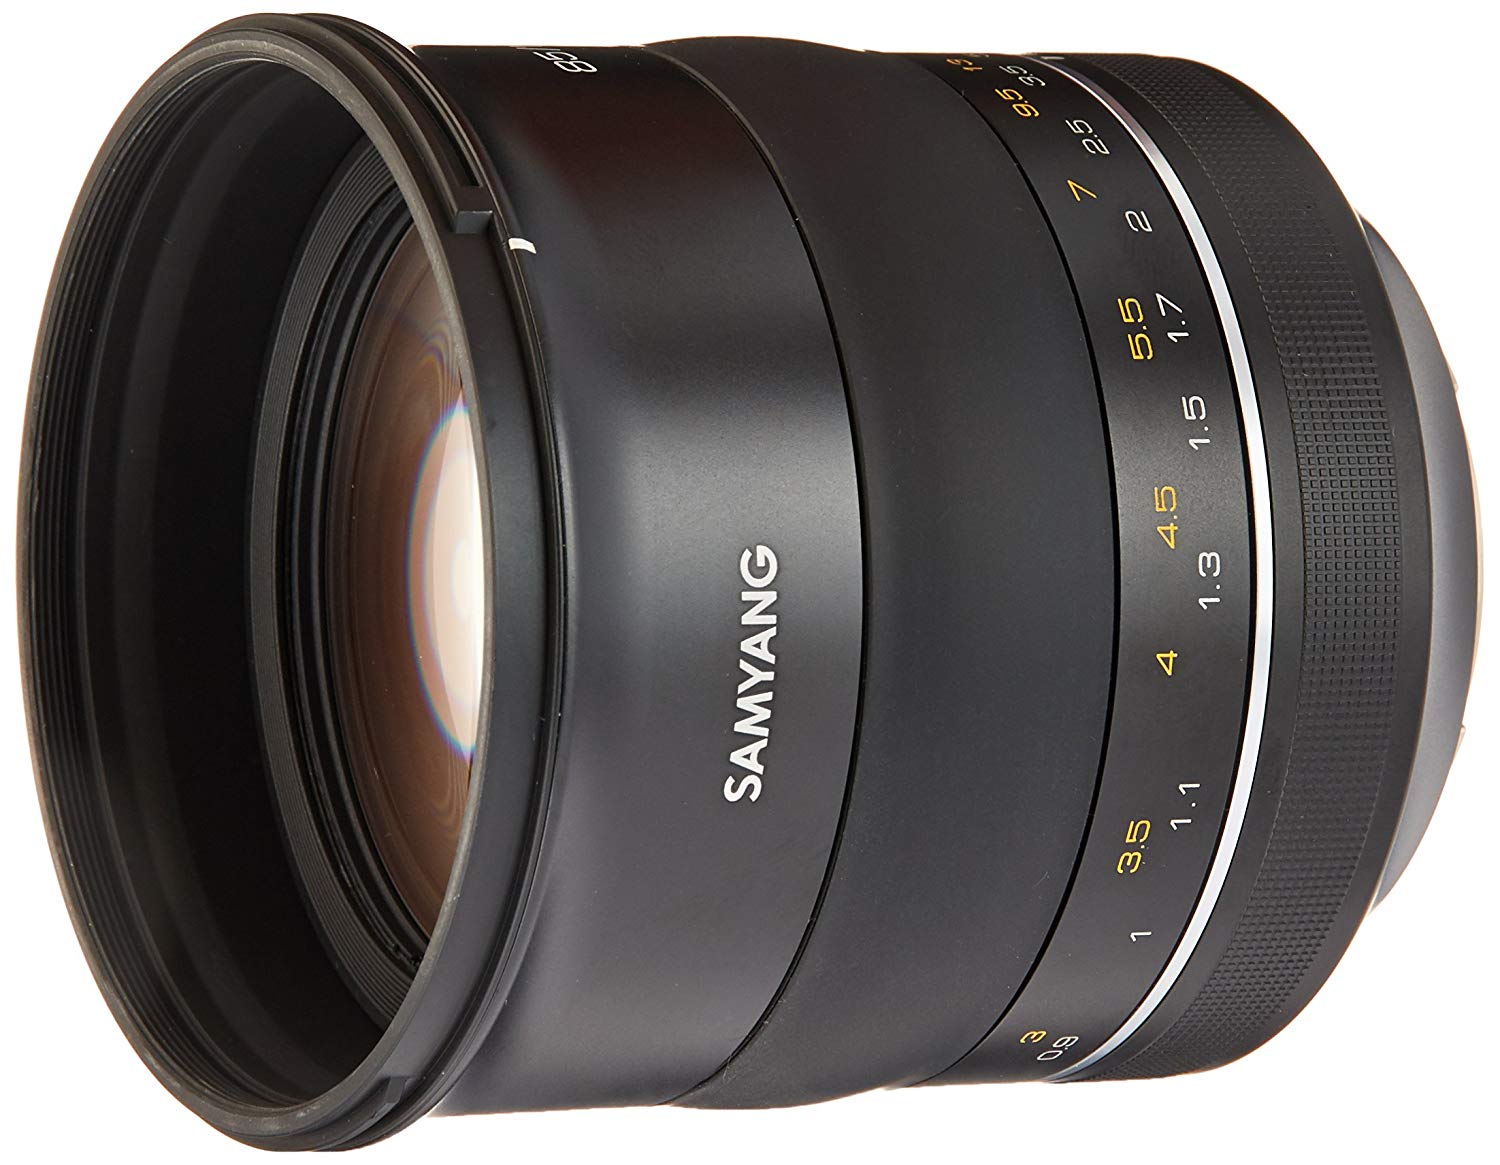
Samyang XP 85mm f/1.2

samyang xp 85mm image
Showing just how far third-party lenses have come in recent years, one of the sharpest lenses out there today is this Samyang XP 85mm f/1.2 for Canon EF mount cameras, which runs about $720.00.
If you shoot portraits, an 85mm lens is a must. And if you're buying an 85mm lens for a Canon full frame camera, this is a great lens to consider.
The huge f/1.2 aperture means excellent performance in low light situations. Naturally, the possibilities for bokeh and selective focus are there with such a wide aperture.
Speaking of wide aperture, this little lens produces beautifully sharp results throughout its aperture range, even when shooting wide-open.
The lens has ten elements in seven groups, which includes one aspherical and two high refractive lens elements. This ensures top-notch image quality from the center of the shot to the corners.
This is a manual focus lens as well, and with a precise, damped, and easy-to-use grip, manual focusing is a breeze.
Better still, this isn't just a portrait lens. Instead, at this focal length and this aperture, it's an ideal choice for low-light shooting like astrophotography.
The only downer? It's only available for Canon cameras.

Editor's Tip: In the market for a zoom lens? Find out why a 24-70mm lens is a great option.

Sharpest Lenses of 2019: Other Options to Consider

The lenses outlined above are just a couple of options for ultra-sharp lenses.
The Sigma 135mm lens and the Samyang 85mm lens were crowned the sharpest of all in the video above by Christopher Frost.
He offers eight other options to consider if you want the ultimate in sharpness from a lens, ranging from more Sigma models to Zeiss to Tamron.
There's prime lenses and zooms too - something for everyone!
Have a look at the video and learn which lenses are the sharpest and which one might be ideal for your particular needs!

Post-Processing Tip: How to Create REALISTIC Sun Rays in Your Photos


luminar realistic sun rays image #photographyhobbyist  #photographybestoftheday

Image Credit: Max Rive
All you landscape photographers out there know that capturing beautiful sun rays just isn't possible all the time.
The timing has to be just right. The atmospheric conditions have to be just right. Your positioning relative to the sunset needs to be spot on to get the maximum impact as well.
But what if I told you that you can add realistic sun rays to your landscape photos by using Luminar 2018?
In the video above, Mads Peter Iversen, explains precisely how to use this neat little trick to enhance your images.
Using his step-by-step process, you can take your "okay" landscape photos and turn them into something that truly stands out, and in not all that much time, either!
Here's the process, one step at a time...

Step 1: Add Sun Rays Using the Luminar Filter Feature

luminar 2018 sun rays image YouTube Screenshot/Mads Peter Iversen
After opening Luminar 2018, on the right side of the screen you'll see an "Add Filters" button.
Clicking that button opens a huge list of filters, but in this case you want to scroll towards the bottom of the list and click on "Sun Rays."
Next, you'll need to place the sun rays in the desired location in the photo.

Millions of photographers from around the world are creating beautiful images
using software from Skylum... It's your turn!

Try Luminar today!
As Mads explains in the video, Luminar uses AI to determine how the sun rays should interact with the scenery in the shot. You can see how they change based on where Mads places them in the screenshots above (in which some of the sun rays are blocked by the cliff) and below (in which they appear to emanate from the clouds).
luminar sun rays tutorial image YouTube Screenshot/Mads Peter Iversen

Obviously, the goal here is to place the rays in a position that looks natural for the scene. As a result, Mads places them over the sun between the rock formations, as seen below.
placing sun rays image YouTube Screenshot/Mads Peter Iversen
What makes Luminar so fun to use is the ease with which you can place sun rays in the image.
In a matter of seconds, Mads was able to drag and drop the sun rays and place them in the desired location. It doesn't get any easier than that!

Learn More:

Step 2: Fine-Tune the Look of the Sun Rays

fine tune look of sun rays image YouTube Screenshot/Mads Peter Iversen
As with any editing program, it's usually good practice not to max out the position of the sliders as you fine-tune the effects you've implemented into the photo.
As Mads shows in the video, less is more when it comes to the sun rays effect in this particular image.
As you can see in the screenshot above, just one of the sliders is skewed all that far from center, which results in a much more pleasing (and realistic) look.
The "Amount" and "Look" sliders are responsible for how strong the sun ray effect is in the image. Immediately below that, the "Number" changes how many rays of light there are and "Length" manipulates how long the rays are.
You can also make adjustments for the warmth of the ray's color, the glow of the sun center, how much the rays appear to penetrate objects in the shot, and the appearance of how the rays shine through in the photo.
Once you've created the rays as you want them, simply click "Apply" in the upper right-hand corner of the editing window and the image will either be saved (if working in Luminar as a standalone program) or exported to Photoshop.

Step 3: Mask Out the Unwanted Sun Rays in Photoshop

mask sun rays image YouTube Screenshot/Mads Peter Iversen
In Mads' case, he wanted to eliminate some of the sun rays in his photo so that the final result showed only the rays shining through the archway of the rock formation.
To do that, he created a mask, inverted it, and used the Brush Tool with a white brush to brush in the rays he wanted to keep.
As you can see above, the subtle rays beaming through the arch gives this shot a gorgeous and realistic look.
And that's it! Using this simple three-step process, you can add natural-looking sun rays to your landscapes.
Mads offers two other examples of how to utilize this sun rays feature in his video. Be sure to check that out starting at about the 5-minute mark for more inspiration for using this awesome feature.

Learn More:

My Experience With Skylum

Interesting Fact: Way back in 1998, I picked up Adobe’s Photoshop 5.0: Classroom in a Book, and started to teach myself Photoshop. I subsequently spent nearly five years of my life, all the way up to CS 8.0, picking up every Classroom in a Book that Adobe released on Photoshop.  
Still to this day, I’m a Photoshop user and always learning what I can as the program grows and evolves. Typing this, I’m realizing it’s been a 20-year journey. Crazy!
Back in 2012, I started playing around with Lightroom. However, it wasn’t until 2014 and version 5.0 that I got serious with Lightroom with the help of watching a TON of YouTube videos. Roll forward four years and I’m still grinding away at it.
The point I’m making here is that I’ve heavily invested myself into a very long journey with Adobe.  They have done a great job, and I’ve created some decent photos along the way using their software, if I do say so myself.
Keeping that in mind, a few years ago, a company called MacPhun came on board as a supporting vendor of PhotographyTalk. They had a good product with a growing following of loyal users. But, if I’m completely honest, it didn’t have that WOW factor that I felt could pull users away from Adobe.
Earlier this year, Macphun changed their name to Skylum and released Luminar 2018. Three months ago, they sent me a copy to play around with. Again, if I’m being honest, I didn’t touch it for a couple weeks, and thinking back on it, it might have actually been three weeks.
When I opened it - no joke - it was within minutes that I converted a blah photo into a wow photo (I know that sounds corny!). The software is crazy intuitive with a number of presets that makes editing photos extremely efficient with remarkable results.

Millions of photographers from around the world are creating beautiful images
using software from Skylum... It's your turn!

Try Luminar today!
And the best part…there’s manual development tools for those days when I don’t want to use presets and want to adjust my photos myself. All the tools I need to do that are easily found on the right side of the screen as I’m working in Luminar 2018.
Folks, I’ve not closed this program out since I opened it over 2 months ago! It’s that good. Skylum has really made post-processing fun again, fast, and freakin’ awesome!  In short, they have hit an out-of-the-park home run!
If I can make one recommendation to you, it’s to go download the free trial now. Don’t wait to open it like I did…download it and you’ll see why so many professional photographers (myself included!) are so excited about this software. You’ve got nothing to lose - see Luminar 2018 for yourself!

Why I Enjoy Film Photography More Than Digital Photography – by Frank Wu

#photographyforever 
I thought it would be worthwhile to express, as explicitly as possible, what it is that causes me to enjoy film photography more than I enjoy its digital imitation. Although I know that analyzing happiness is likely to destroy it, I cannot help but pause for a moment of reflection. Film photography is like “slow food.” It is about the physical and the ritual and the sense of belonging to community. In our universe, dynamic past disruption, what is analog and therefore “retro” cannot but be defined in part against what it is not. To be forced to acknowledge human limits (you can handhold a camera at only so slow a shutter speed) or even mechanical constraints (there is a maximum shutter speed no electronic magic can supplement) is a salutary reminder of nature. To explain the romance of film enhances it. Here is an attempt.
I am about as immersed as possible in gadgets (having learned to program BASIC on a Commodore VIC-20, which used cassette tapes for backup, if anybody is old enough to recall when that brand was the best-selling personal computer in the world, circa 1984), but I do not suppose it is possible to subsist on bits and bytes. We are not yet brains in vats, the ghosts in the machine, plugged into the matrix, solipsists imagining as we have been deceived to do; our very physicality demands ritual and community. Losing film photography would be losing an integral reference point. There may be others who hope to live for that singularity.
The physical starts with the camera. It is solid. It is tangible. Mine is metal, with bits of plastic. The digital counterpart, which I do possess, is the opposite, plastic with accents of metal. What was not built for planned obsolescence feels better in the hand. Its anachronism is its appeal.
The film introduces the ritual. Perhaps our sense of touch will atrophy. But the tactile sensation of handling film, of having to be careful with it while loading a new roll, remains a minor pleasure for now. Inserting a memory card is not the same; it is too perfunctory.
Film has a sound, as the leader is taken up, and then, later, as it is rewound into the canister. Both are satisfying as signals, similar but with subtle differences, the noise of anticipation and the noise of completion. To cock a lever and spin a knob involve a “user,” and that modicum of muscle power is better than none.
Film also has smells. It is not inert, retaining that faint odor of the energy that went into its becoming a set of images. (Darkrooms have a characteristic stench. Much more could be said about the scent and the splash of the chemical bathes, the light that eyes become accustomed to as if it were the natural sun, hanging strips to dry, and the hush that envelopes either the solitary hobbyist or the group of like-minded souls laboring side-by-side yet still each alone. The importance of feeling your way around is an experience the convenience of launching a smartphone app eliminates for its foolish fumbling. The camera obscura, a predecessor to photography, has become a forgotten type of place, the few remaining examples a novelty; when people enter the space that shows a projection of the world outside on the wall of the room, people do not believe their eyes.)
Even to introduce the film to the digital necessitates its own physical ritual. All transformations, to be meaningful, require physical ritual. I doubt most of us don white gloves for any other purpose or clean a glass plate with such care. Some of the film stock has a curl that frustrates, but that adds to the sense of accomplishment, to snap it into the film holder for scanning. The click confirms readiness.
When the whirring is finished, I am eager. I have had to wait. That is increasingly abnormal. Any delay in life has become an intolerable annoyance. We can hardly defer gratification for even a moment. But a roll of film is an endeavor of a day. It spends about a week at the shop, counting the travel for convenient drop off and pick up at the few choices in town despite the legacy signage on drugstores advertising a slogan that verges on quaint, “1 hour photo.”
Finally, to partake of film photography is to join a movement. That was always true. There used to be local clubs. Other than the misanthrope, people yearn for the company of others, to engage in activities together. We possess only the simulation of a “connection” to our “friends” in other contexts that are not face to face. So I make an effort to chit chat with the clerks if they will have it. We have something in common. It distinguishes us. Just about everybody carrying a smartphone seems to be snapping a selfie every moment. A film camera is not meant to be pointed at one’s self. My joke is to allow subjects to look at the back of the camera when I have finished the shot. Their disappointment reveals how their expectations have become established: the digital is the norm.
I am no Luddite, aware that the renaissance of film photography would not be possible without digital technology. The availability of vintage equipment, for example, is enabled by the internet market. The network of enthusiasts is as virtual as it is real. The #ishootfilm hashtag represents the irony: thanks to scanners and social media platforms, an individual who has created an picture as their grandparents would have is able to share it as their peers prefer.
To celebrate film photography is not to claim any superiority. It is to insist though that what is physical, ritual, within community has value. Film is about participation. The activity of film photography is defining, as the act of digital photography is not.

Rich, High-Profile Family Seeks Traveling Photographer for $100,000 Paycheck


rich family seeks photographer for 100k job image Image Credit: Deejpilot via iStock
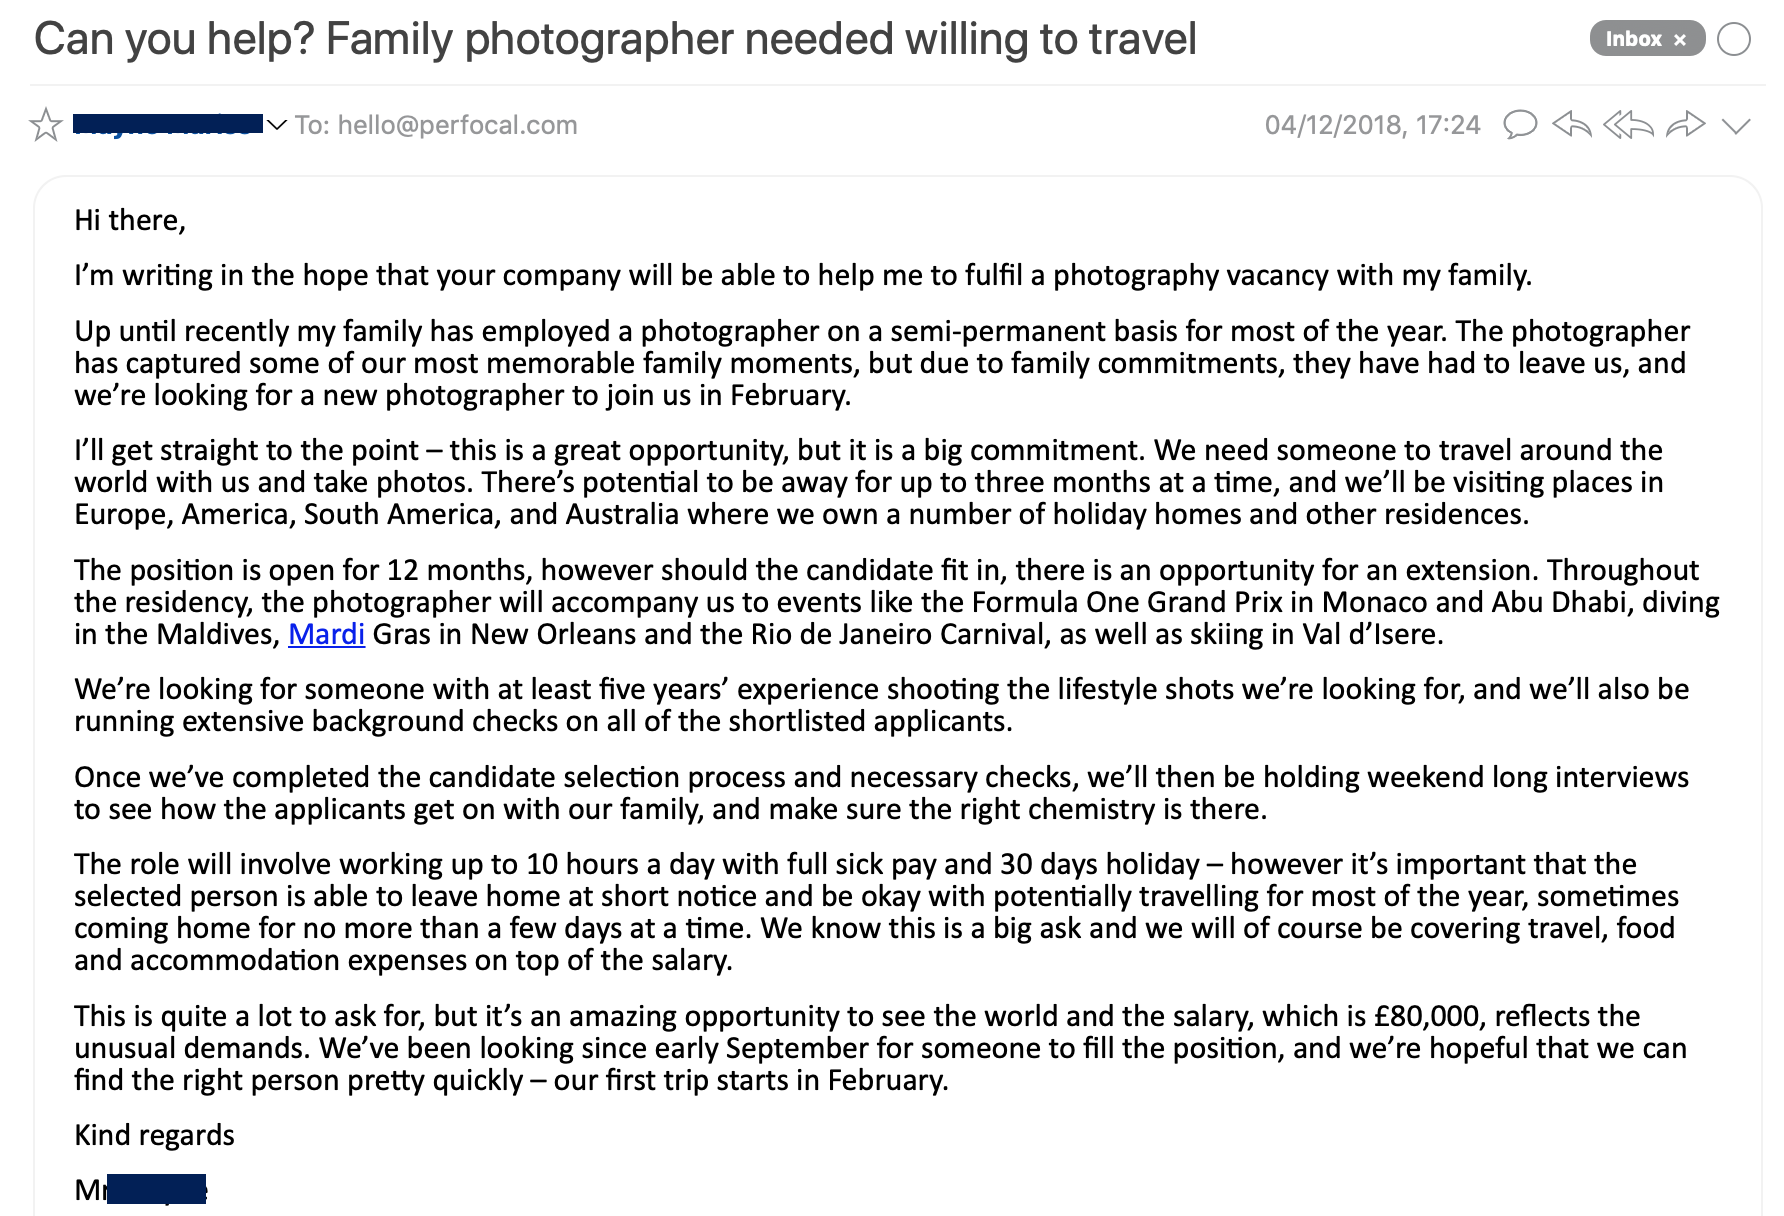
Traveling for periods of over three months overseas and snapping photos of the rich and famous may sound like a dream for a budding lifestyle photographer, even without the $100,000 yearly salary.  
Perfocal, a website that markets itself a “trendy way to hire quality photographers,” got this request just this week from a British family seeking a person for the perfect job.

#photographyforever  

In it, the family requests to remain anonymous due to the father’s high-ranking position. The family promises trips of up to three months to a “number of holiday homes” they own throughout the world.
They also promise to bring the photographer to events like Mardi Gras, the Formula One Grand Prix, and the Rio de Janeiro Carnival.

Editor's Tip: Don't leave post-processing to chance. Supercharge your editing experience with Luminar 2018. Get your free trial today.

If the photographer is the right fit, the family will extend beyond the year-long contract and hire them full-time.
So, what does it take to work for one of the elite?
Applicants must possess five years of previous experience in lifestyle photography and will, of course, undergo an extensive background check.
email screenshot image
The family started searching for a replacement for their previous photographer in September with no luck, which is why they reached out to Perfocal.
If you’re looking to apply, head to Perfocal’s makeshift applicant page for the position.