Tuesday, December 4, 2018

Getting Started with Landscape Photography – 4 Easy Tips for Beginners

One of the things I like most about photography is that there is always more to learn. It keeps the mind active and the creative juices flowing. But the wealth of information out there can be overwhelming for beginners in landscape photography. Where do you start?
There are a few easy things you can do that will have an immediate impact on your photography so you can start making better images right away. Let’s focus on those and leave the more technical stuff for later.

1. Pay attention to the light

There is no such thing as bad light. The key is to understand what kinds of images are suitable under various lighting conditions.
Red Rock State Park, Arizona by Anne McKinnell - Getting Started with Landscape Photography - 4 Easy Tips for Beginners
During golden hour, the day’s last light makes the rocks glow.

The Golden Hour

This is the time right after sunrise and right before sunset when the sun is low in the sky and casts beautiful golden light. Start here! It’s hard to go wrong with golden light, which is the most popular time of day for photography.
Ajo, Arizona by Anne McKinnell - Getting Started with Landscape Photography - 4 Easy Tips for Beginners
The cactus in the foreground is in the shade while golden hour light reflects off the mountain in the background.

Bright Midday Light

The opposite of golden hour, the harsh direct light you find at midday can be the most difficult to work with – unless you photograph in the shade.
Just look for interesting subjects that are in the shade and leave the sky out of the frame. The even soft light is great for close-ups and flower photography.
Bush Lupin - Getting Started with Landscape Photography - 4 Easy Tips for Beginners
Flowers photographed in the shade.
There are more types of light to work with and different times of day to photograph, but start with these for the quickest results.

2. Remove distractions

Pay attention to the things in the background of your images and try to simplify the background as much as possible. Sometimes there is an unwanted object, like a trash can for example, that you might not notice unless you are looking for it. These things can often be hidden behind your main subject simply by moving to one side, photographing from a higher or lower perspective, or getting closer.
Try to simplify your composition as much as possible with fewer items in your scene. Find a way to photograph your main subject on a clean background.
Big surf on the Oregon Coast. Getting Started with Landscape Photography - 4 Easy Tips for Beginners
To make this image, I had to change my perspective to eliminate debris on the sand as well as other rocks and birds from the frame.
Beware of tree branches or other things that poke in to the edge of your frame. Before you take your shot, try to remember to do an “edge check”. Look around the edges of your frame and make sure it looks clean.

3. Look for one thing

Your photograph cannot be about everything. You need to decide what is most interesting in your scene and make your photograph about that. Get closer to it.
One exercise that will get you in this habit is to go on a photo walk with the purpose of looking for one particular element of design. You’ll find that when you set your mind on one thing, you’ll start to see it everywhere. Here are some ideas to get you started:

Textures and Patterns

Often beginning photographers will try to capture an entire vista in one photograph and don’t notice the details. But the more you train your eye to notice the details, the more interesting your photographs will become.
The best thing about photographing textures and patterns is that you don’t have to go far to find them. Your subject can be anything from rocks to grass or peeling paint. I’m sure you can find subjects with wonderful textures close to home. Try to fill your frame with the pattern.
Weston Beach, Point Lobos State Reserve, California - Getting Started with Landscape Photography - 4 Easy Tips for Beginners
Filling the frame with the pattern of colorful rocks.

Lines

Look for horizontal lines, vertical lines or diagonal lines. Try to find lines that lead the way to some interesting subject.

Colors

Take a look at the color wheel and notice complementary colors. Those are the ones that are opposites on the wheel such as blue and orange, red and green, or yellow and purple. Any scene with complementary colors is always striking (which is why so many photographers carry around a red umbrella or a red jacket for their partner to wear in a grassy or forest scene).
Bamboo Forest - Getting Started with Landscape Photography - 4 Easy Tips for Beginners
Complementary colors plus diagonal lines.

4. Make time to practice

It doesn’t take long to develop good habits and learn what makes an interesting photograph. But it can be hard to remember if you only go shooting once in awhile. Try to make a habit of doing it every day, even if it’s only for fifteen minutes. By doing this, you’ll reinforce the habit and find yourself seeing the potential for great images all around you all the time.
Spider Rock, Canyon de Chelly National Monument, Arizona - Getting Started with Landscape Photography - 4 Easy Tips for Beginners
Golden hour – there is still enough light to photograph the depths of the canyon while the last of the day’s light reflects off the top of the highest rock.

Conclusion

There are more technical things that you’ll want to start learning soon such as; how the exposure triangle works, understanding depth of field, picking the right shooting mode, focus settings, and more. It’s endless (which is a good thing).
But for now, these tips will get you on the right track so you are happy with your images right from the beginning. Have fun!
Read more from our Tips & Tutorials category

Anne McKinnell is a photographer, writer and nomad. She lives in an RV and travels around North America photographing beautiful places and writing about travel, photography, and how changing your life is not as scary as it seems. You can read about her adventures on her blog and be sure to check out her free photography eBooks.

Pro Tips for Photojournalism at Protests and Riots


My name is Ettore Chiereguini, and I’m a freelance photographer from Brazil. Here are some things I’ve learned about photographing riots and protests.

Gear

Consider two kinds of lenses: a wide angle and a telephoto. Why? wide will show you the whole picture, the whole frame, the flags, the slogans. It will put you in the scene.
The telephoto? Easy: you don’t want to be in there when s**t happens. Trust me on this one. But keep in mind that even a 70-200mm won’t guarantee your safety. What about a zoom lens? If you have it, bring it — it will help you a lot. A 24-70mm and a 70-200mm can be your best friends.

Rallies

These are almost calm. You can even spot a good number of children having fun. Police may surround the area as a safety measure. Stay calm, as almost nothing happens at these kinds of things. Focus on not being in people’s way and do your job.

Protests

If you’re covering a protest, always be awake. Most of the protesters are nervous, and the police are nervous. A single isolated event can be the trigger for anything. Same tactics, don’t be in people’s way, take your photos, follow them by their side, in front, at their backs, whatever.
But here comes another tip: always be aware of your surroundings, be aware of backpacks, stay aware of the police formation (lines of motor and cars, lines of cops). People are stressed. Don’t participate, only snap. Be quiet and try to not influence anything — this is their fight, not yours!
Remember that you’re the photographer, not the person in the front line, and, as I mentioned, any isolated event can be a trigger…

Riots

Are you at a riot? Are you happy? If yes, I have bad news for you: people may get hurt, and just hope it isn’t you. Control your adrenaline to not f**k up. As soon some rioter swings full force on the police, police are going to use everything they have to control people and take them out of the streets, so things like rubber bullets, bombs, stun grenades, and water are all normal things you’ll have to deal.
Rioters are a danger too: things like glass bottles and Molotovs may be thrown at the police. And remember that you’re not anyone’s friend — you’re not the police’s friend and you’re not the rioters’ friend. You are on your own, and you do you. Keep yourself safe, and try to avoid risk areas where the confrontation is happening.
Thinking about shooting riots, I have to say something even sadder: a helmet makes you an easy target. Be aware of what you’re using! Helmets saying you’re ‘PRESS’ can be a target for both police and rioters. They don’t respect you because of it — you’re their enemy now because they don’t know if they can trust you or not. What a shame and very sad.

Dos and Don’ts

So now we come to my tips:
#1. Be ready and don’t be afraid to get closer to your subject.
#2. Front shots are always better than back shots (though, of course, some back shots can give you more information about who’s protesting).
#3. If police are there, they can improve your safety, but do not stay too close as some objects thrown at the police can hit you.

#4. If you feel safe at the protesters’ side, remember you be hit by things like stun grenades, debris, and rubber bullets.
#5. Your gear must be resilient and weather-sealed at least.
#6. Distance can be your enemy but also your ally. Just think about where you’re safest at any given moment.

#7. When s**t happens, the only friends you’ll have are the other photographers. Stick with them, as they’re in the same boat.
#8. Using a zoom or fixed lens is your personal preference. Both will give you good results. What matters is your vision of the subject matter.
#9. Don’t be afraid.
#10. If you want to show the truth, don’t pick sides.

I’ve been on the streets covering this kind of thing since 2016 as a photographer. I used to be a rioter back in 2013.
Everything I’ve shared here is only my opinion and views. The correct advice may be different from photographer to photographer.

About the author: Ettore Chiereguini is a freelance photographer from Santos who’s now based in São Paulo, Brazil. The opinions expressed in this article are solely those of the author. Chiereguini has been photographing the Brazilian political scene since 2016. You can find more of his work on his Instagram.

Monday, December 3, 2018

Here Are The 11 Photographers That Won The Prestigious Hasselblad Masters Awards Of 2018


One of the most prestigious photography competitions in the world has announced the winners of its 2018 contest. The Hasselblad Masters Awards are held once every 2 years, selecting the very best photographers in 11 categories. This time, the contest attracted 31,500 entries (175% more than two years ago), receiving some of the most stunning pictures from across the world.
From intimate portraits to otherworldly landscapes, the contest awards gives acclaimed professionals, as well as aspiring newcomers, the opportunity leave their mark in the world of photography. The winners will be named Hasselblad Masters, become the ambassadors of the famous Swedish name for two years. They will also receive invitations to participate in its projects, medium format Hasselblad cameras, and their work will be printed in the Hasselblad Masters book.
“It really struck me how progressive many of the entries were this year and how far the entrants were willing to push the brief,” jury member and professional photographer Tom Oldham said. “These were the photographers who caught my eye – the ballsy, out-there risk-takers who make compelling pictures that refuse to be ignored. I’m proud to have helped to get this great kit into their hands – their images deserve it.”
More info: hasselblad.com (h/t demilked)

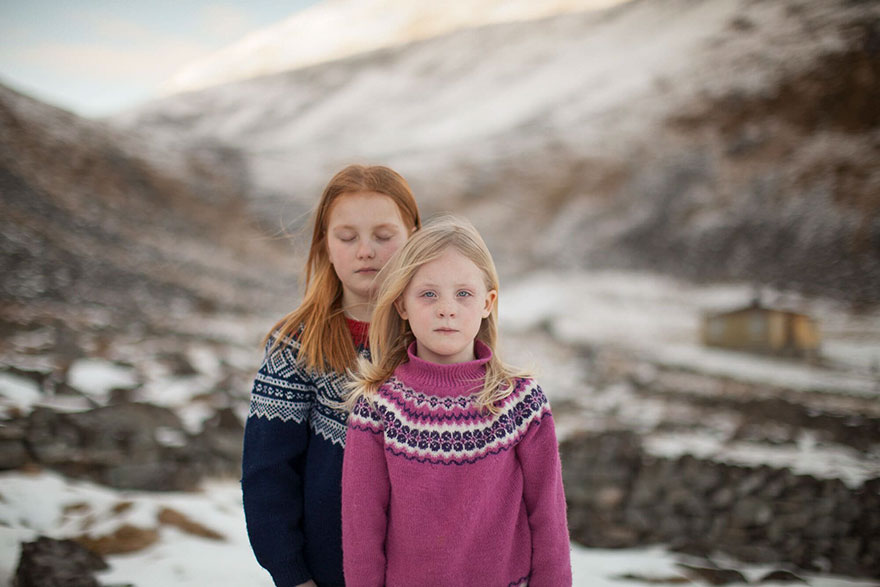
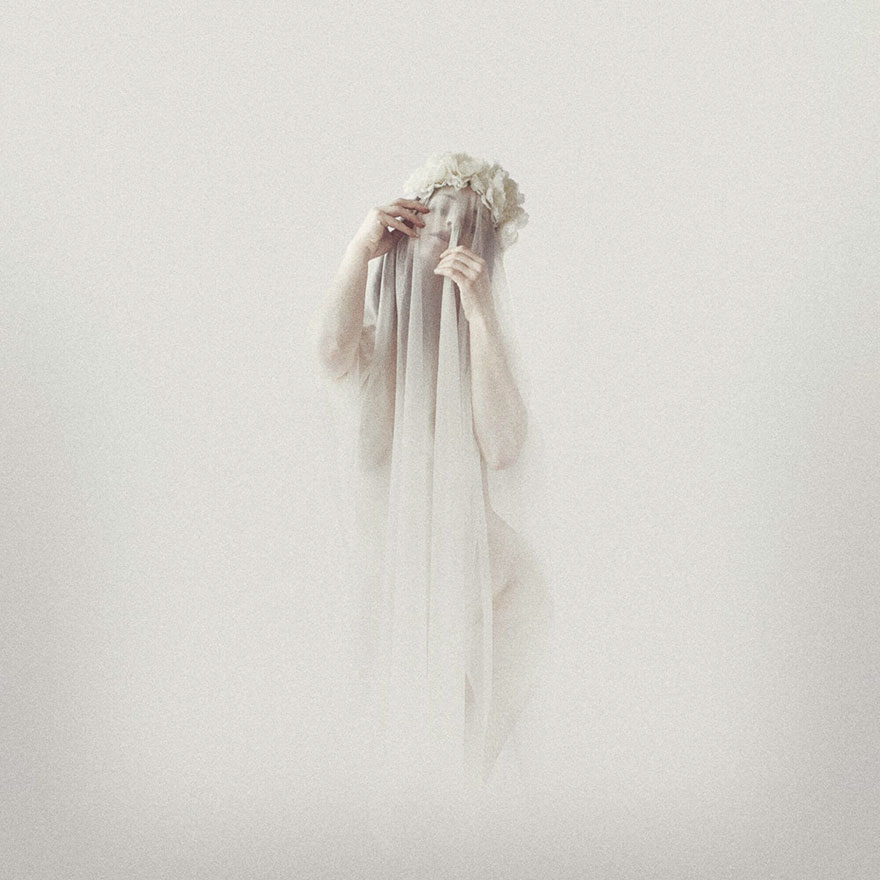
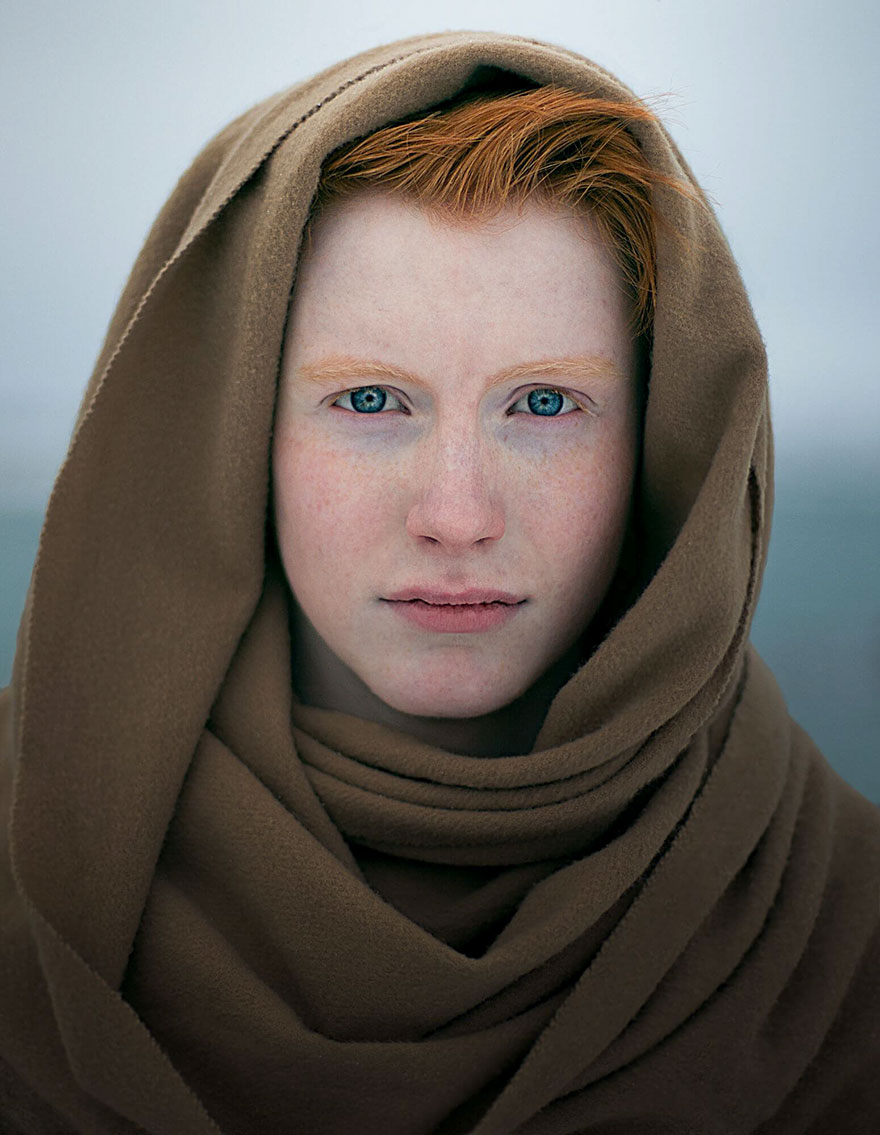
Portrait Category Winner Tina Signesdottir Hult, Torvastad, Norway

Image credits: TINA SIGNESDOTTIR HULT

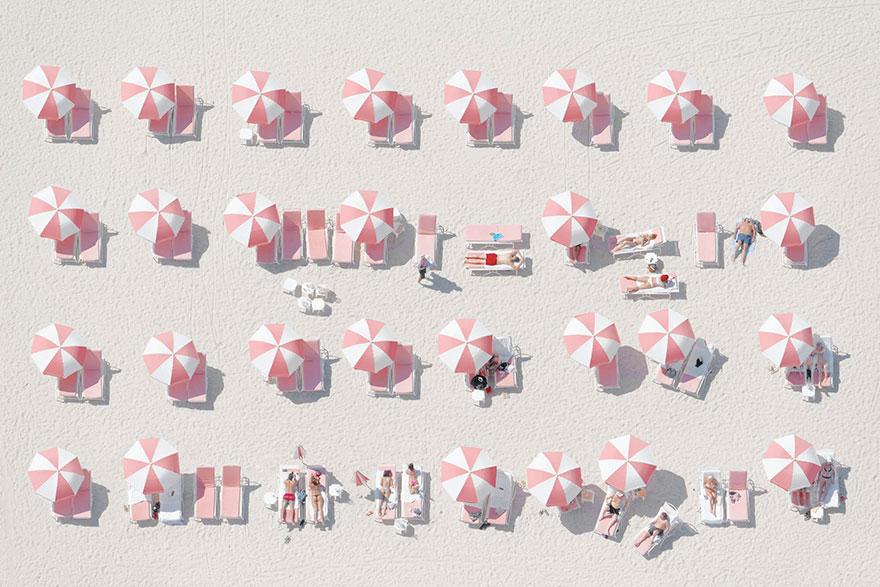
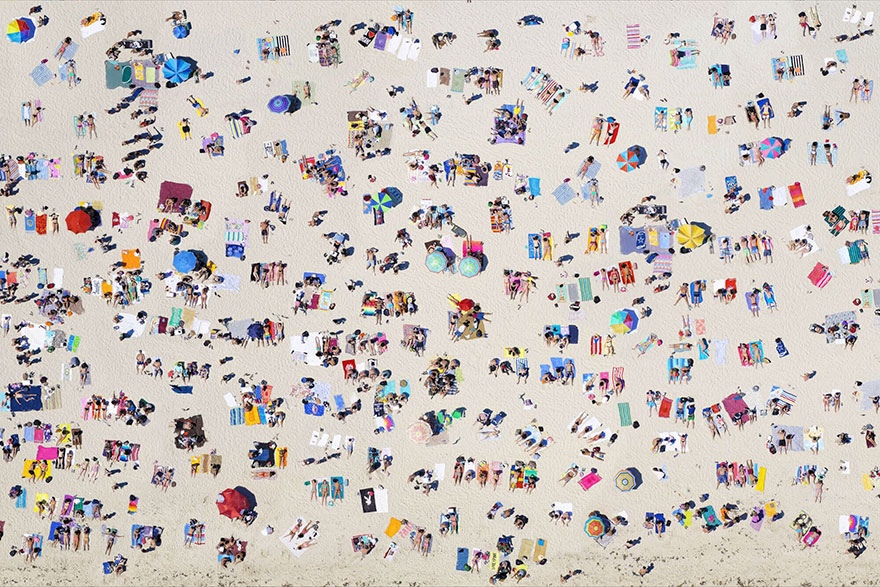
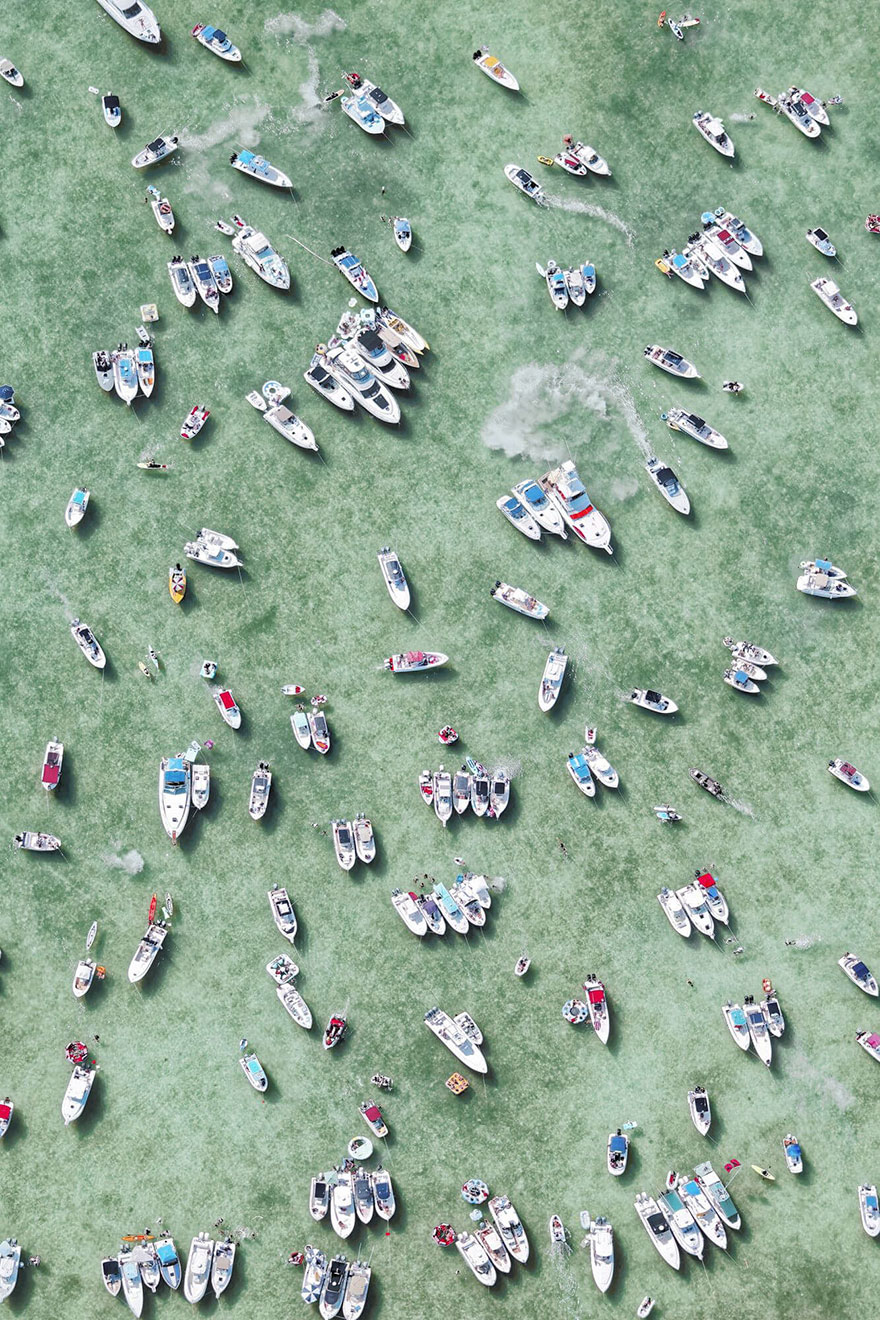
Aerial Category Winner Jorge De La Torriente, Miami, USA

Image credits: JORGE DE LA TORRIENTE

Beauty & Fashion Category Winner Michal Baran, Trim, Ireland

Image credits: MICHAL BARAN

Architecture Category Winner Kamilla Hanapova, St. Petersburg, Russia

Image credits: KAMILLA HANAPOVA

Art Category Winner Maria Svarbova, Bratislava, Slovakia

Image credits: MARIA SVARBOVA

Landscape Category Winner Benjamin Everett, Lopez Island, USA

Image credits: BENJAMIN EVERETT

Product Category Winner Marcin Gizycki, Warszawa, Poland

Image credits: MARCIN GIZYCKI

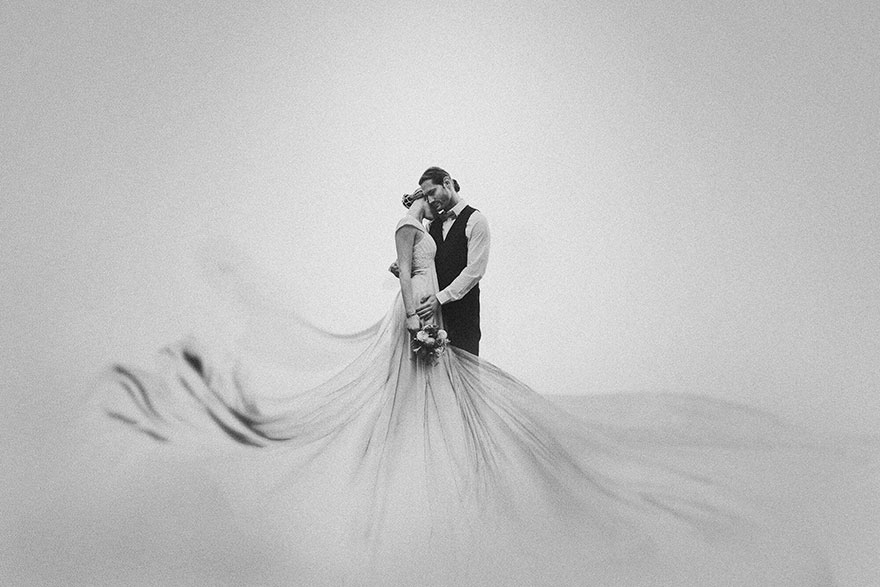
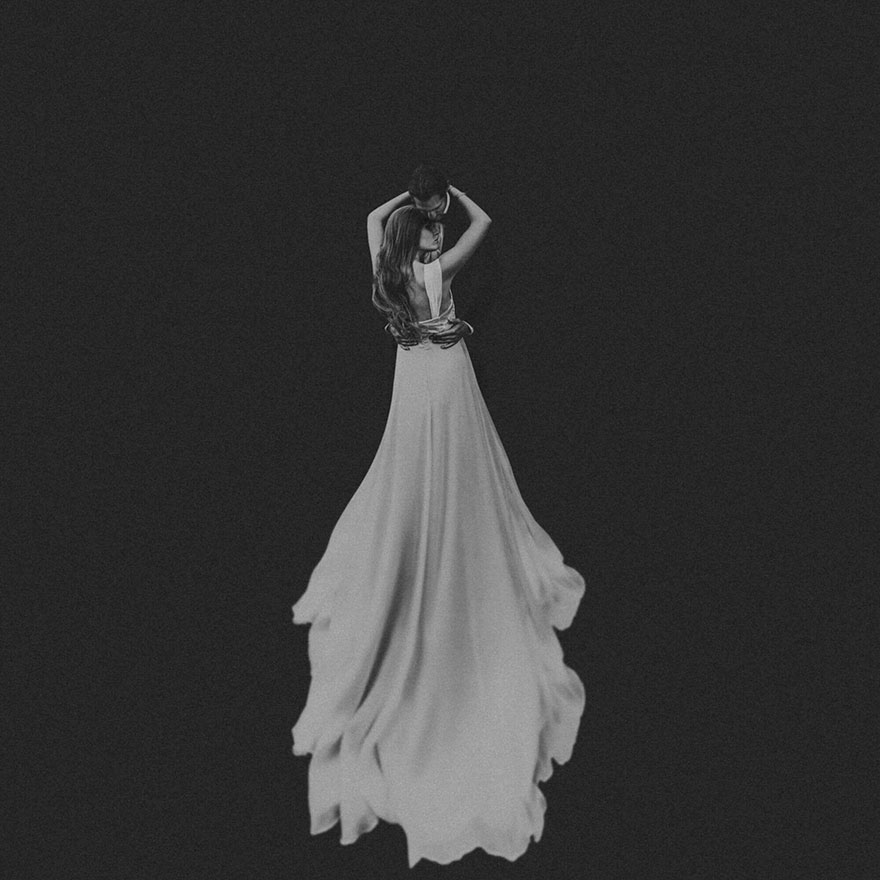
Wedding Category Winner Victor Hamke, Leipzig, Germany

Image credits: VICTOR HAMKE

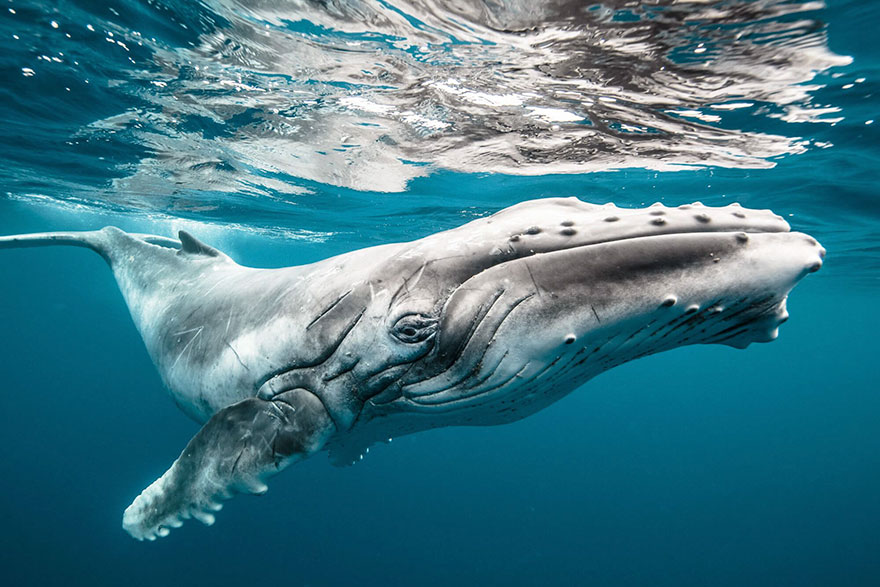
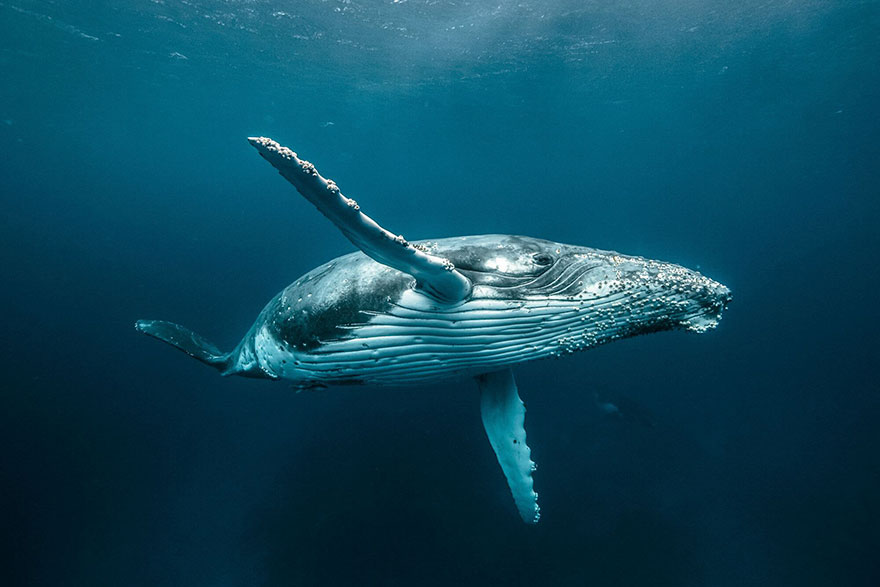
Wildlife Category Winner Karim Ilya, Haiku, USA

Image credits: KARIM ILIYA

Project//21 Category Winner Nabil Rosman, Kota Bharu, Malaysia

Image credits: NABIL ROSMAN

Street/Urban Category Winner Ben Thomas, Kyneton, Australia

Image credits: BEN THOMAS

Annie Leibovitz Shoots the Pirelli Calendar Into a New Direction

pirelli2016head
The annually published Pirelli Calendar is known for its history of racy photos by renowned photographers that often show models in various states of undress. The photographer behind this year’s edition is renowned portrait shooter Annie Leibovitz, and instead of focusing on themes of sexuality, Leibovitz has taken the photos in a completely new direction.

Instead of shooting scantily clad (or unclad) models and celebrities, Leibovitz decided to feature portraits of notable women professionals — women who have made a mark in art, entertainment, business, philanthropy, and more.
Among the subjects are 77-year-old Agnes Gund, the president emerita of the Museum of Modern Art, and 46-year-old Mellody Hobson, the president of a $10 billion money management company in Chicago. Both these women, along with a number of others, received quite the shock when they got a call from Leibovitz’s studio with an invitation to participate in the 2016 Pirelli calendar.
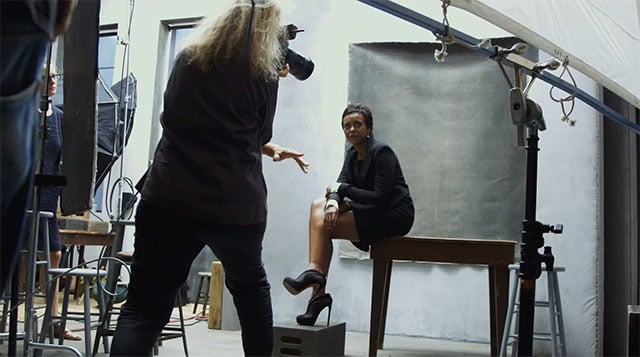
Hobson posing for a portrait.
The calendar is produced by the Italian tire maker Pirelli, and is given as a gift to an exclusive gorup of about 20,000 rich, famous, and powerful people around the world. While past women were chosen for their looks, this year’s were chosen for their achievements.
There are, however, two notable exceptions to the non-nude theme of the new calendar: December features a nude photo of comedian Amy Schumer, and April shows a topless tennis star Serena Williams with her muscular back facing the camera.


pirelli


Image credits: 2016 Pirelli Calendar photos by Annie Leibovitz